Department Management
Department Listing Page
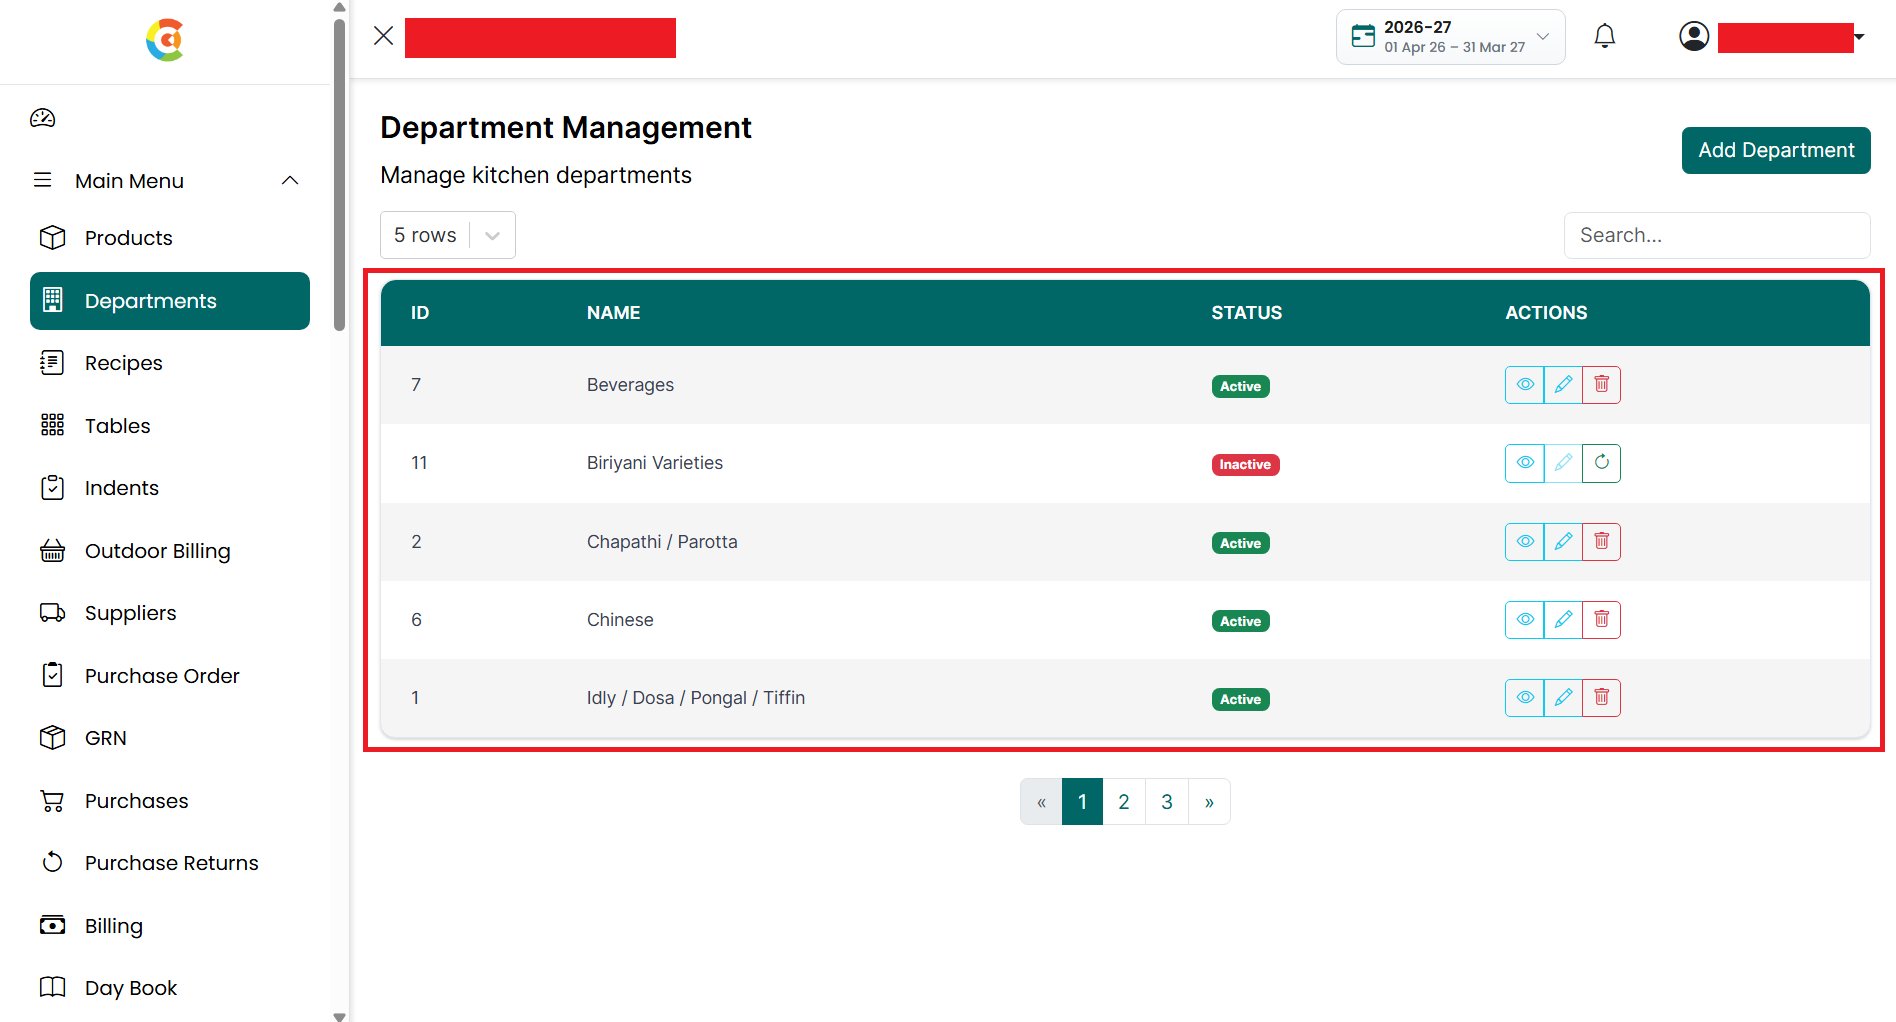
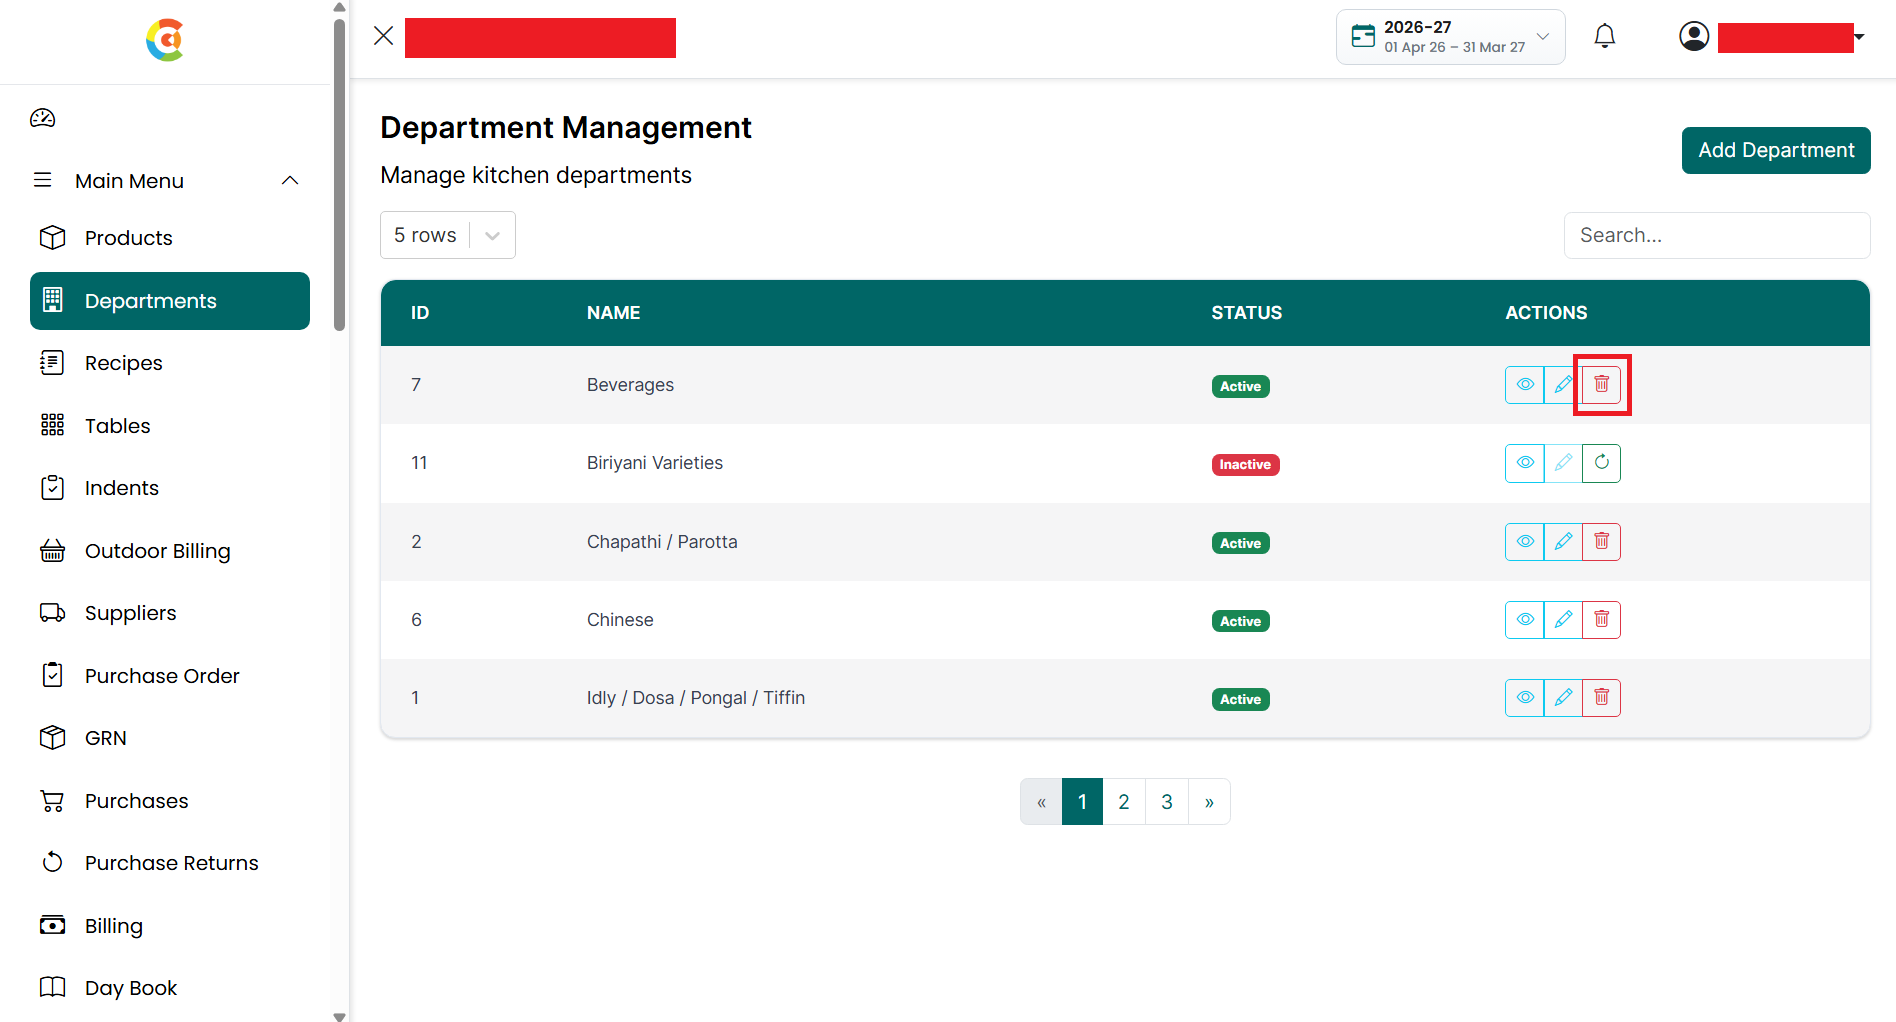
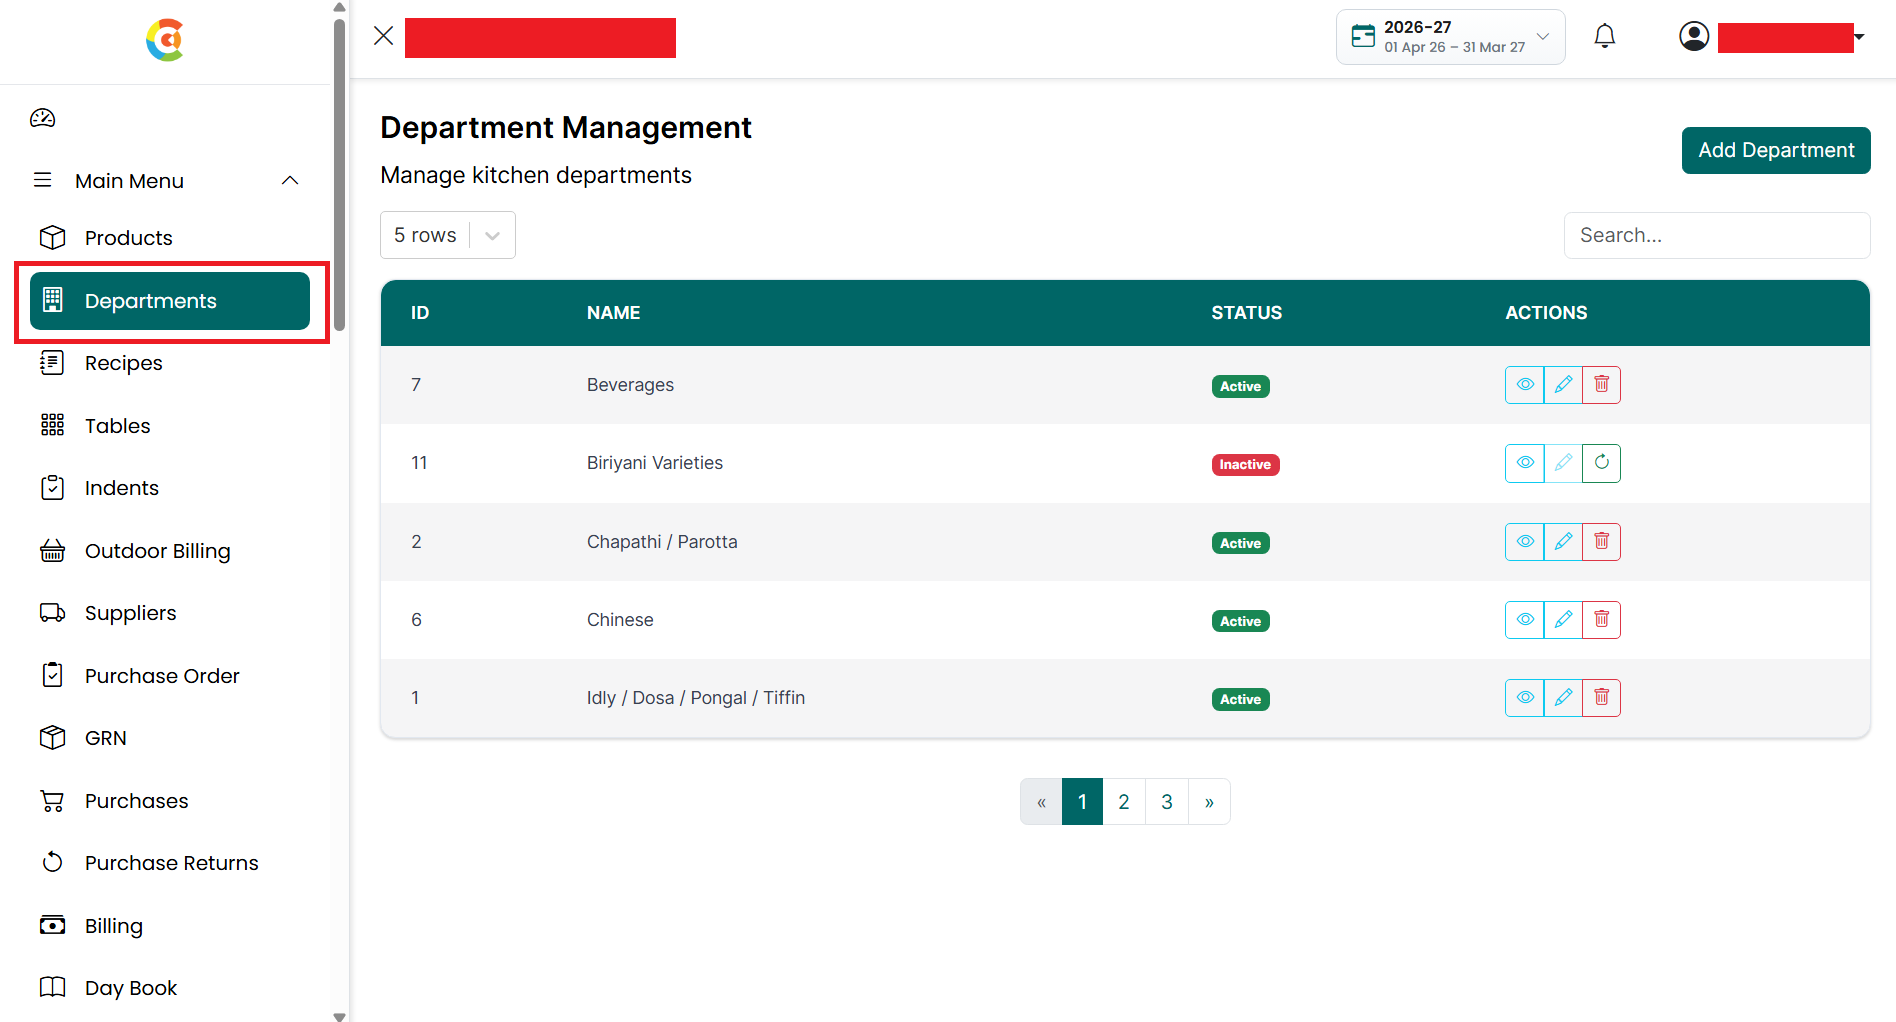
The Department Listing page shows all the departments added to the application, along with their current status.
From this page, you can:
● Add a new department.
● View department details.
● Edit department information.
● Delete or restore departments.
Departments added here can be selected while creating:
● Products
● Indents
● Other department-related operations
Using departments helps organize products and menu items into different sections, making day-to-day operations easier to manage.
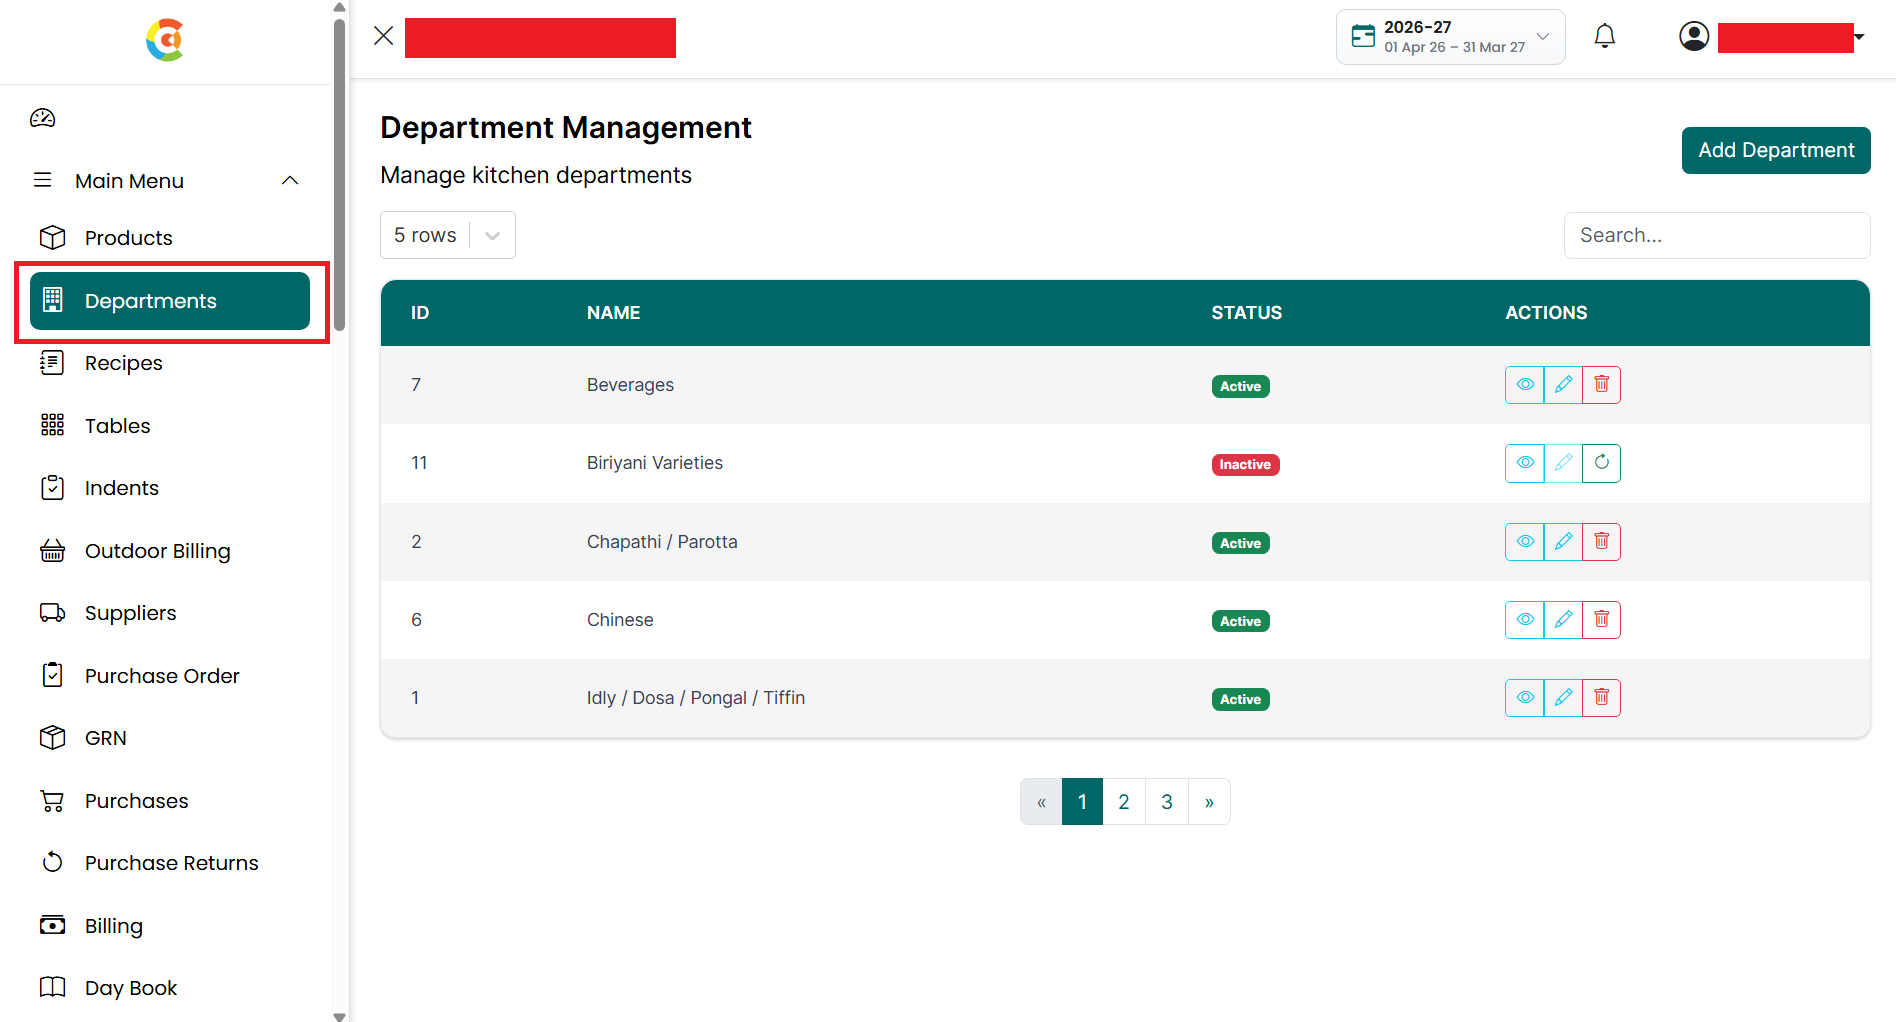
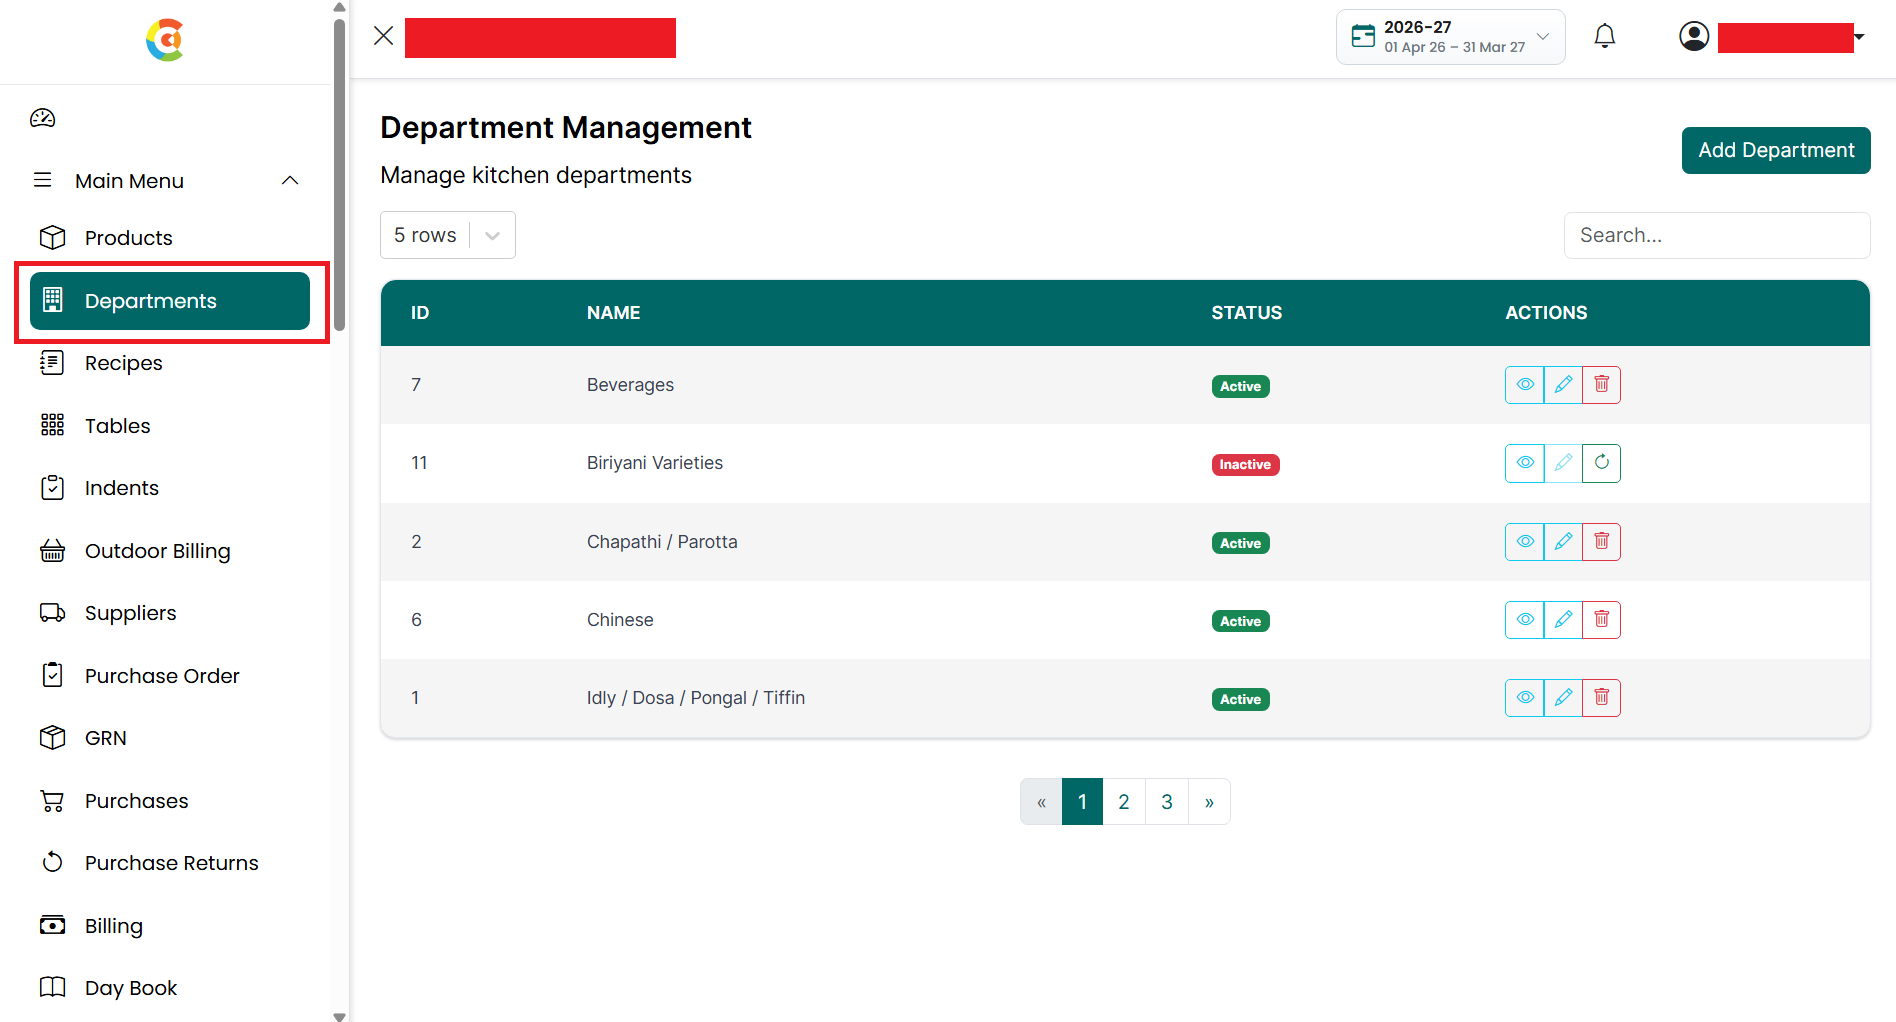
To open the Department Listing page, follow the steps below.
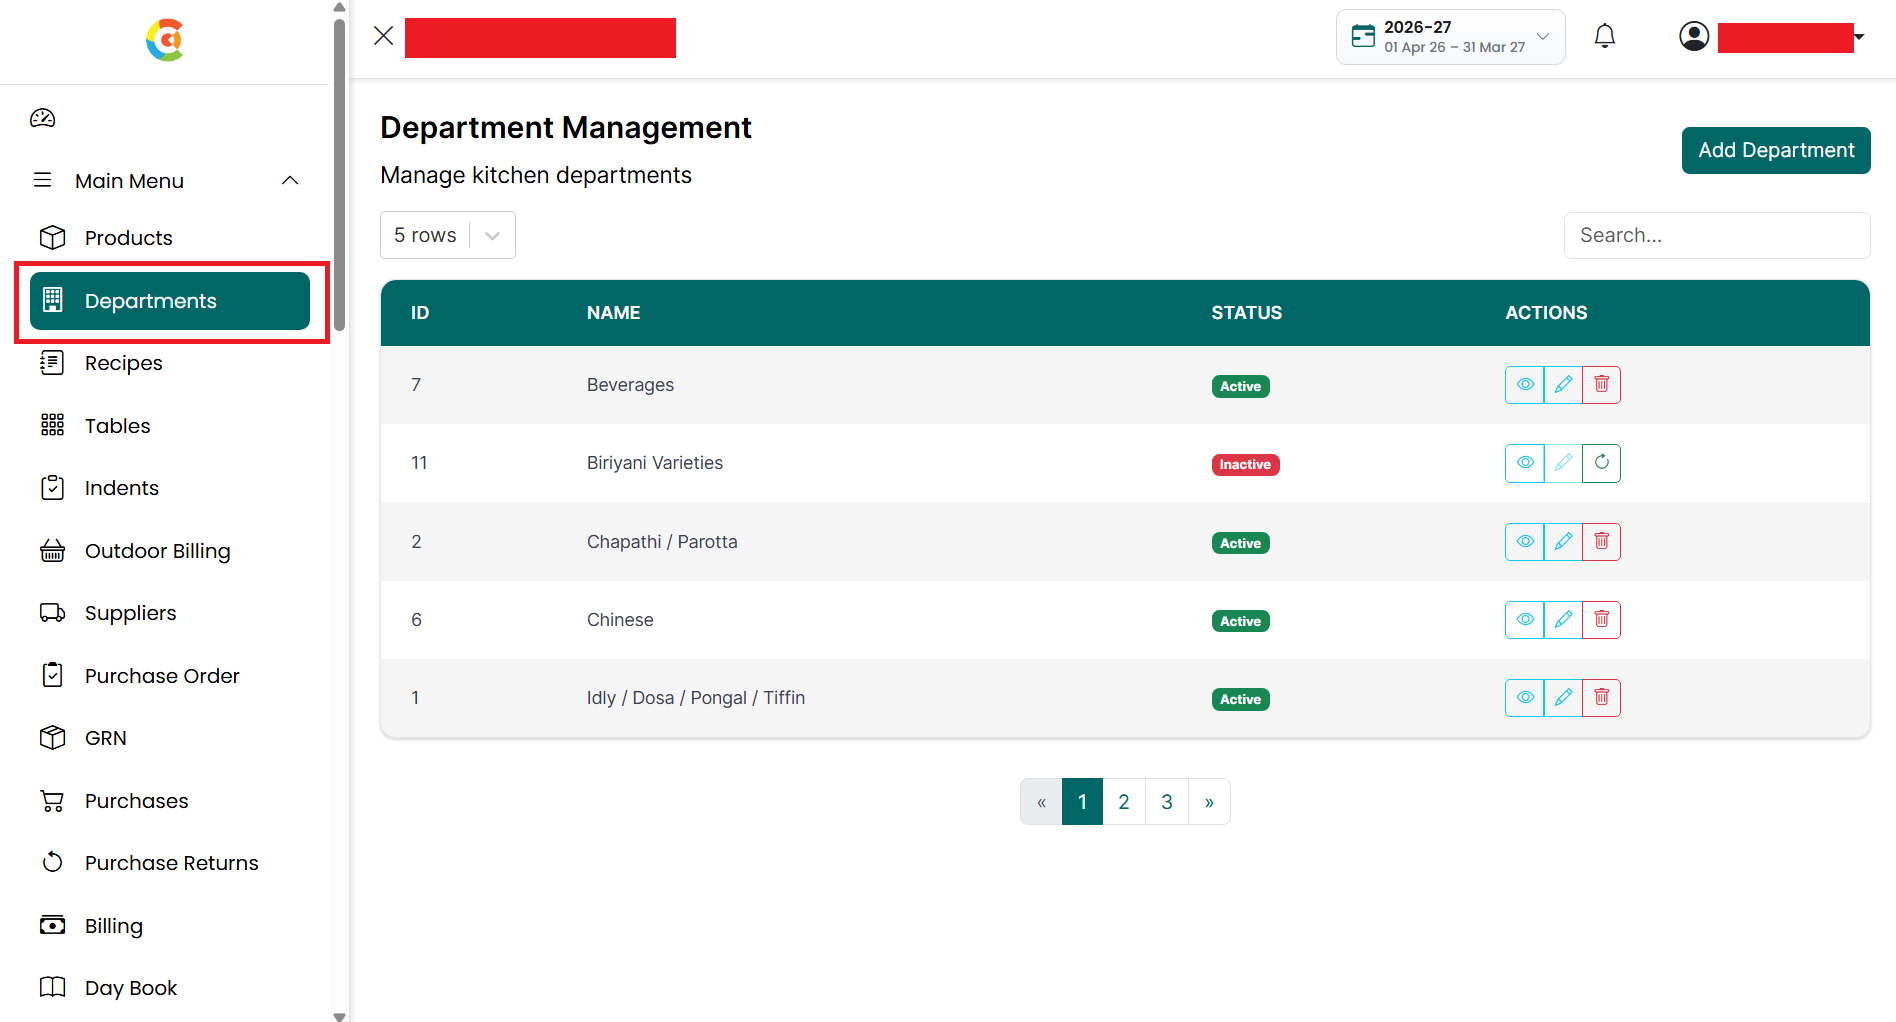
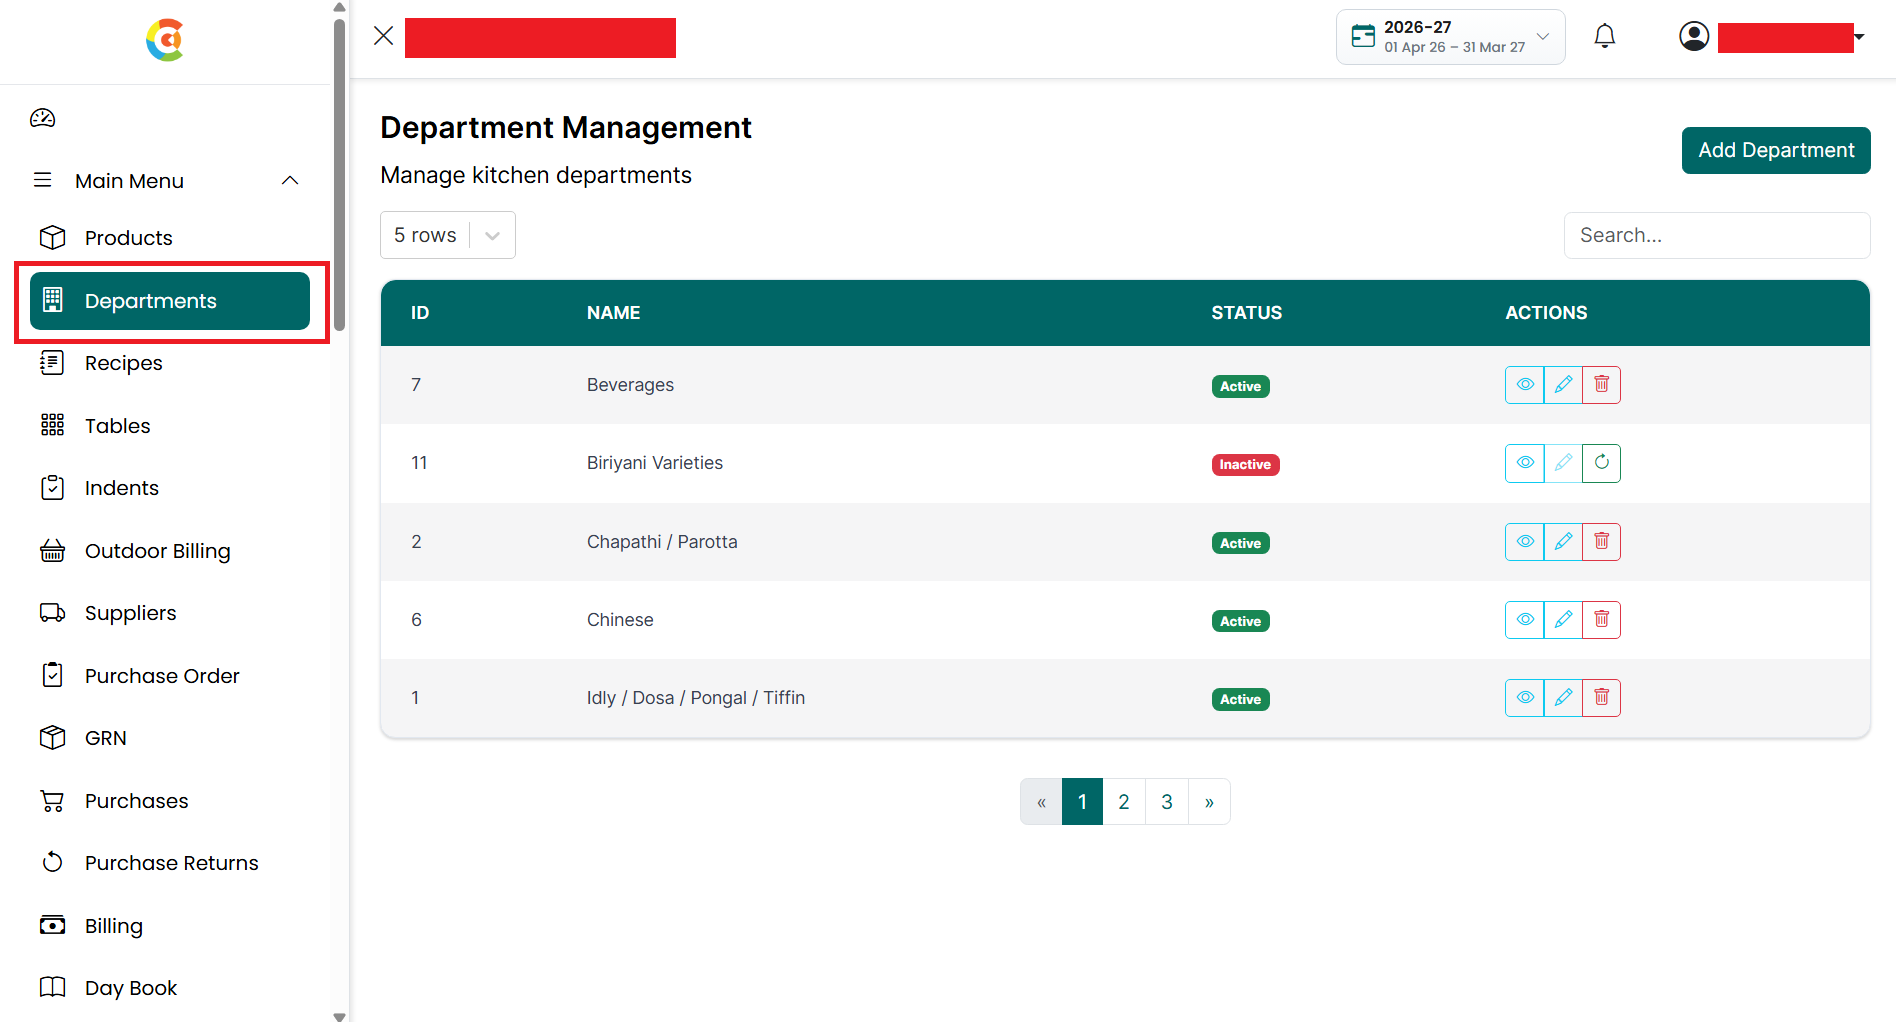
- Go
to the Main Menu and click Departments. The Department Listing page is
displayed.
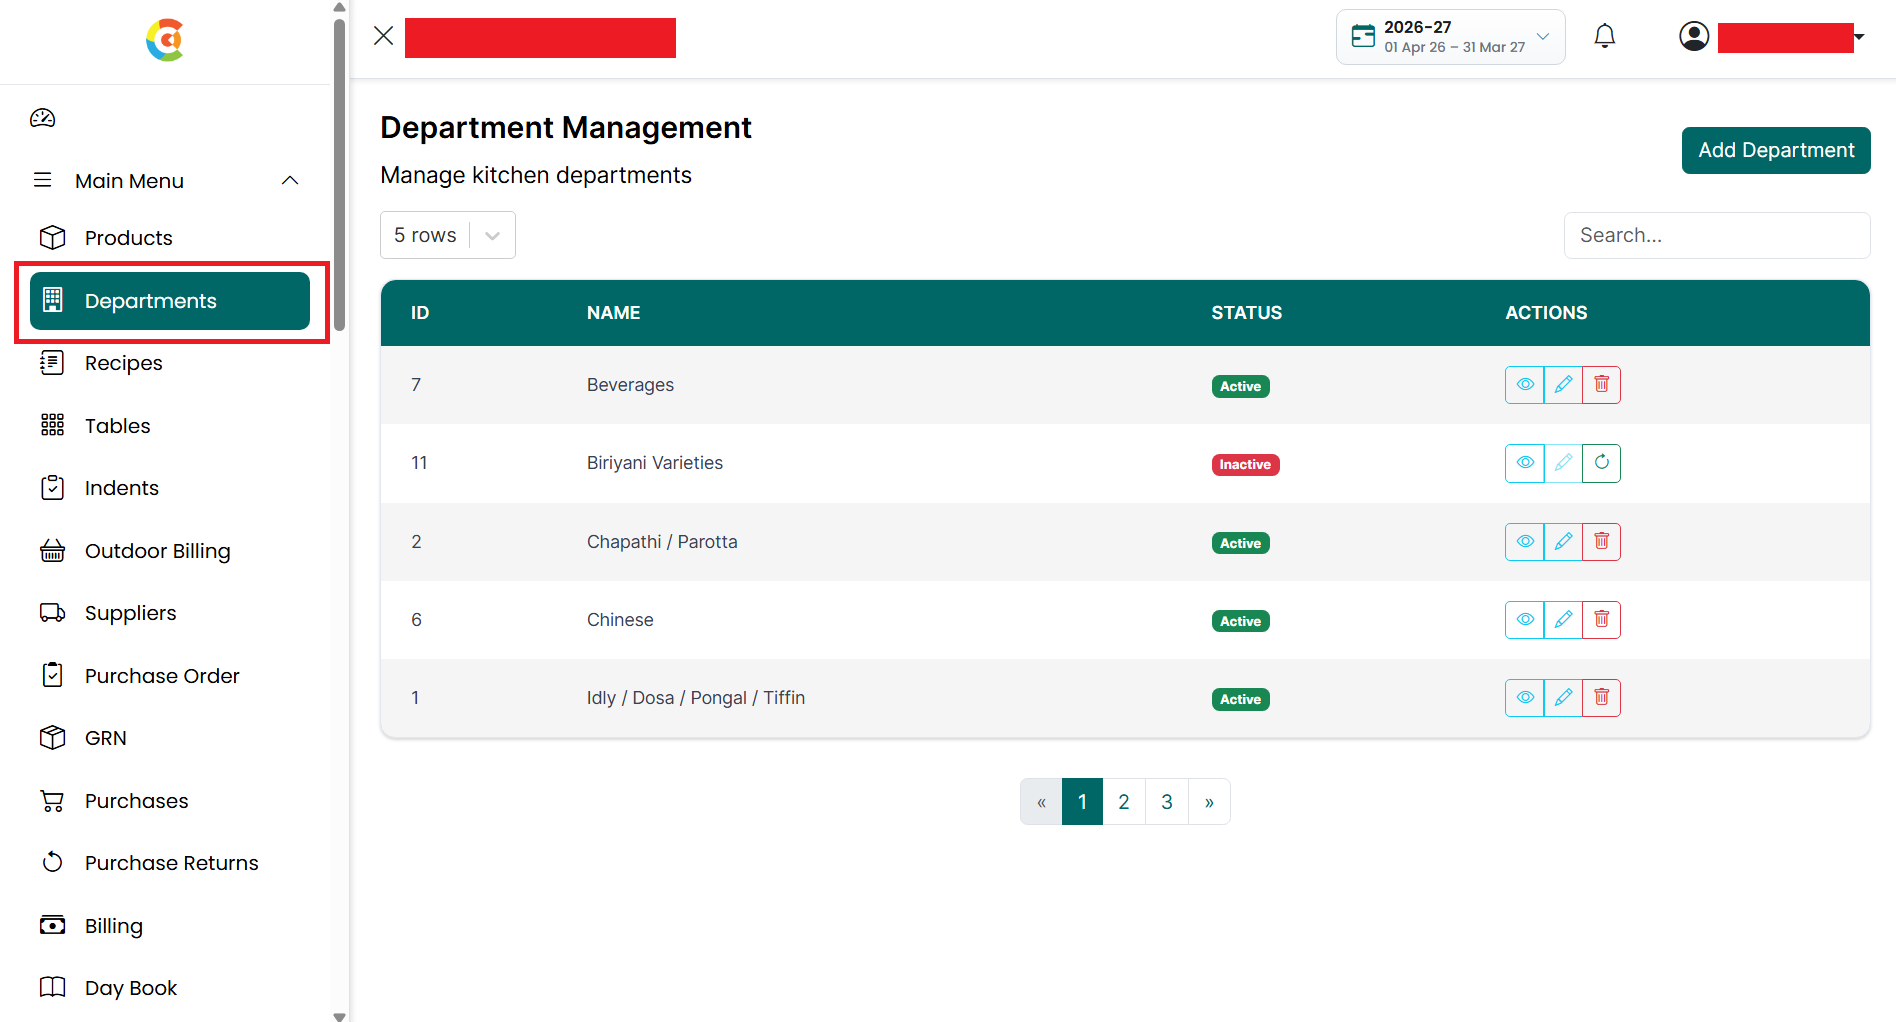
The page includes the following sections:
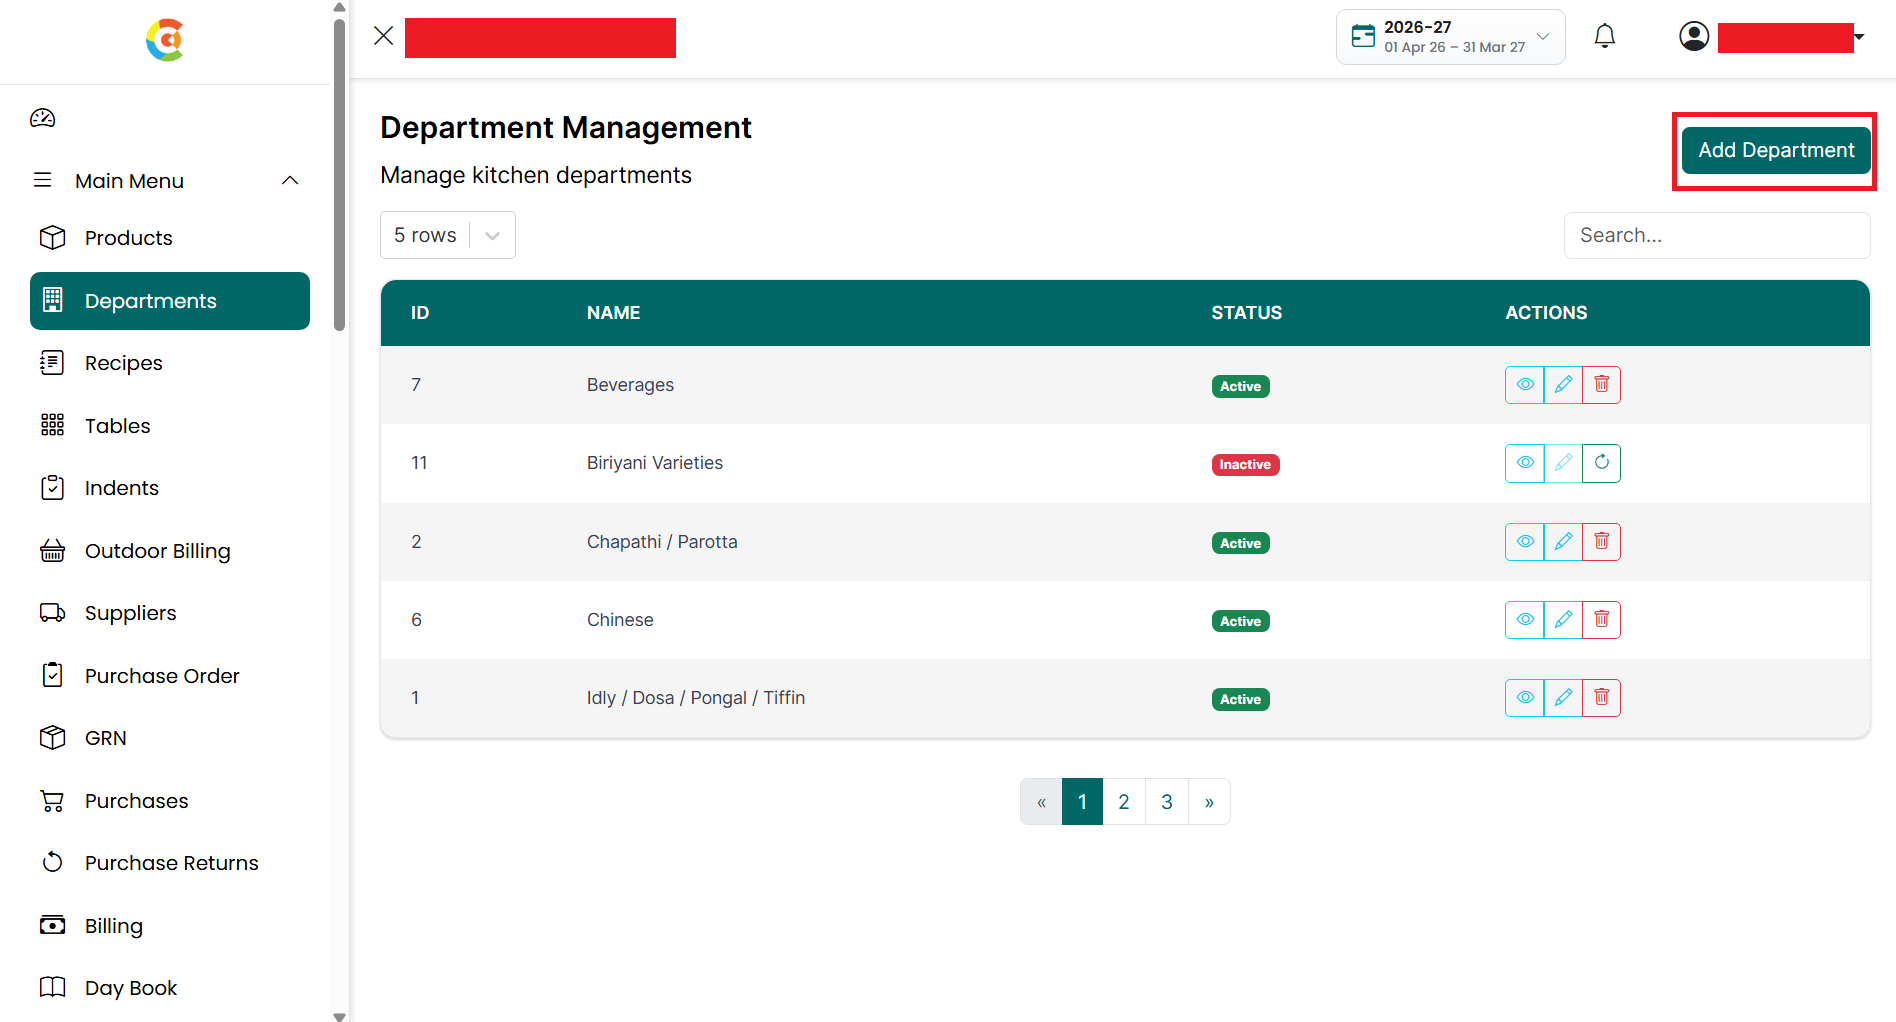
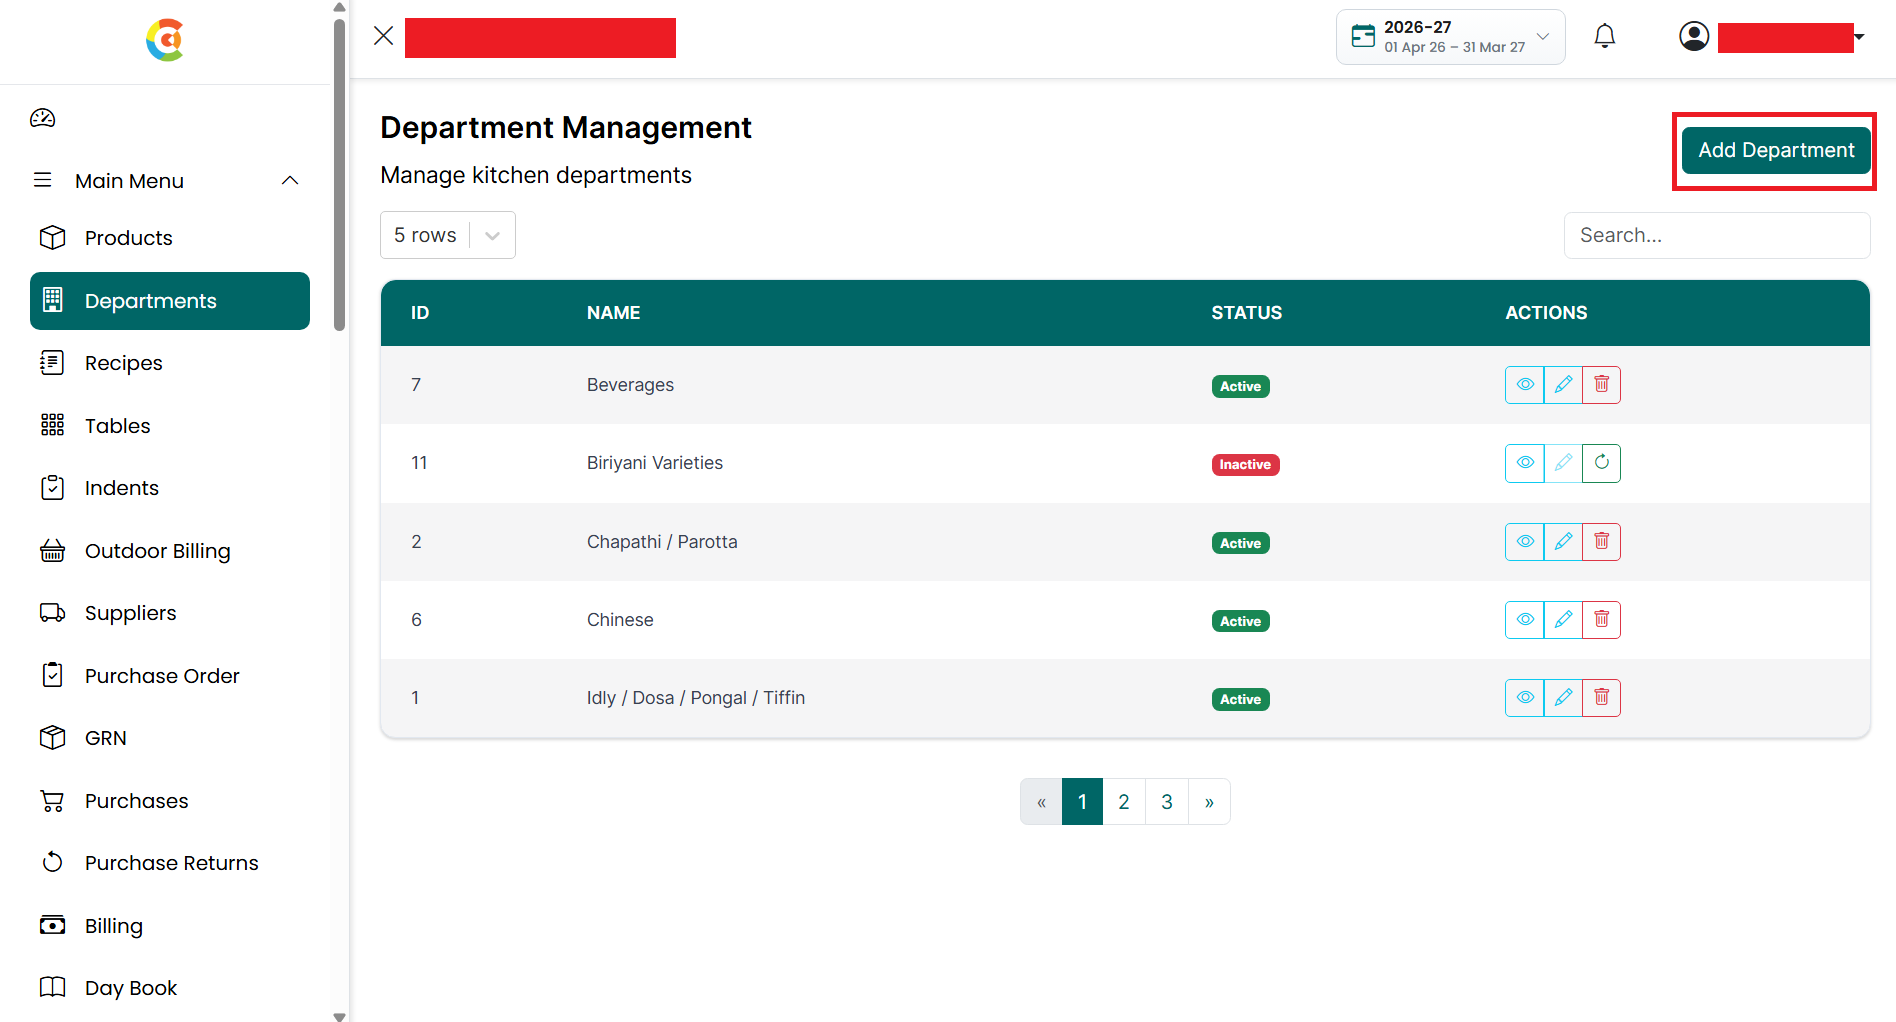
- Add
Department – Click the Add Department button to create a new department.
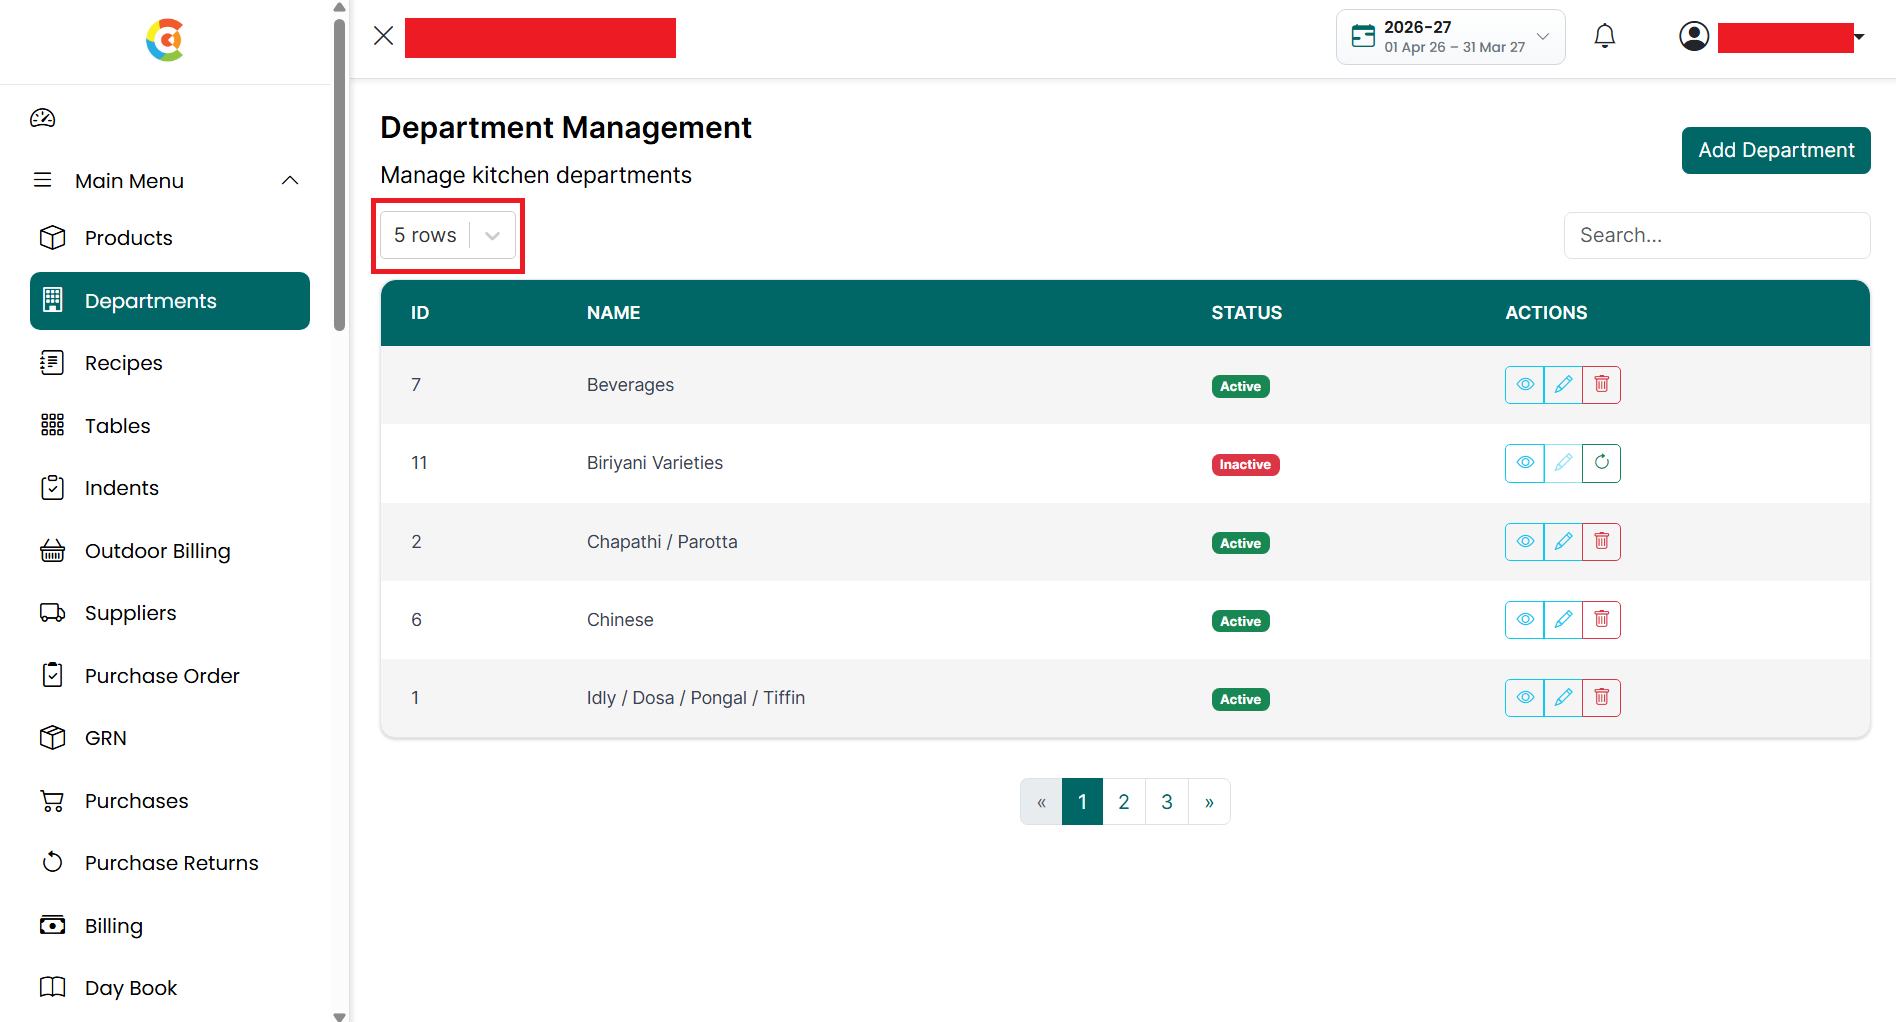
- Rows Per Page – Select how many
departments you want to display on a single page.
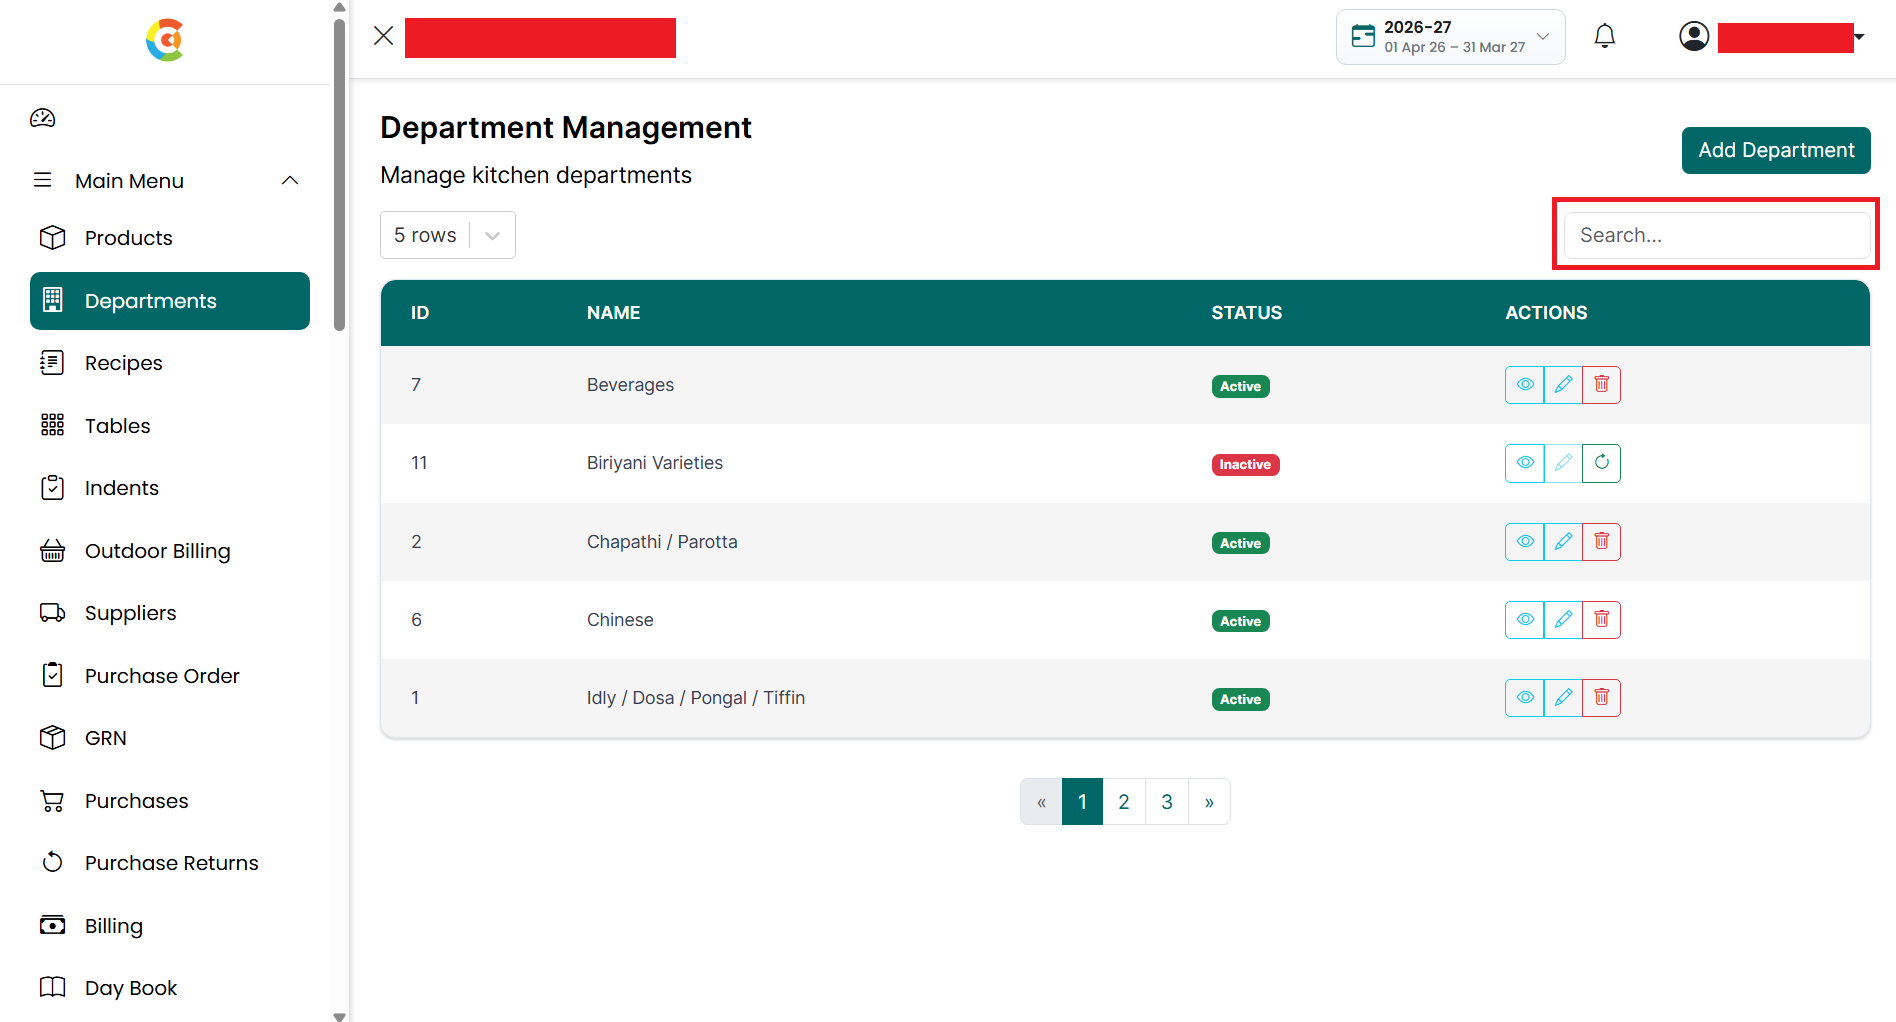
- Search – Enter the department name in
the Search box to quickly find a department.
- Department List – Displays all departments with the following information:
- ID – Shows the unique ID of the department.
- Department Name – Shows the name of the department.
- Status – Shows whether the department is currently Active or Inactive.
- Actions – Shows the actions
available for each department.
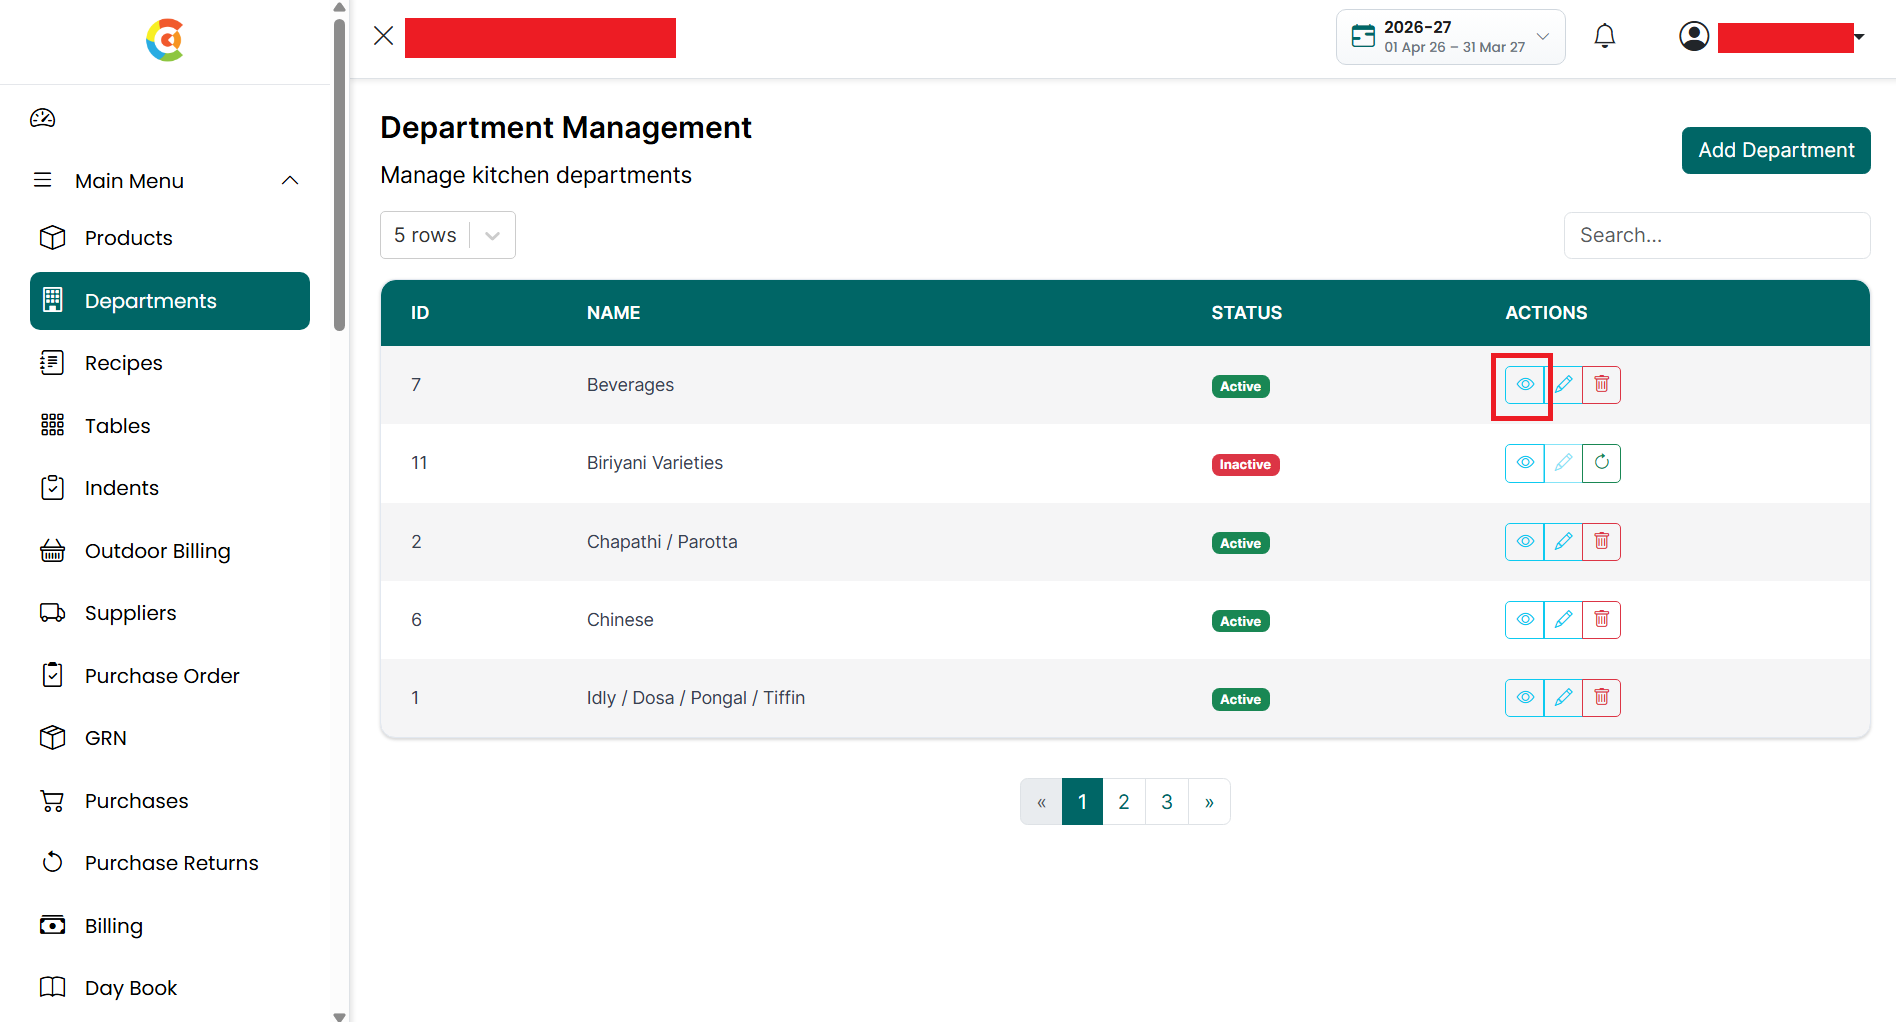
- View – Click the View icon to see the
department details.
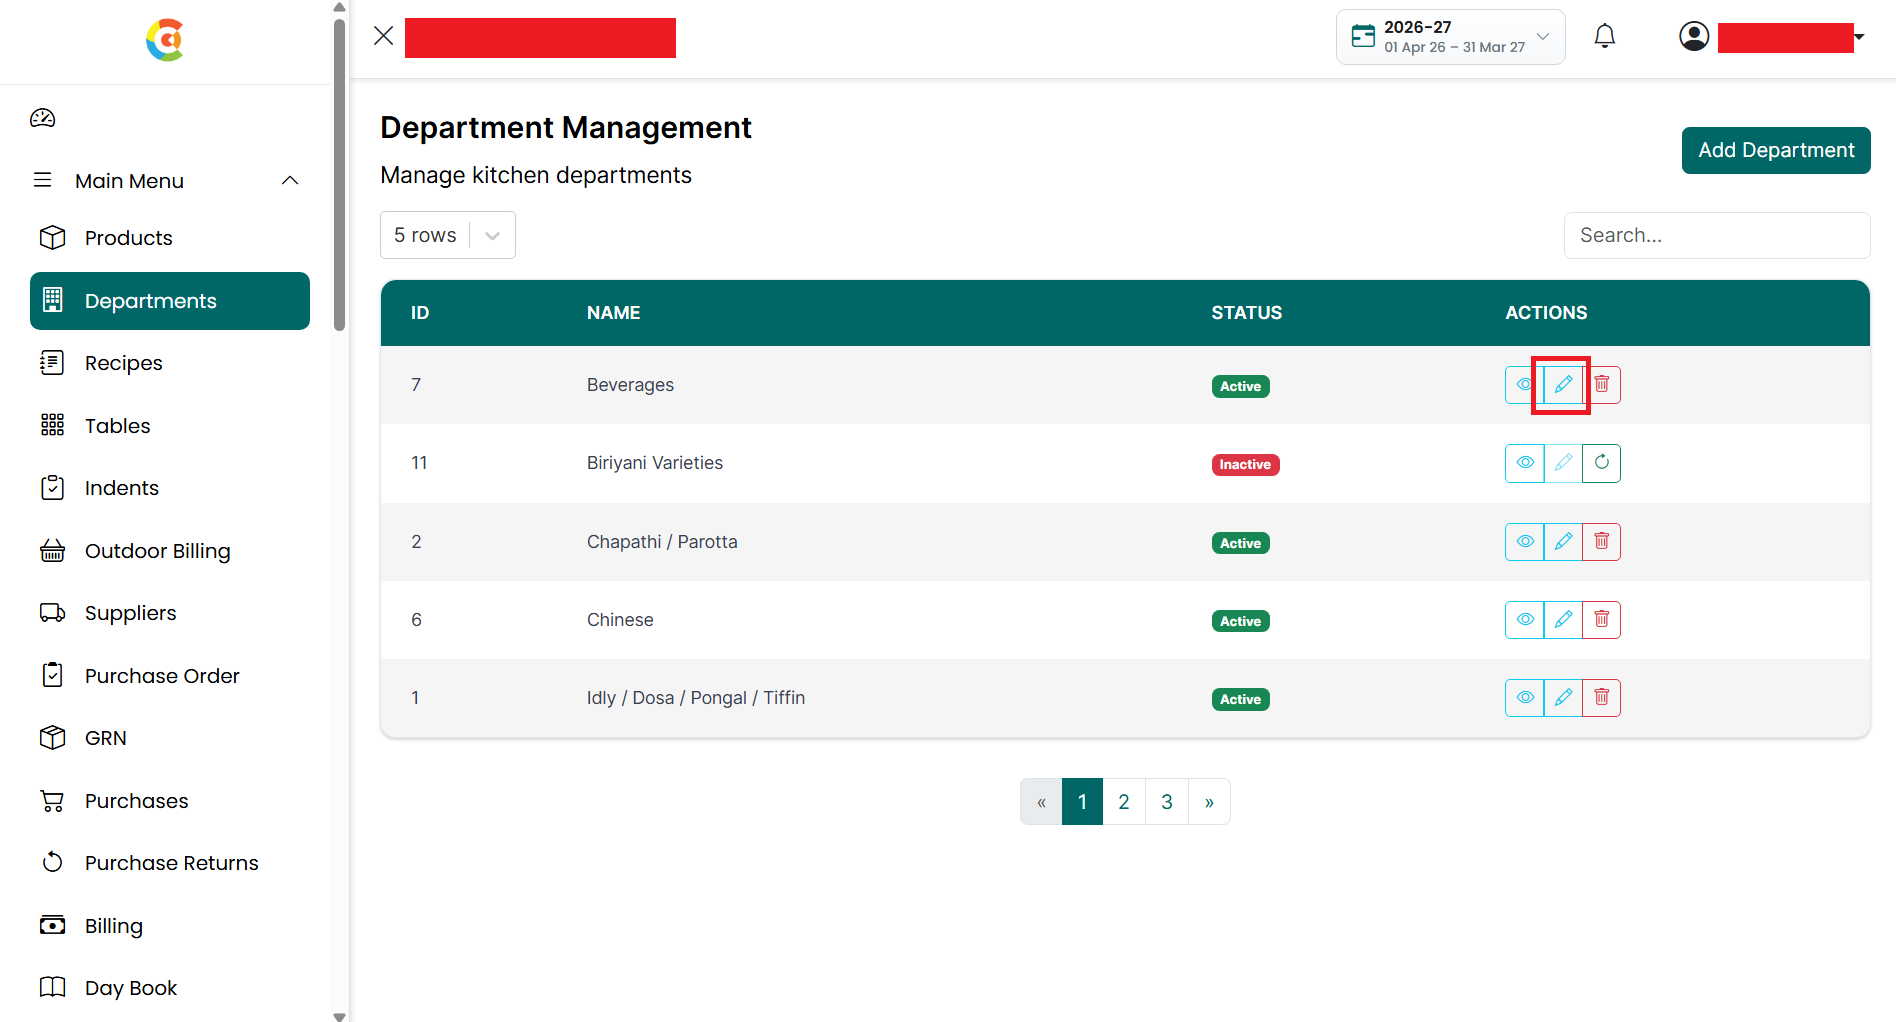
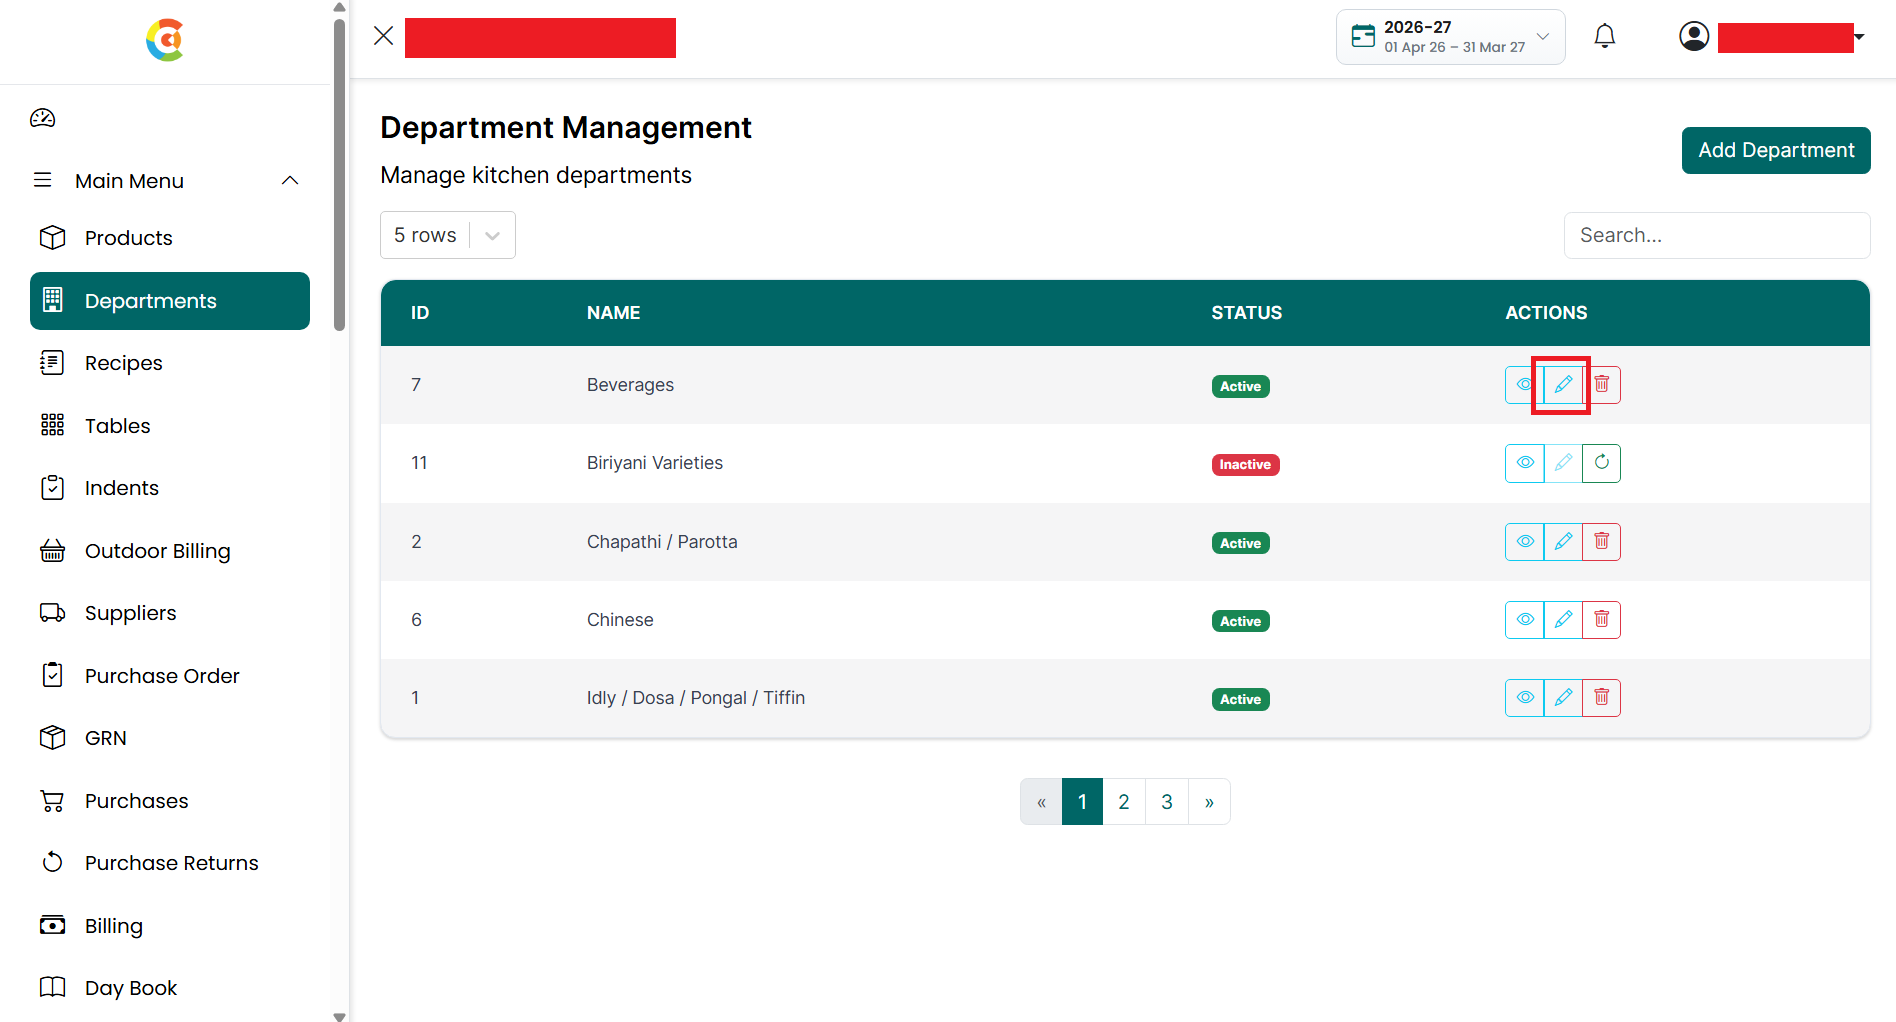
- Edit – Click the Edit icon to update
the department name.
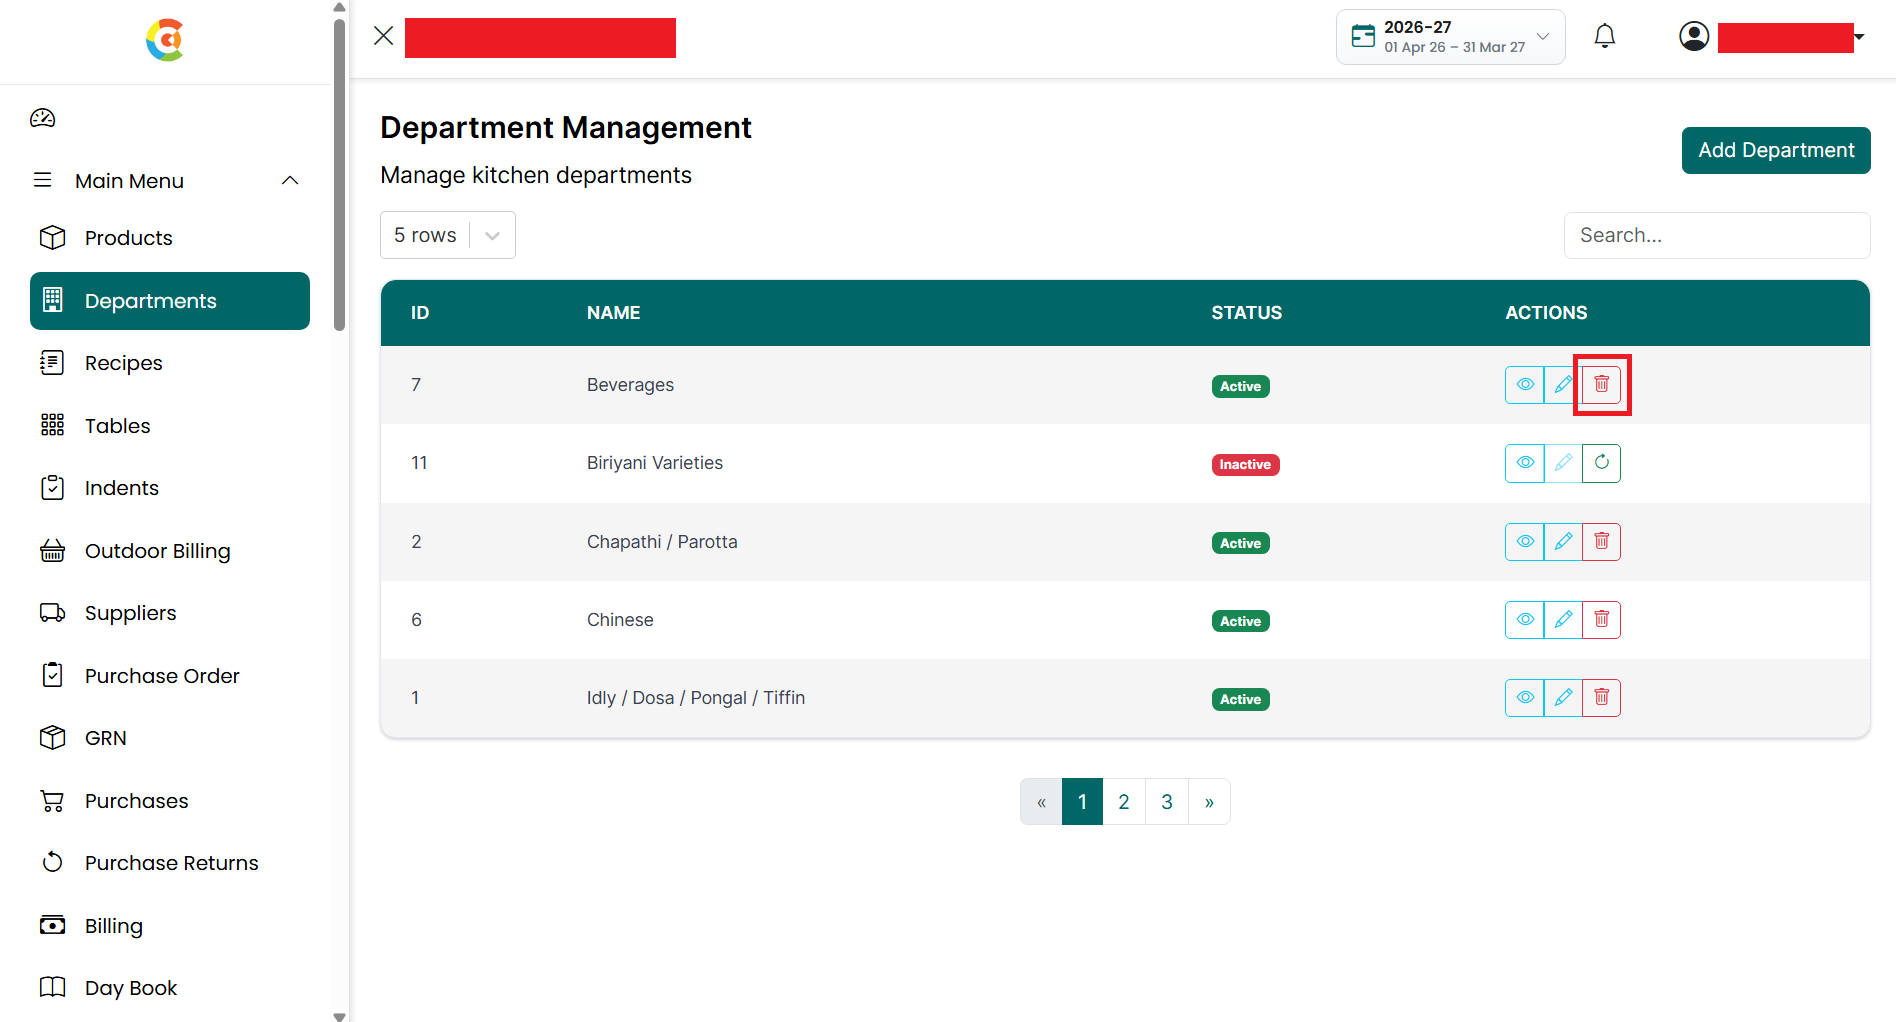
- Delete – Click the Delete icon to
remove the department from active use. Deleted departments can be restored
later if required.
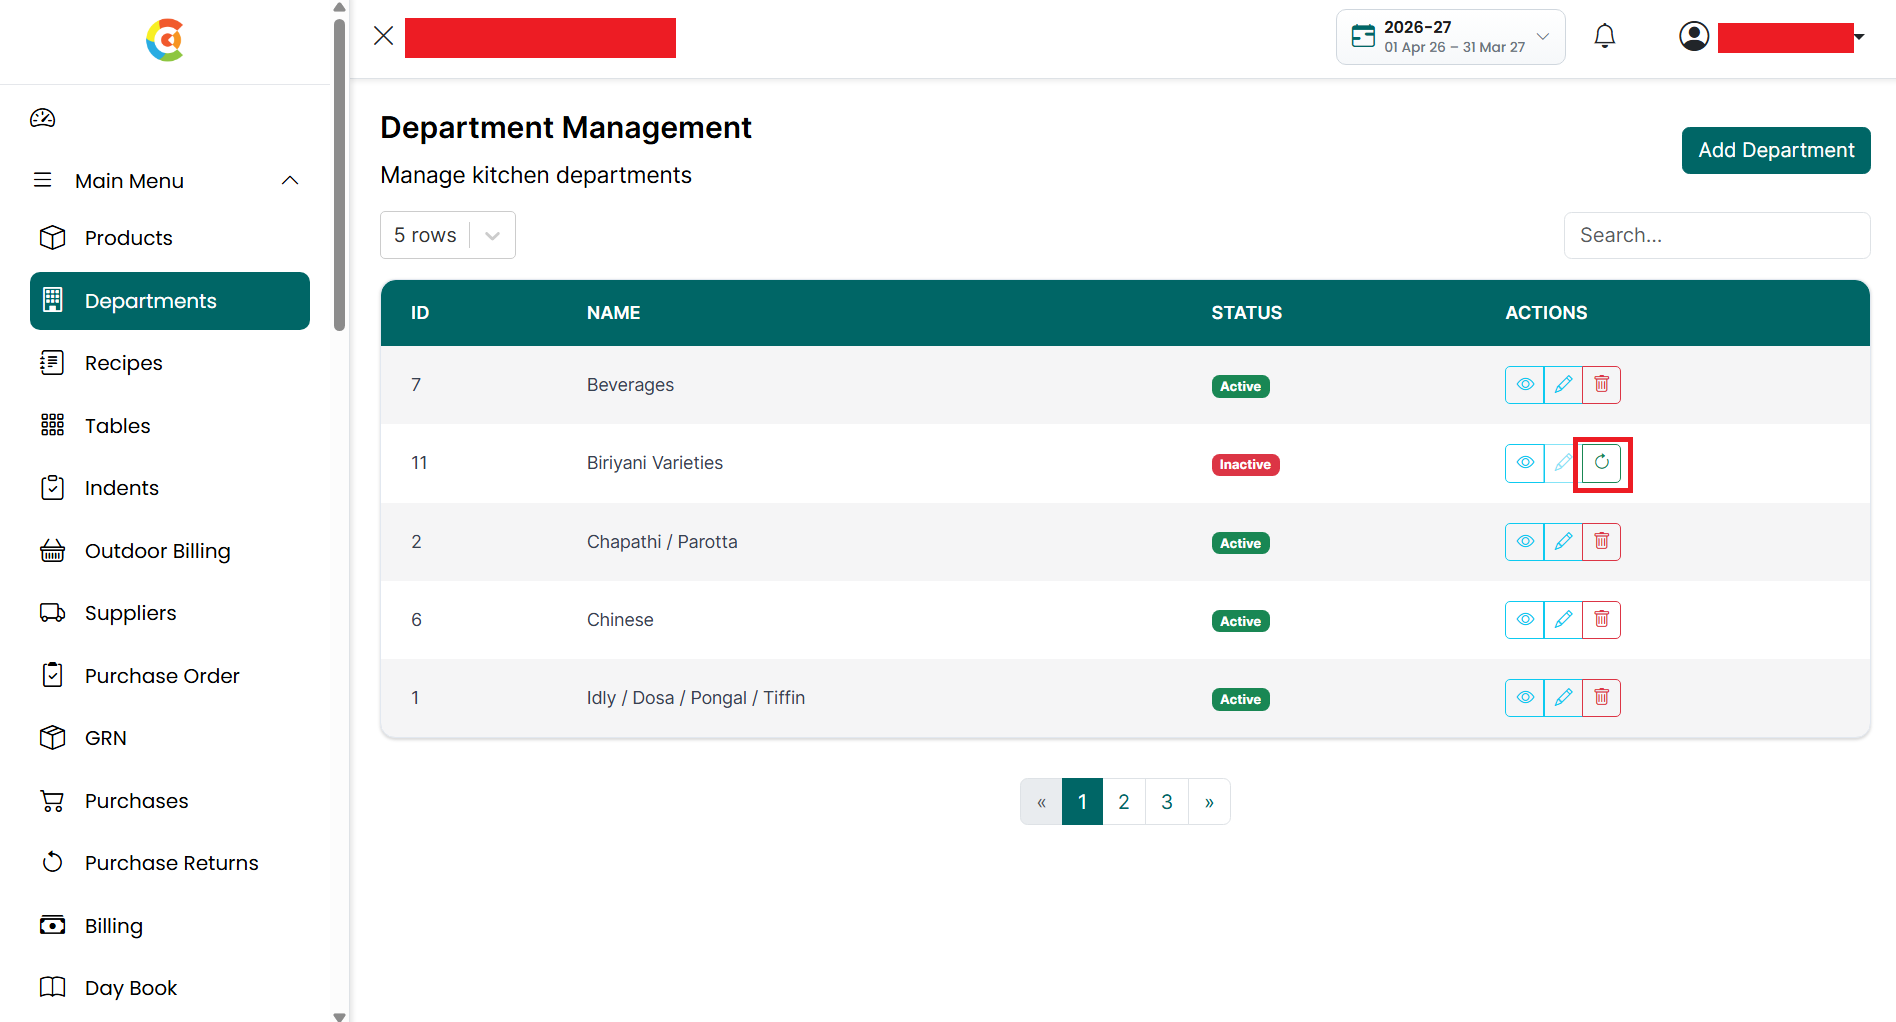
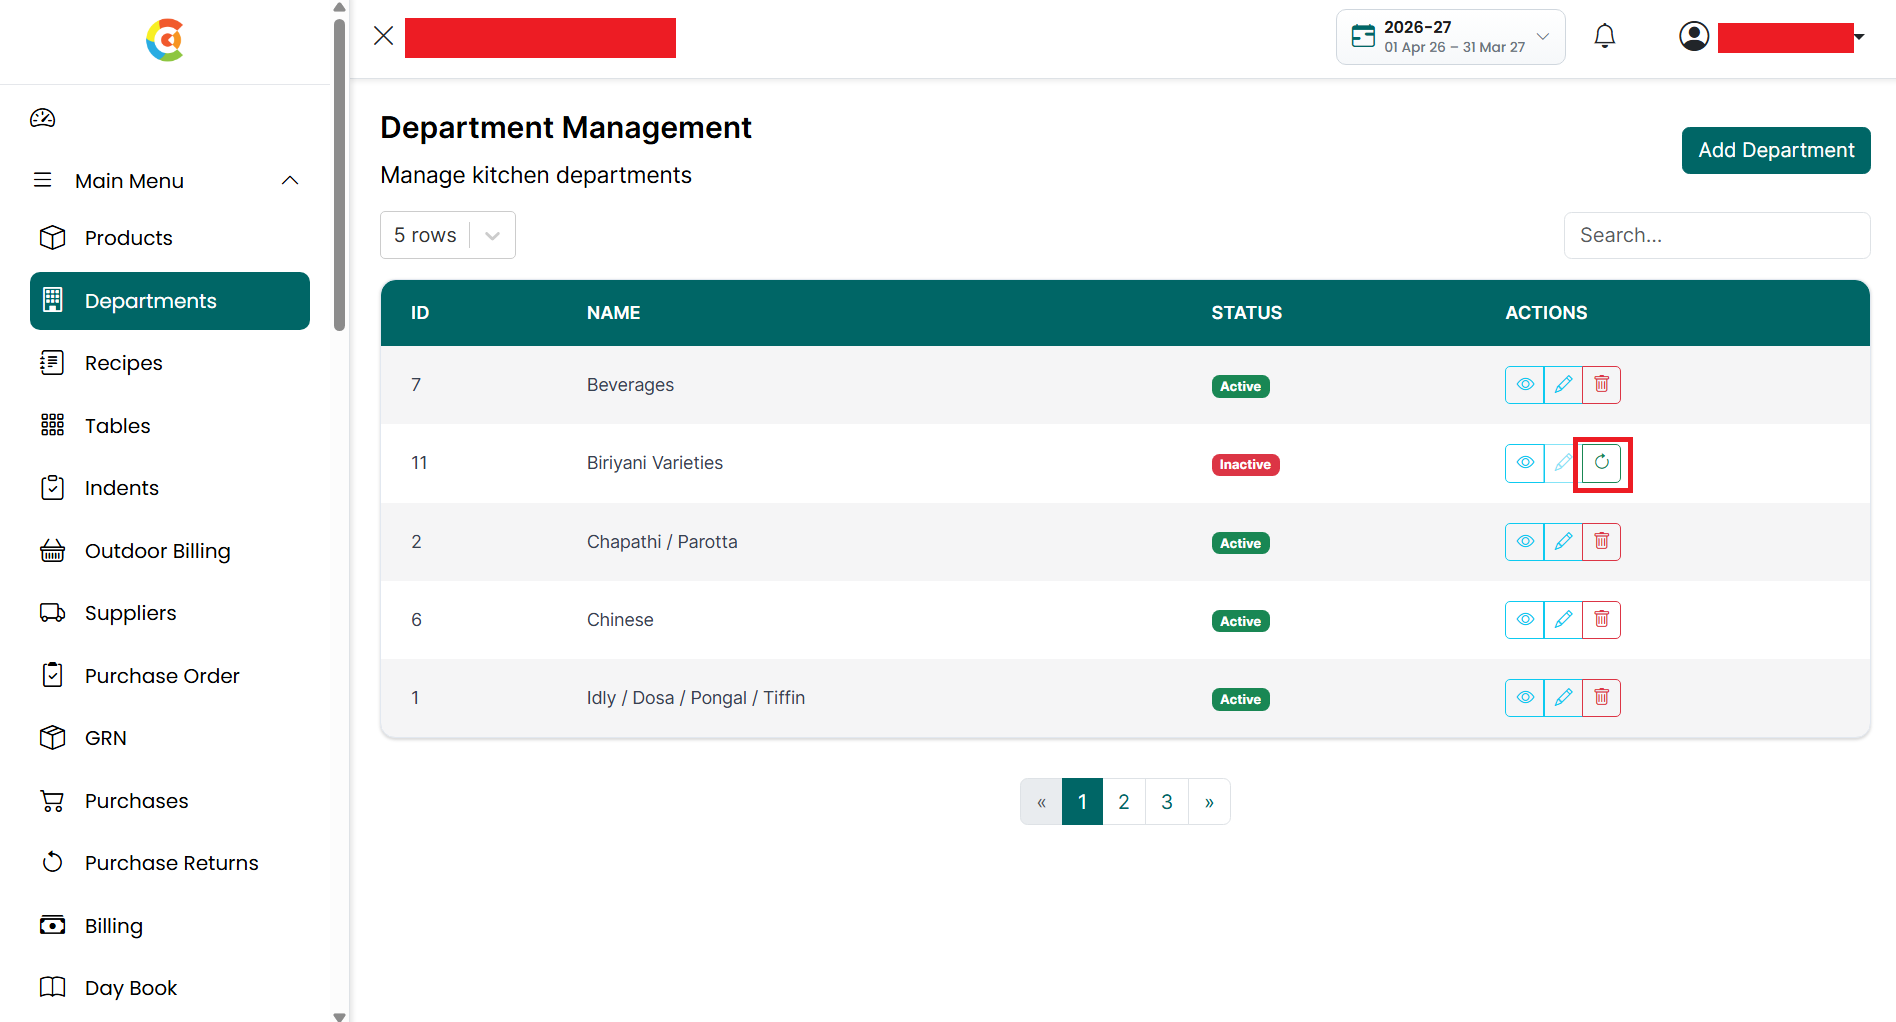
- Retrieve – If a department has been
deleted, the Retrieve icon is displayed instead of the Delete icon. Click
it to restore the department.
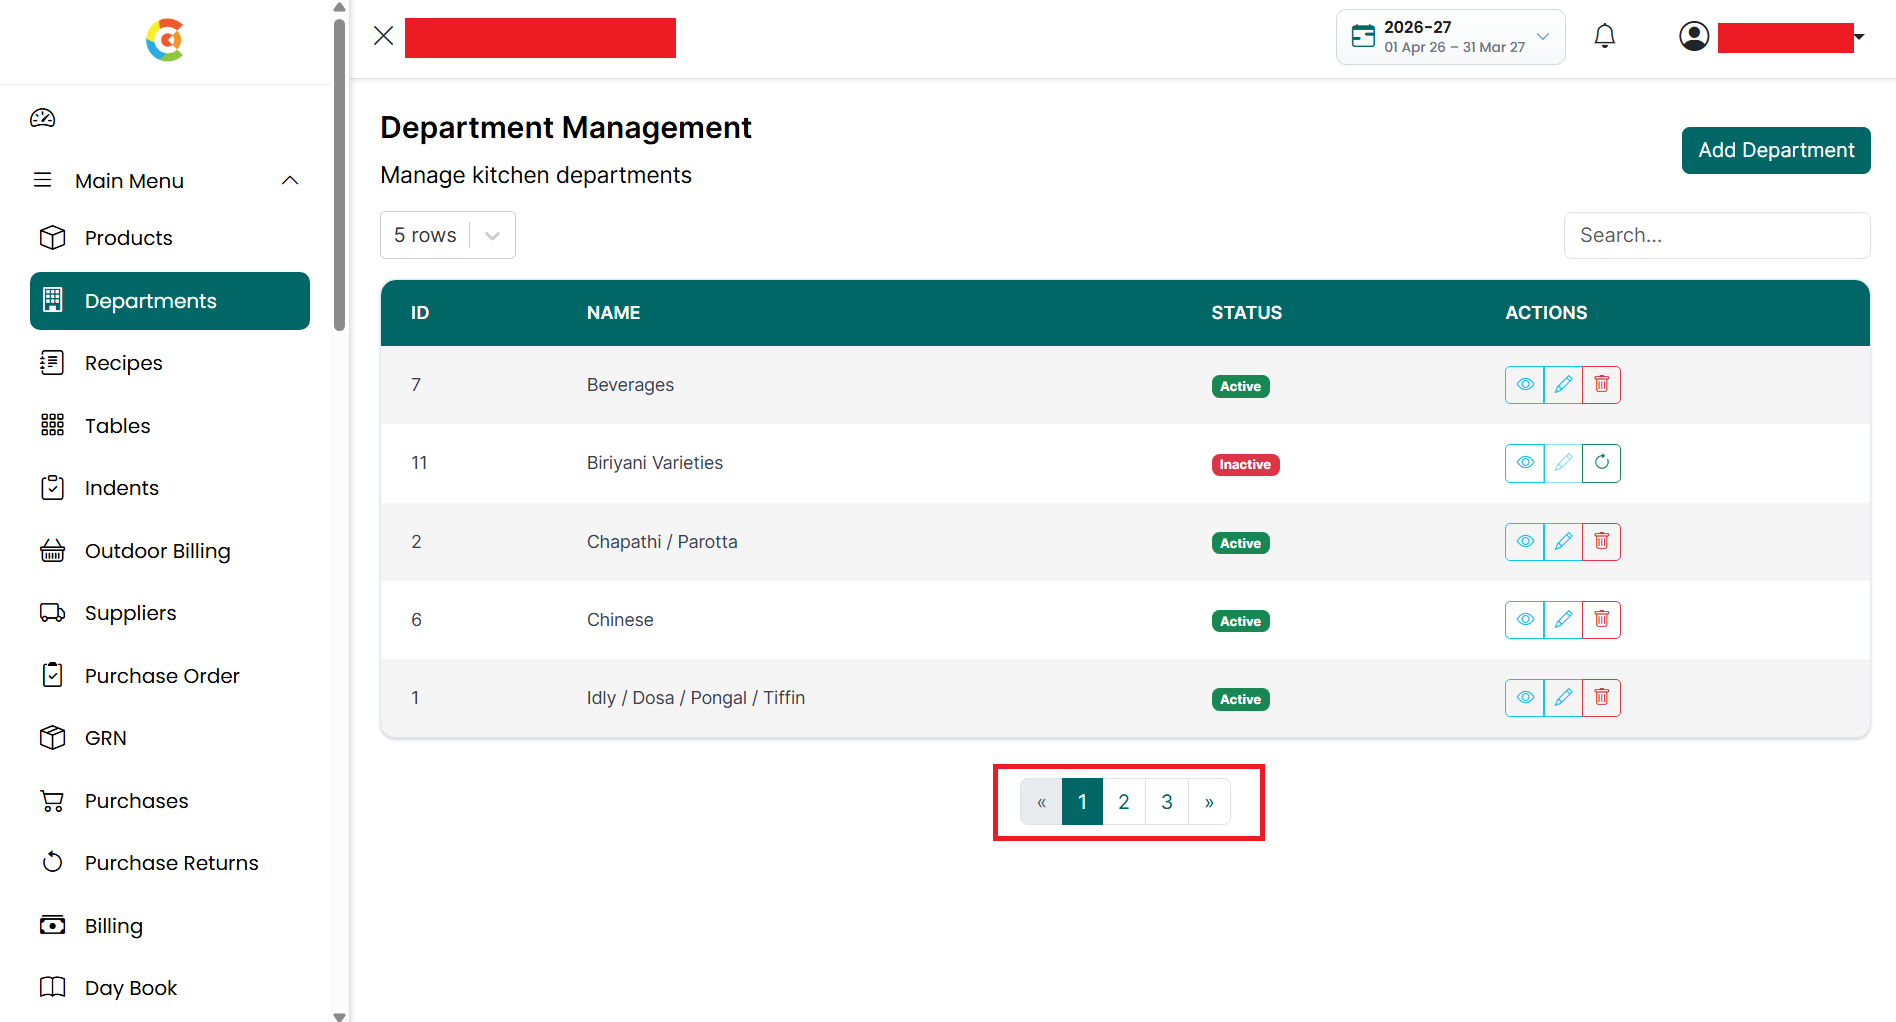
- Pagination
– Use the page numbers or the Previous and Next buttons at the bottom of
the page to move between different pages.
Note: Departments are displayed with the most recently created department shown first.
Add Department
To create a new department, follow the steps below.
- Go
to the Main Menu and click Departments. The Department Listing page is
displayed.
- Click Add Department.
- The Add Department window is
displayed.
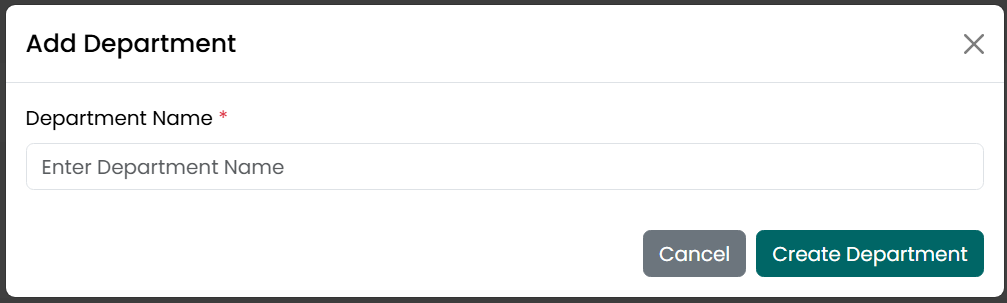
- Enter the Department Name. This field
is required.
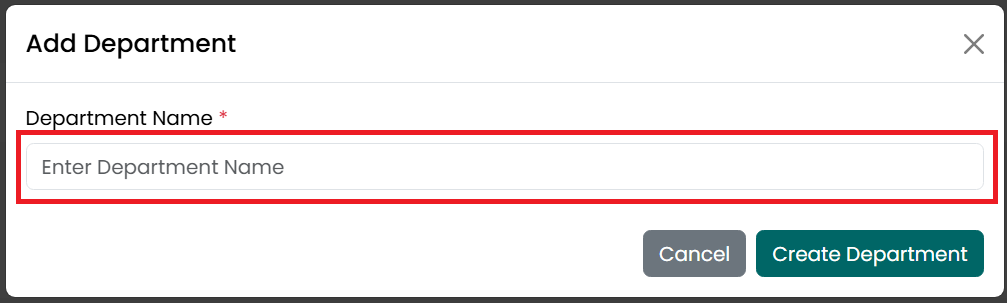
- Each department must have a unique name. Duplicate department names are not allowed.
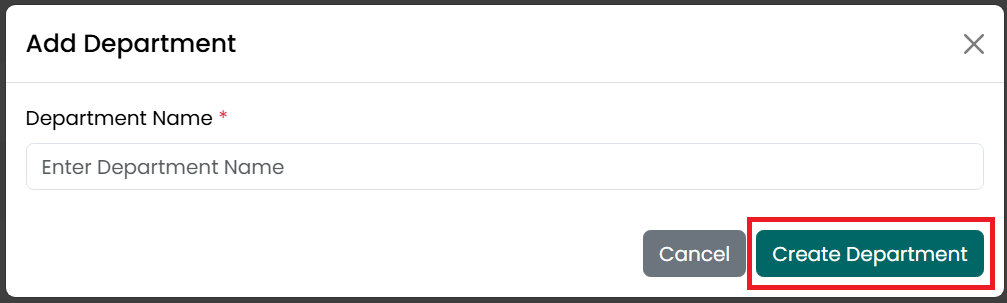
- Click Create Department to save the
department.
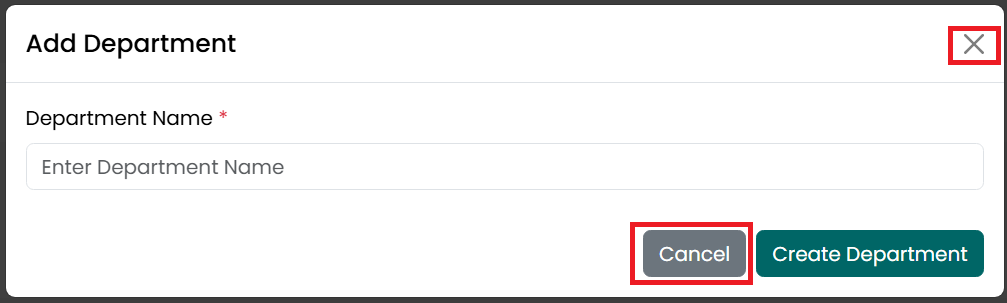
- Click Cancel or the X icon to close
the window without saving.
- After the department is created successfully, a confirmation message is displayed, and the new department appears in the Department Listing page.
View Department
To view the details of a department, follow the steps below.
- Go
to the Main Menu and click Departments. The Department Listing page is
displayed.
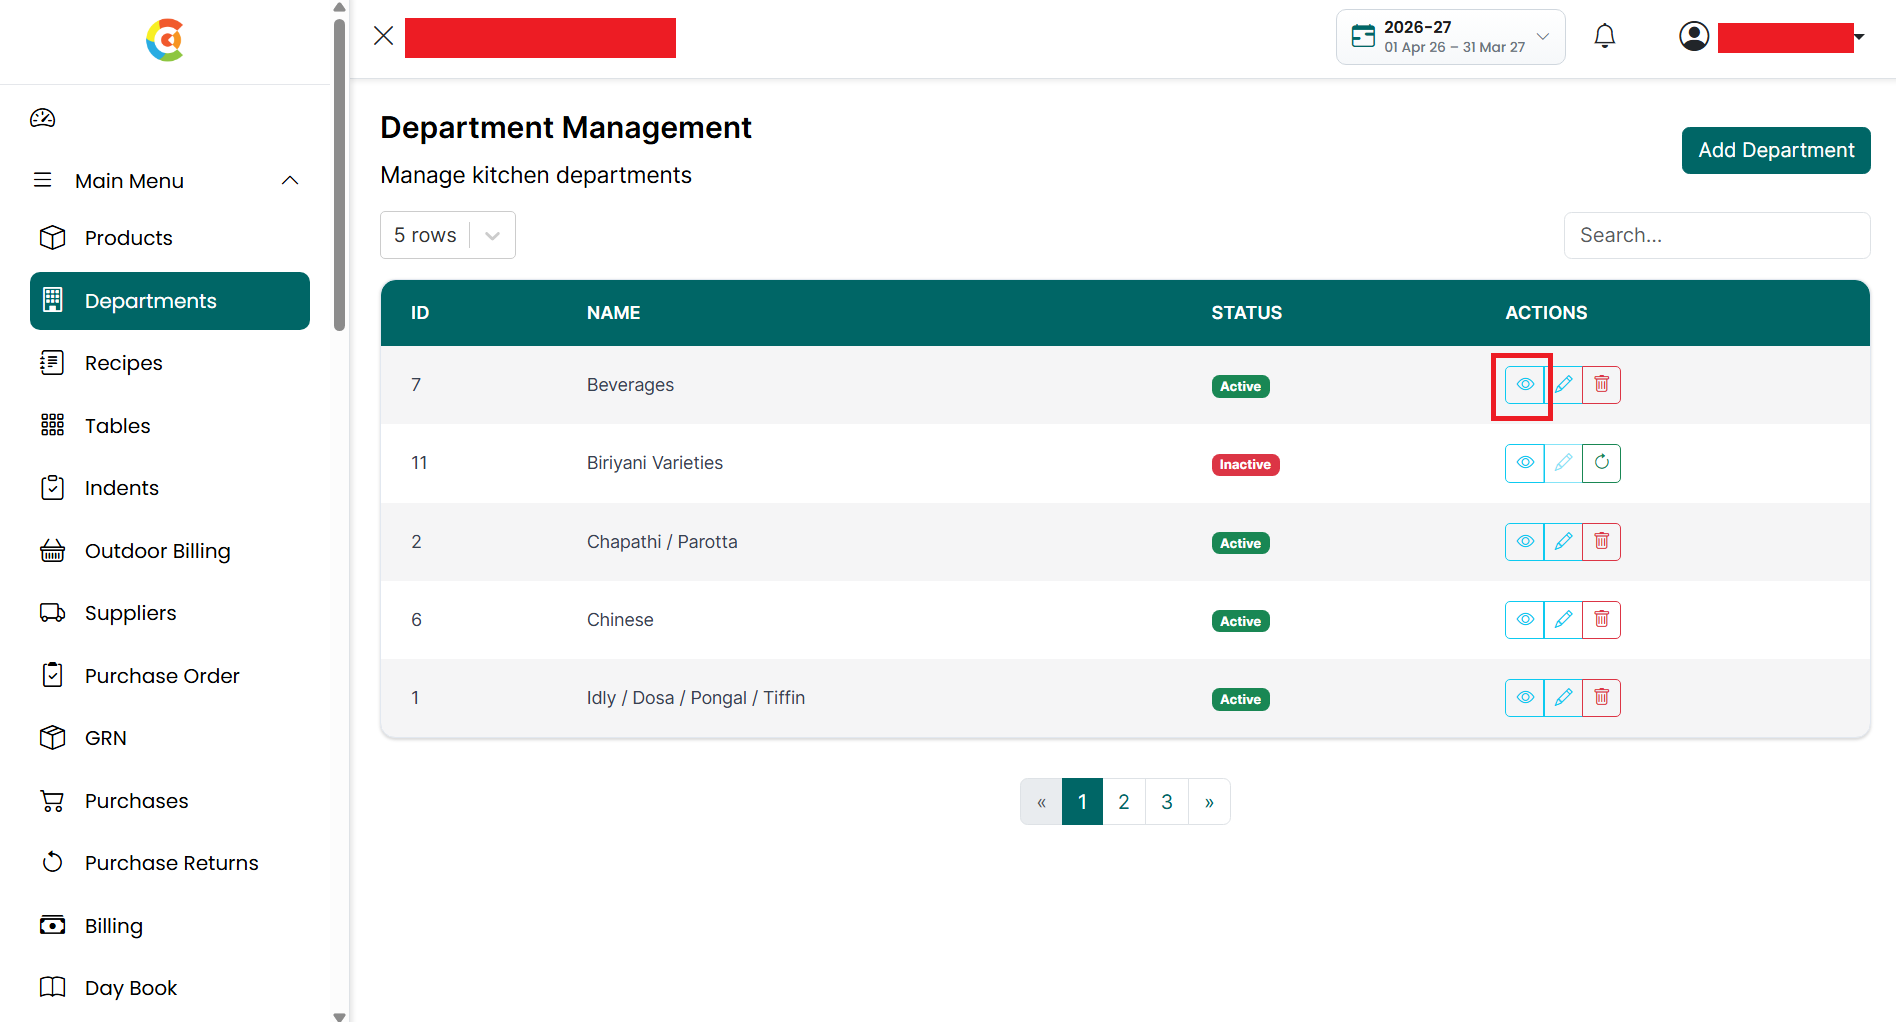
- Find the department you want to view.
- Click the View icon.
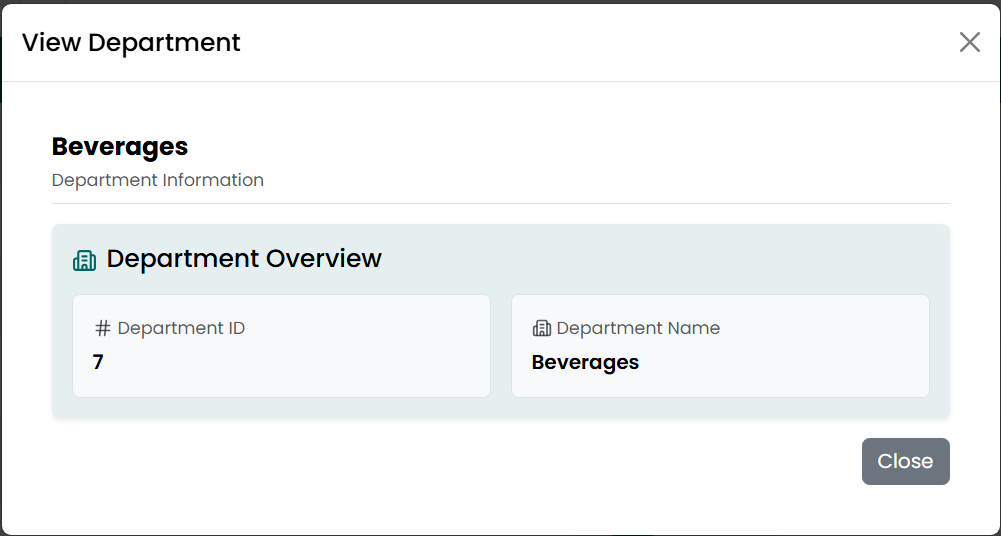
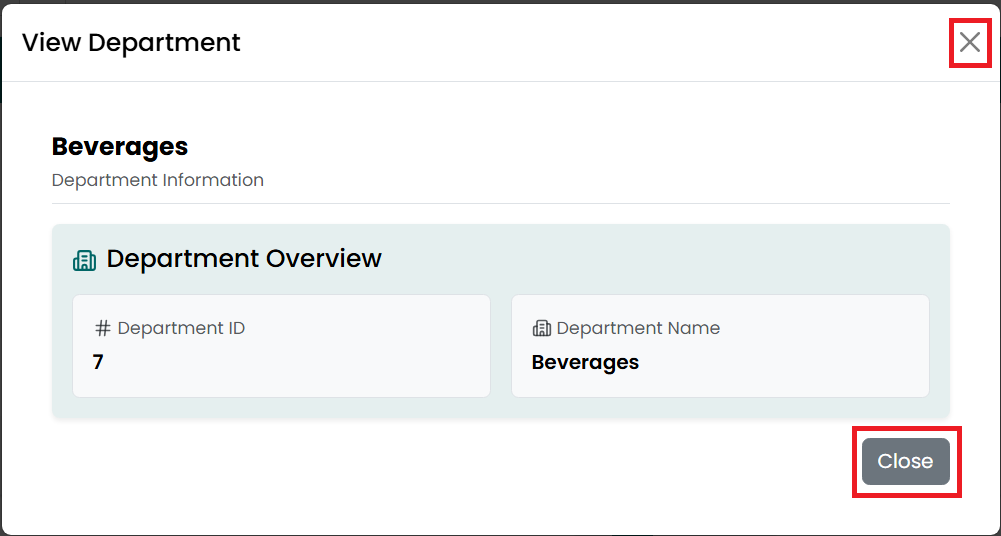
- The View Department window is
displayed.
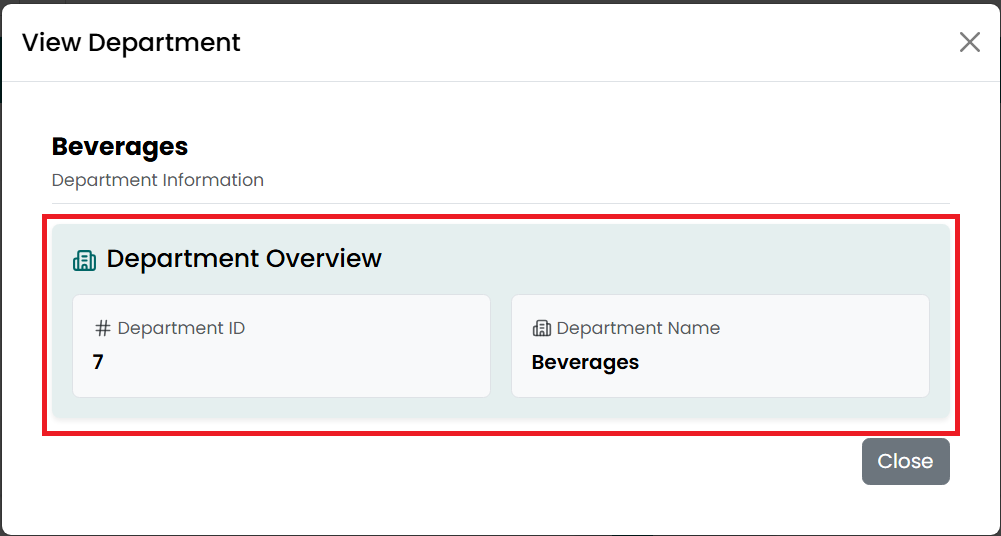
- The following information is available:
• Department Information
■ Department ID
■ Department
Name
- Click
Close or the X icon to return to the Department Listing page.
Edit Department
To update an existing department, follow the steps below.
- Go
to the Main Menu and click Departments. The Department Listing page is
displayed.
- Find the department you want to edit.
- Click the Edit icon.
- The Edit Department window is
displayed with the existing department details.
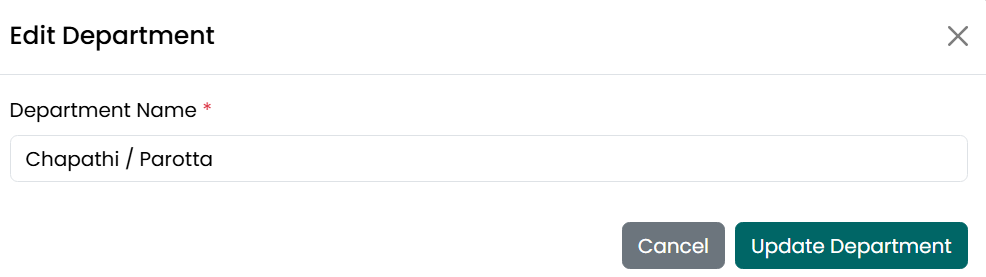
- Update the Department Name, if
required.
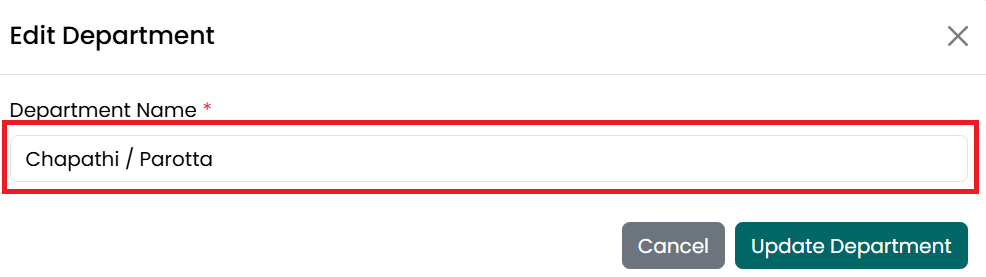
- The department name must remain unique. Duplicate department names are not allowed.
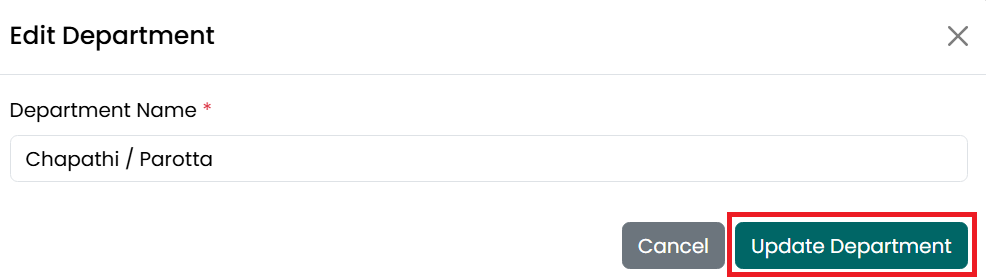
- Click Update Department to save the
changes.
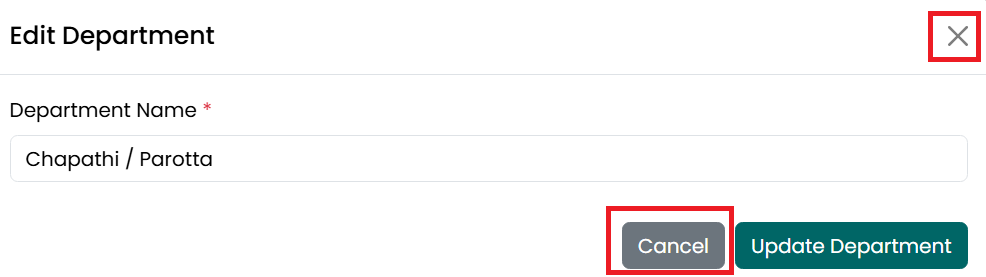
- Click Cancel or the X icon to close
the window without saving.
- After the department is updated successfully, a confirmation message is displayed, and the updated information appears in the Department Listing page.
Delete Department
To delete a department, follow the steps below.
- Go
to the Main Menu and click Departments. The Department Listing page is
displayed.
- Find the department you want to delete.
- Click the Delete icon.
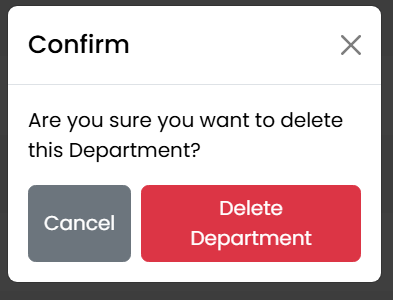
- A confirmation message is displayed
asking if you want to delete the department.
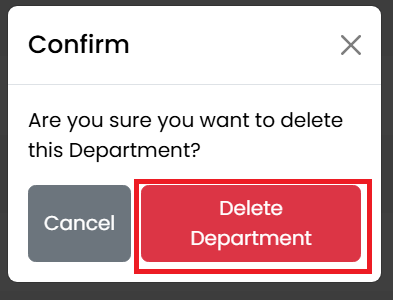
- Click Delete Department to confirm
the deletion.
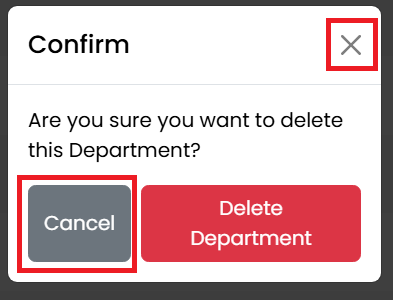
- Click Cancel or the X icon to close
the confirmation window without deleting the department.
- After the department is deleted successfully, a confirmation message is displayed. The department remains visible in the Department Listing page with a Retrieve option. A deleted department cannot be edited or viewed in other parts of the application until it is restored.
Retrieve Department
To restore a deleted department, follow the steps below.
- Go
to the Main Menu and click Departments. The Department Listing page is
displayed.
- Find the deleted department.
- Click the Retrieve icon.
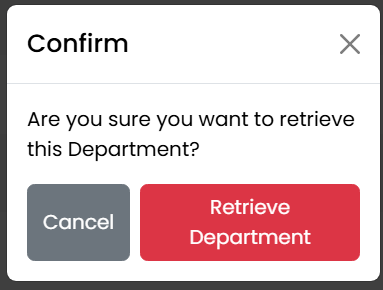
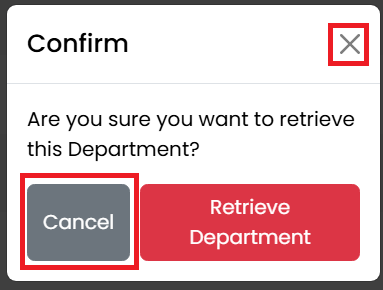
- A confirmation message is displayed
asking if you want to restore the department.
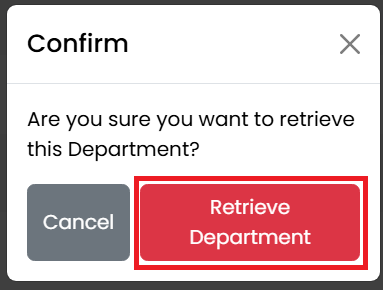
- Click Retrieve Department to restore
the department.
- Click Cancel or the X icon to close
the confirmation window without restoring the department.
- After the department is restored successfully, a confirmation message is displayed. The department becomes active again and can be selected and used throughout the application.