Indent Management
Indent Listing Page
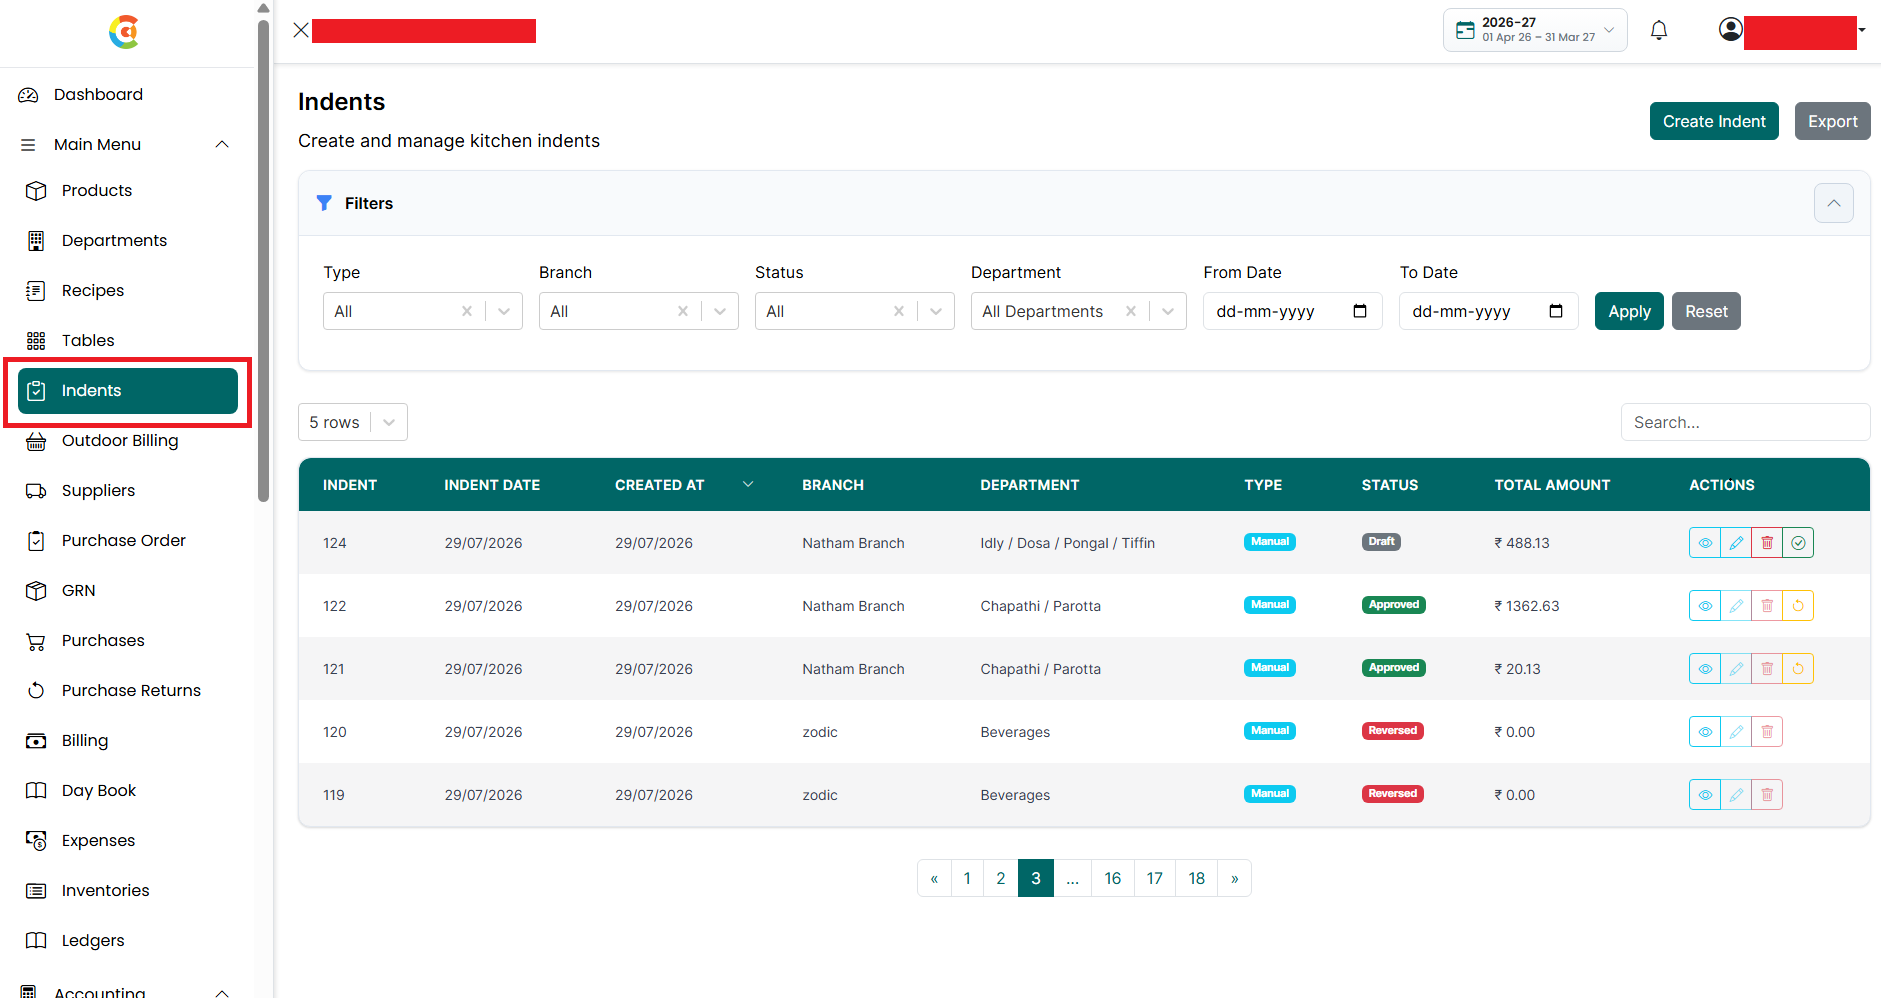
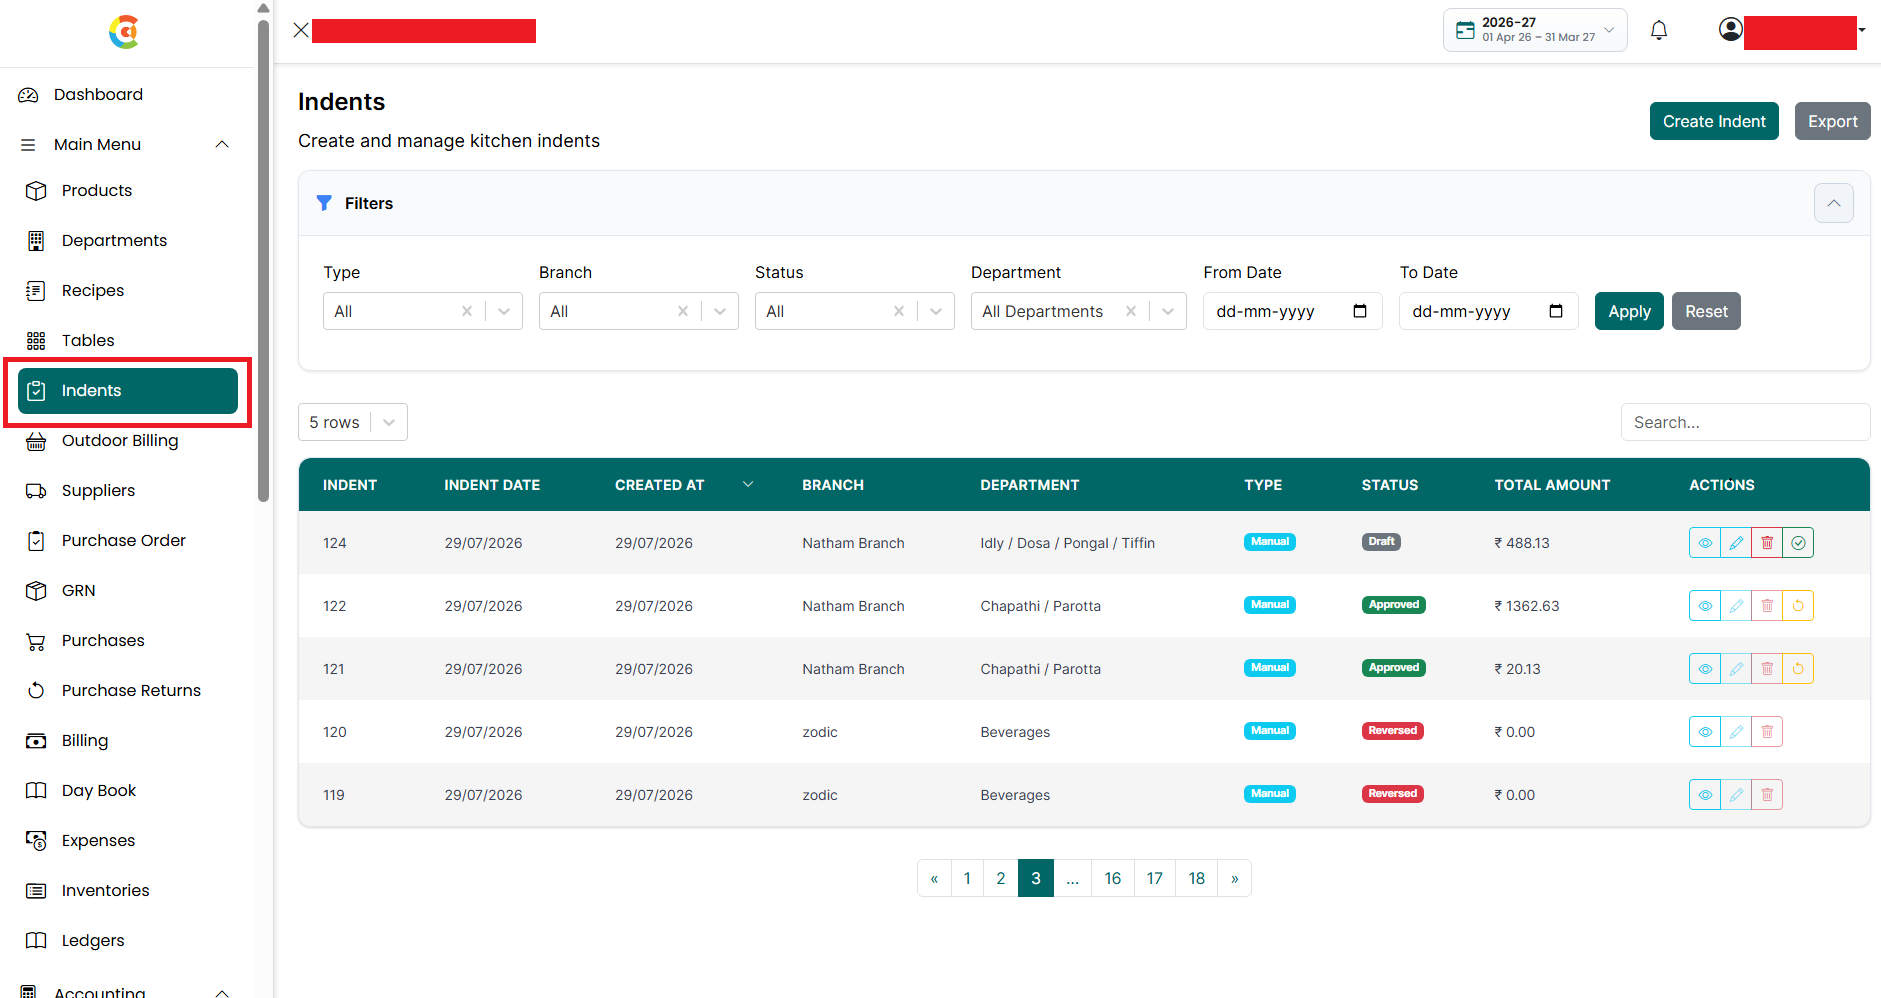
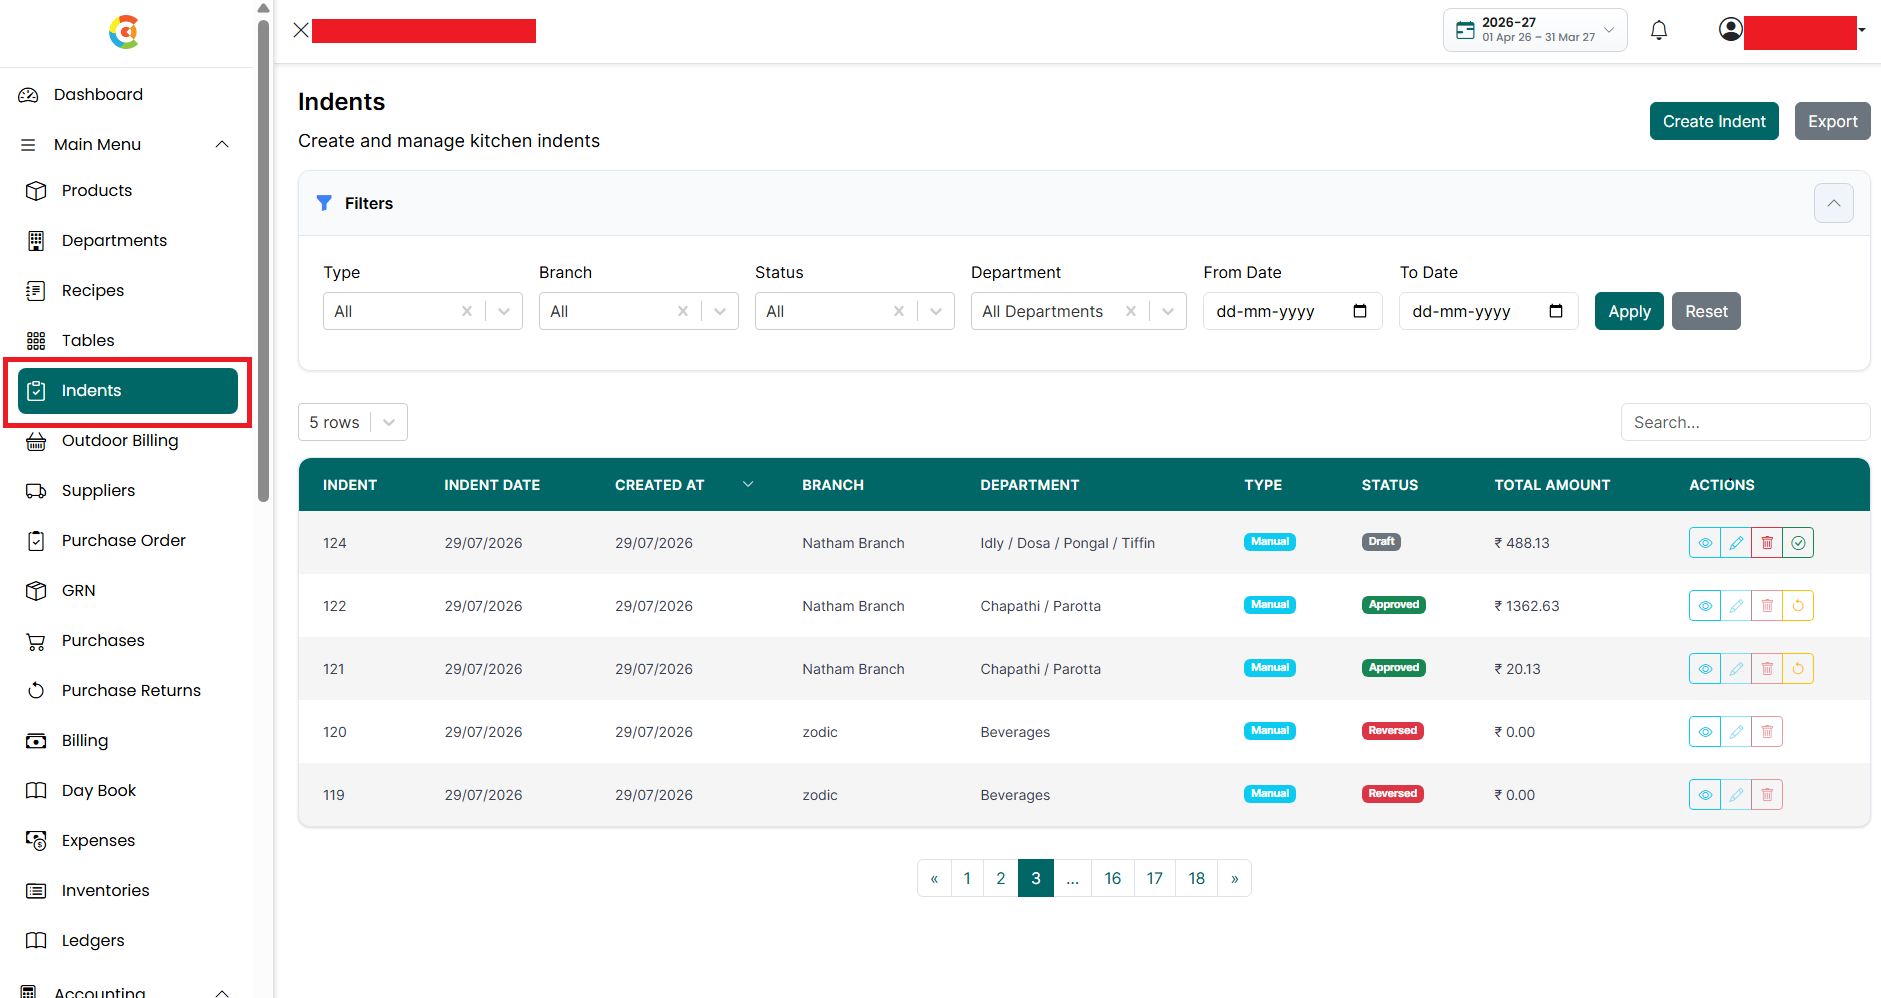
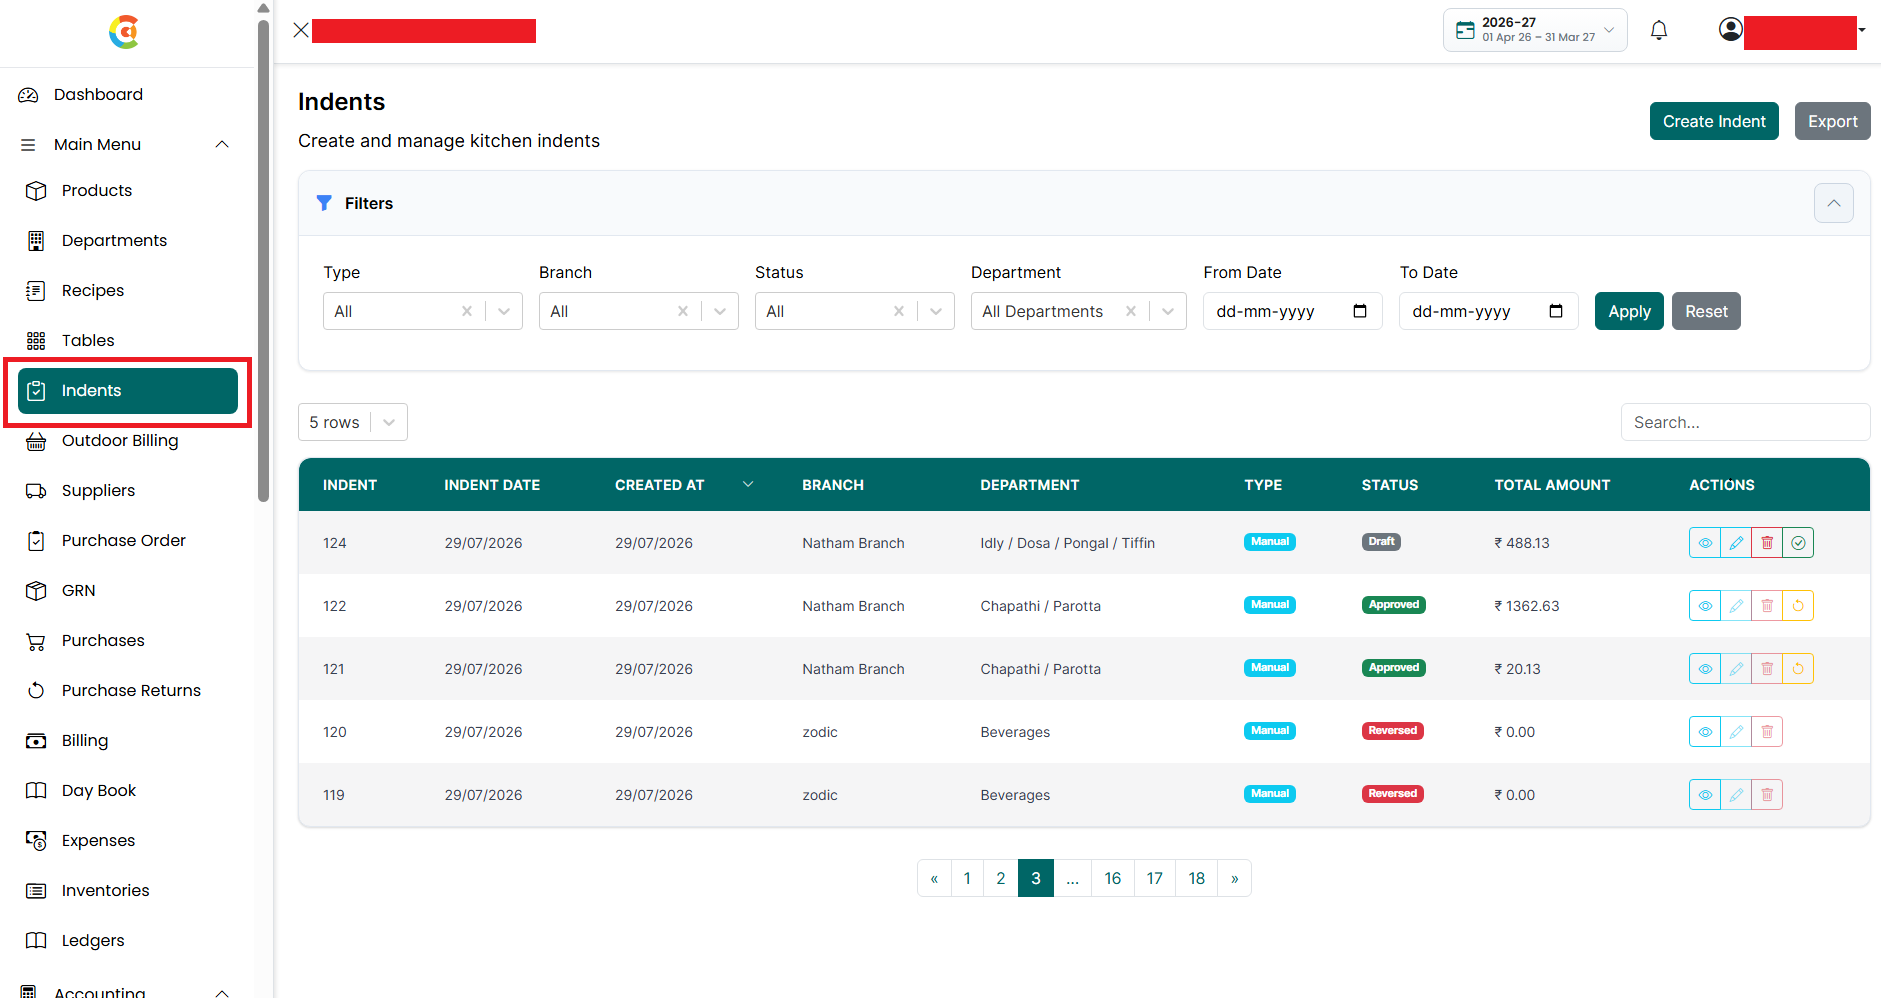
The Indent List page displays all kitchen indents created in the application along with their indent number, date, branch, department, creation mode, status, and total amount.
From this page, you can:
- Create a new indent.
- View indent details.
- Edit existing indents.
- Delete or restore indents.
- Reverse approved indents.
- Export the Indent Usage Report.
- Search and filter indents.
Kitchen indents are used to request raw materials from inventory for a specific department. Once an indent is approved, the requested quantities are issued from inventory and the stock is updated automatically.
The page also displays the current workflow status of each indent:
- Approved - The indent has been approved and the requested raw materials have been issued from inventory.
- Reversed - The approved indent has been reversed and the issued stock has been returned to inventory.
To open the Indent Listing page, follow the steps below.
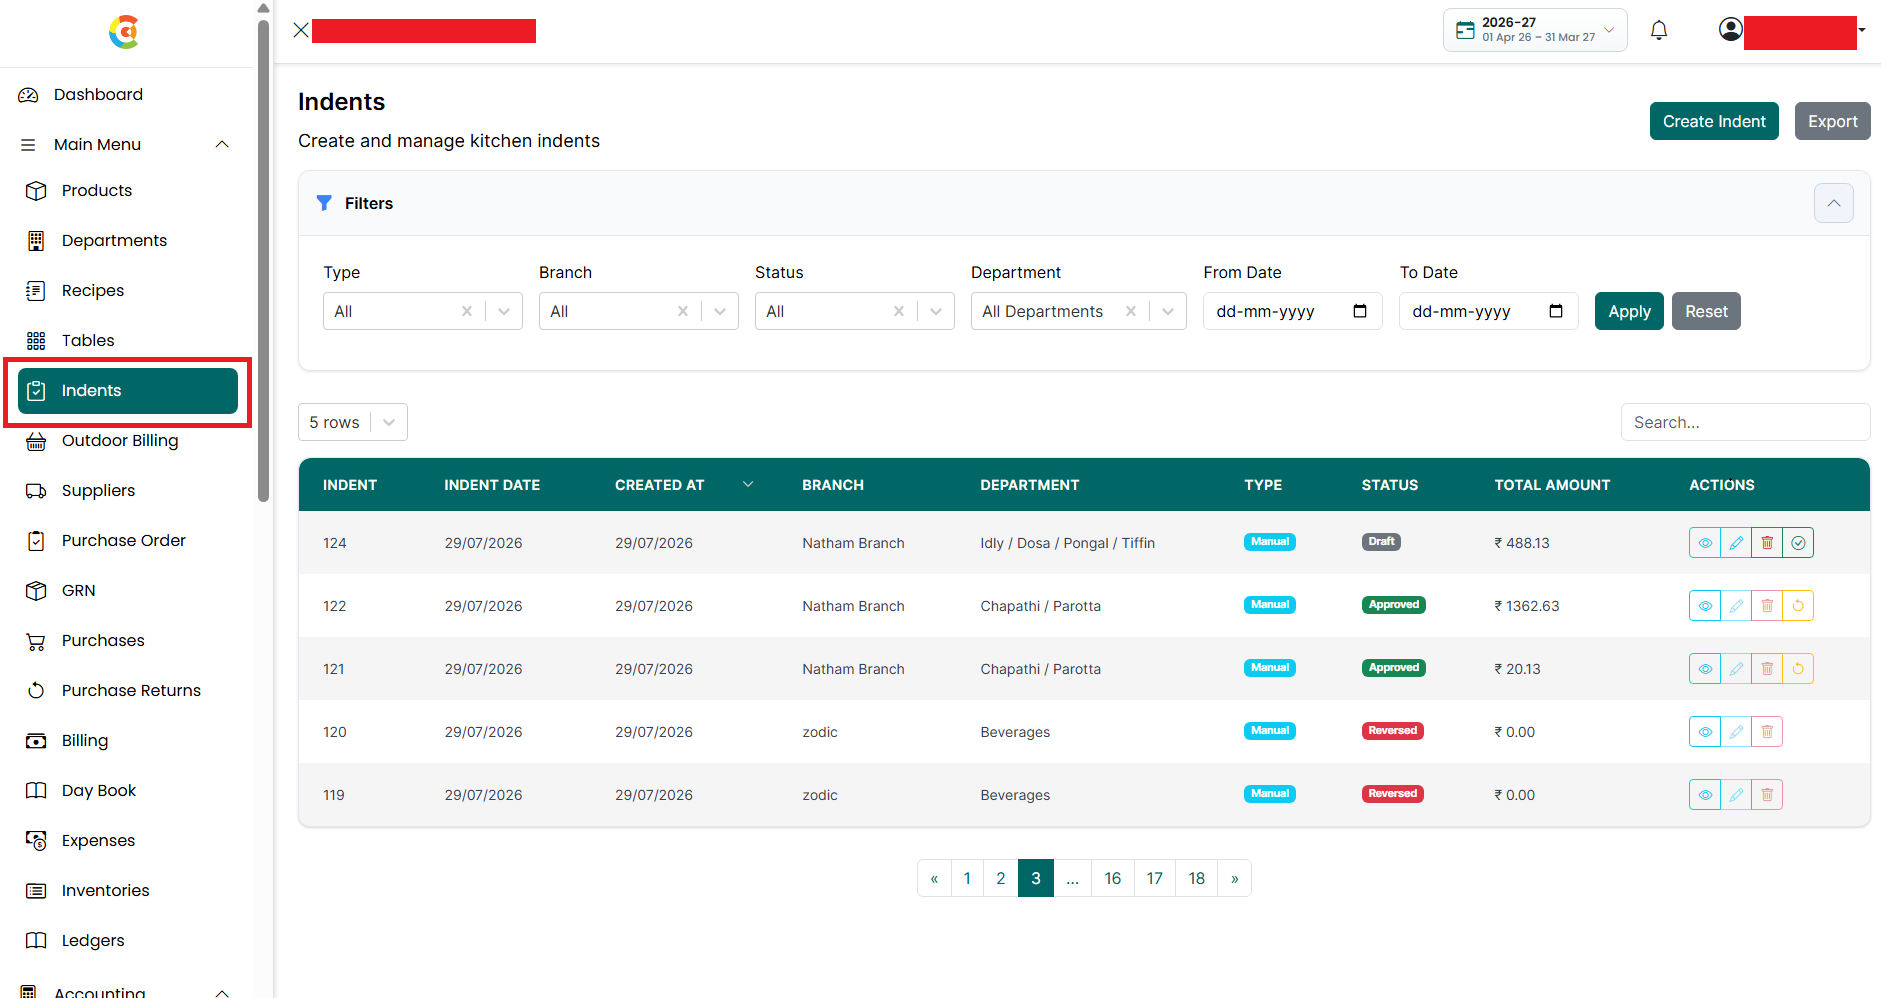
- Go to the Main Menu. Click Indents.
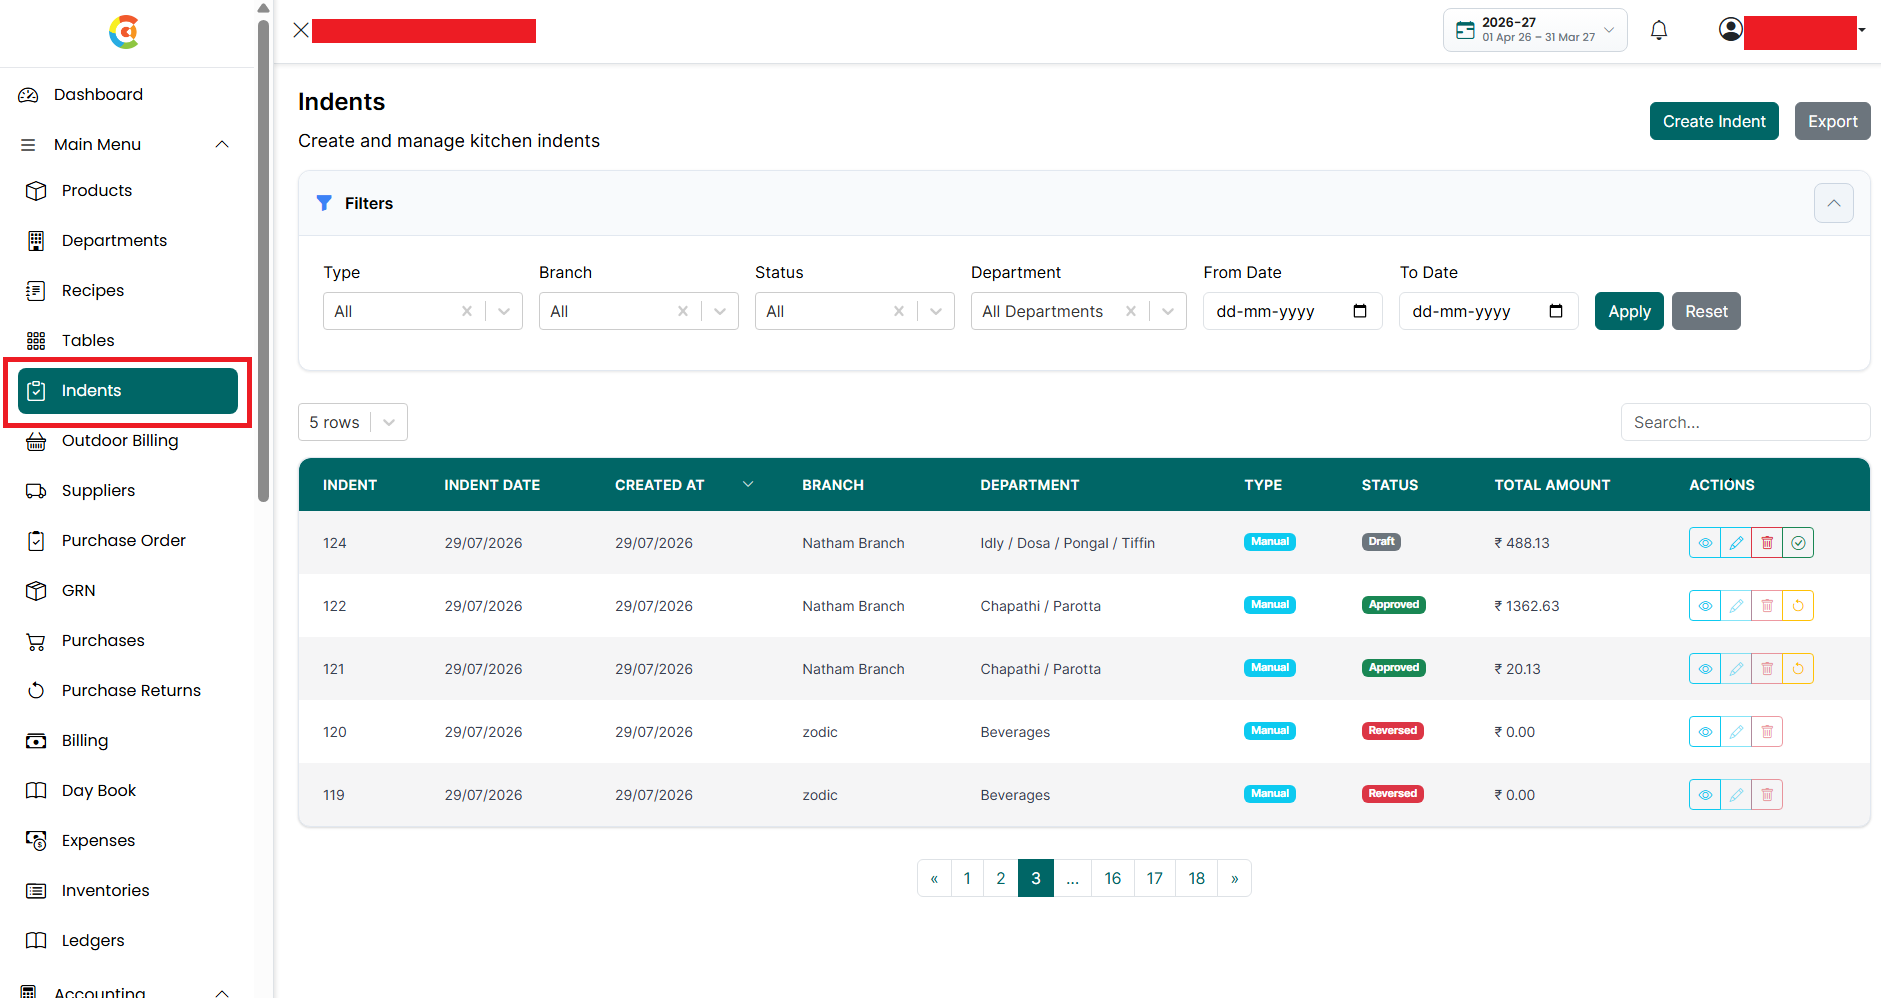
- The Indent Listing page is displayed.
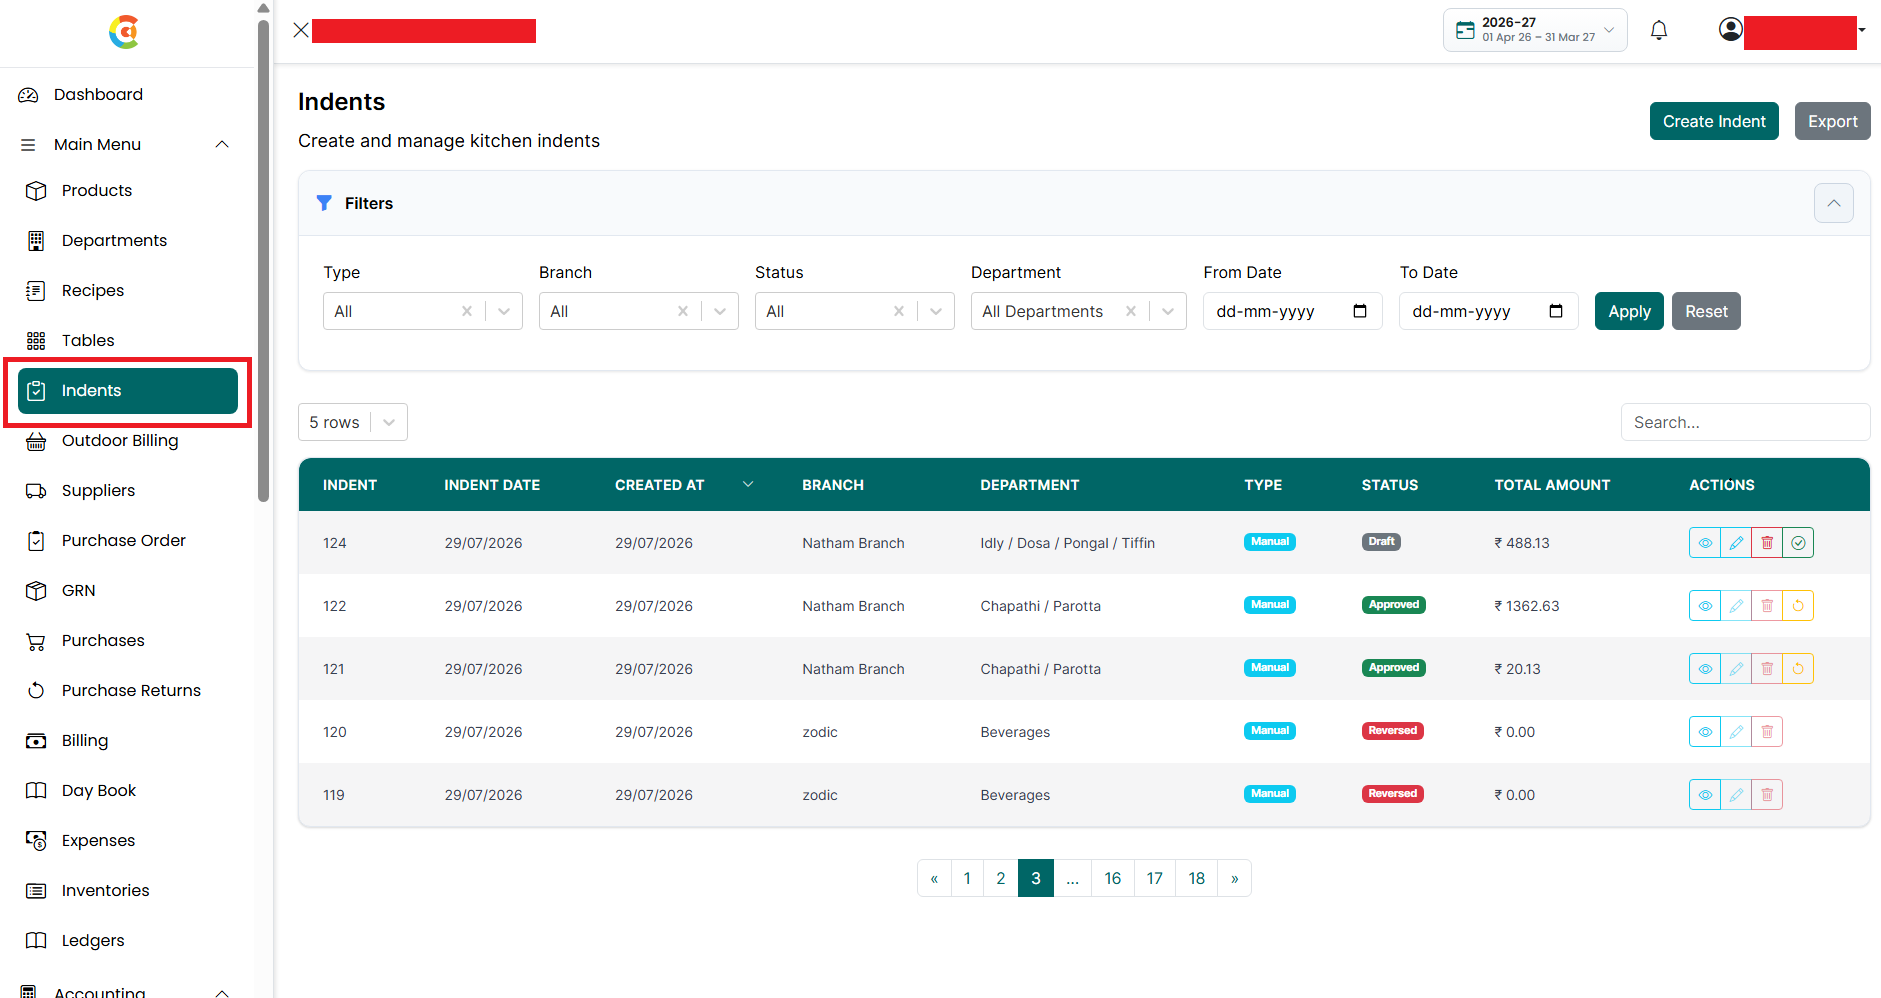
The page includes the following sections:
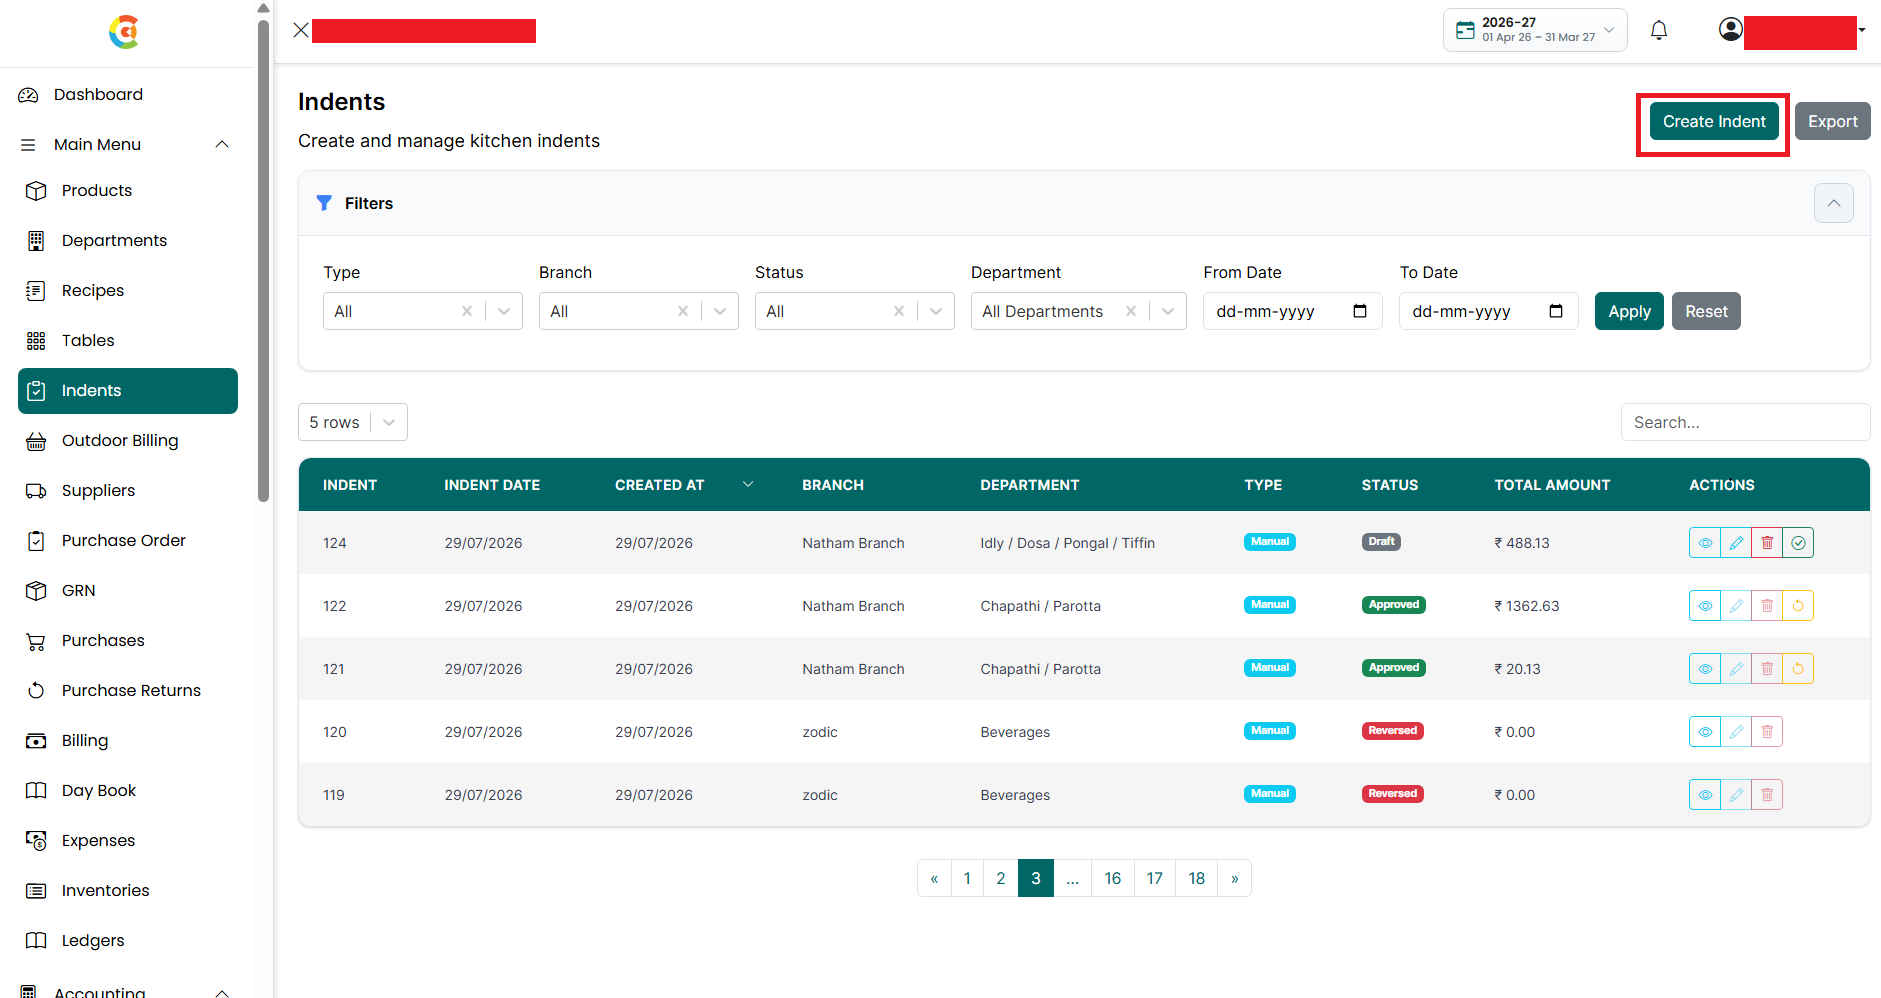
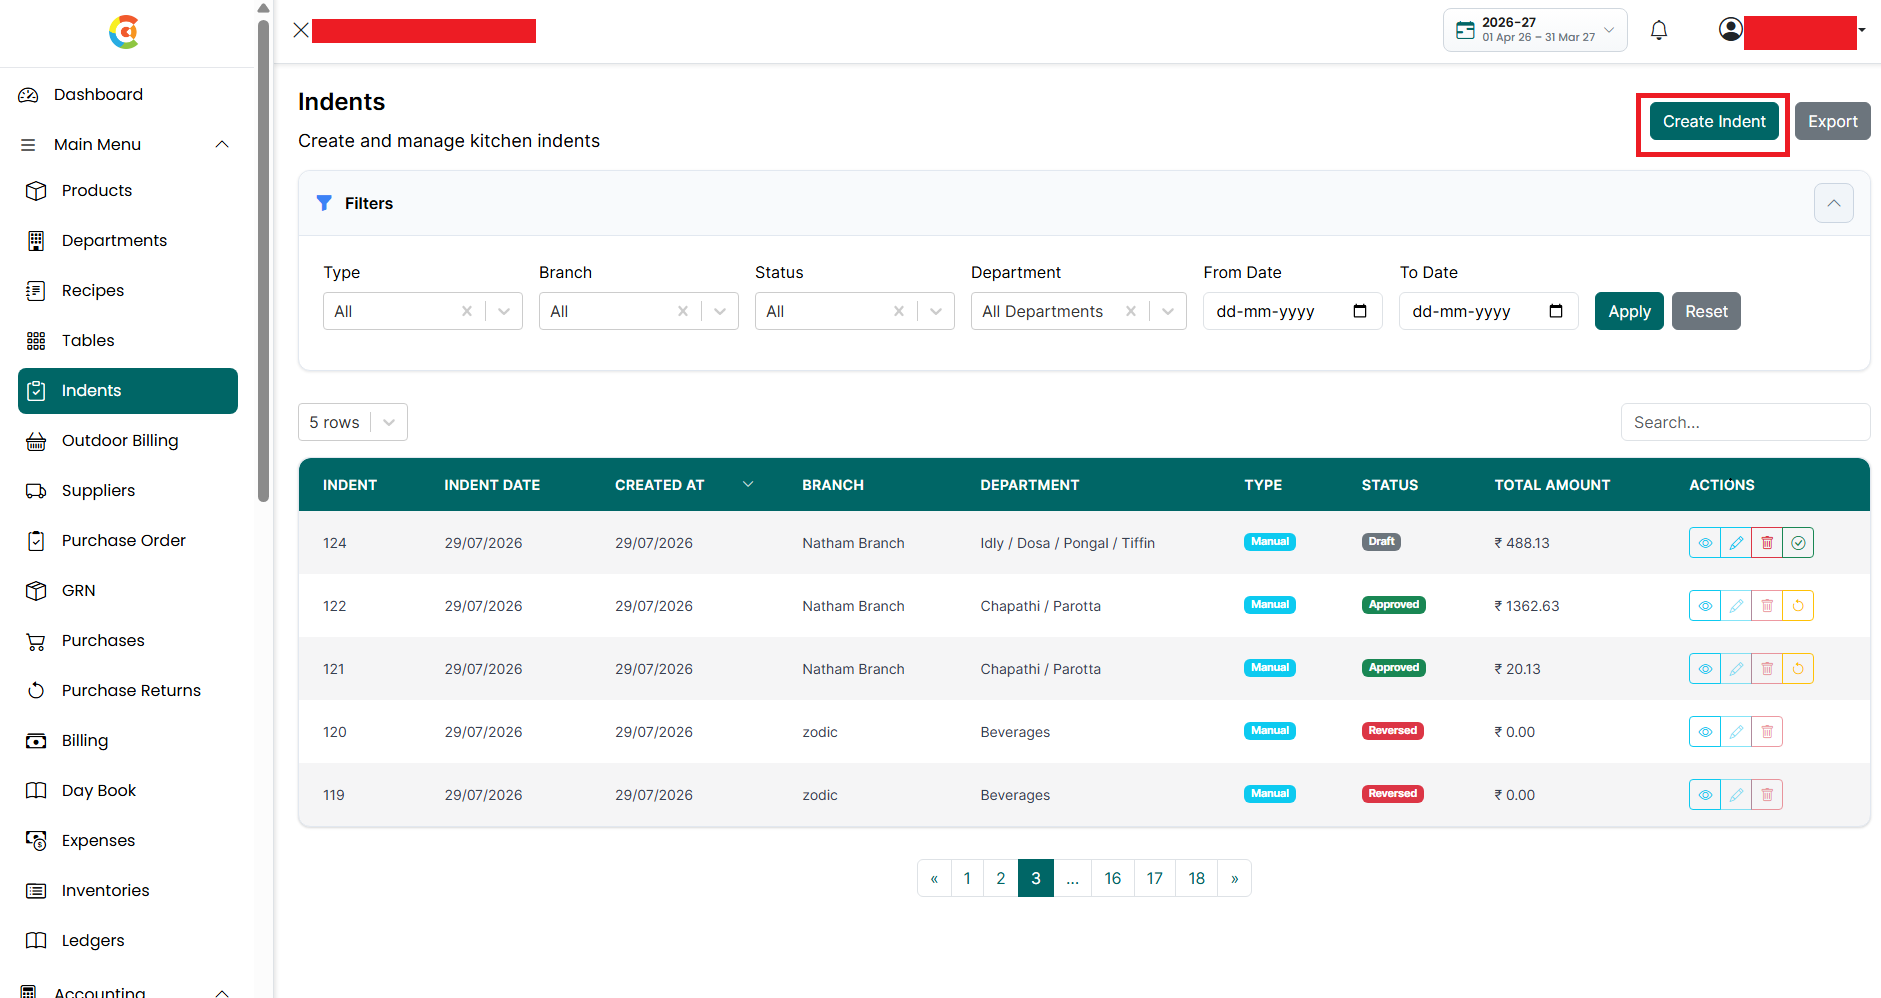
- Create Indent - Click the Create Indent button to create a new indent.
- Filters - Filter the indent list using one or more of the following options:
- Type - Select the indent creation type, such as Manual or Template.
- Branch - Select a specific branch.
- Status - Select an indent status, such as Draft, Approved, Reversed, or other available statuses.
- Department - Select a specific department.
- From Date - Select the starting date.
- To Date - Select the ending date.
- Apply - Click to apply the selected filters.
- Reset - Click to remove all selected filters and display the complete indent list.
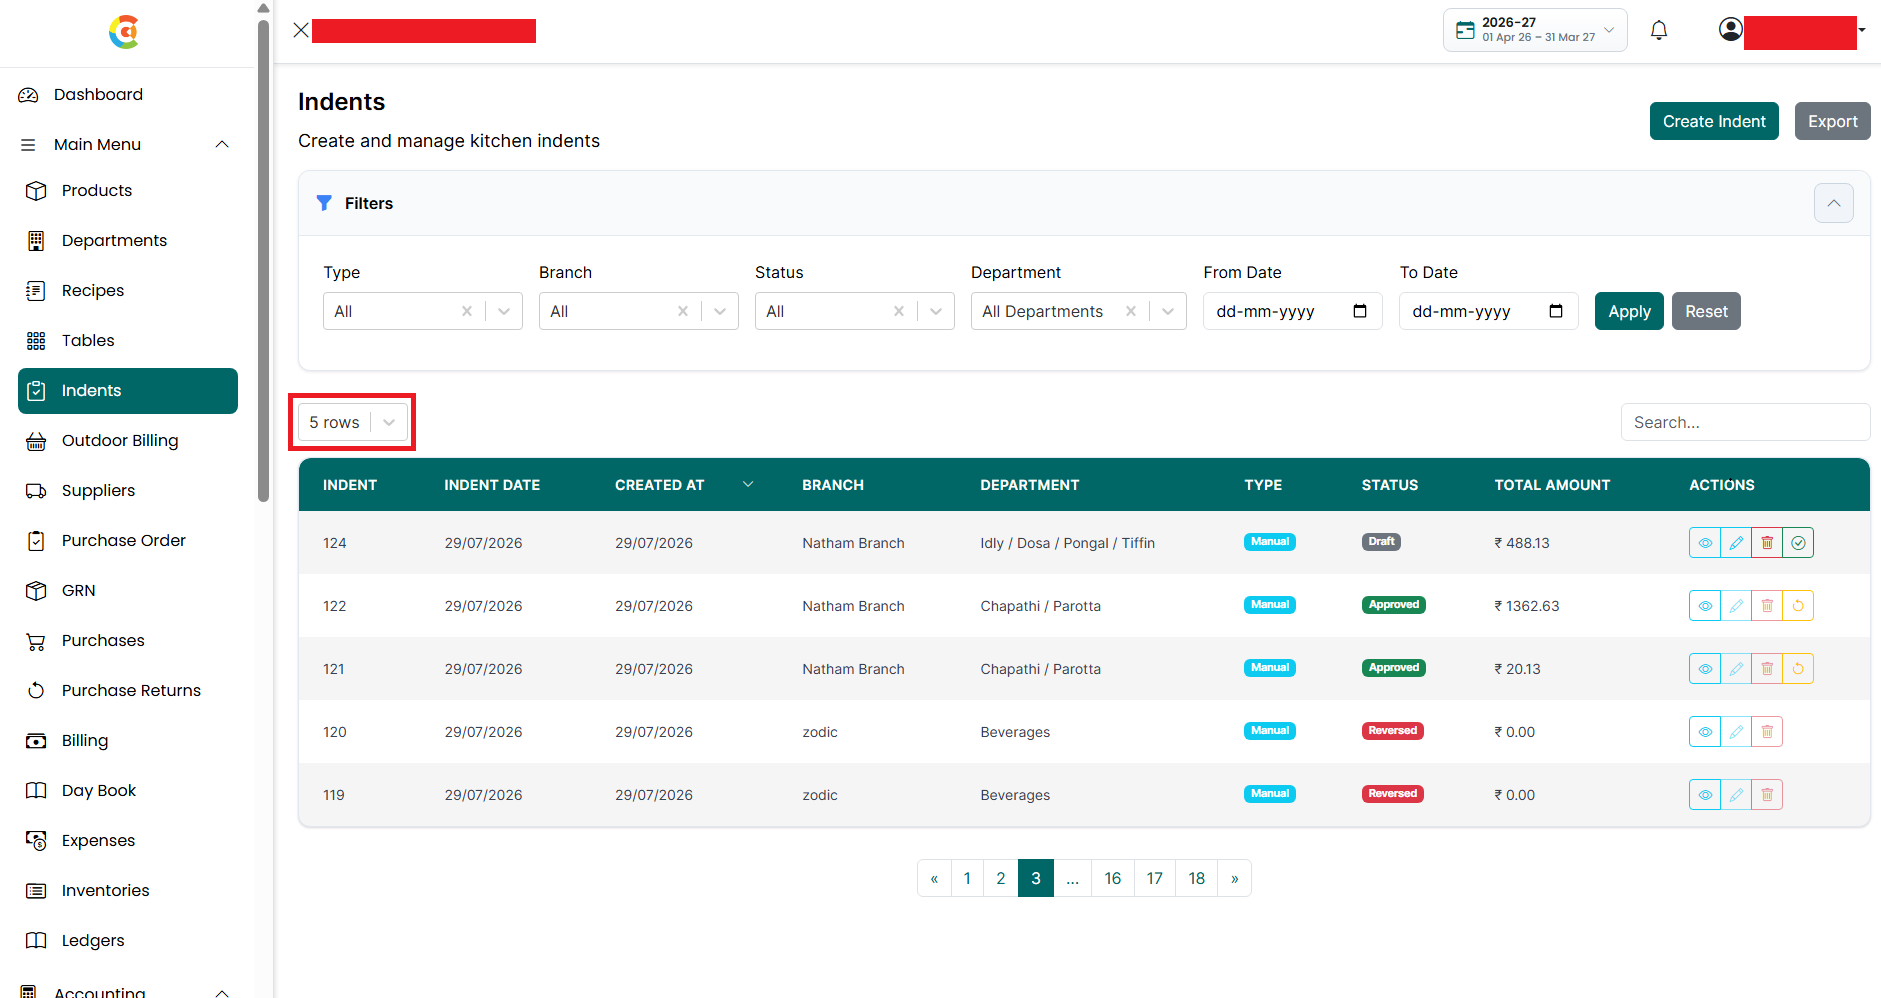
- Rows Per Page - Select how many indent records you want to display on a single page.
- Search - Enter the indent number, branch, department, or other available information to quickly find an indent.
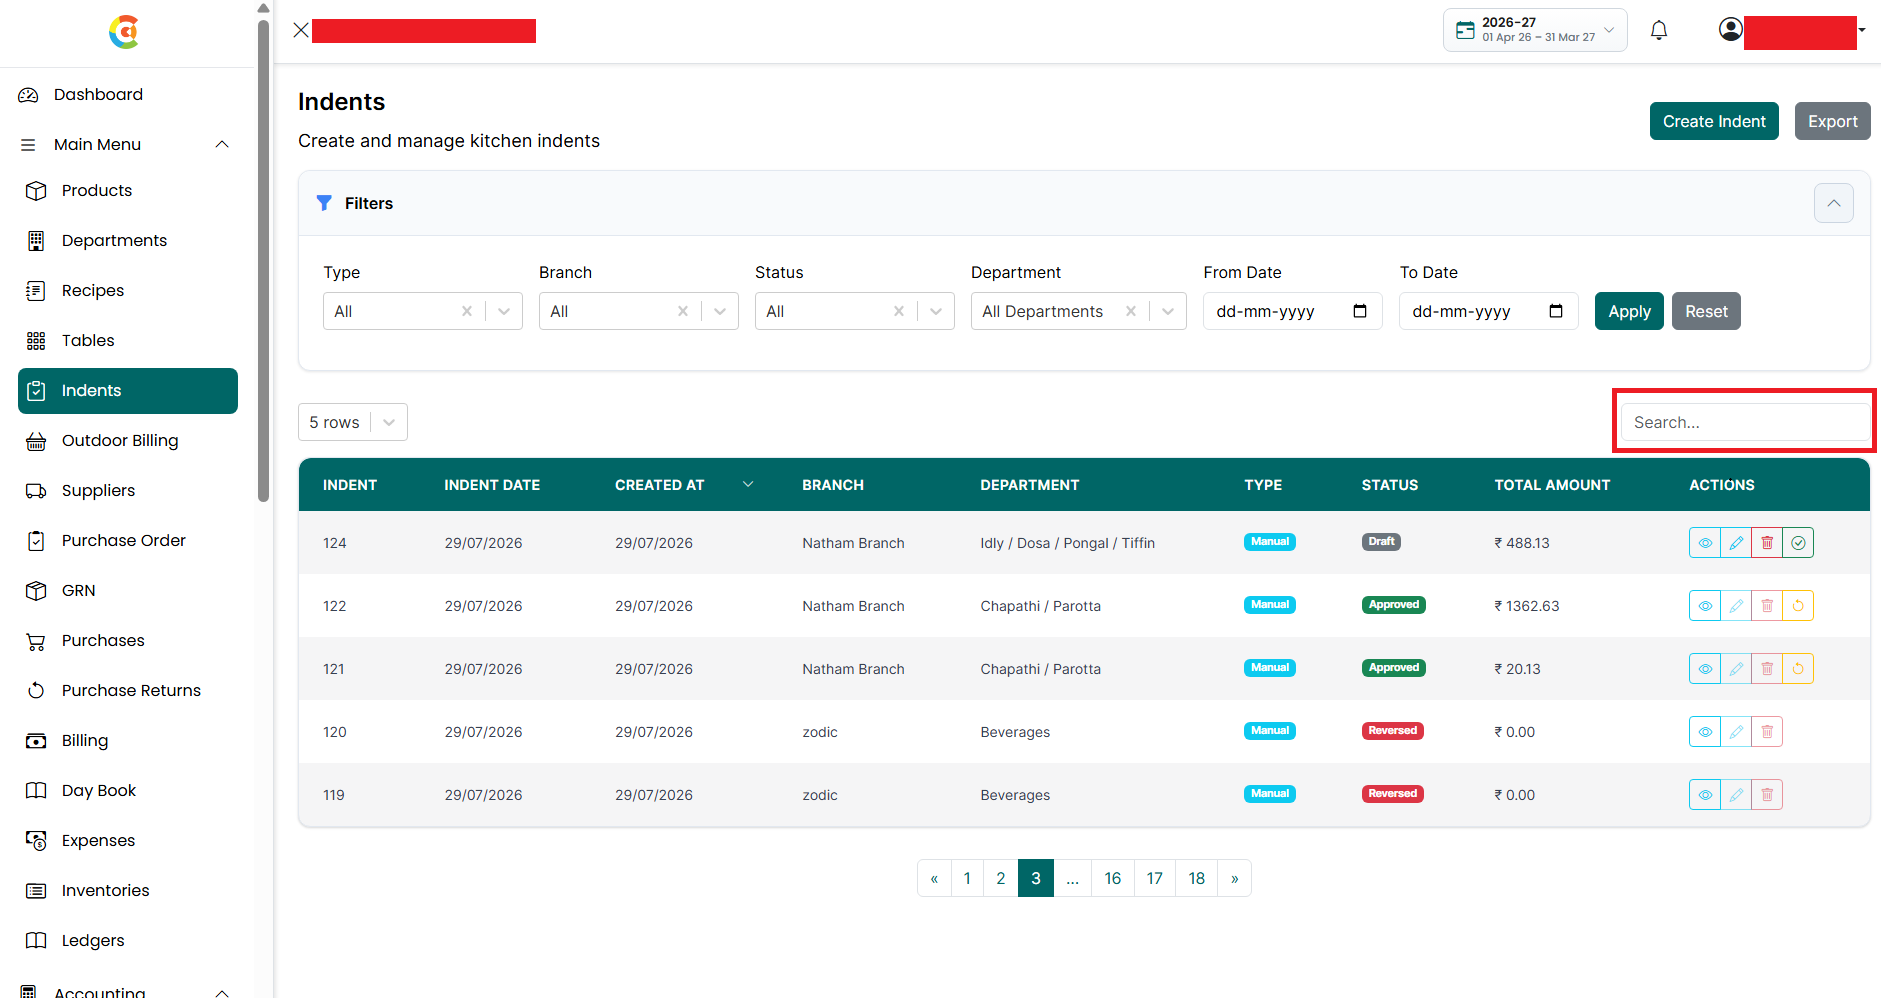
- The indent list displays the following information for each indent:
- Indent - Displays the unique indent number.
- Indent Date - Displays the date selected for the indent.
- Created At - Displays the date on which the indent was created in the application.
- Branch - Displays the branch for which the indent was created.
- Department - Displays the department requesting the raw materials.
- Type - Displays how the indent was created.
- Manual - Manual mode allows users to create an indent by manually selecting the required raw materials and entering the required quantities without using a saved template or predefined menu items. This mode is useful when the required ingredients vary from day to day or when preparing special dishes that are not part of a standard menu.
- Template - A Template allows you to save a commonly used set of menu items and their quantities so they can be reused when creating future indents. Instead of selecting the same menu items and entering their quantities every time, you can create an indent using a saved template. The system automatically loads the predefined menu items and calculates the required raw materials based on the configured recipes, making indent creation faster and more consist
- Status - Displays the current indent status.
- Draft - The indent has been created but not yet approved.
- Approved - The indent has been approved and the requested stock has been deducted from inventory.
- Reversed - The approved indent has been reversed and the deducted stock has been returned to inventory.
- Total Amount - Displays the total value of the raw materials included in the indent.
- Actions - Displays the actions available for each indent.
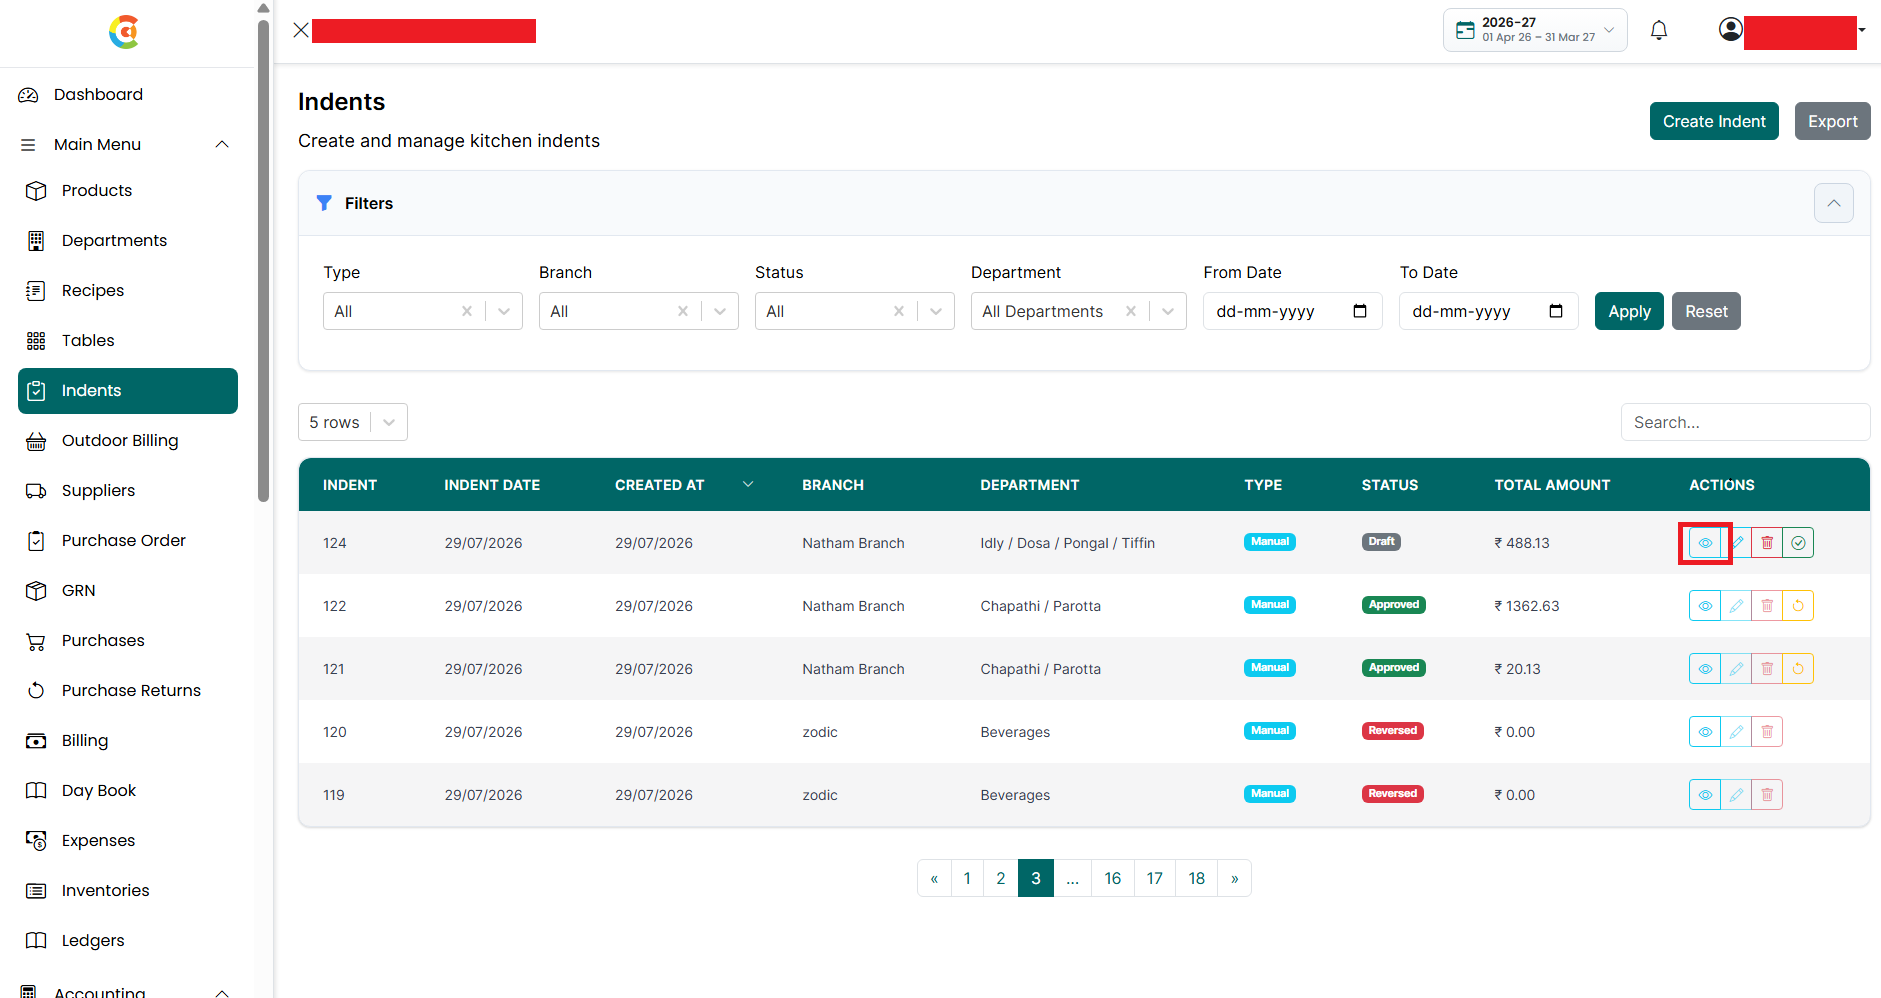
- View - Click the View icon to see the complete indent details.
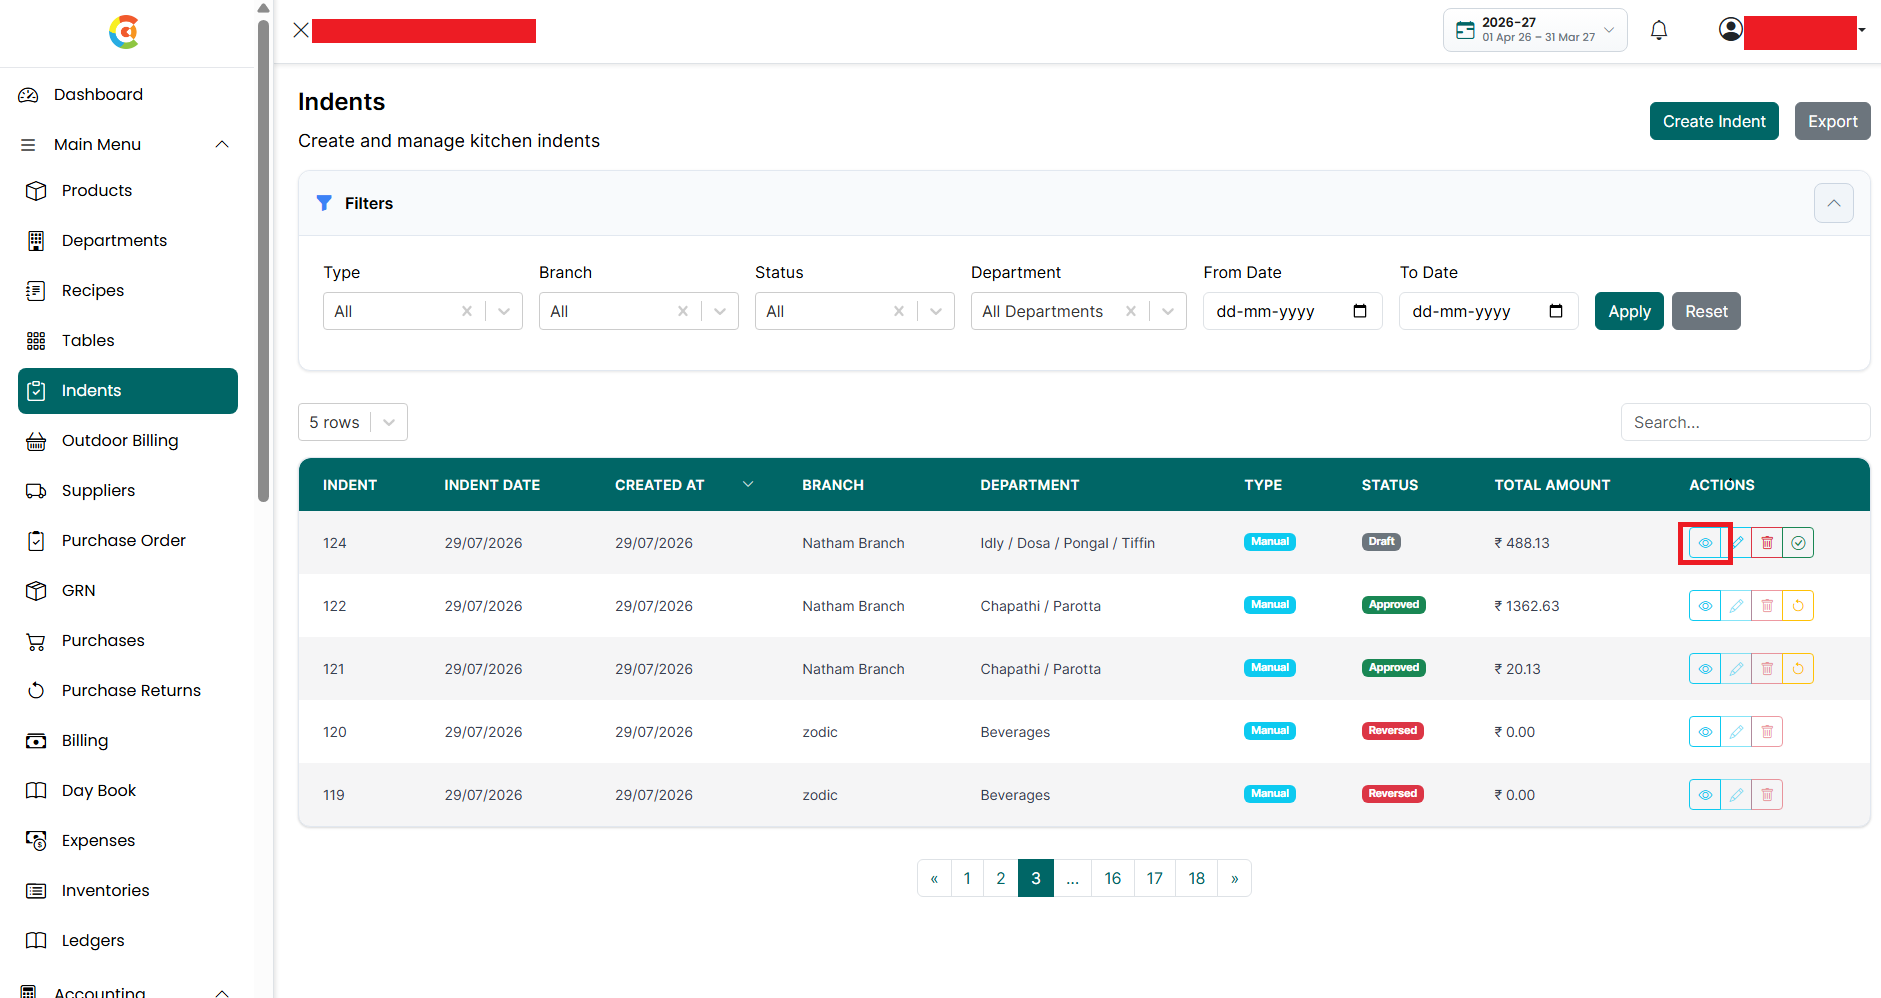
- Edit - Click the Edit icon to update the indent. Only eligible indents can be edited.
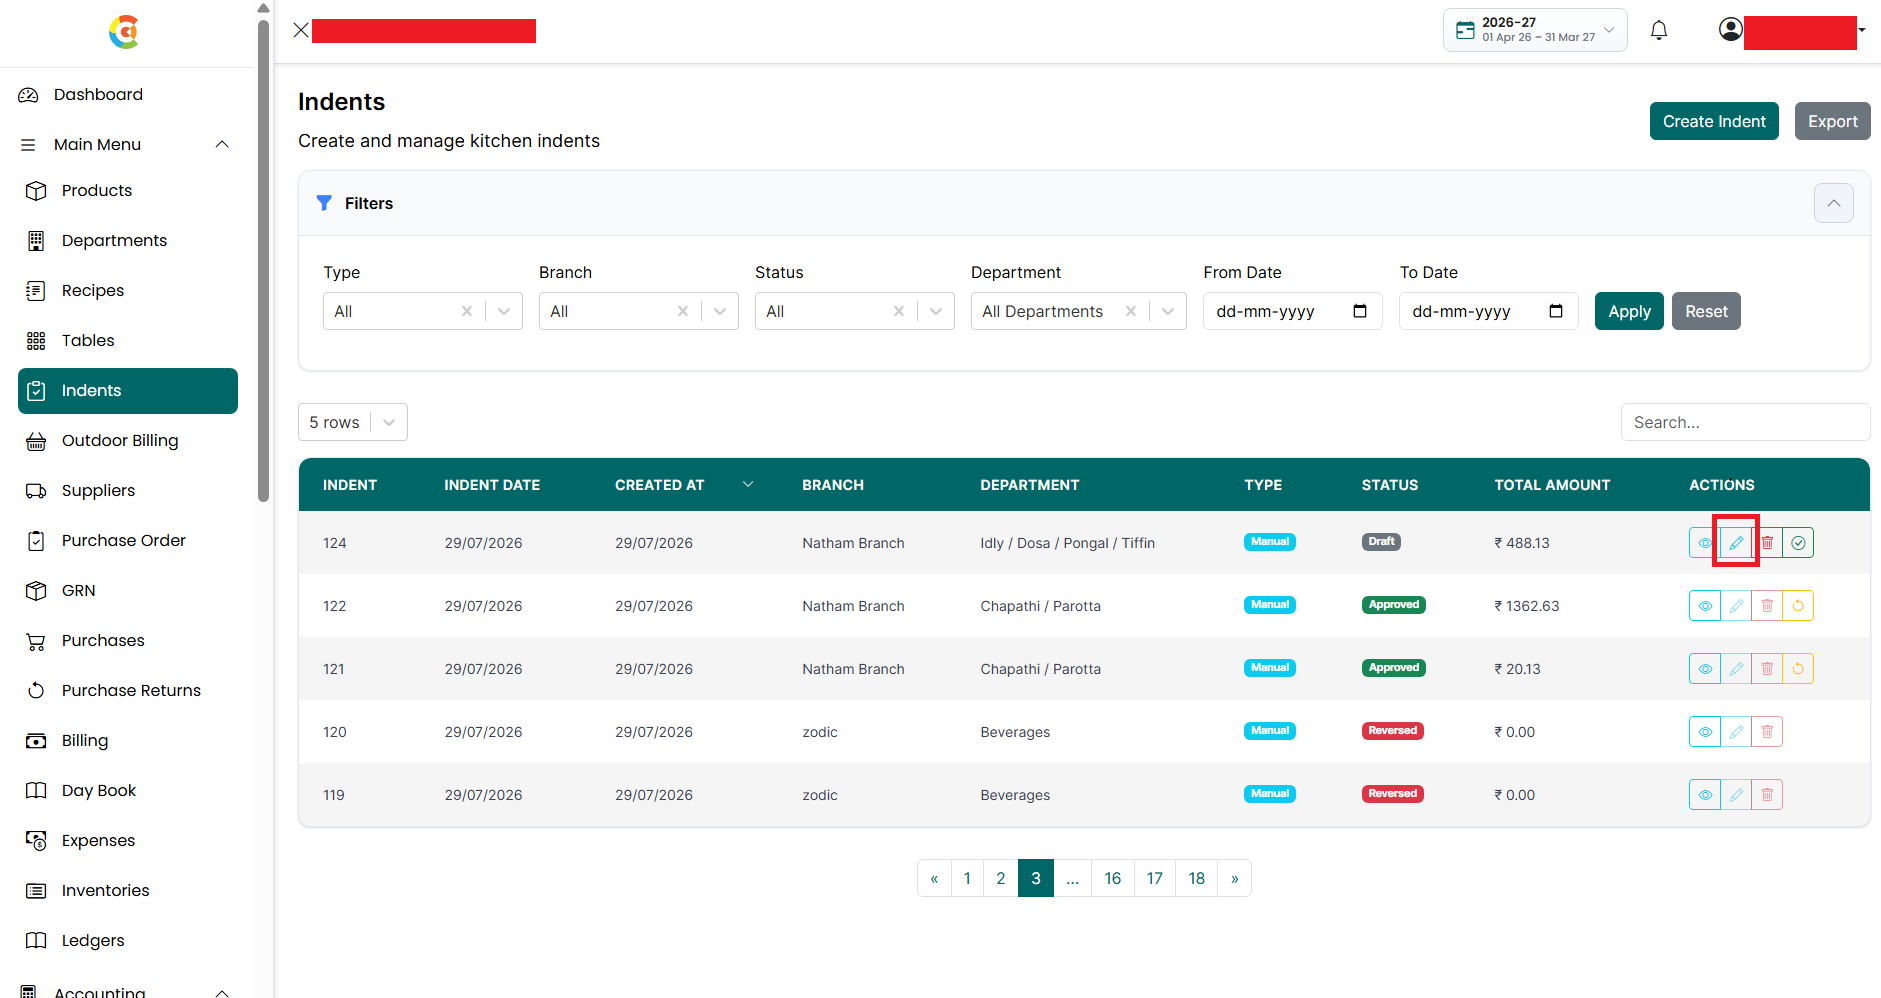
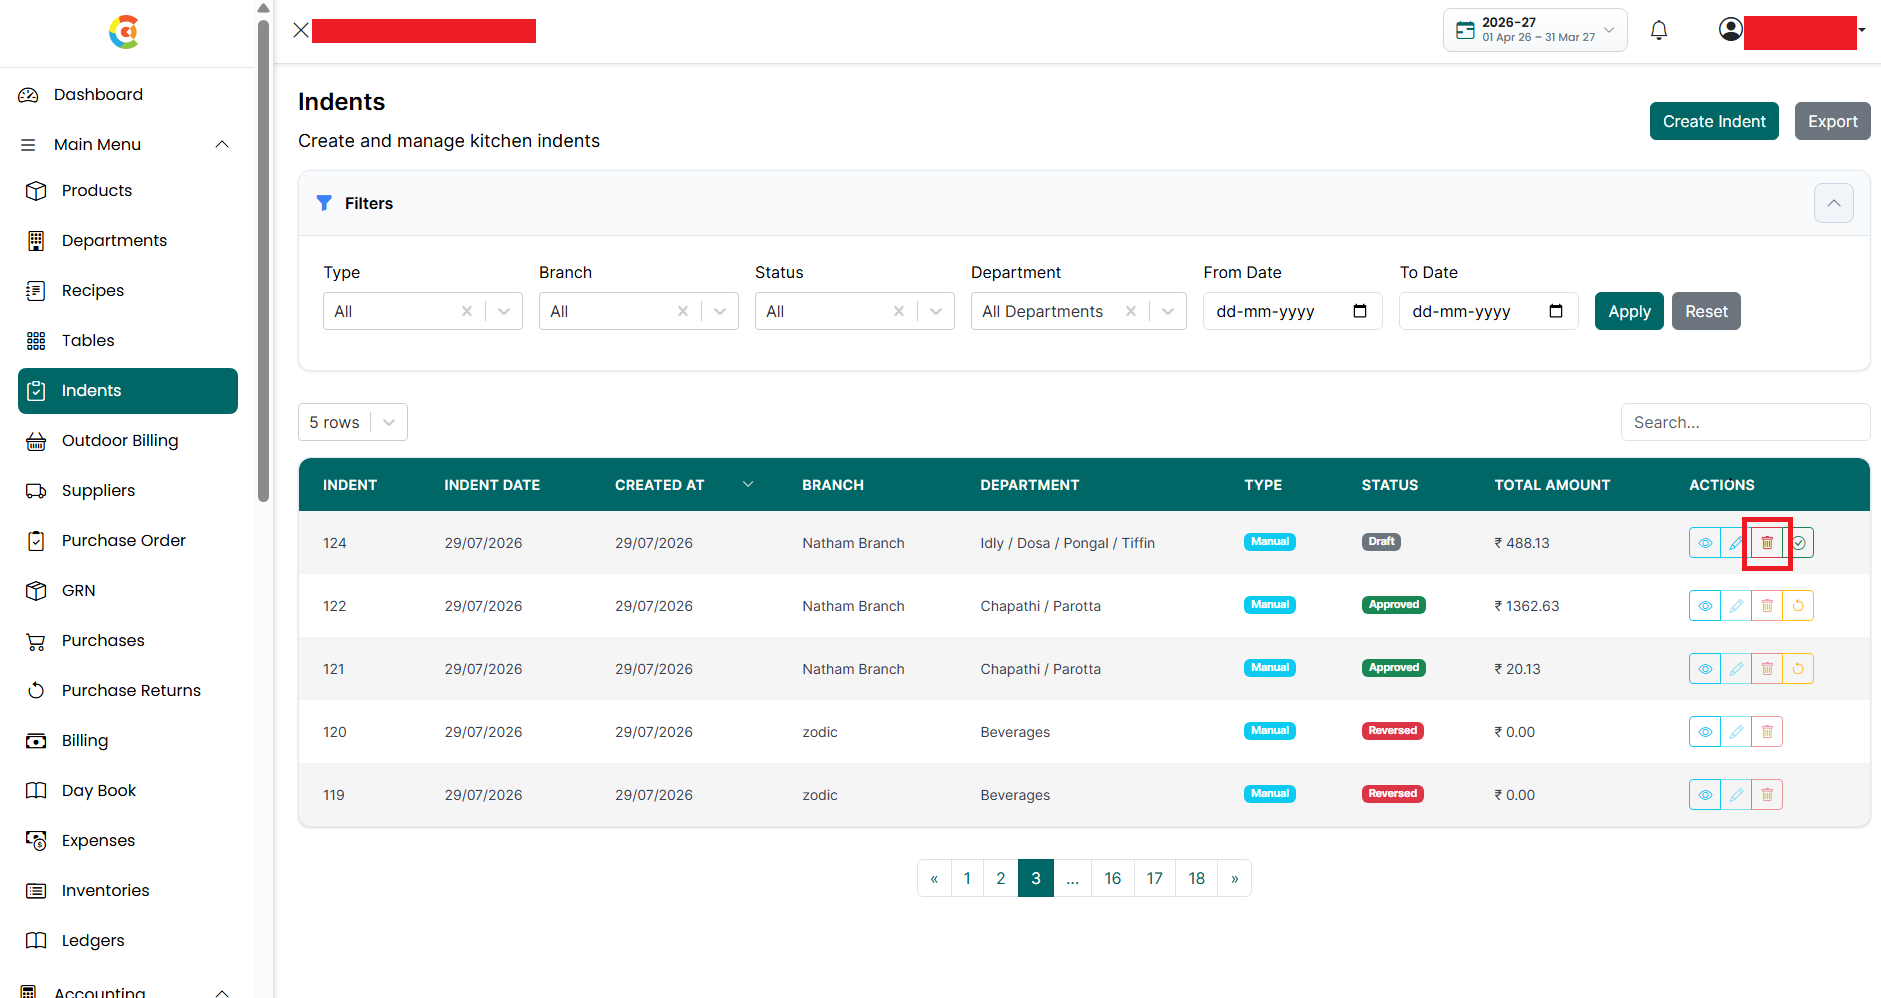
- Delete - Click the Delete icon to remove an eligible indent from active use.
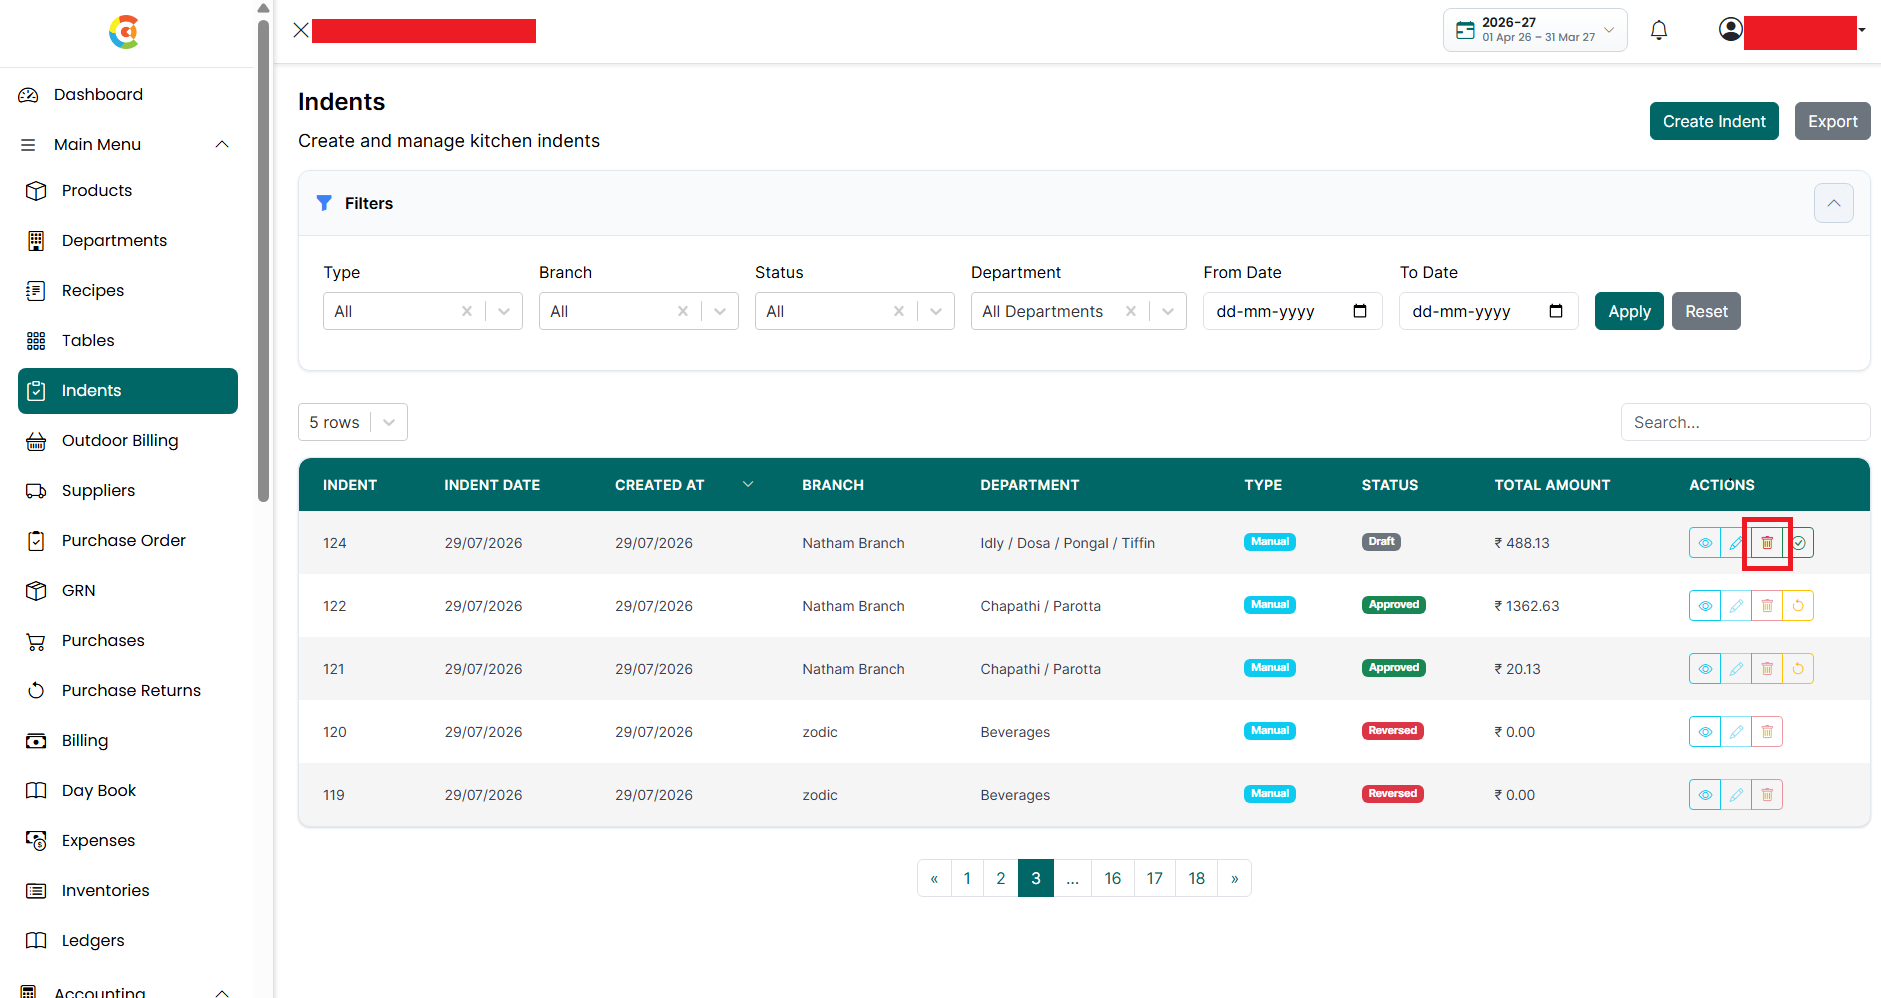
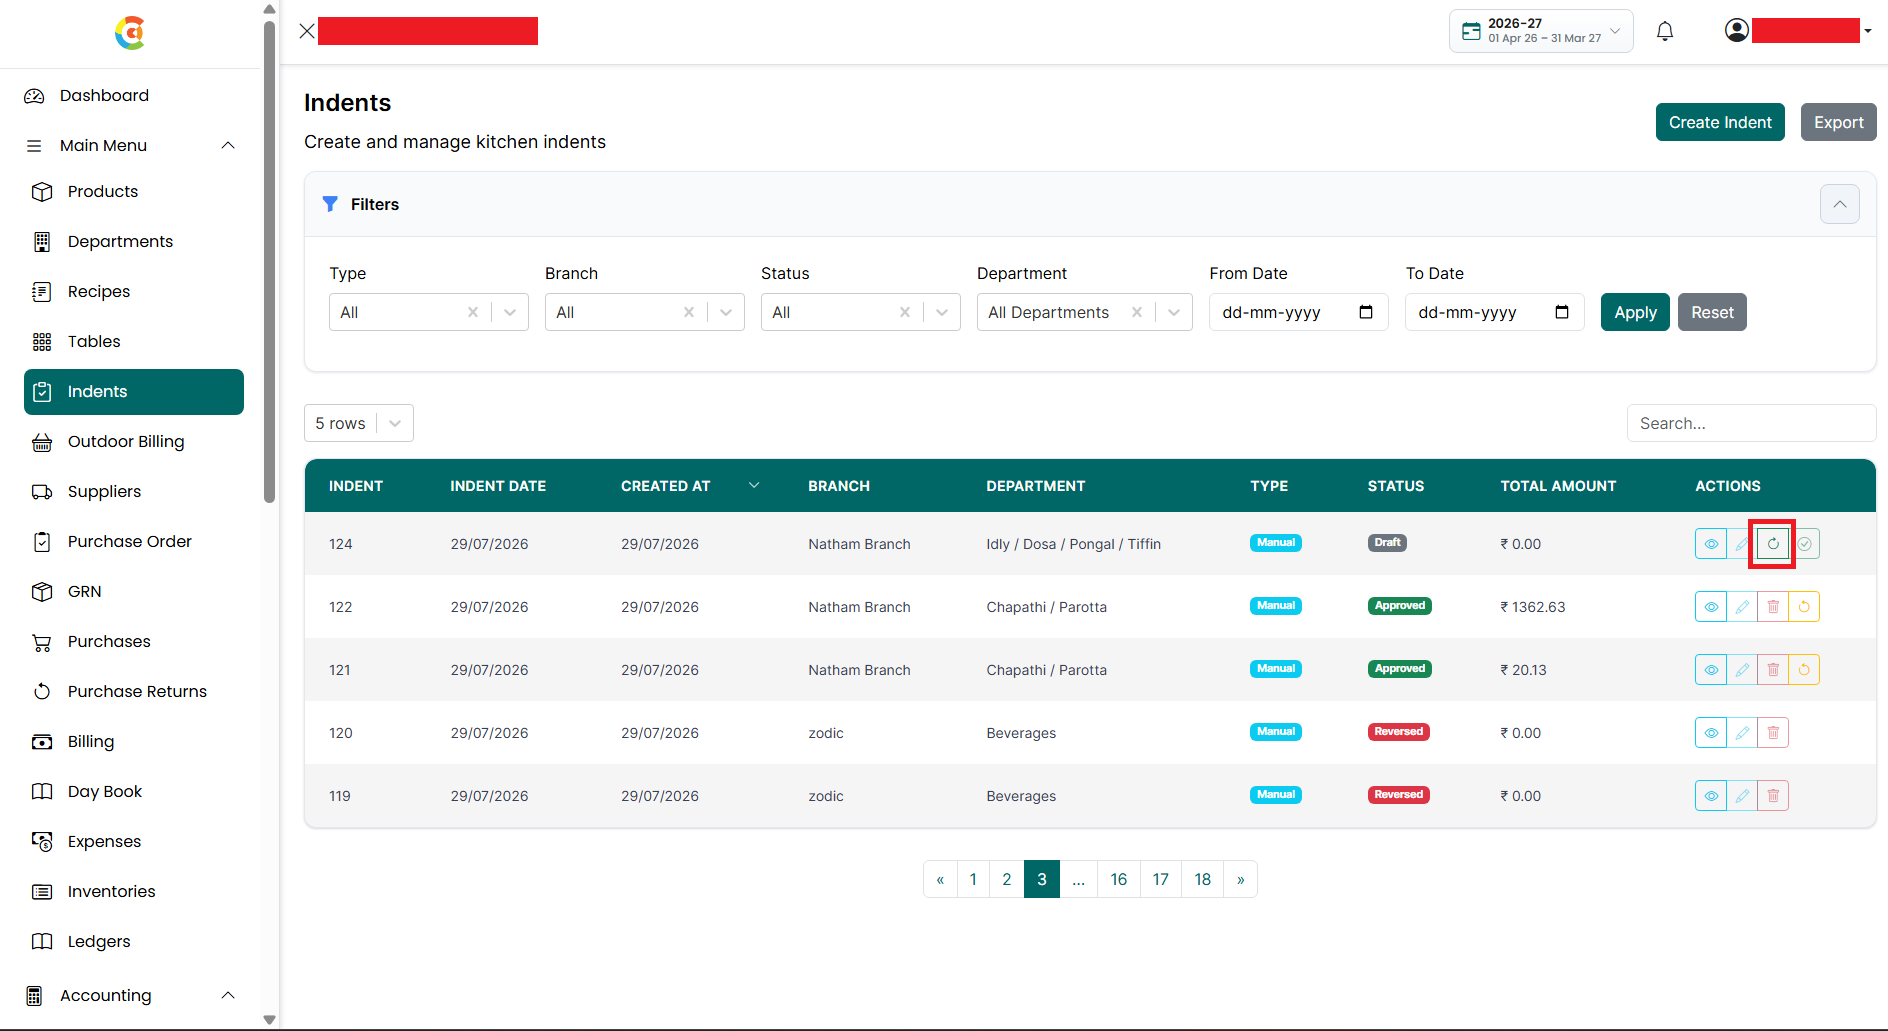
- Retrieve - If an indent has been deleted, click the Retrieve icon to restore it.
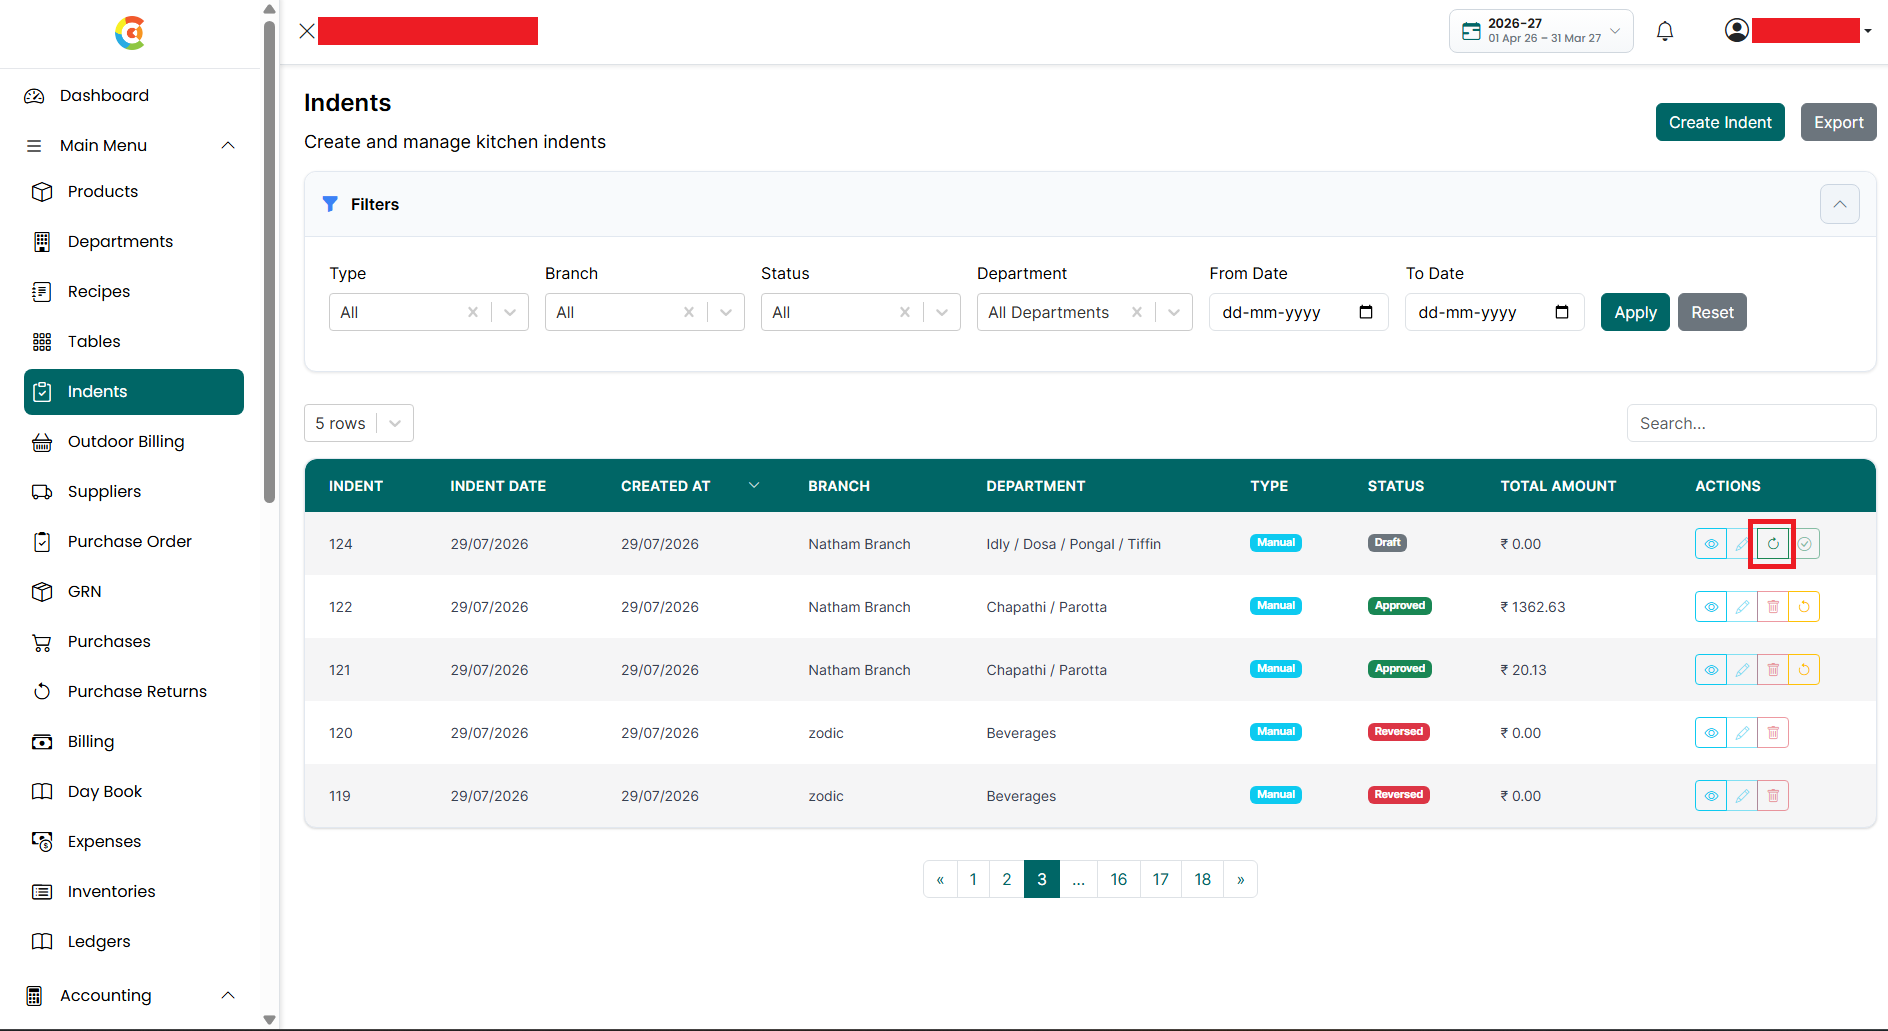
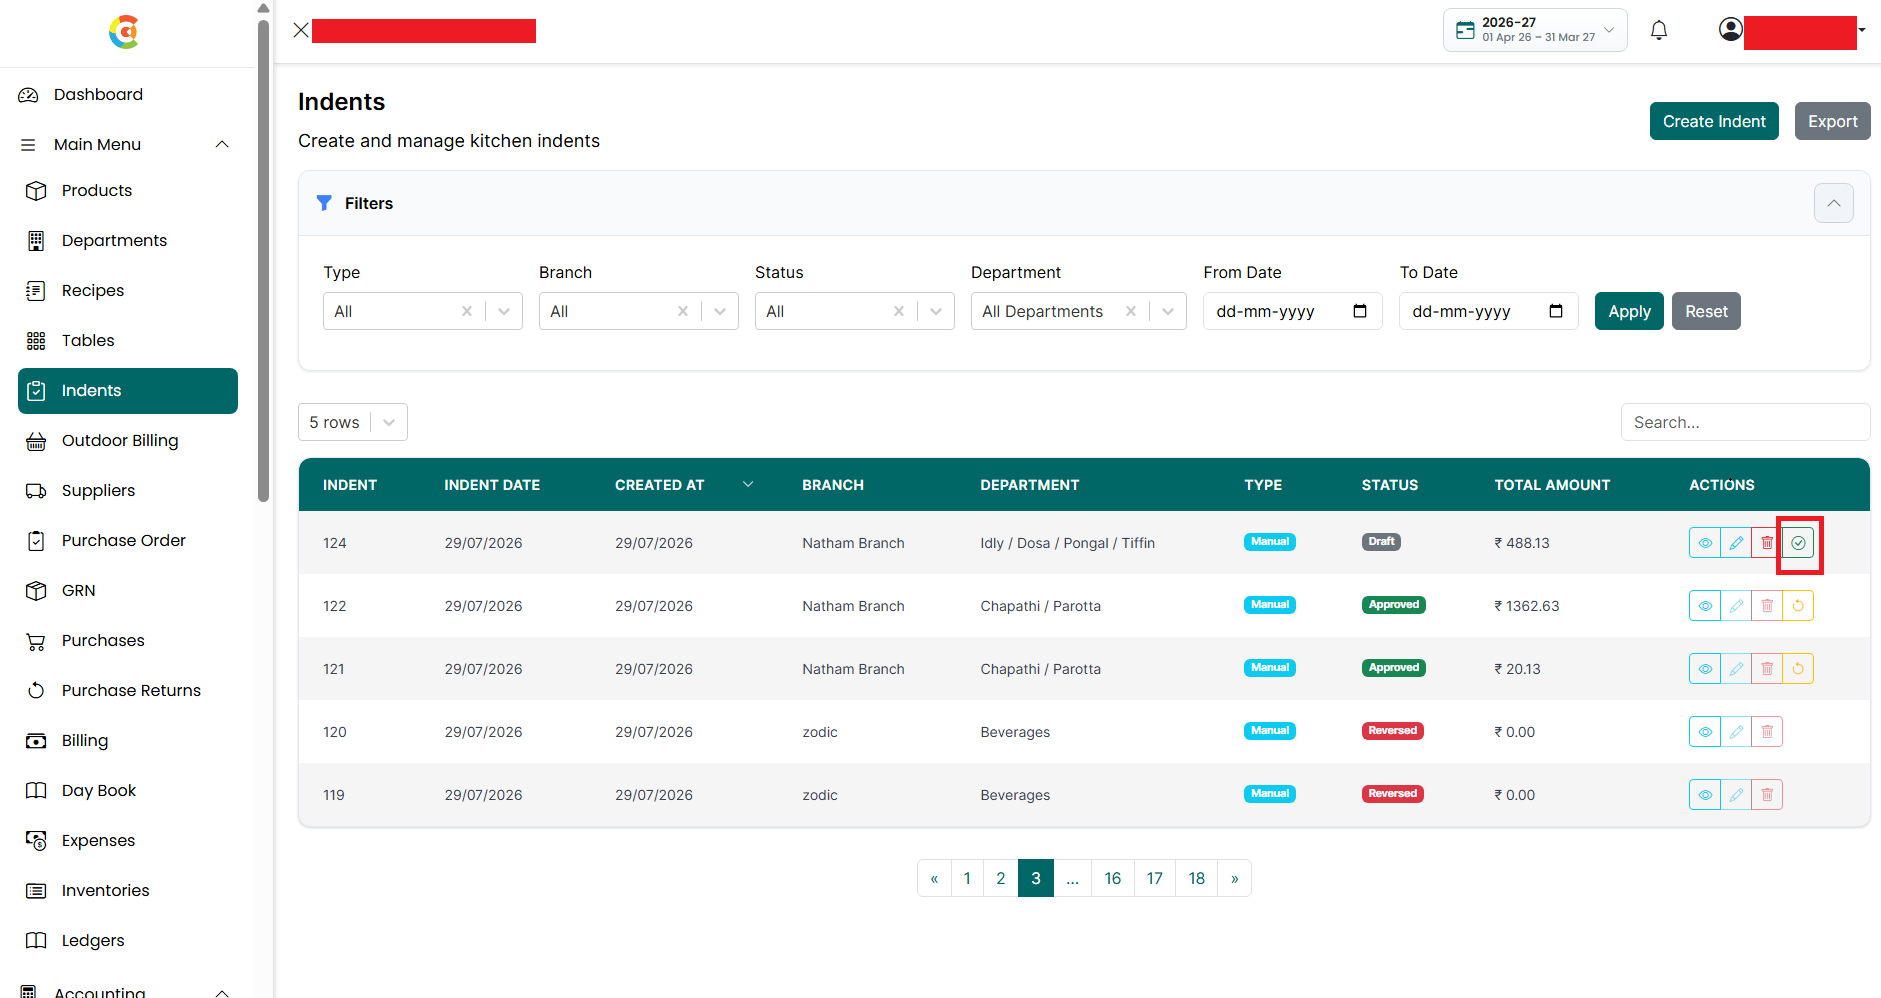
- Approve - Click the Approve icon to approve an eligible indent and deduct the requested quantities from inventory.
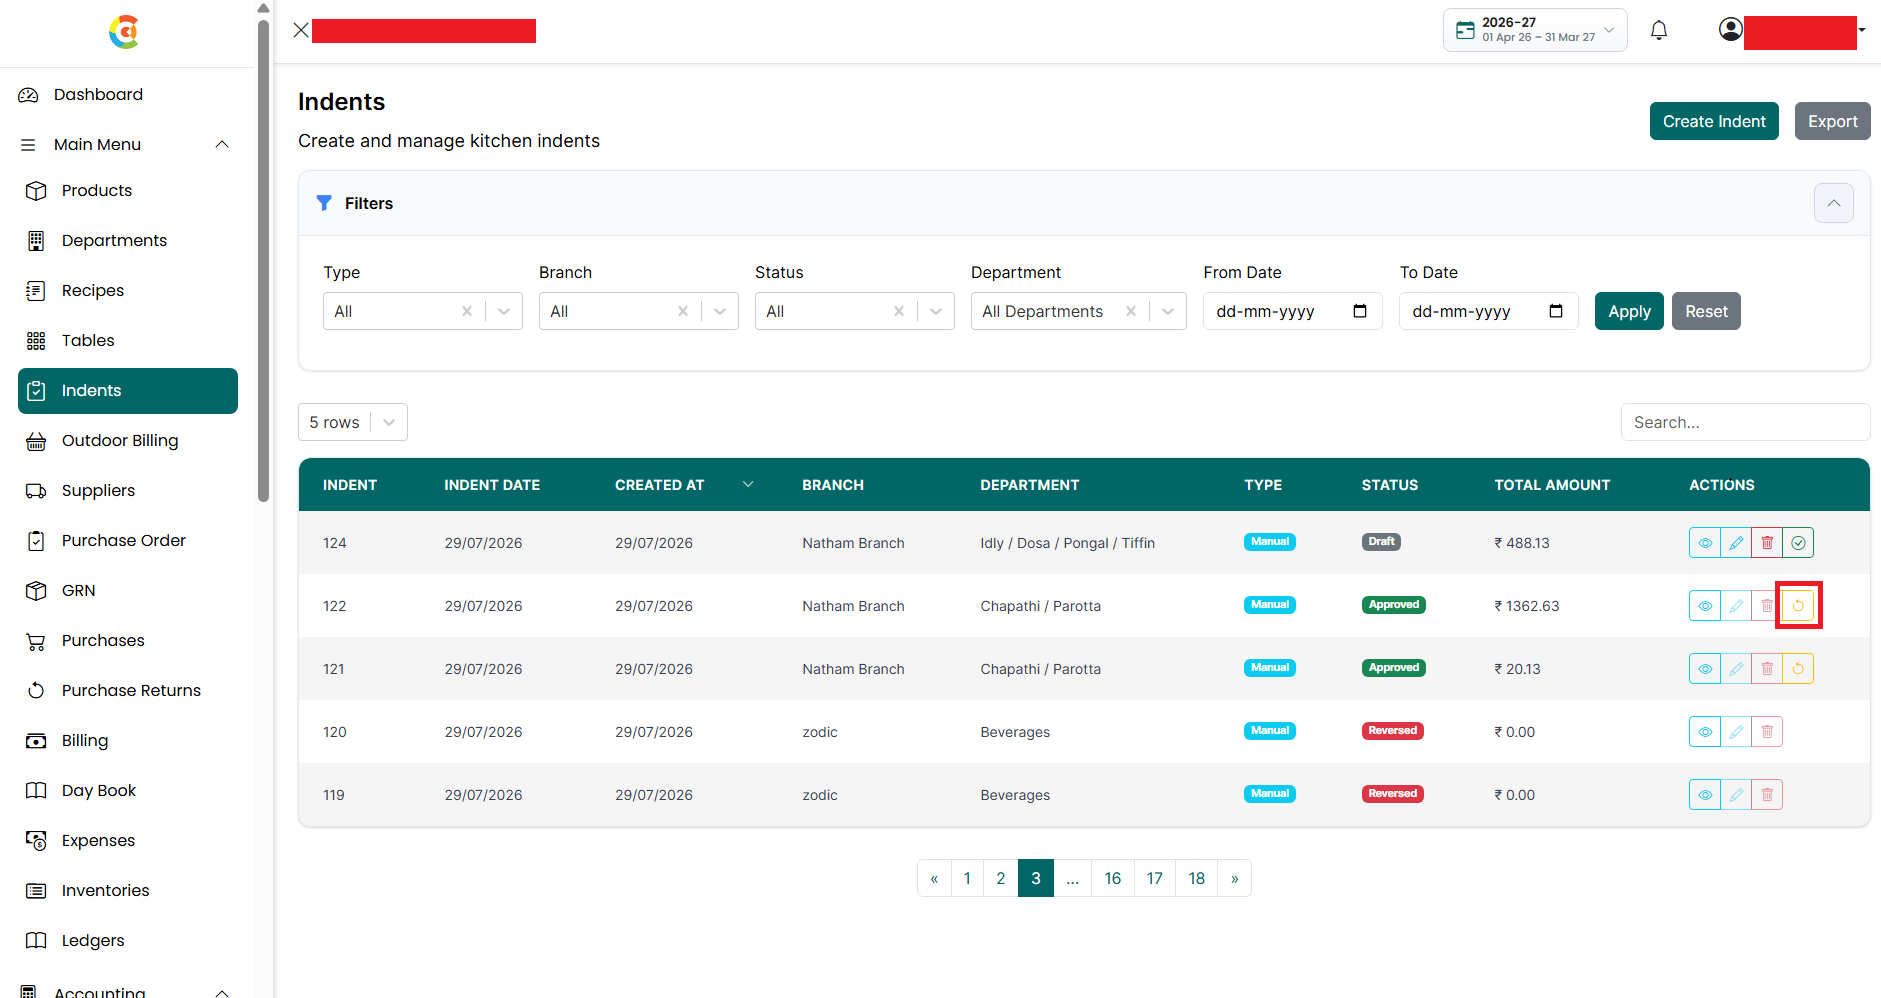
- Reverse - Click the Reverse icon to reverse an approved indent and return the deducted quantities to inventory.
- Export - Click the Export button to download the indent usage report based on the applied filters. The exported report may include:
- Indent date
- Branch
- Department
- Raw materials
- Required quantity
- Indent status
- Total amount
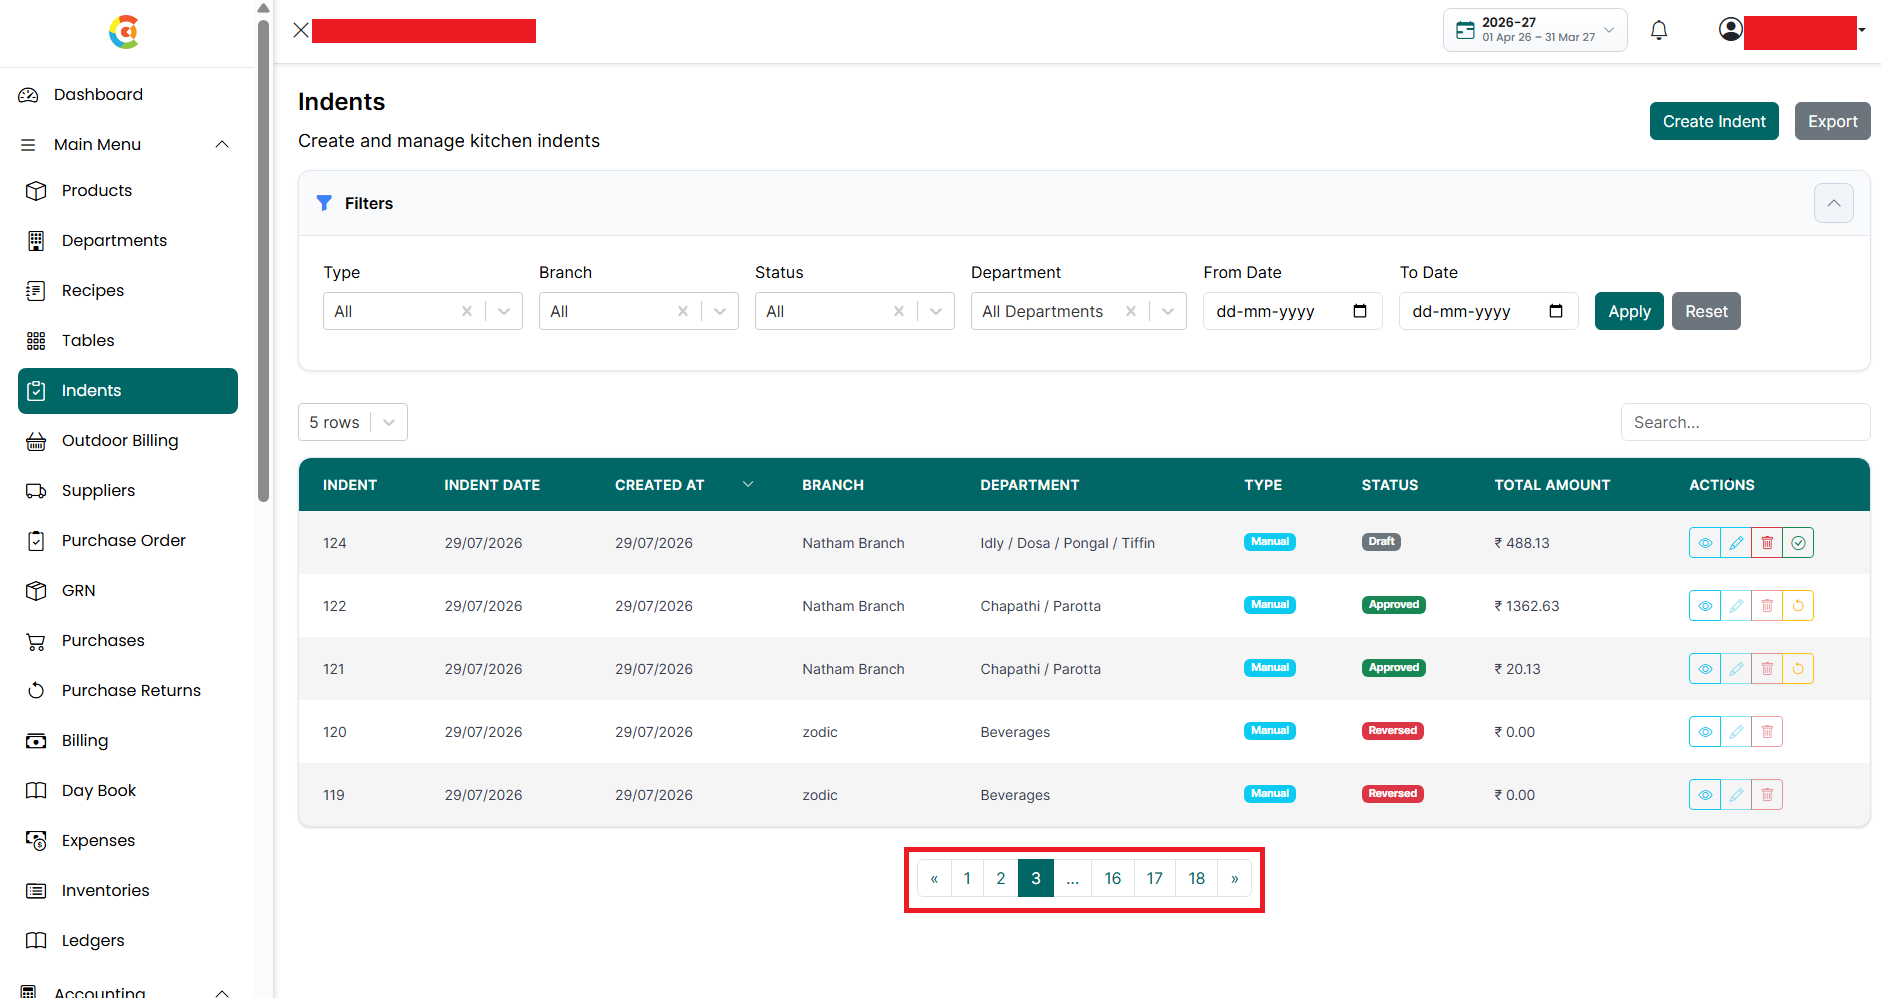
- Pagination - Use the page numbers or the Previous and Next buttons at the bottom of the page to move between different pages.


Note: Approved indents affect inventory by increasing the allocated or used quantity and reducing the final available stock. Reversing an approved indent returns the issued quantity to inventory and updates the inventory movement history.
Create Indent
An Indent is used to request raw materials from inventory for a specific department. The application provides two methods for creating an indent:
- Manual - Manually select the required raw materials and quantities.
- Template - Select menu items or a saved template, and the system automatically calculates the required raw materials based on the configured recipes.
Manual Mode
Use Manual mode when you know the exact raw materials and quantities required.
To create an indent using Manual mode, follow the steps below.
- Go to the Main Menu. Click Indents.
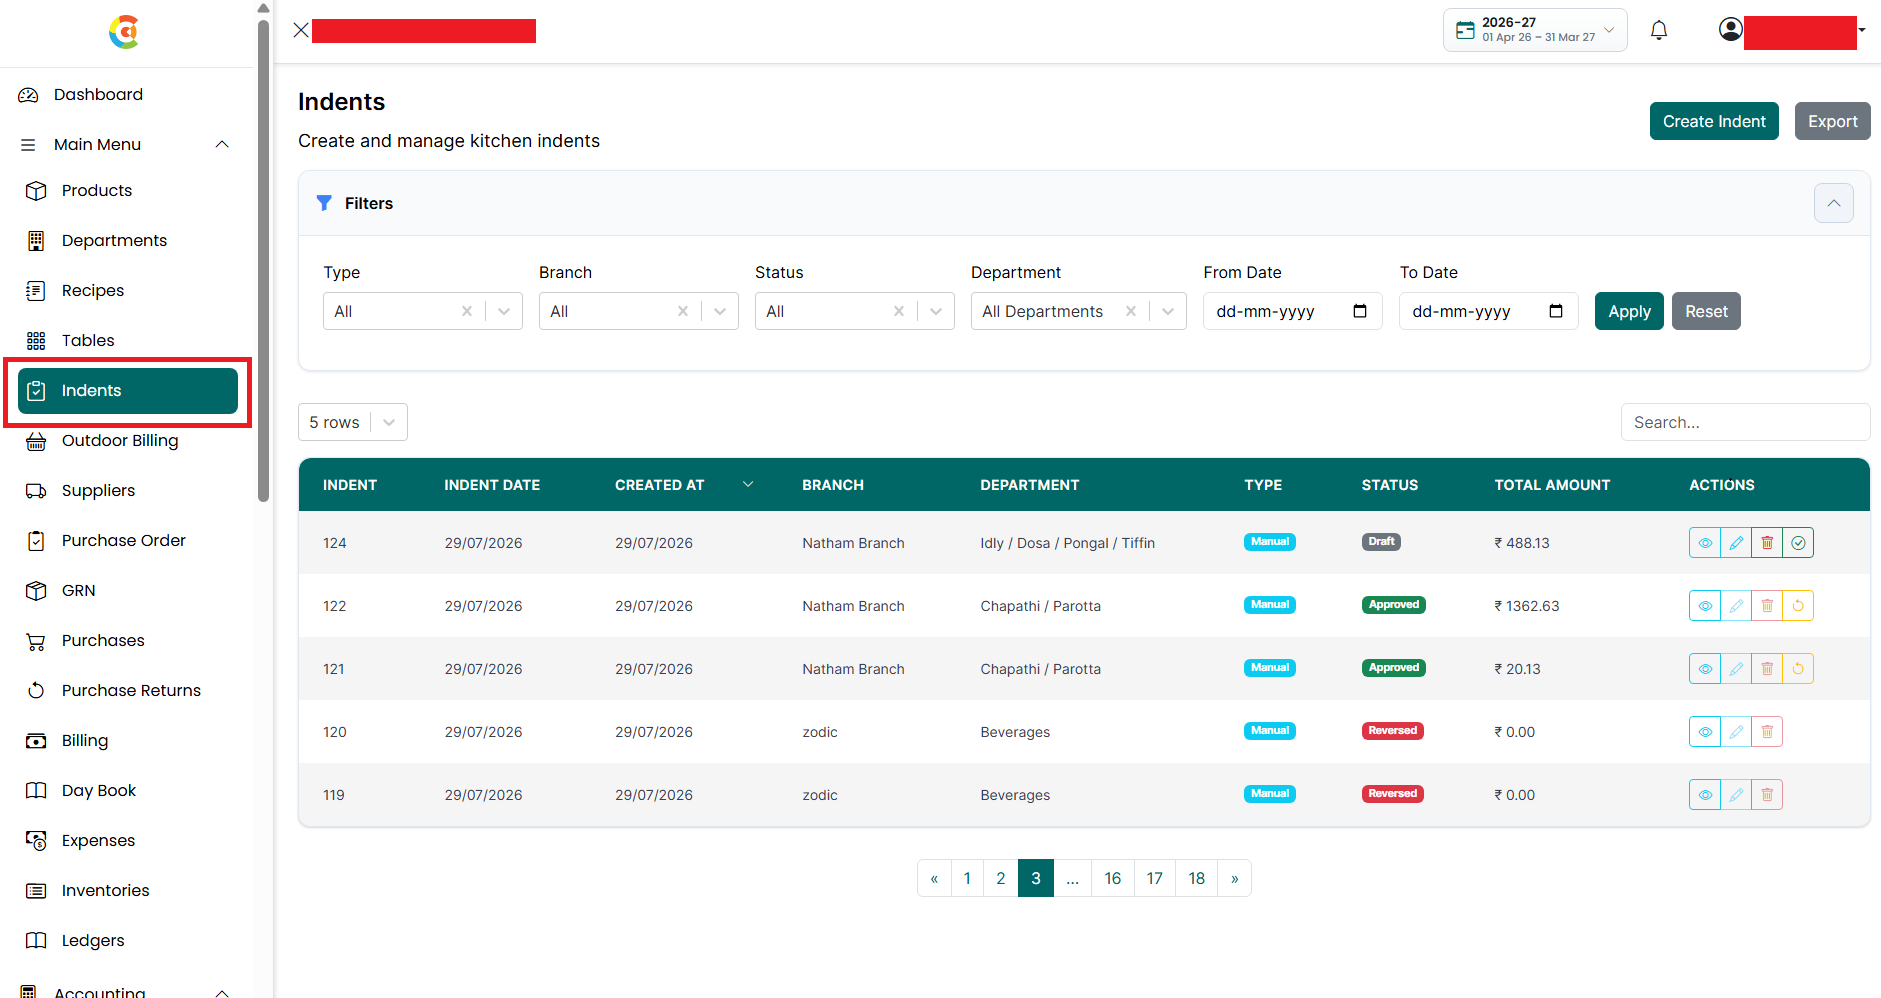
- The Indent Listing page is displayed.
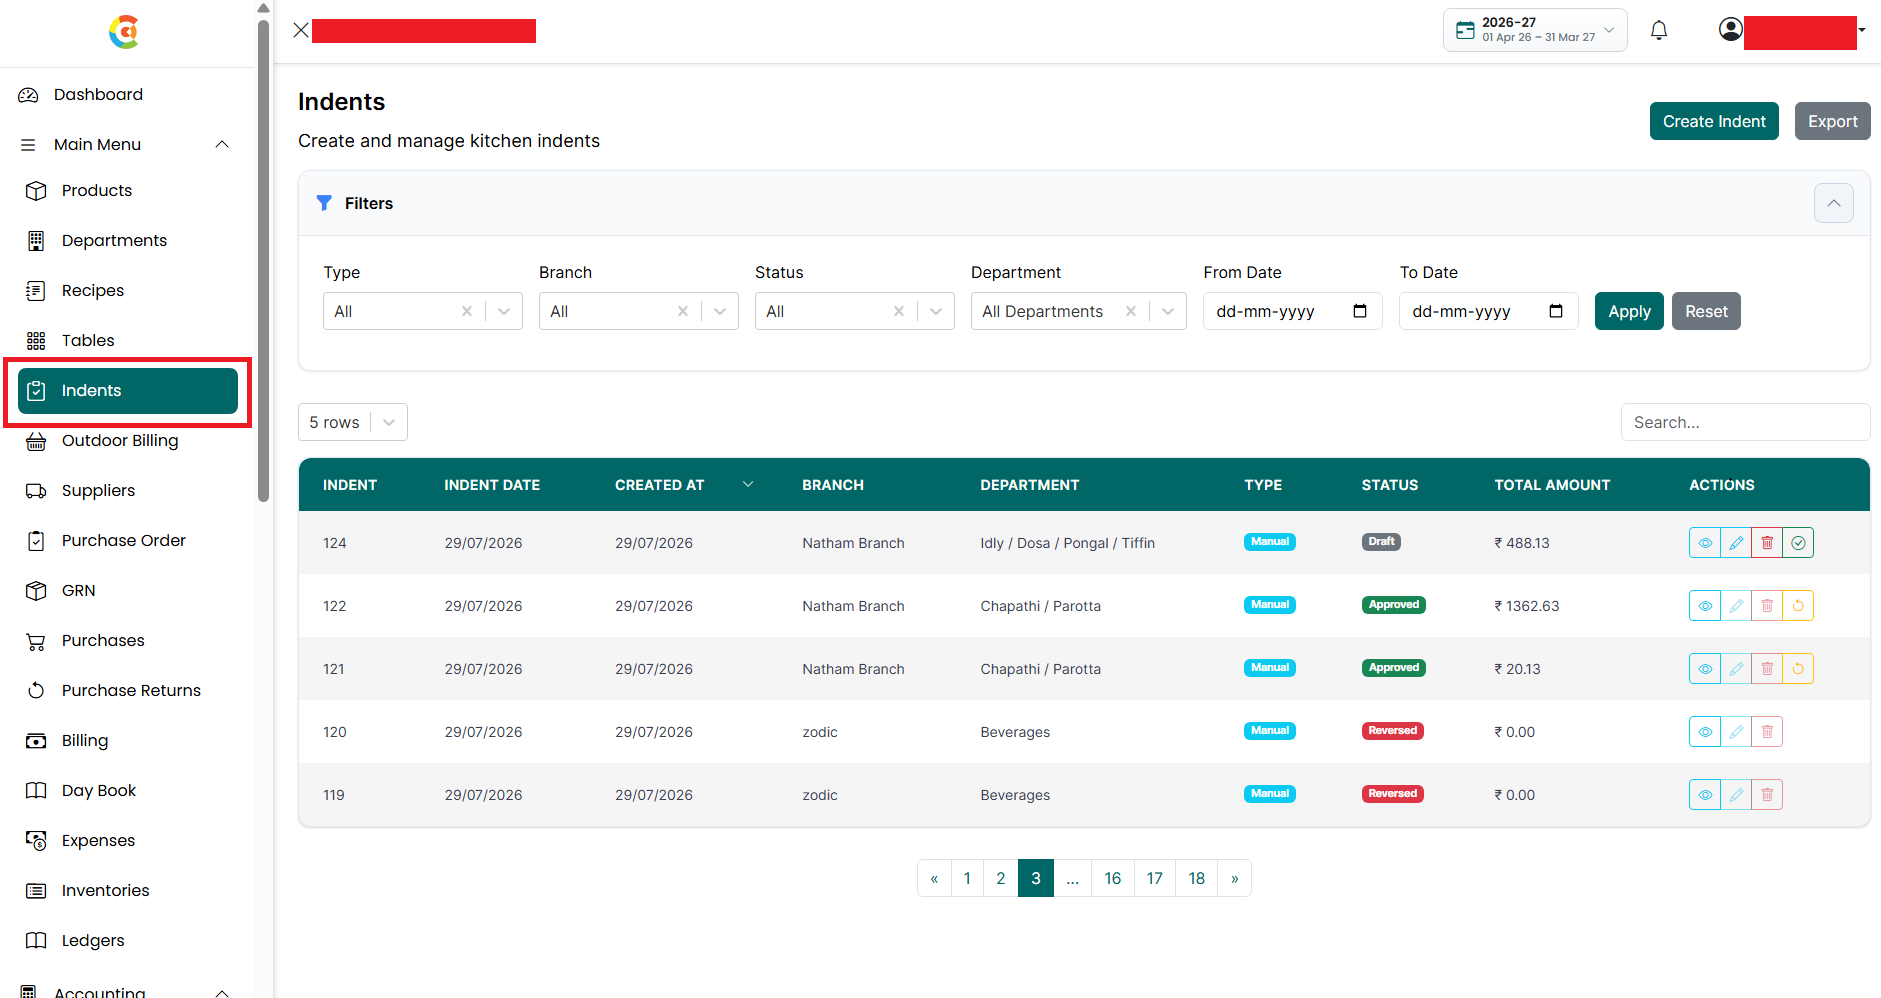
- Click Create Indent.
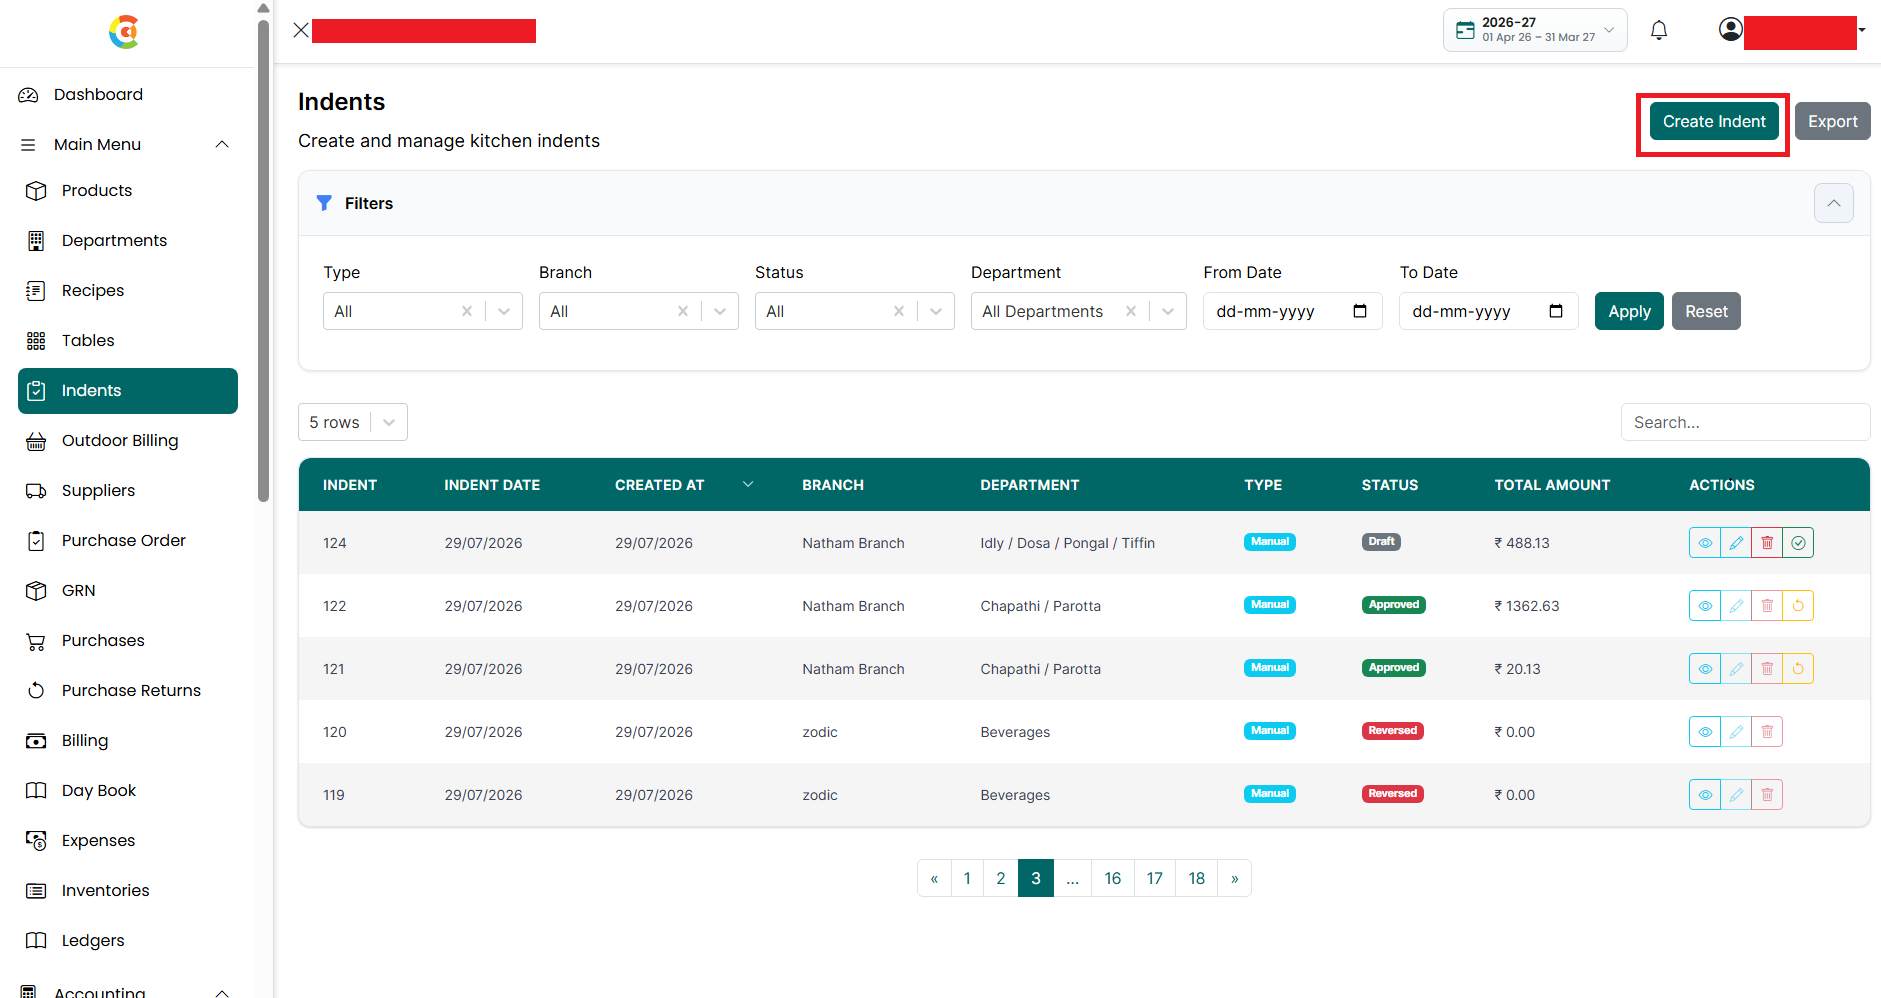
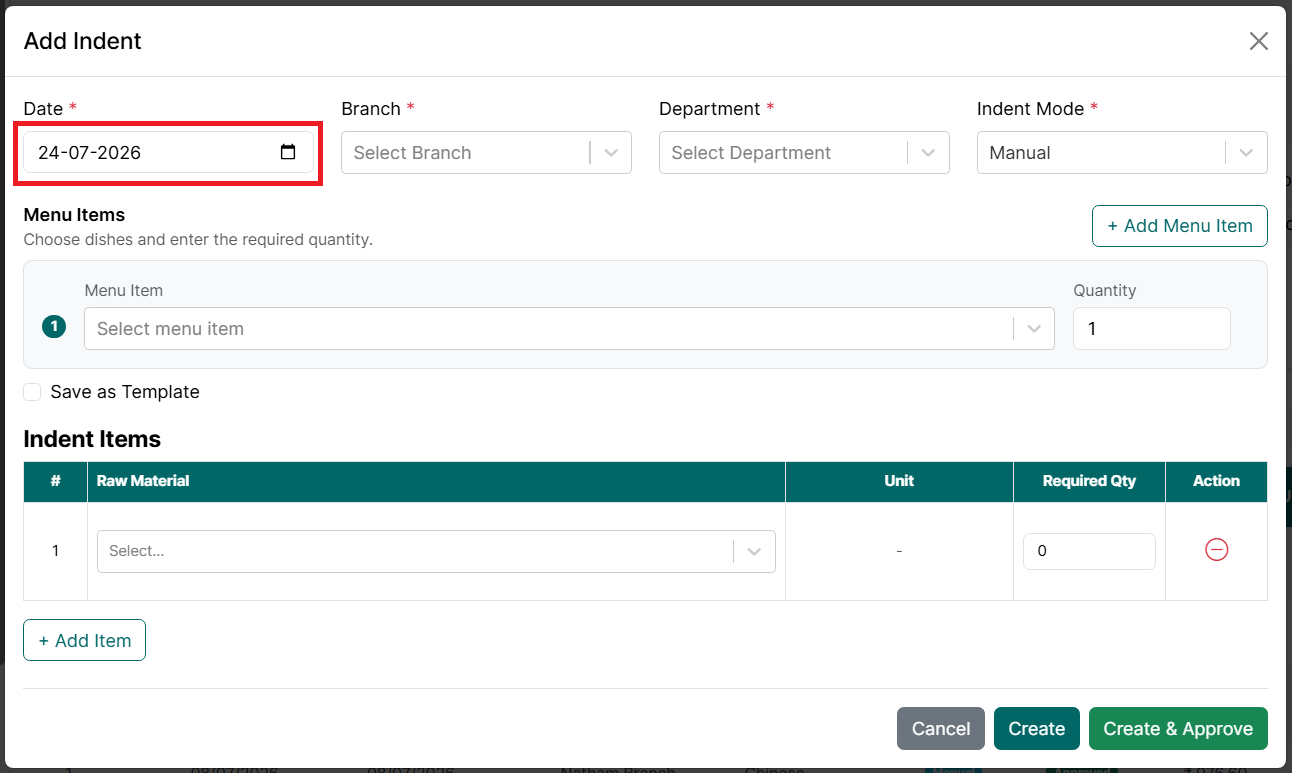
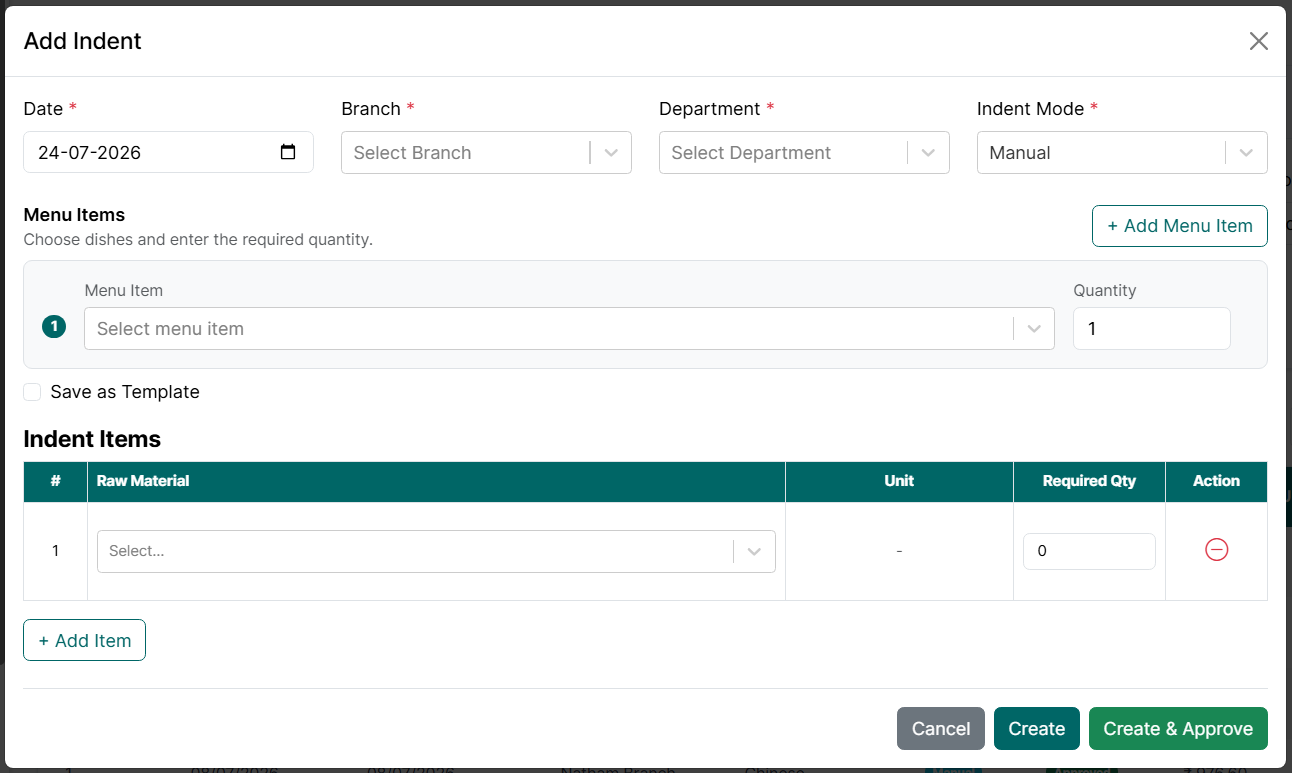
- The Add Indent window is displayed.
- Select the Date.
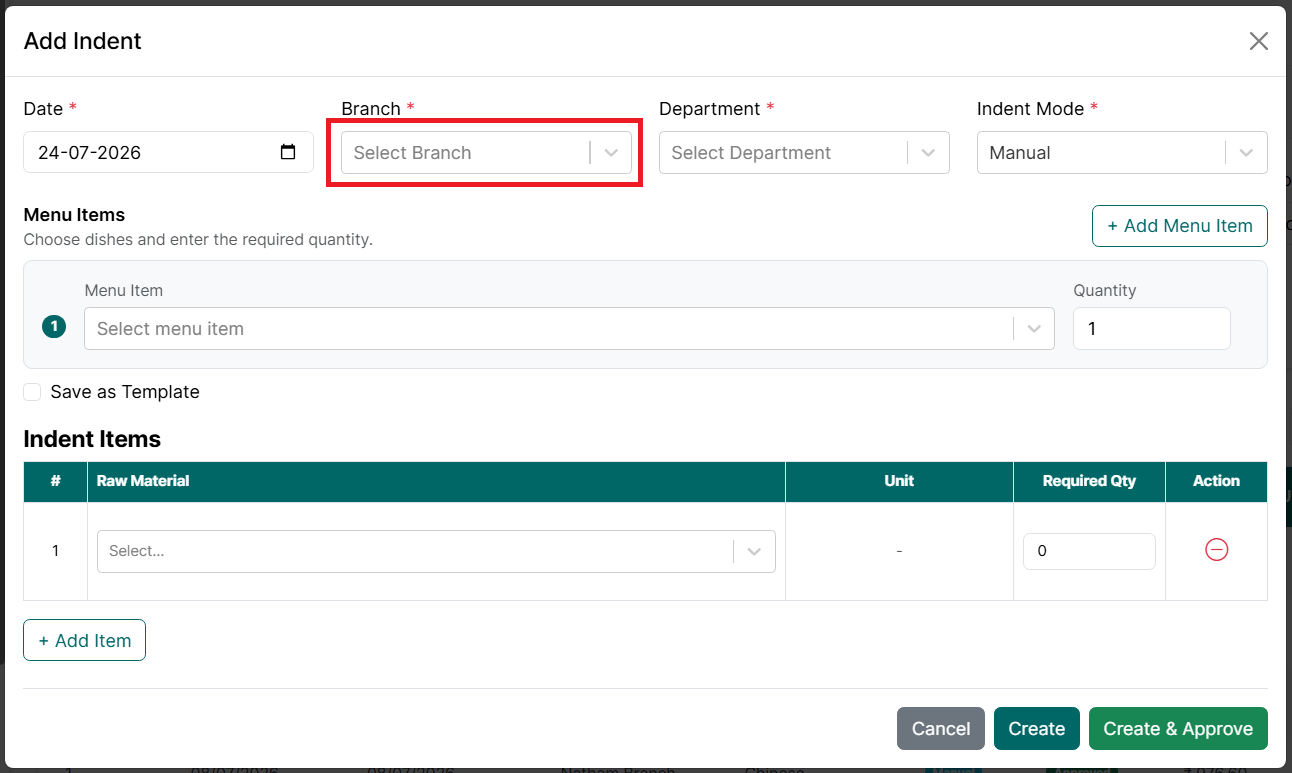
- Select the Branch.
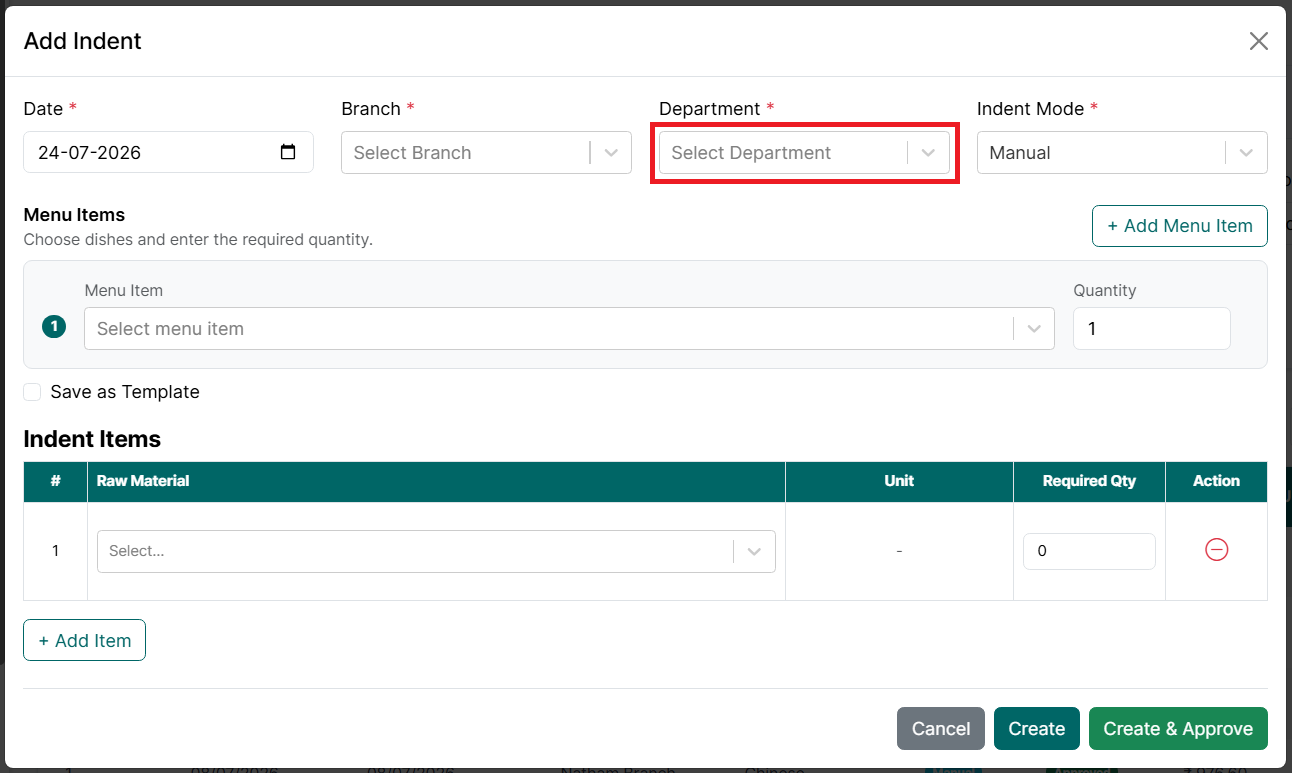
- Select the Department.
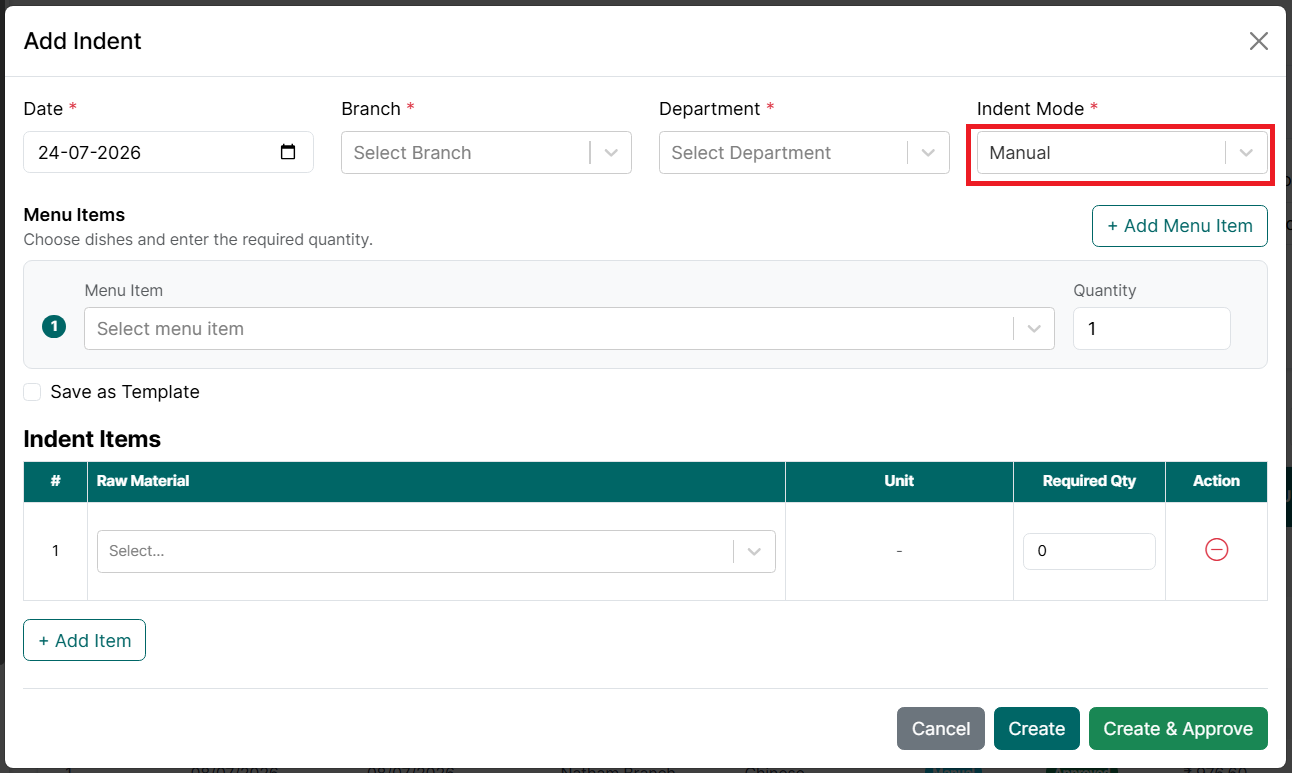
- Select Manual from the Indent Mode dropdown.
- Under the Menu Items section, enter the dishes or menu items for which the raw materials are required.
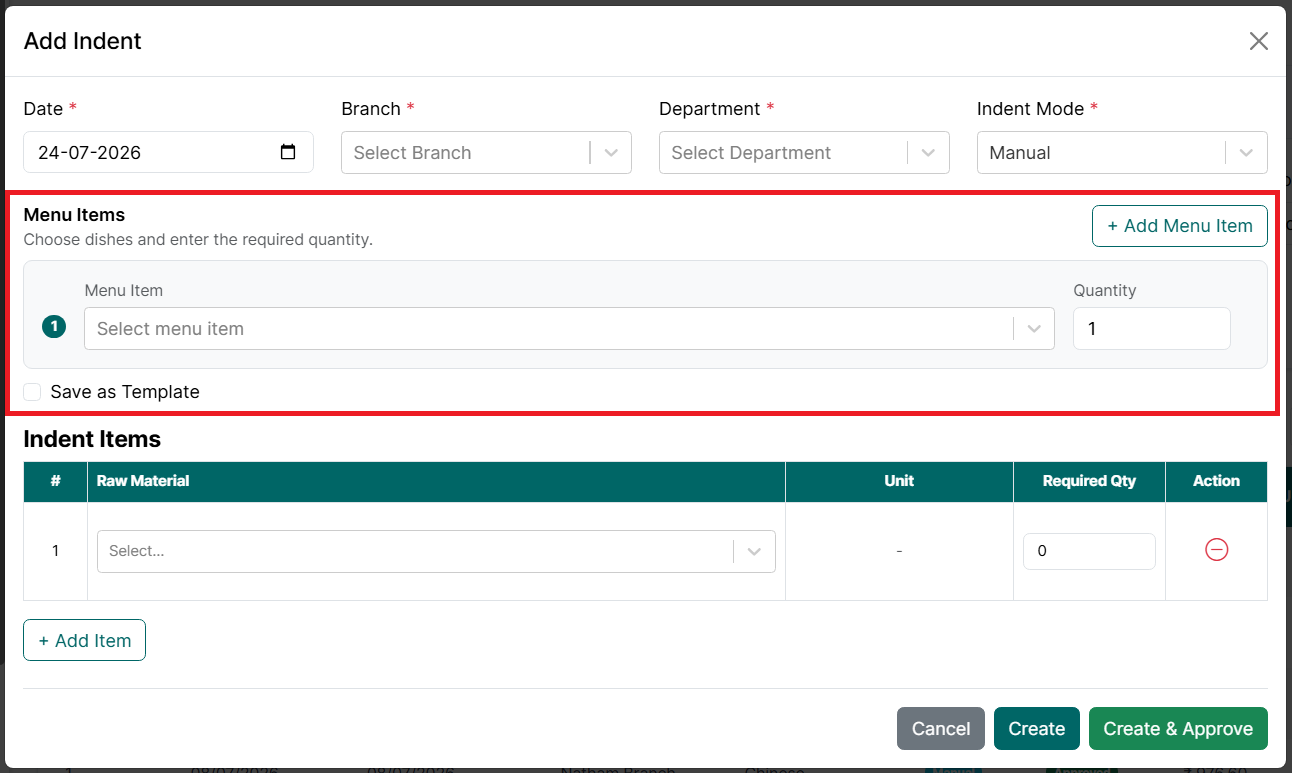
- For each menu item, enter the following details:
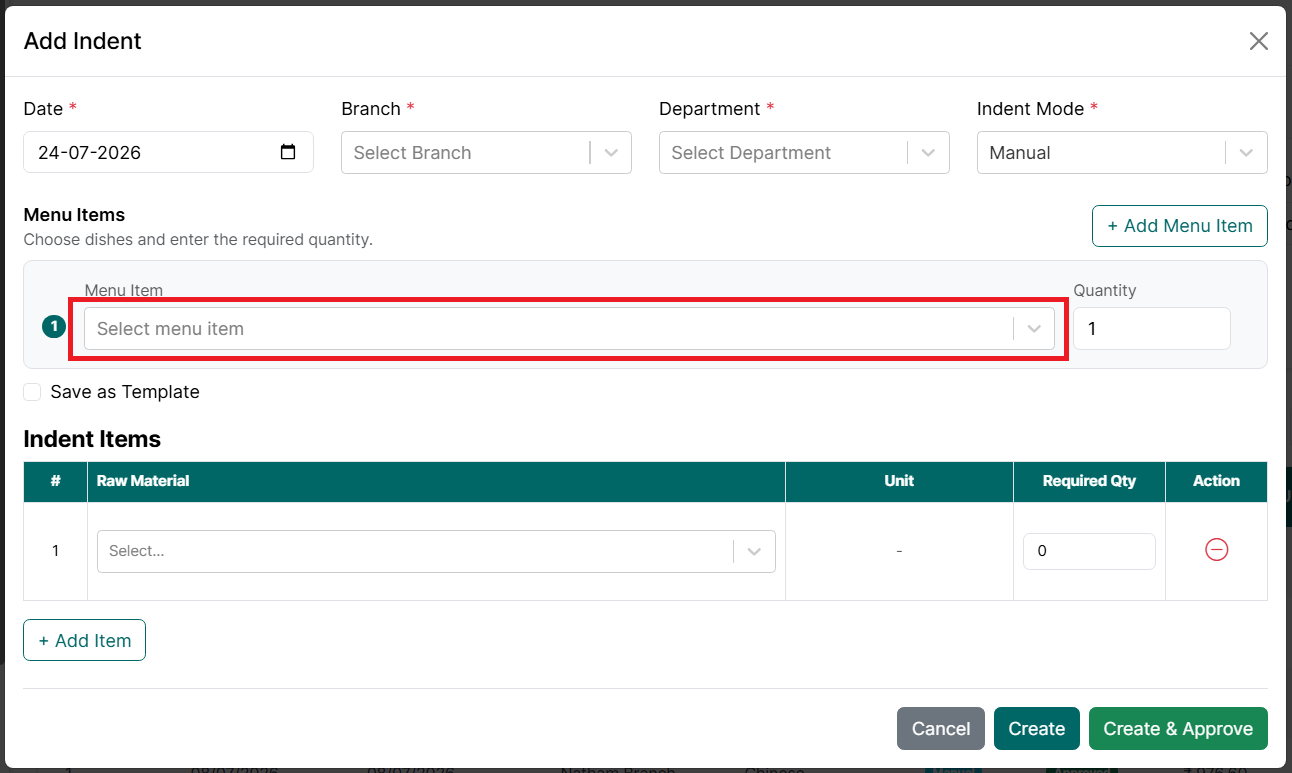
- Menu Item - Select the required menu item.
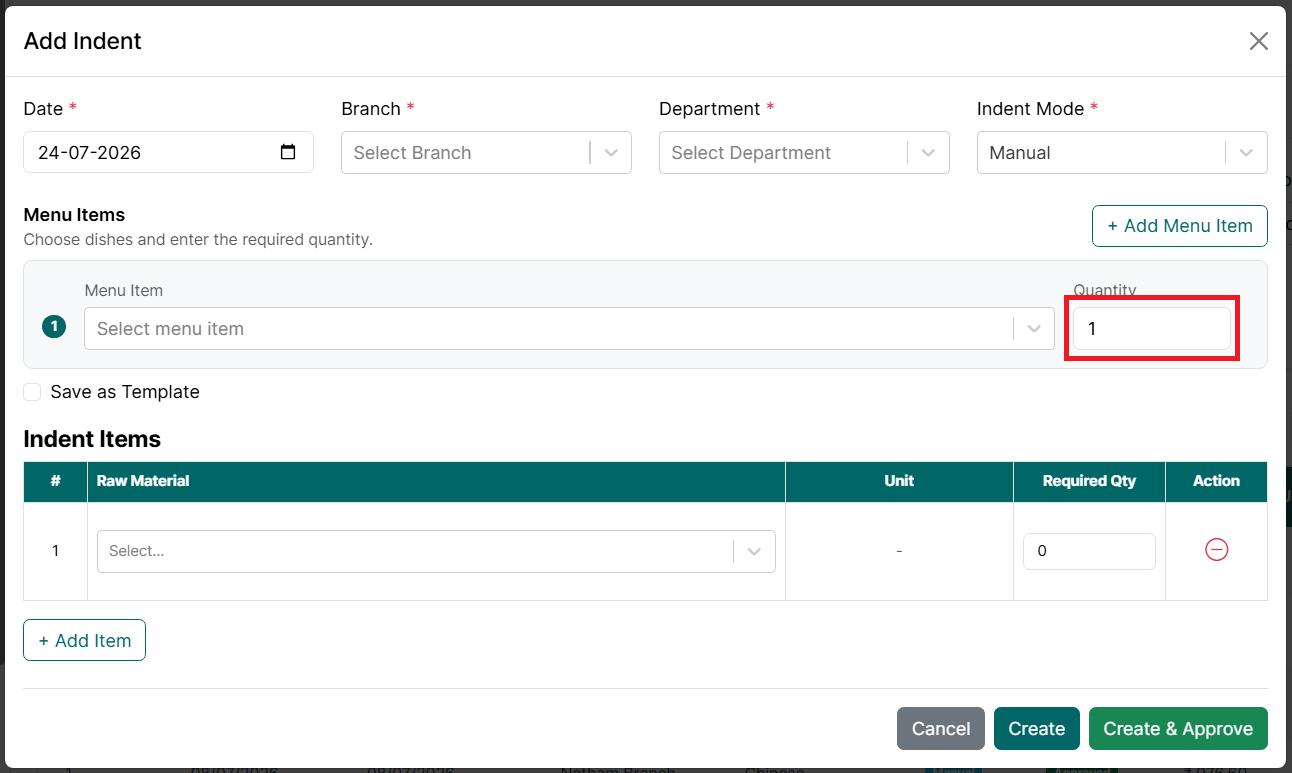
- Quantity - Enter the number of portions or the required quantity of the selected menu item.
- Click Add Menu Item to include additional menu items, if required.
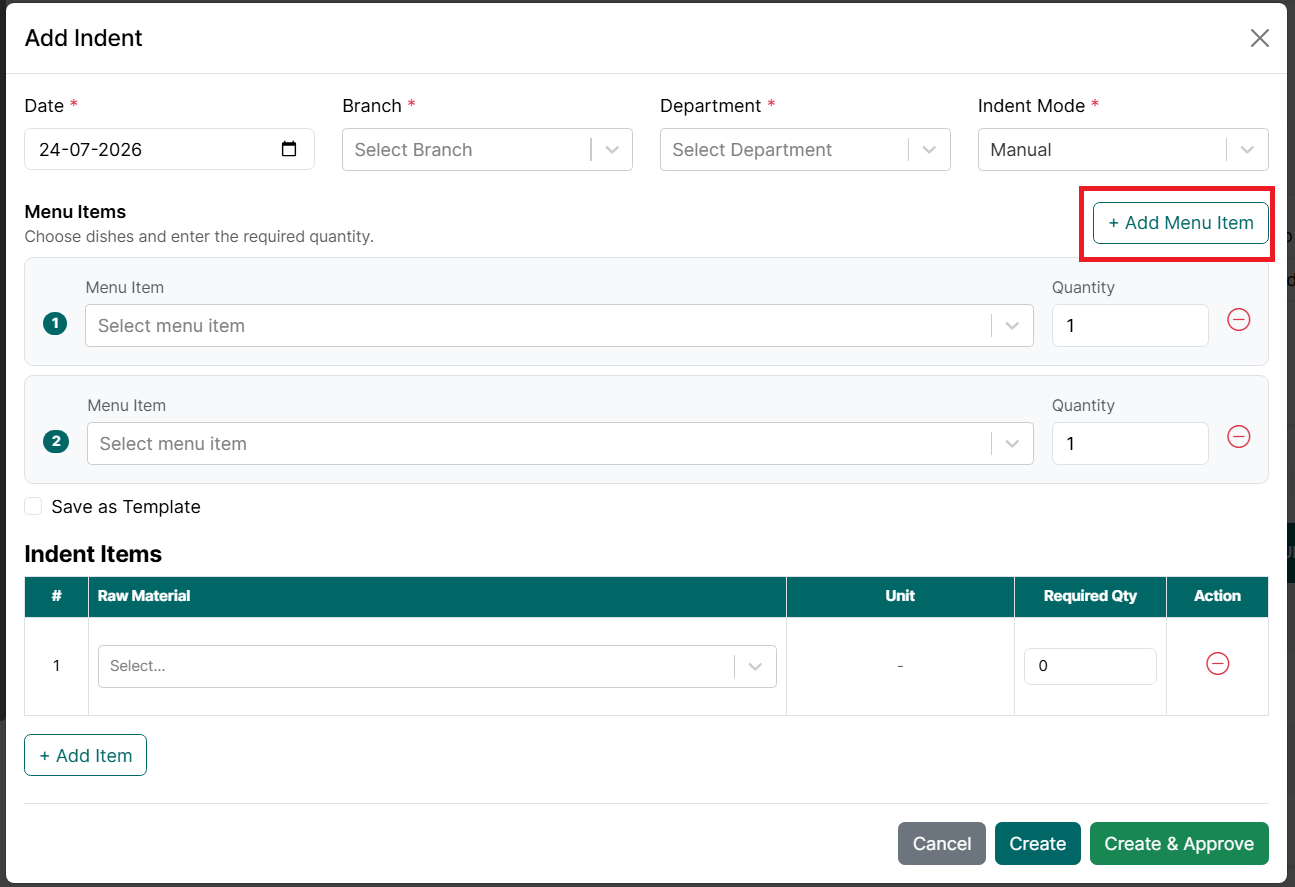
- Click the Delete icon to remove a menu item from the indent.
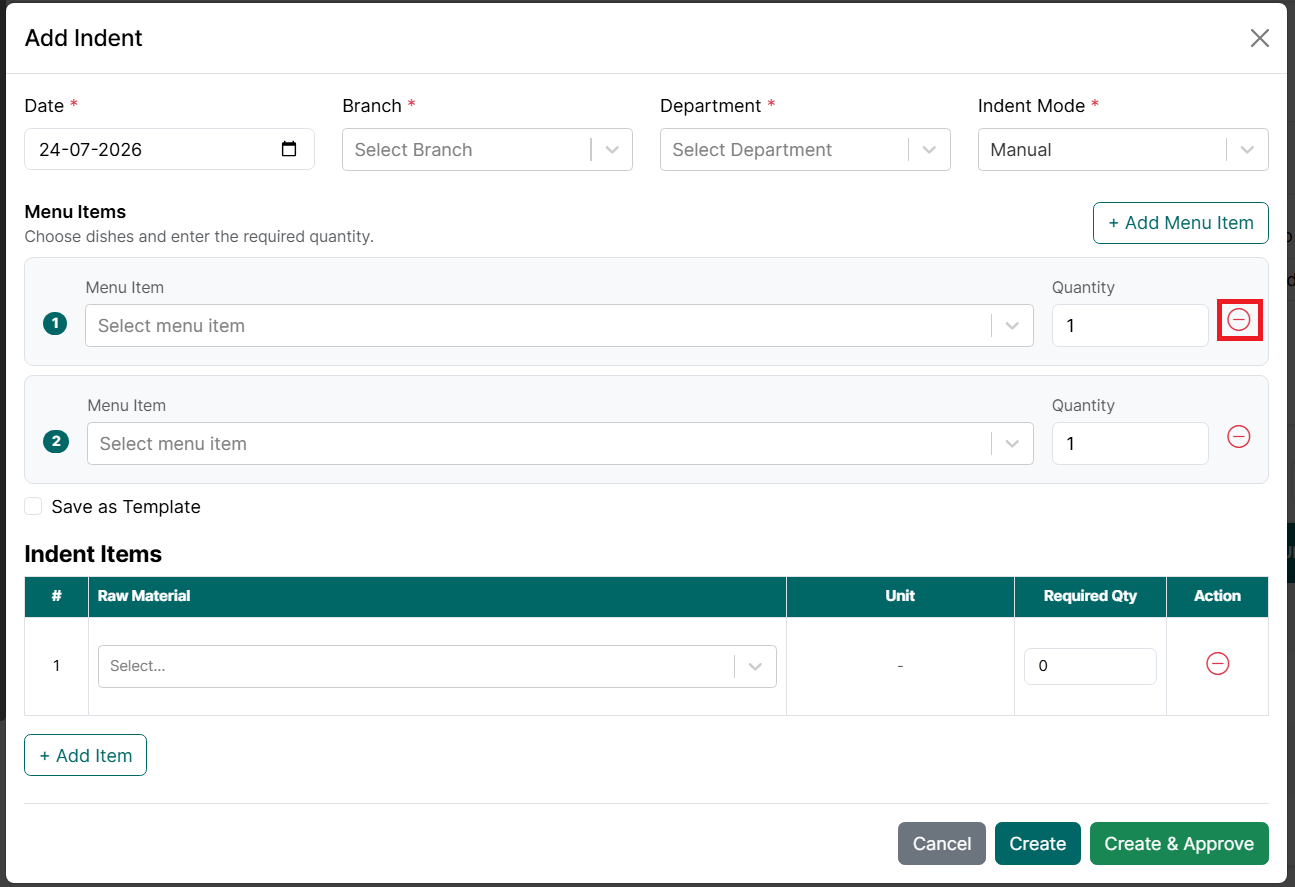
- The Menu Items section helps record why the raw materials are being requested. However, in Manual mode, the required raw materials and quantities must be entered or adjusted manually.
- Enable Save as Template if you want to save the selected menu items as a reusable template.
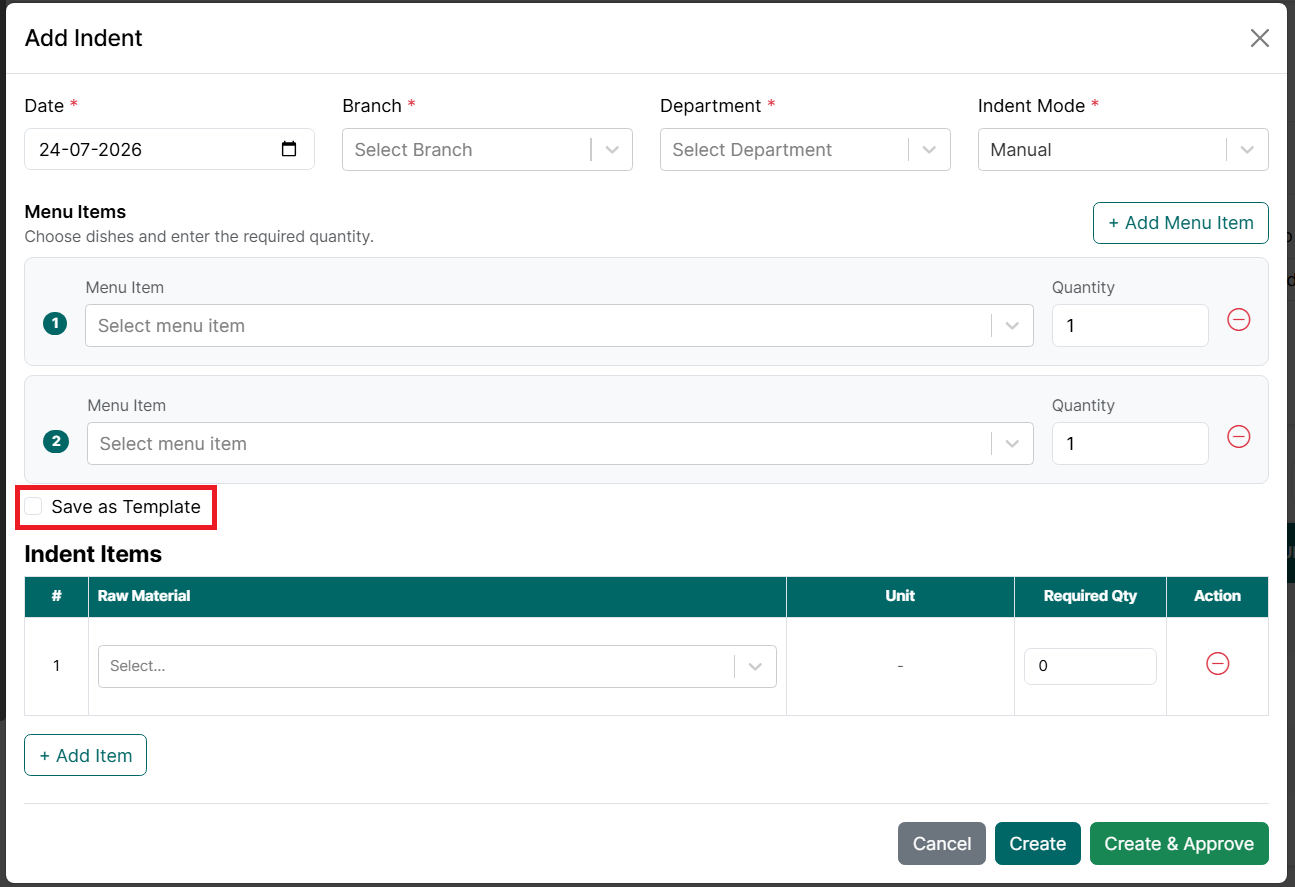
- When this option is enabled:
- Enter a Template Name.
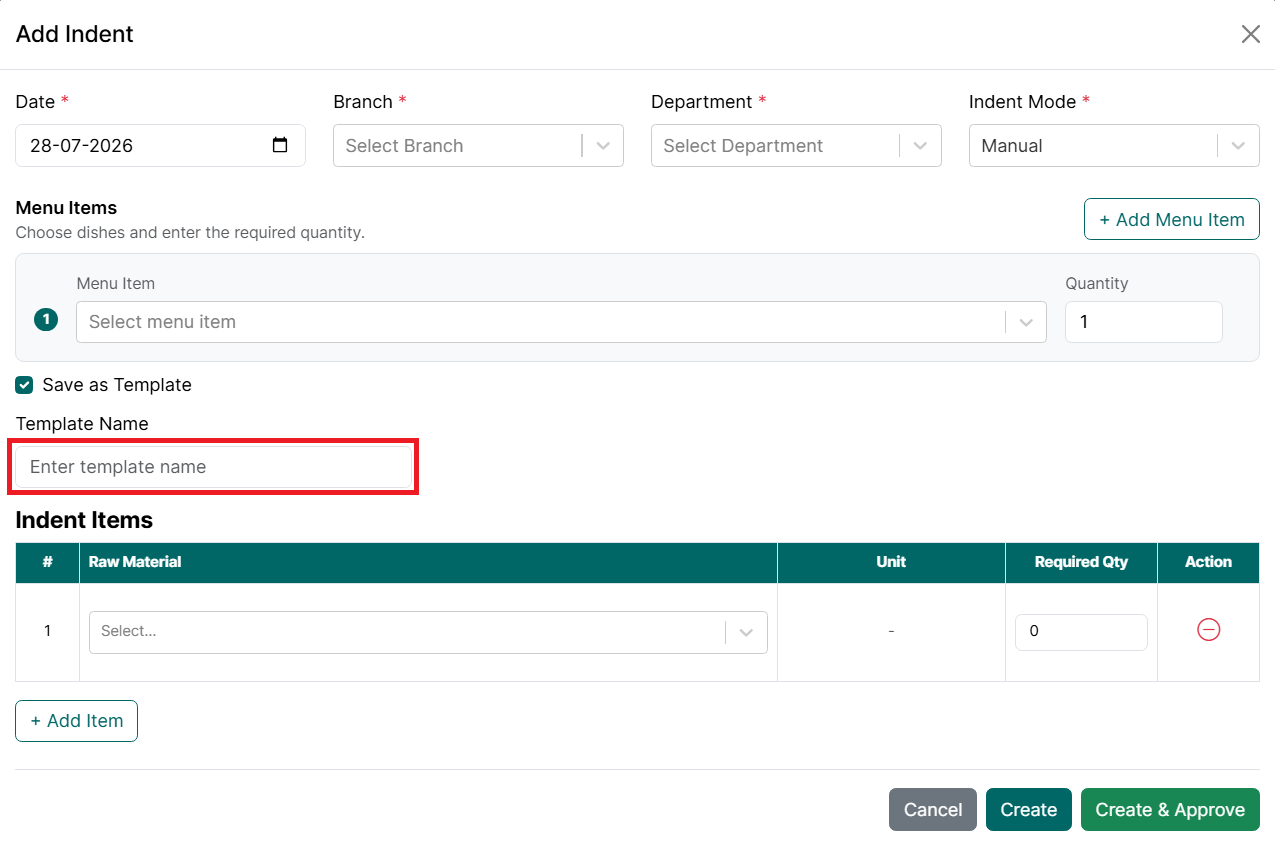
- The selected menu items are saved as a template.
- The saved template can be selected later while creating indents in Template mode, eliminating the need to select the same menu items repeatedly.
- Under Indent Items, select the required Raw Material.
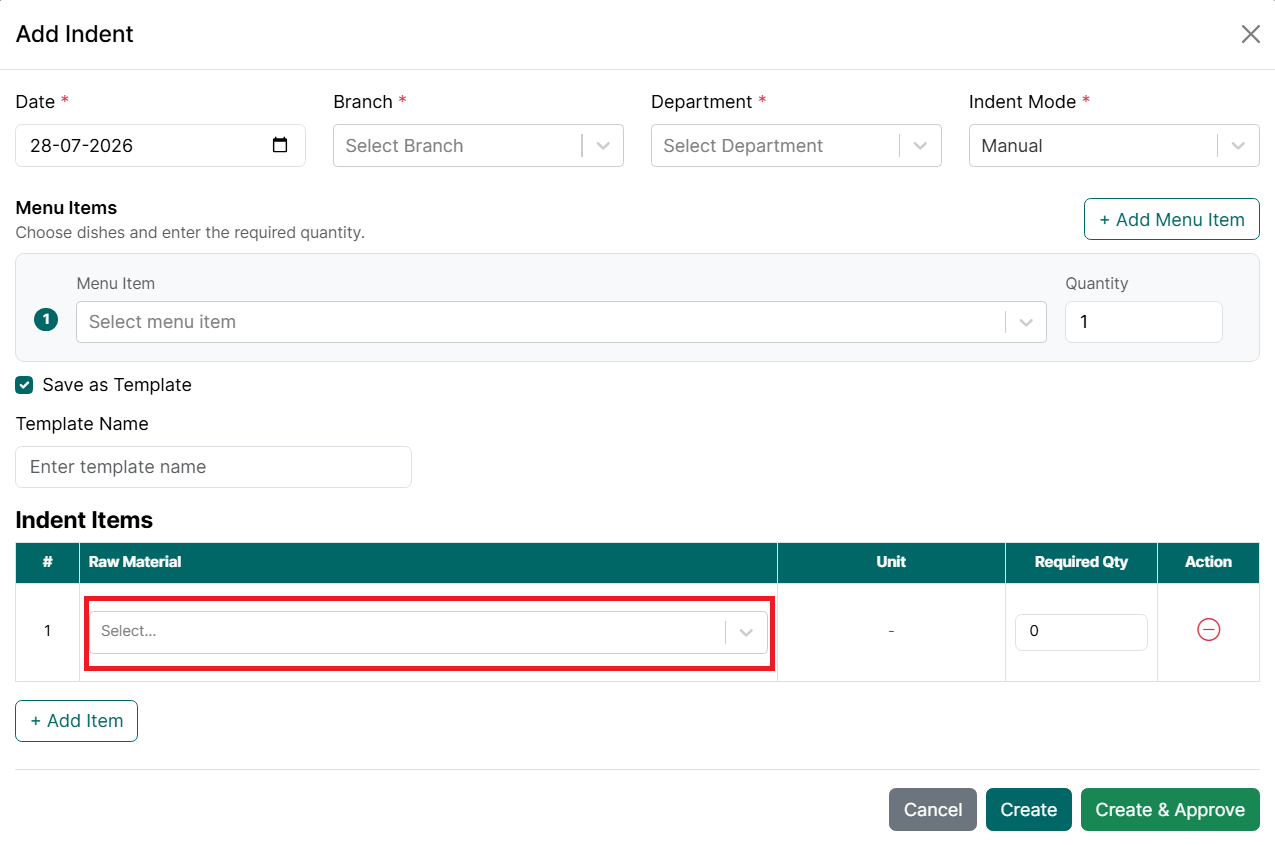
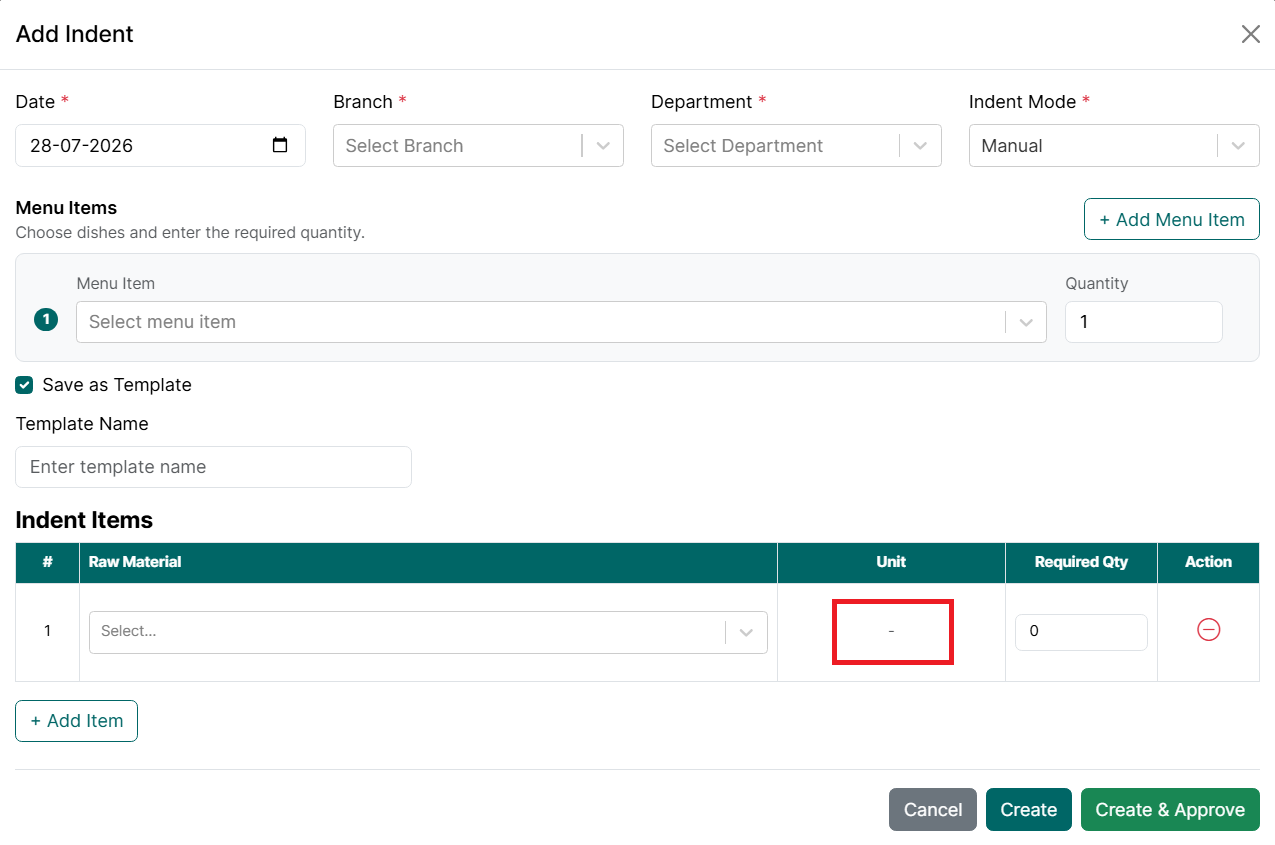
- Verify the Unit displayed for the selected raw material.
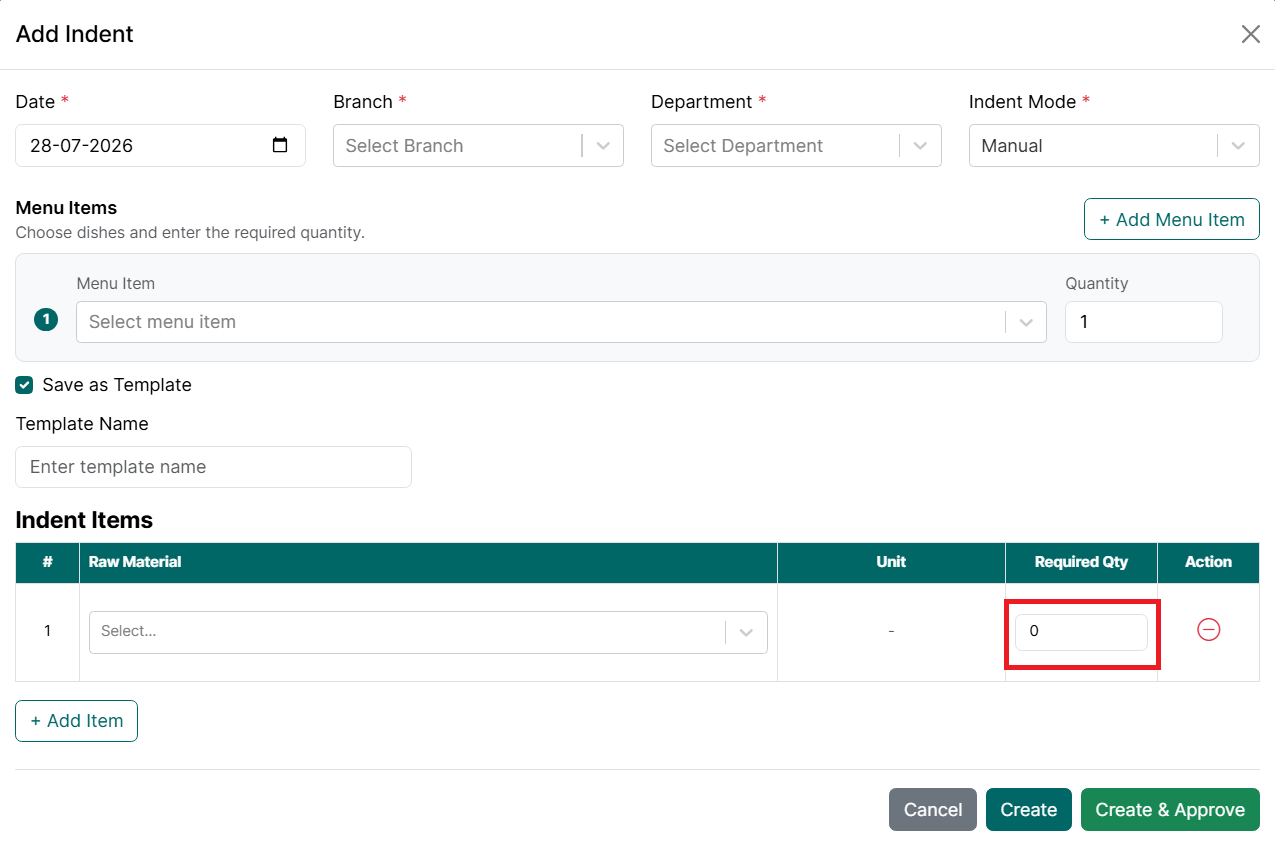
- Enter the Required Quantity.
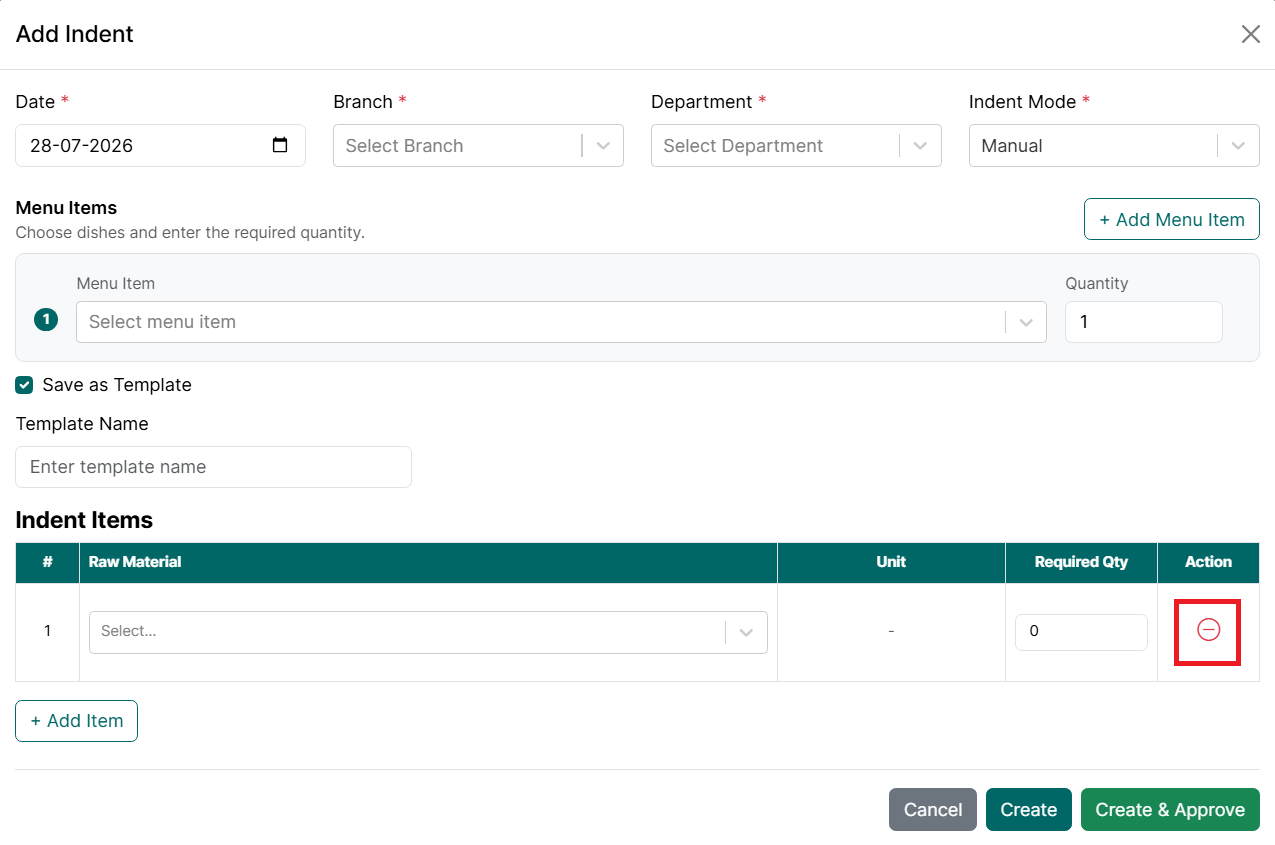
- Click the Delete icon to remove the raw material.
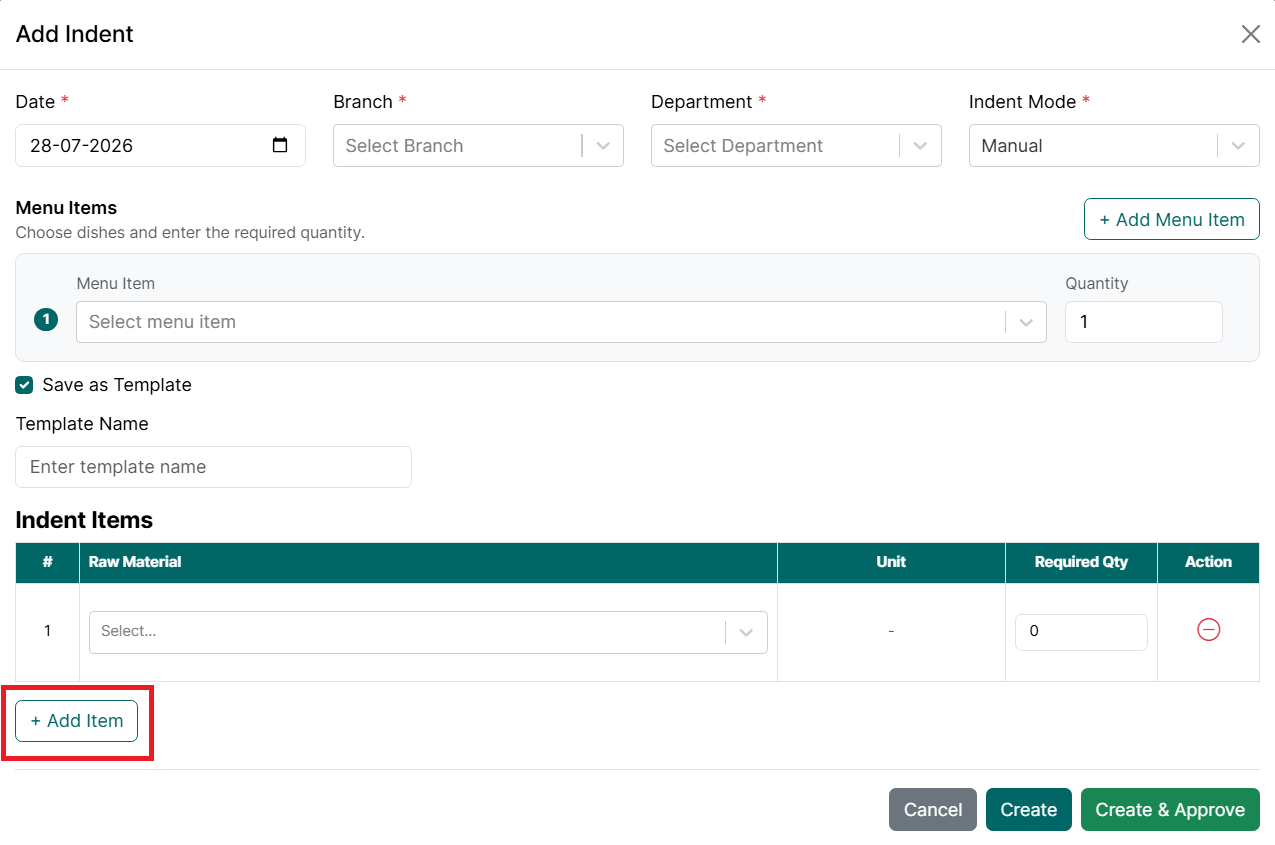
- Click Add Item to add additional raw materials if required.
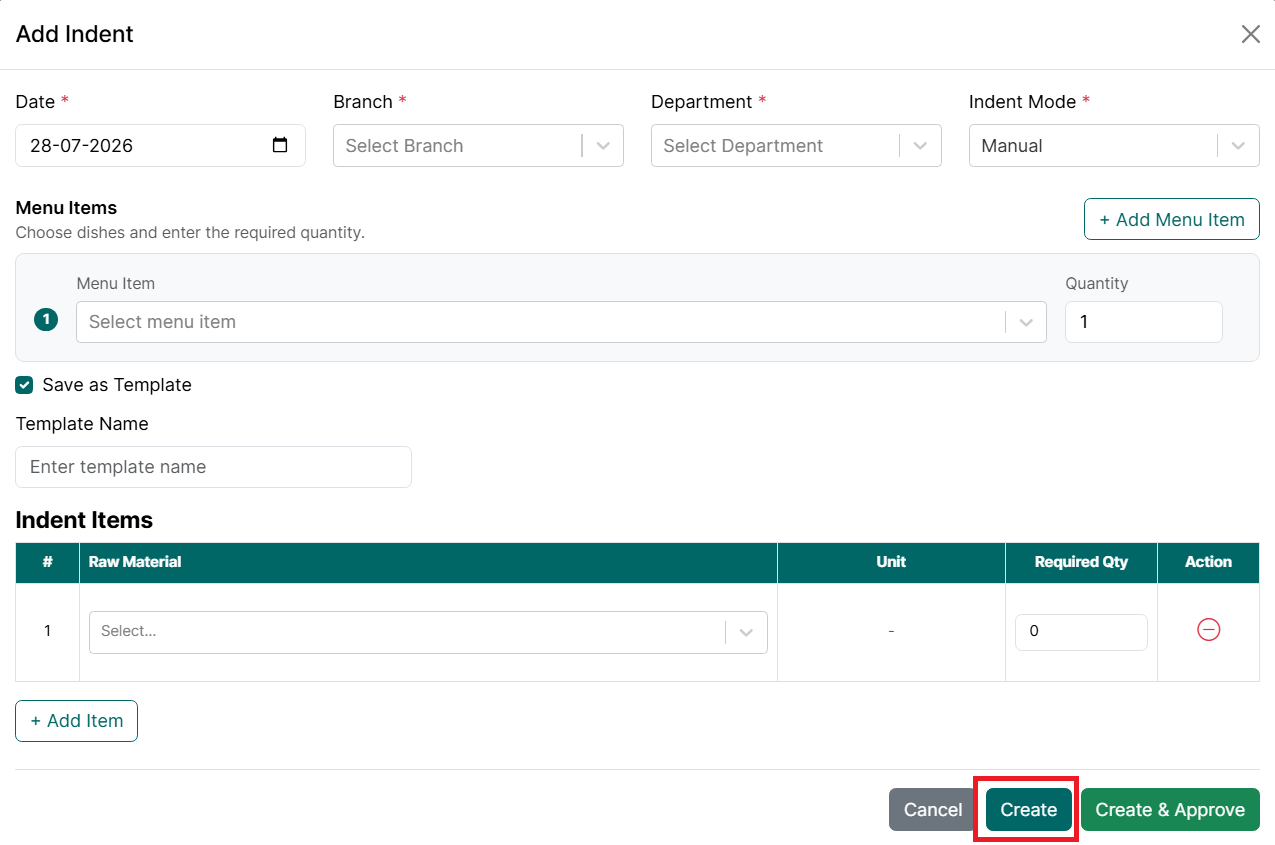
- Click Create to save the indent as a draft.
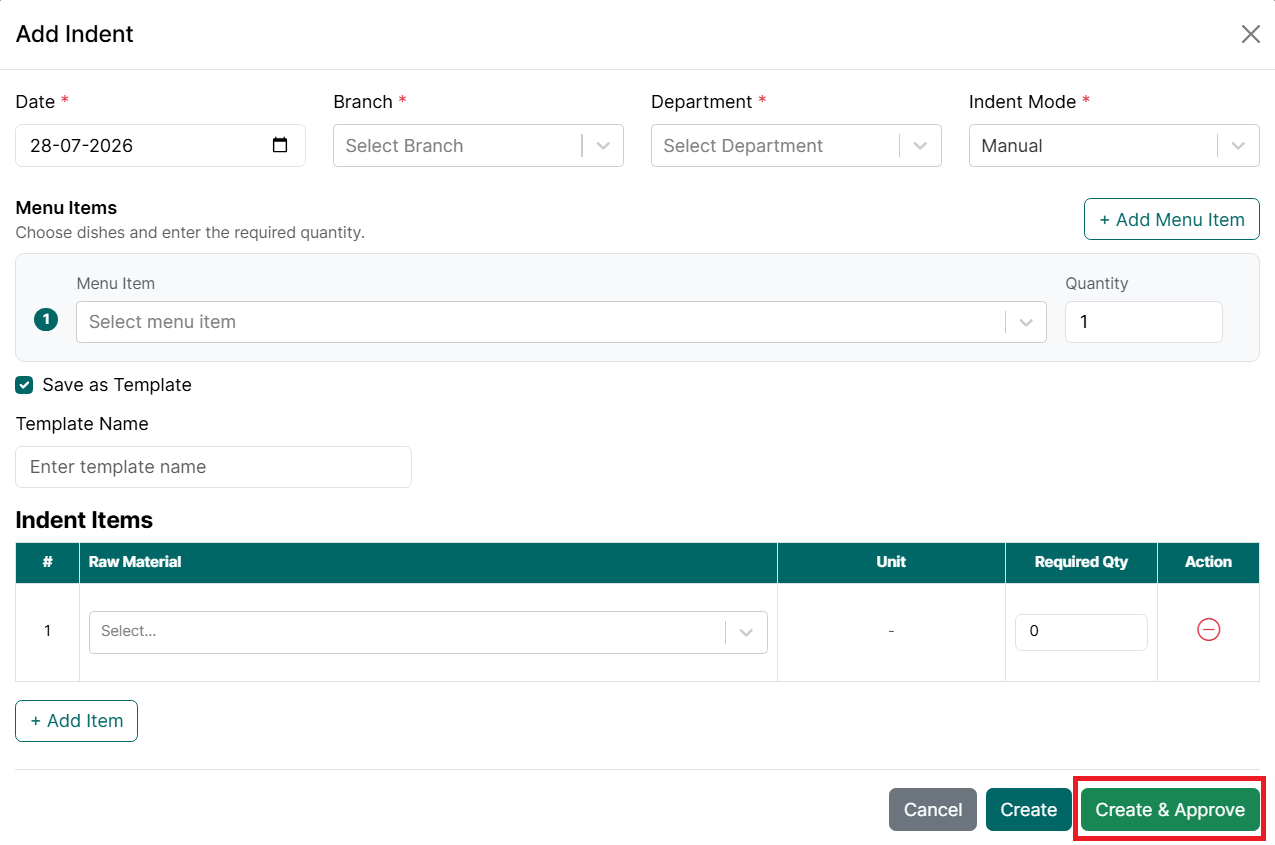
- Click Create & Approve to save and immediately approve the indent.
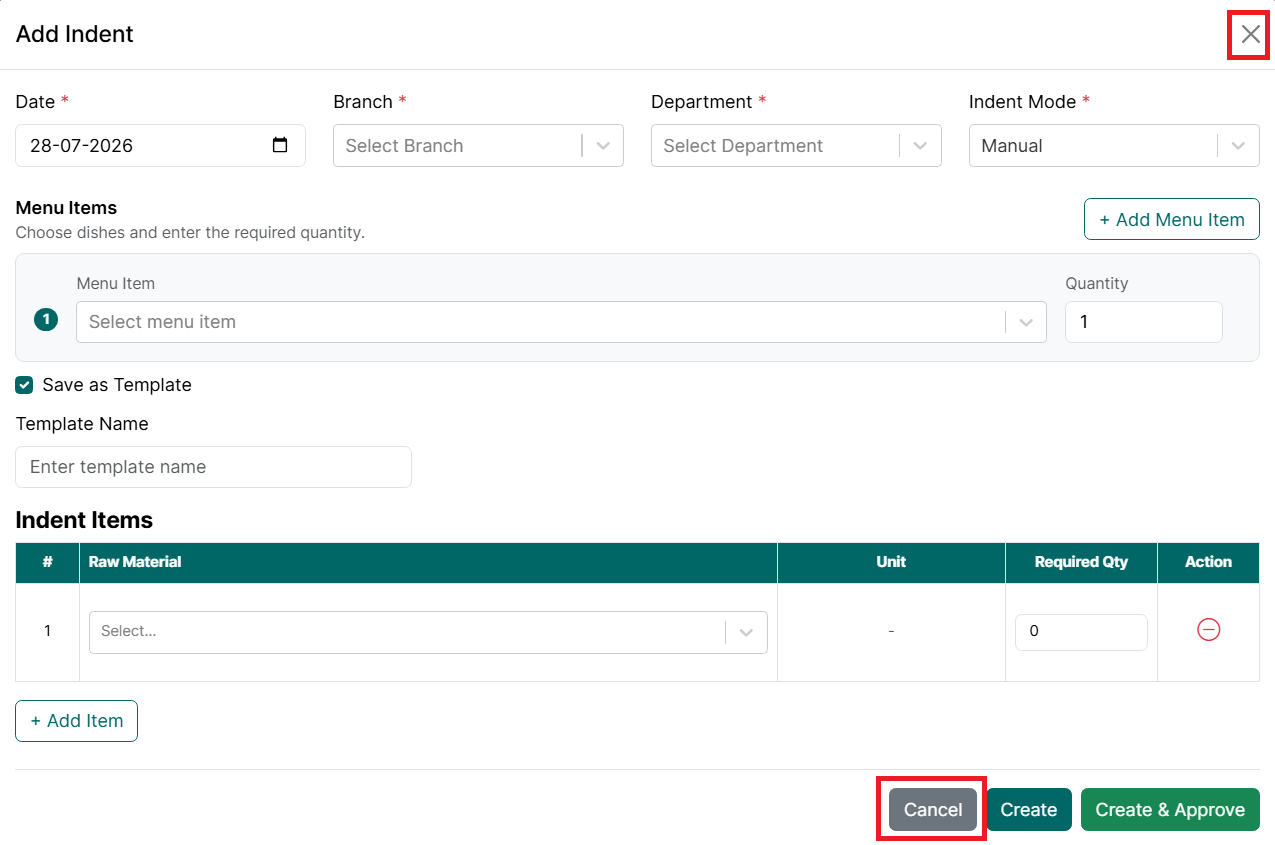
- Click Cancel or the X icon to close the window without saving.
Purpose of Manual Mode
Manual mode is suitable for custom or one-time kitchen requirements where the required raw materials vary and are not based on predefined recipes or menu items.
Template Mode
Use Template mode when preparing menu items that are created frequently.
Instead of manually selecting raw materials, you select the required Menu Items and their quantities. The application automatically calculates and populates the required raw materials based on the recipes configured for those menu items.
To create an indent using Template mode, follow the steps below.
- Go to the Main Menu. Click Indents.
- The Indent Listing page is displayed.
- Click Create Indent.
- The Add Indent window is displayed.
- Select the Date.
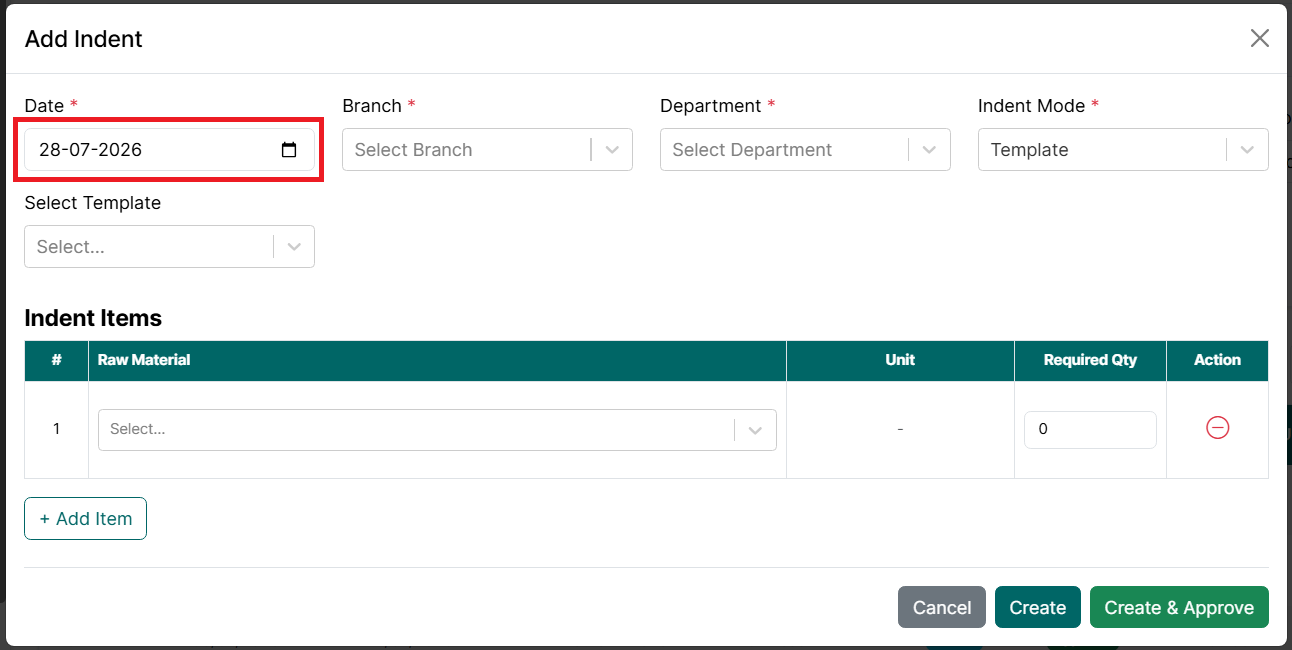
- Select the Branch.
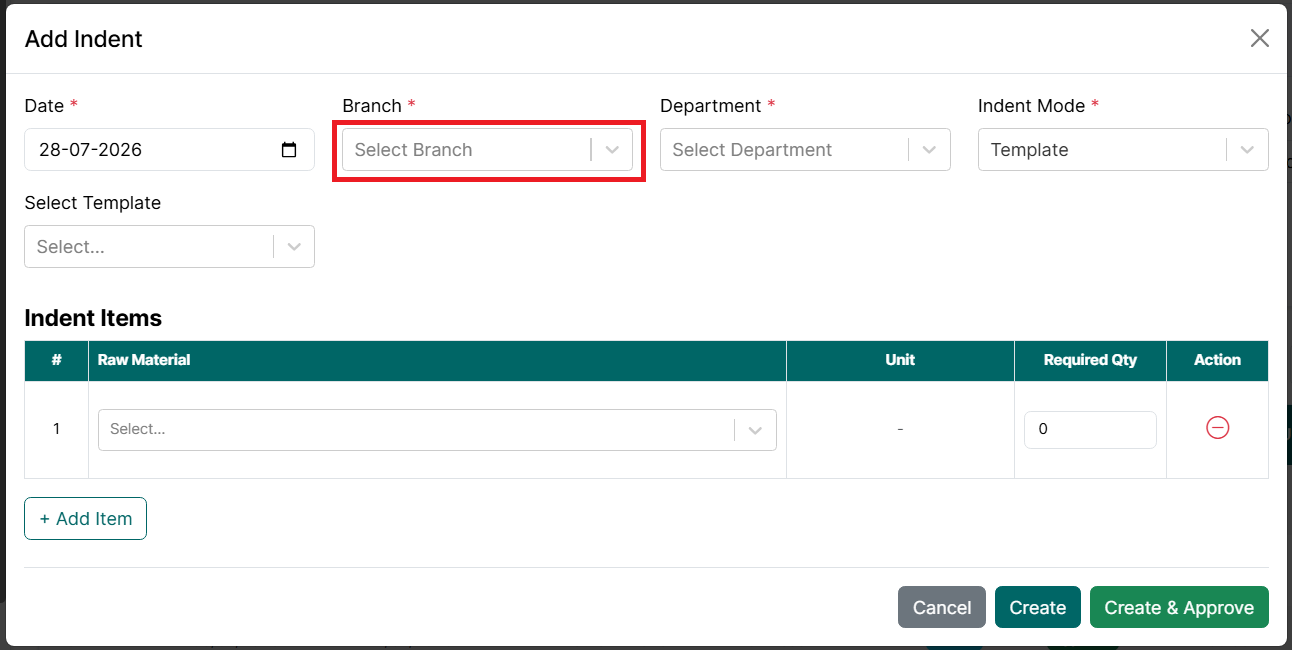
- Select the Department.
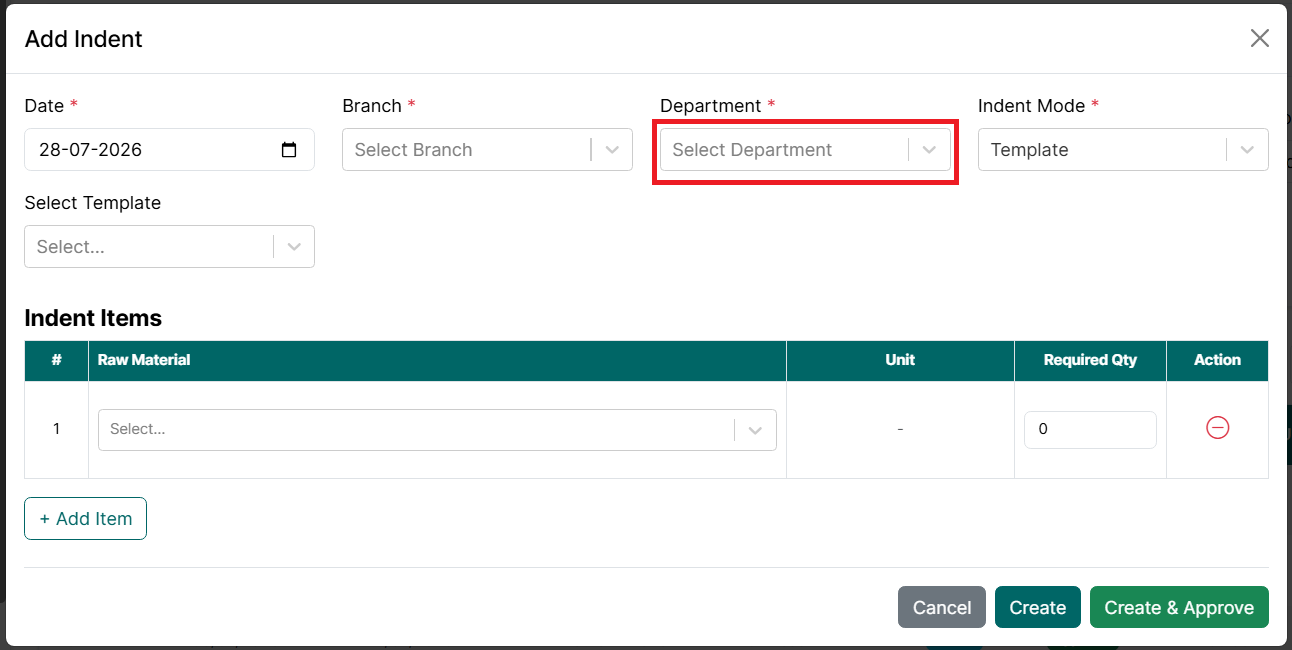
- Select Template from the Indent Mode dropdown.
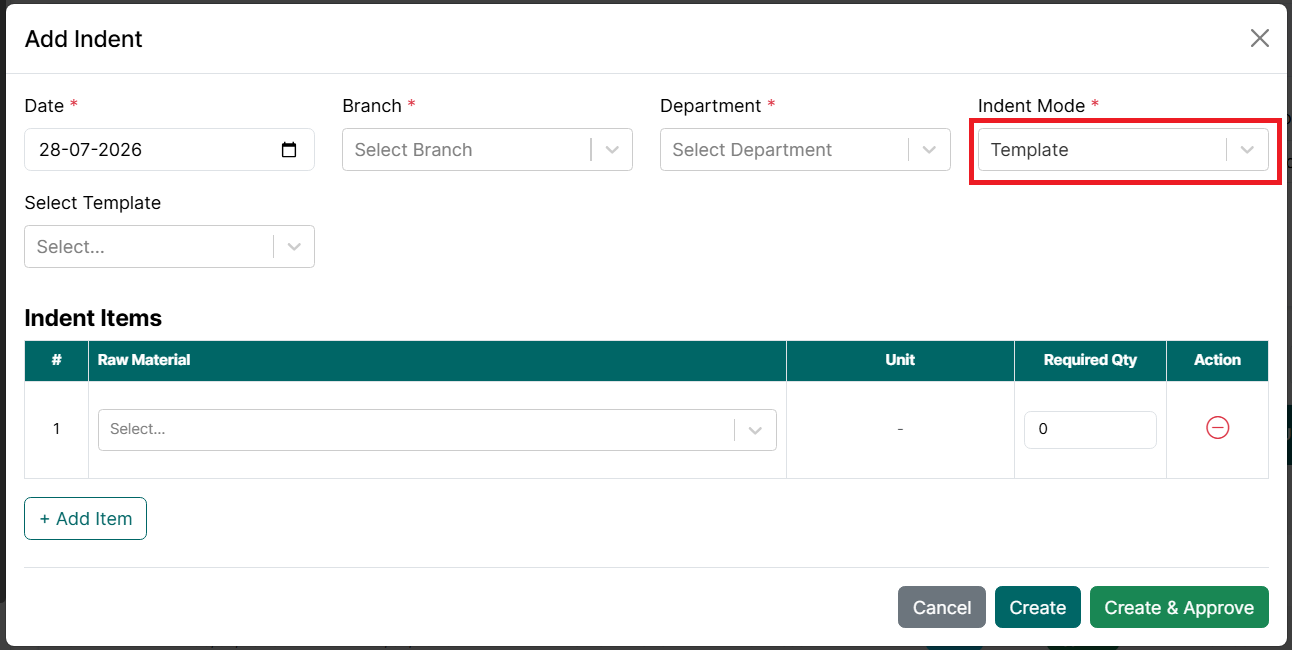
- Select the required Template from the Select Template dropdown.
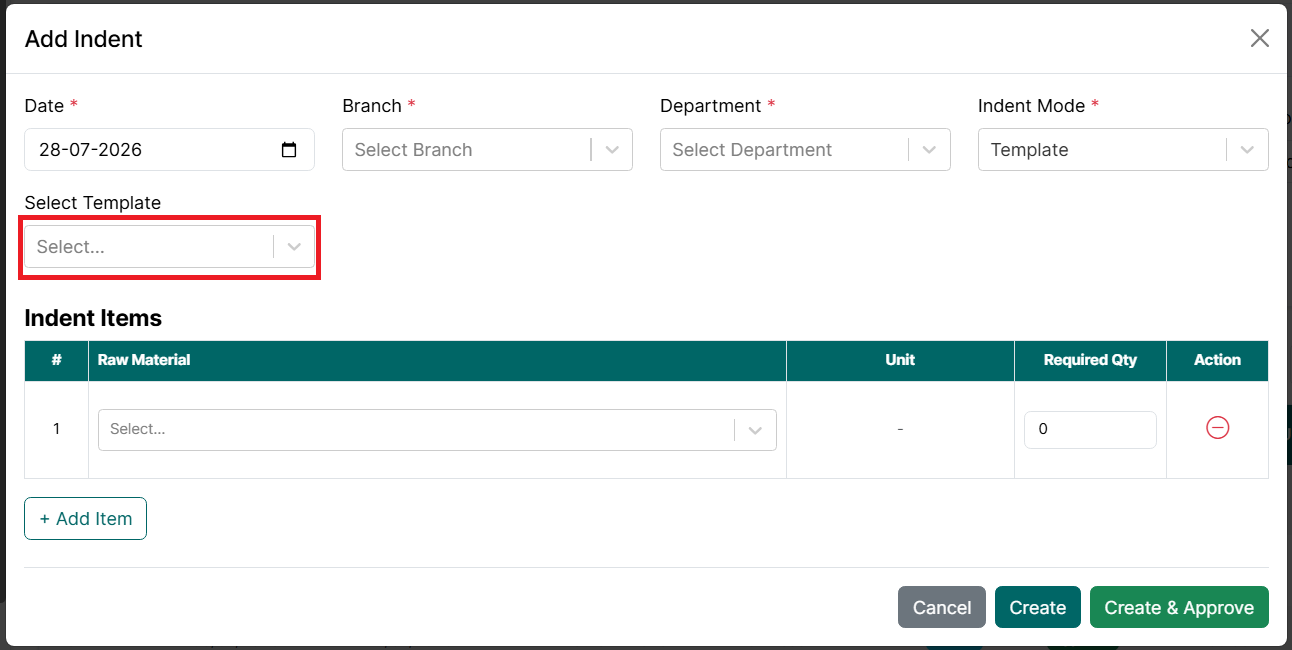
- After a template is selected, the Menu Items included in the template, if any, are displayed automatically in view-only mode. These menu items cannot be added, removed, or modified.
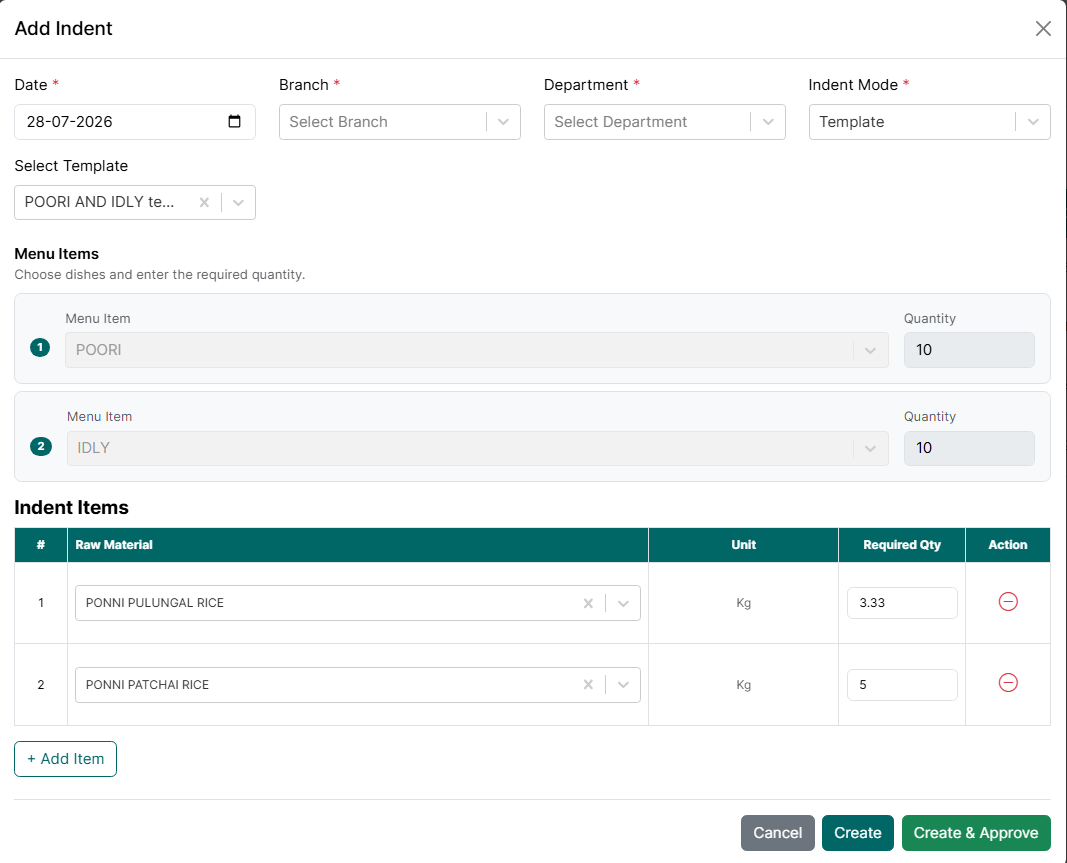
- The Indent Items section is automatically populated with the raw materials and required quantities configured for the selected template.
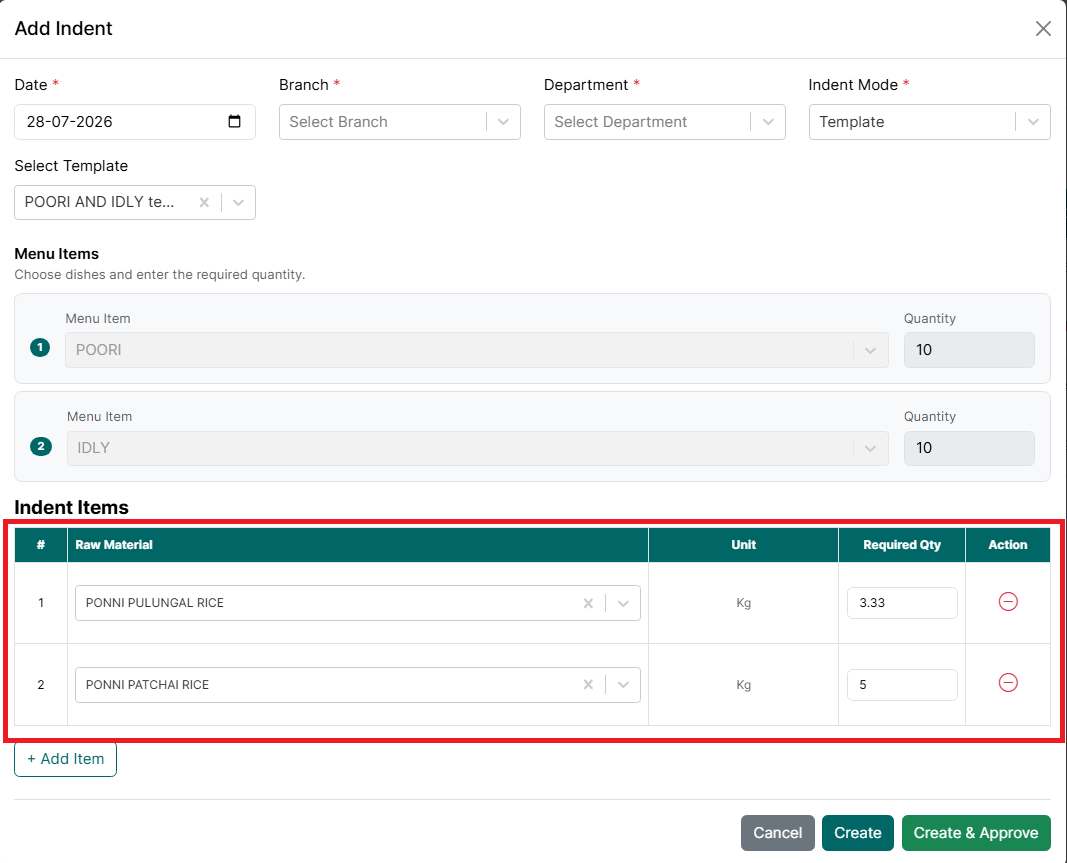
- Verify the Unit displayed for each raw material.
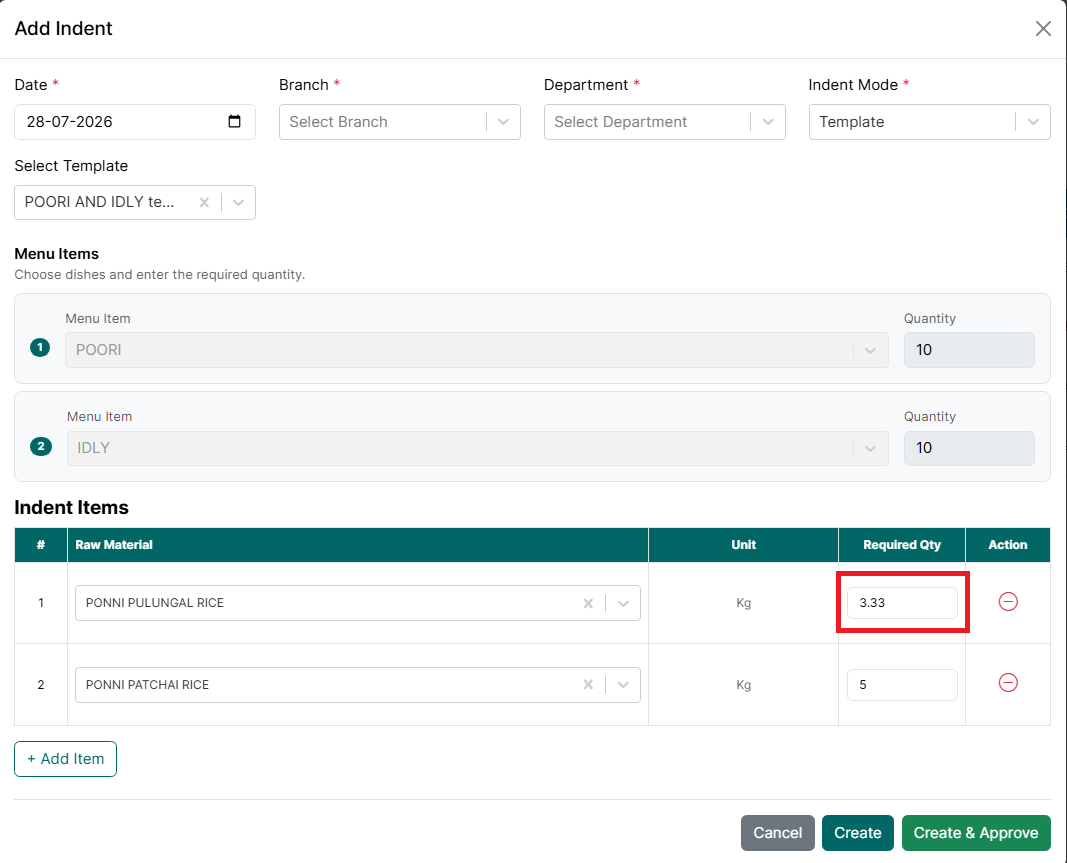
- Update the Required Quantity, if necessary.
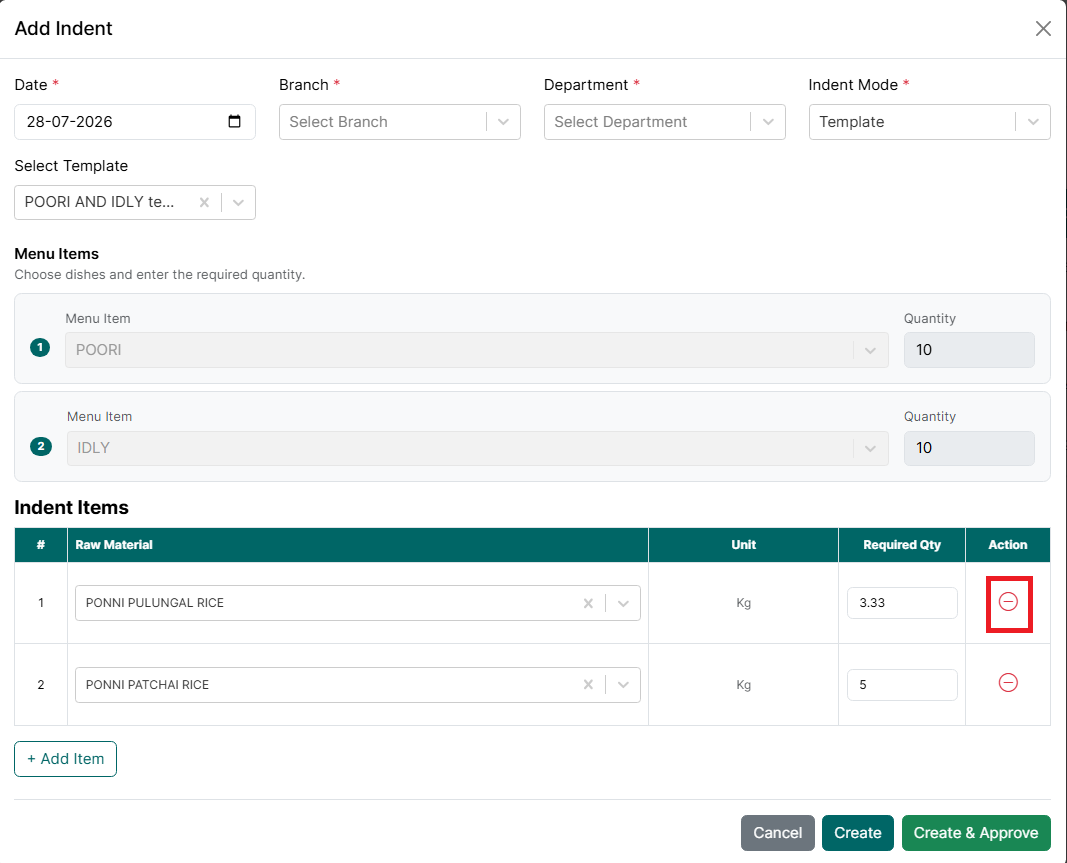
- Click the Delete icon to remove a raw material from the indent, if required.
- Click Add Item to manually add additional raw materials that are not included in the selected template, if required.
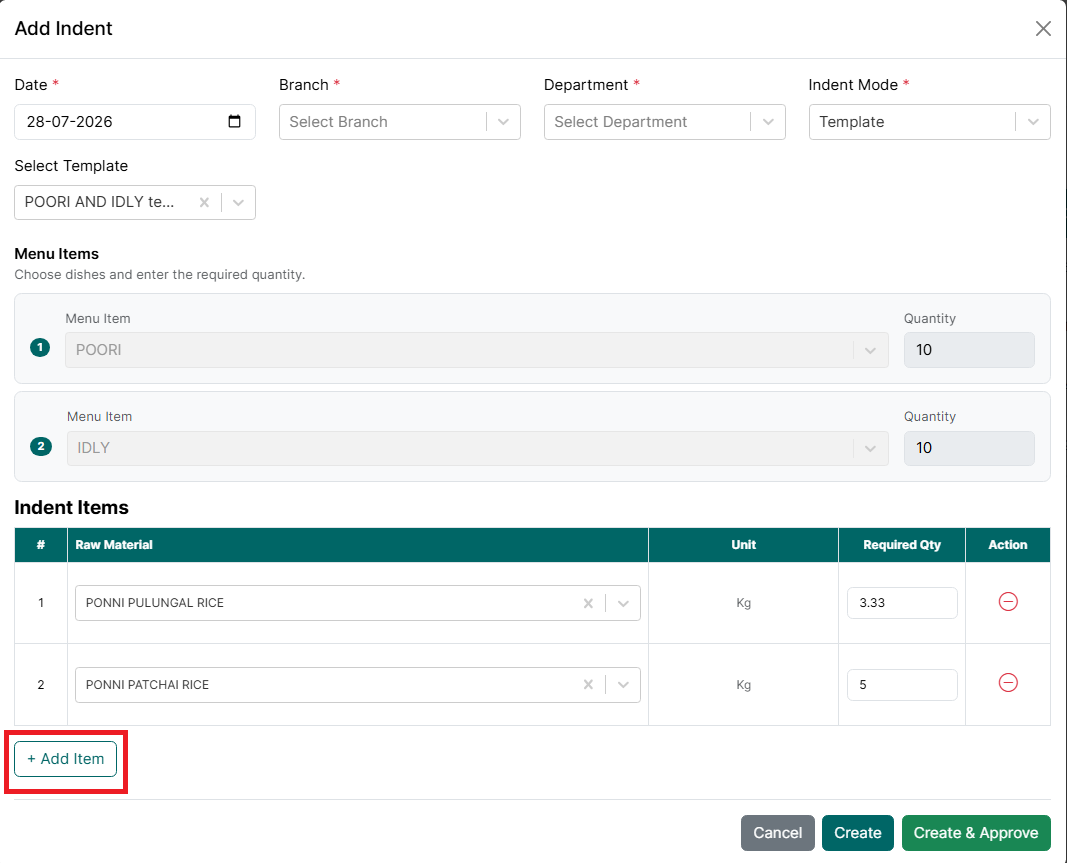
- Click Create to save the indent as a draft.
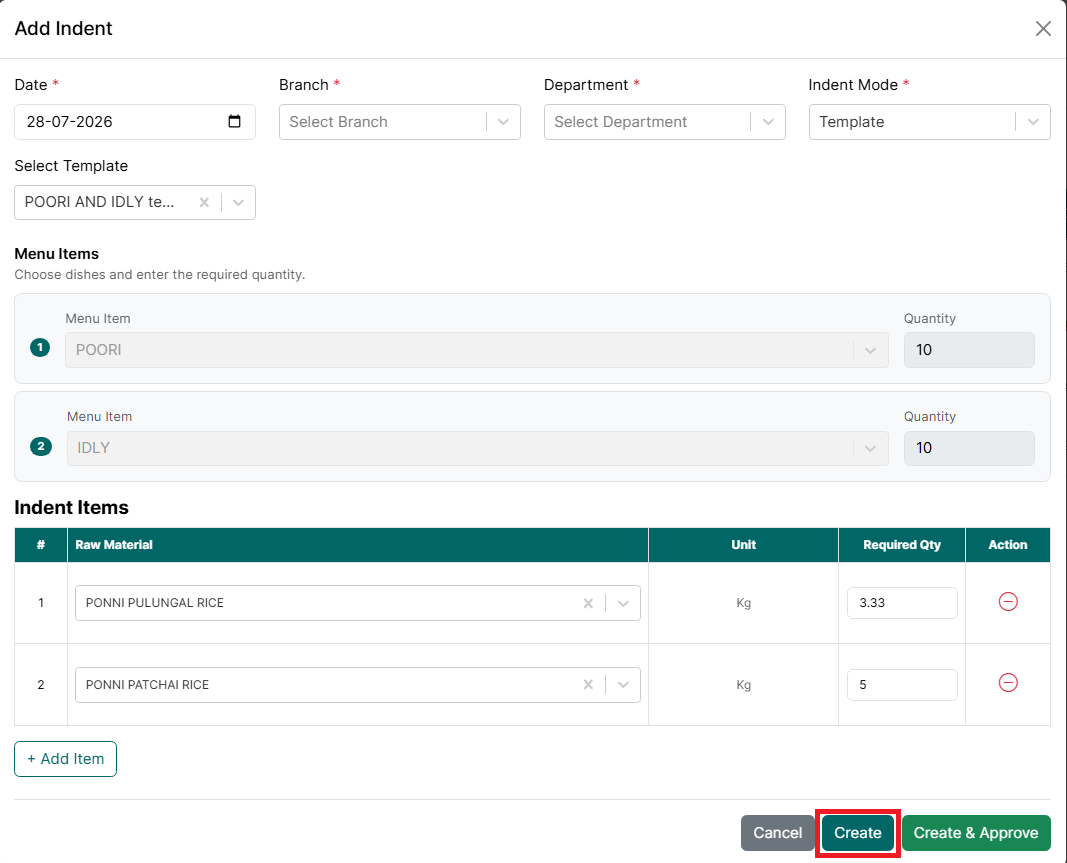
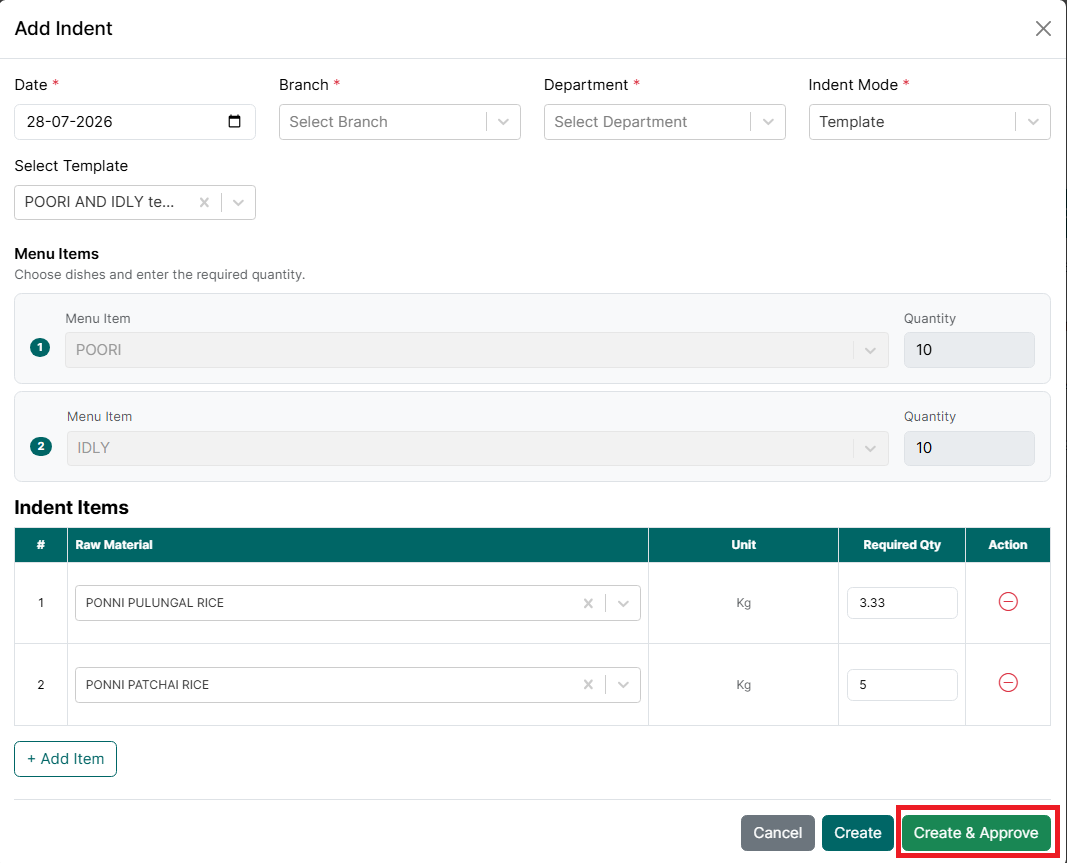
- Click Create & Approve to save and immediately approve the indent.
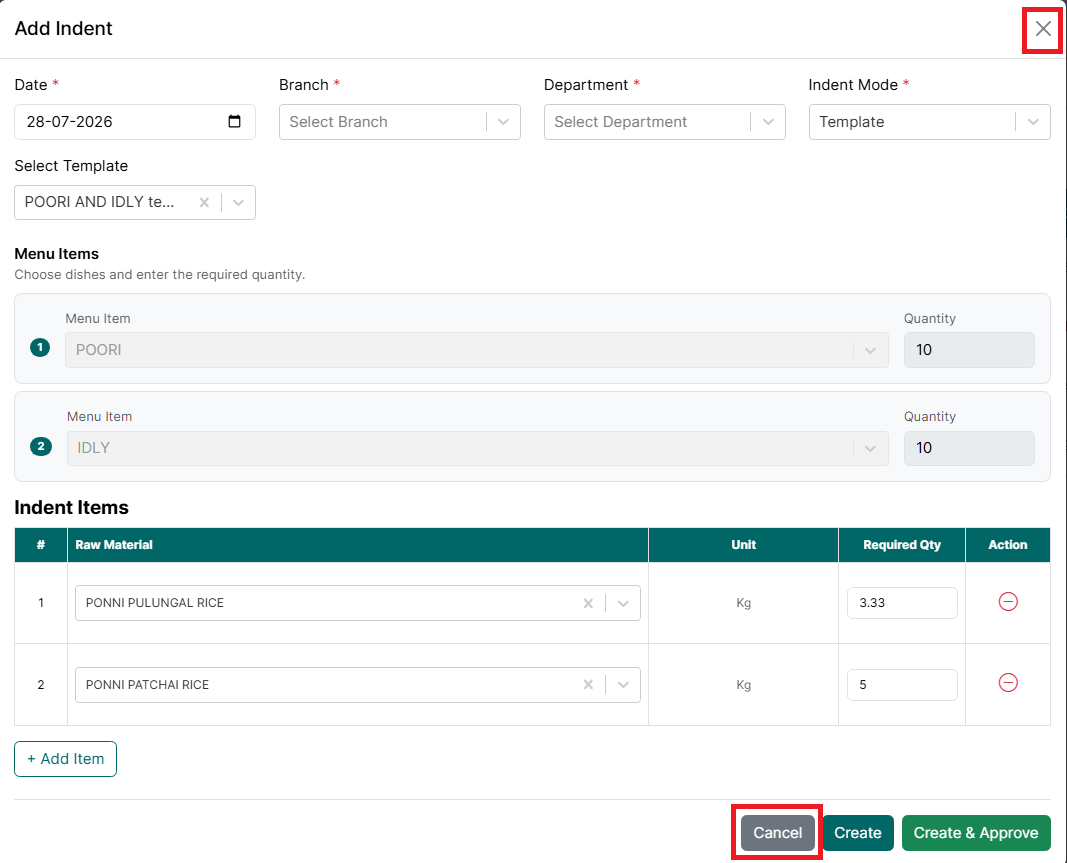
- Click Cancel or the X icon to close the window without saving.
Purpose of Template Mode
Template mode reduces manual effort by automatically calculating the required raw materials from the selected menu items and recipes. It is ideal for preparing frequently used menus, ensuring consistency and minimizing manual calculation errors.
Note:
- Selecting menu items automatically generates the required raw materials based on the configured recipes.
- Create saves the indent in draft status.
- Create & Approve immediately approves the indent, deducts the approved quantities from inventory, and updates the inventory balances automatically.
View Indent
To view an indent, follow the steps below.
- Go to the Main Menu. Click Indents.
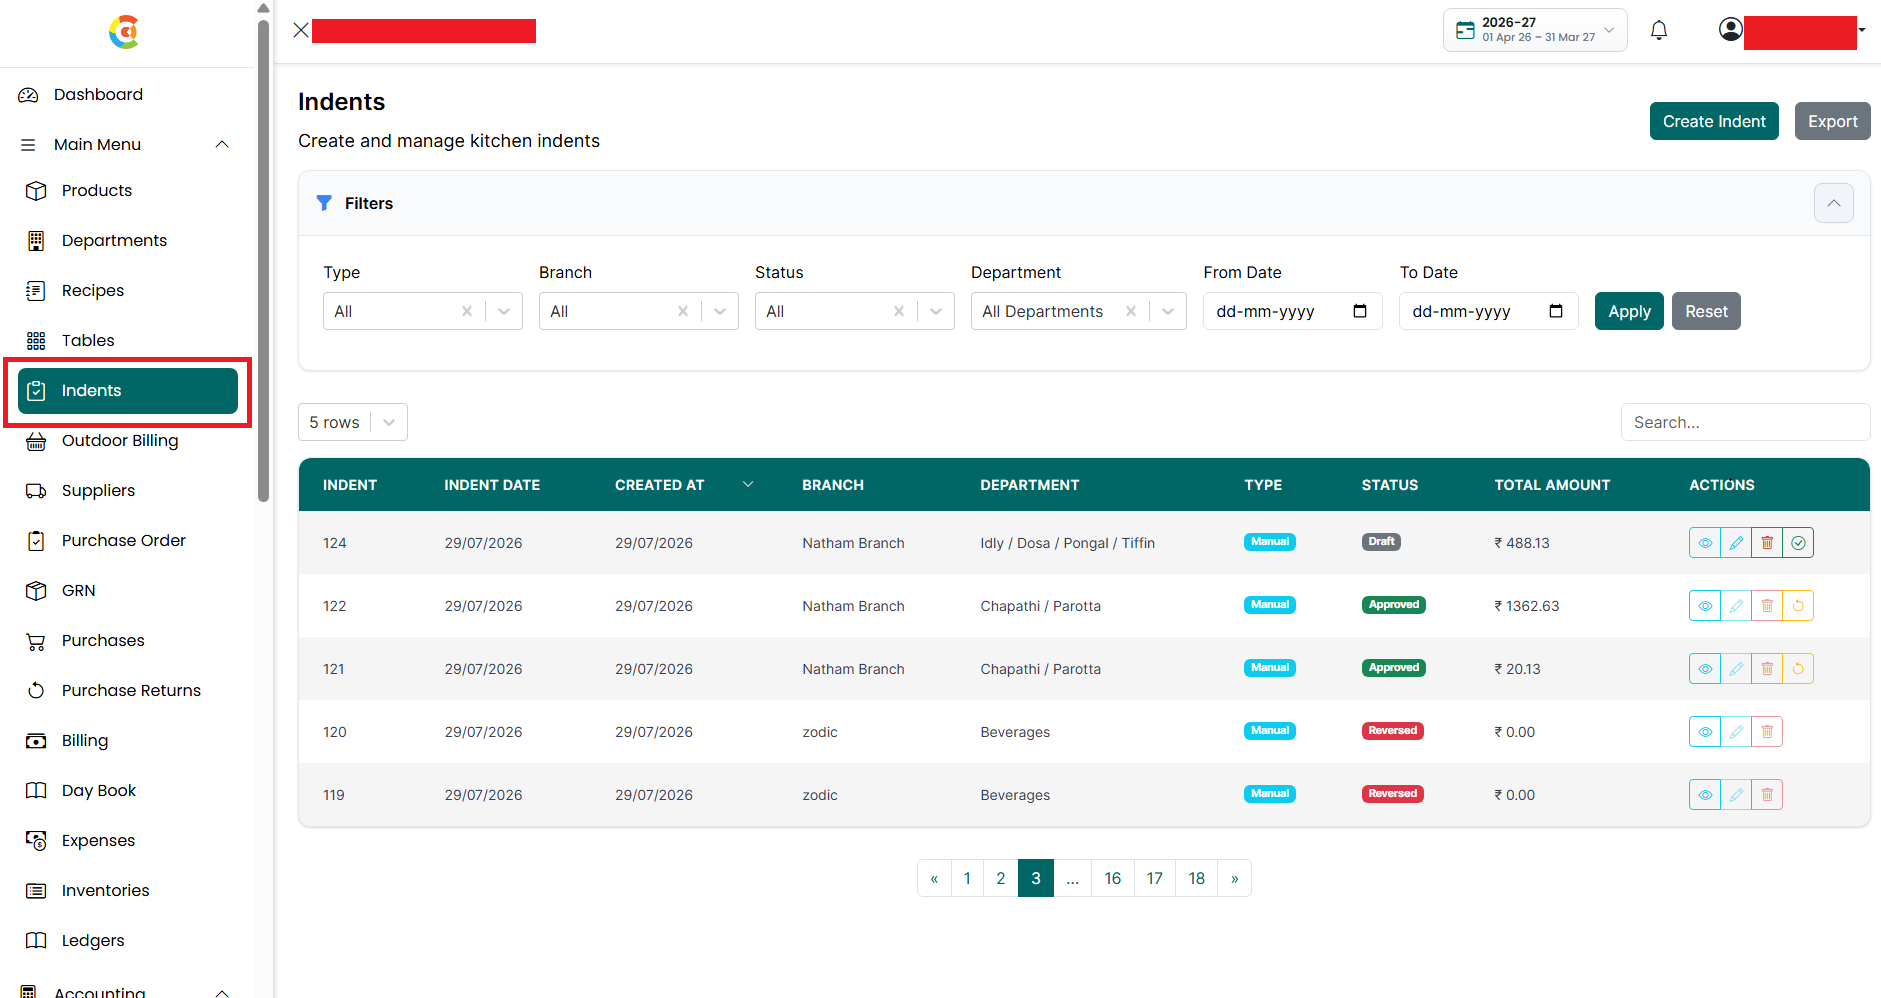
- The Indent Listing page is displayed.
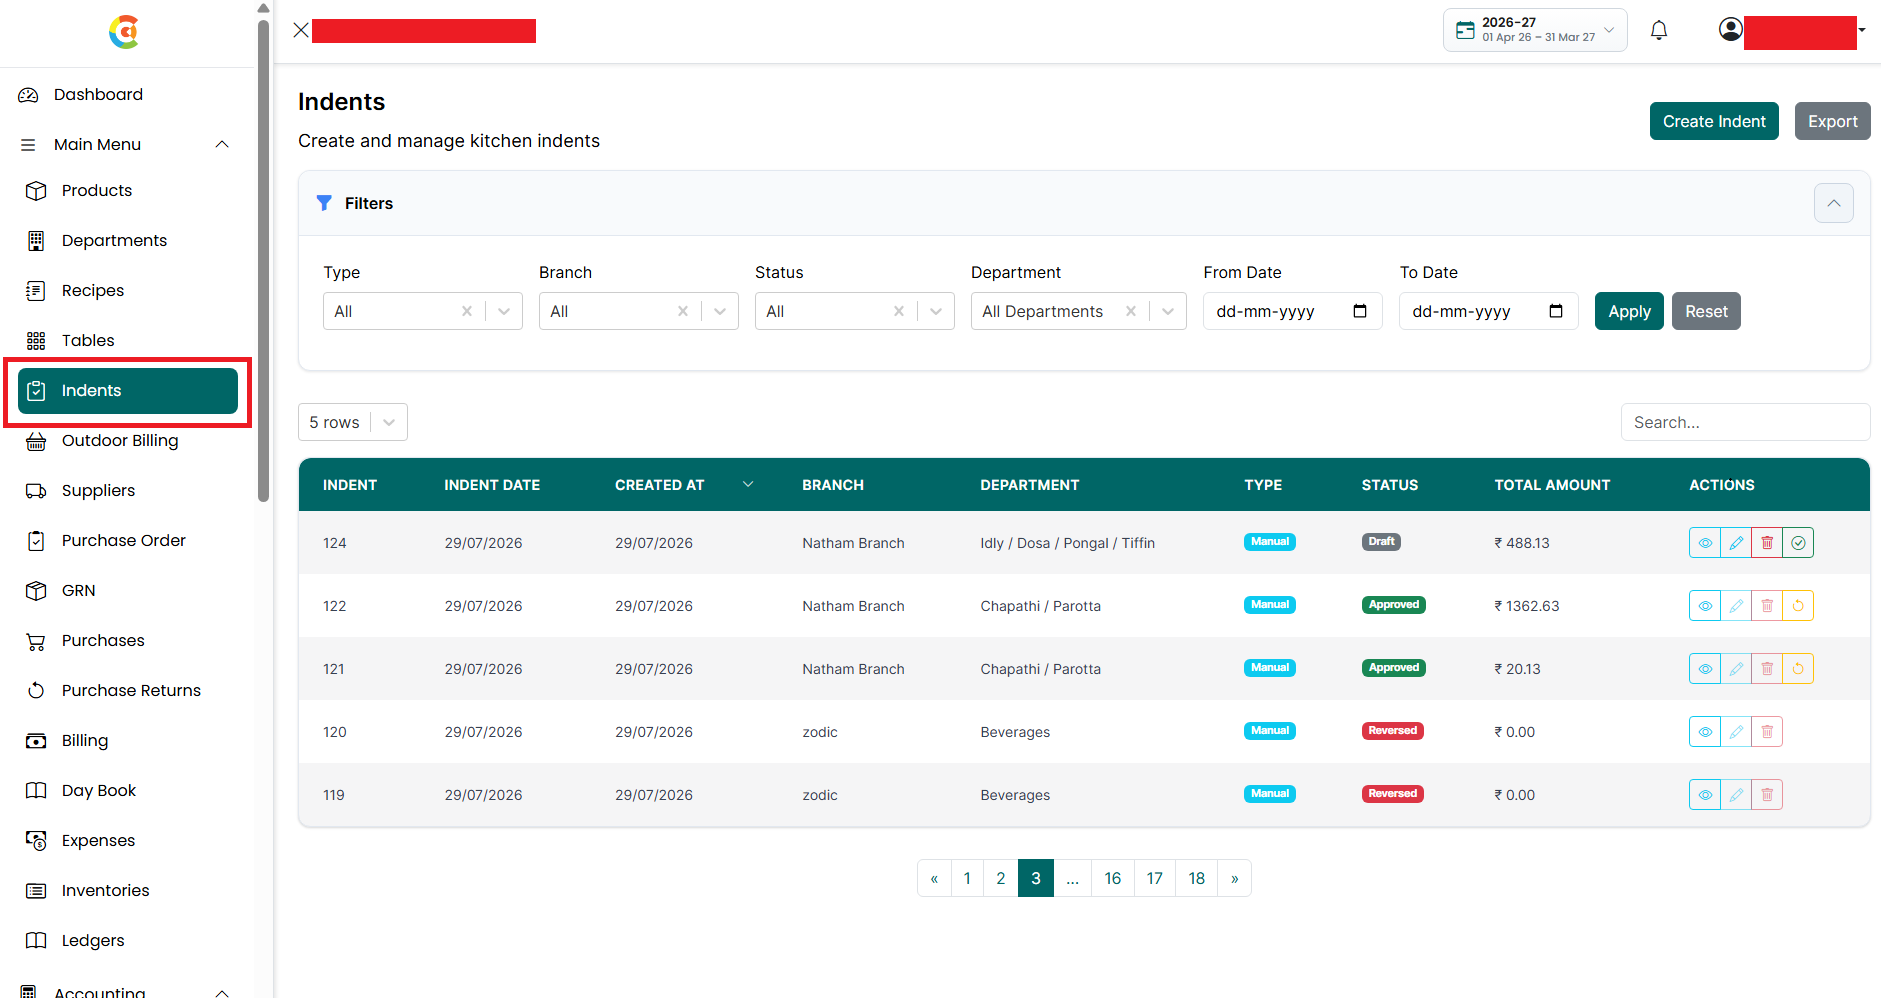
- Locate the required indent.
- Click the View (Eye) icon.
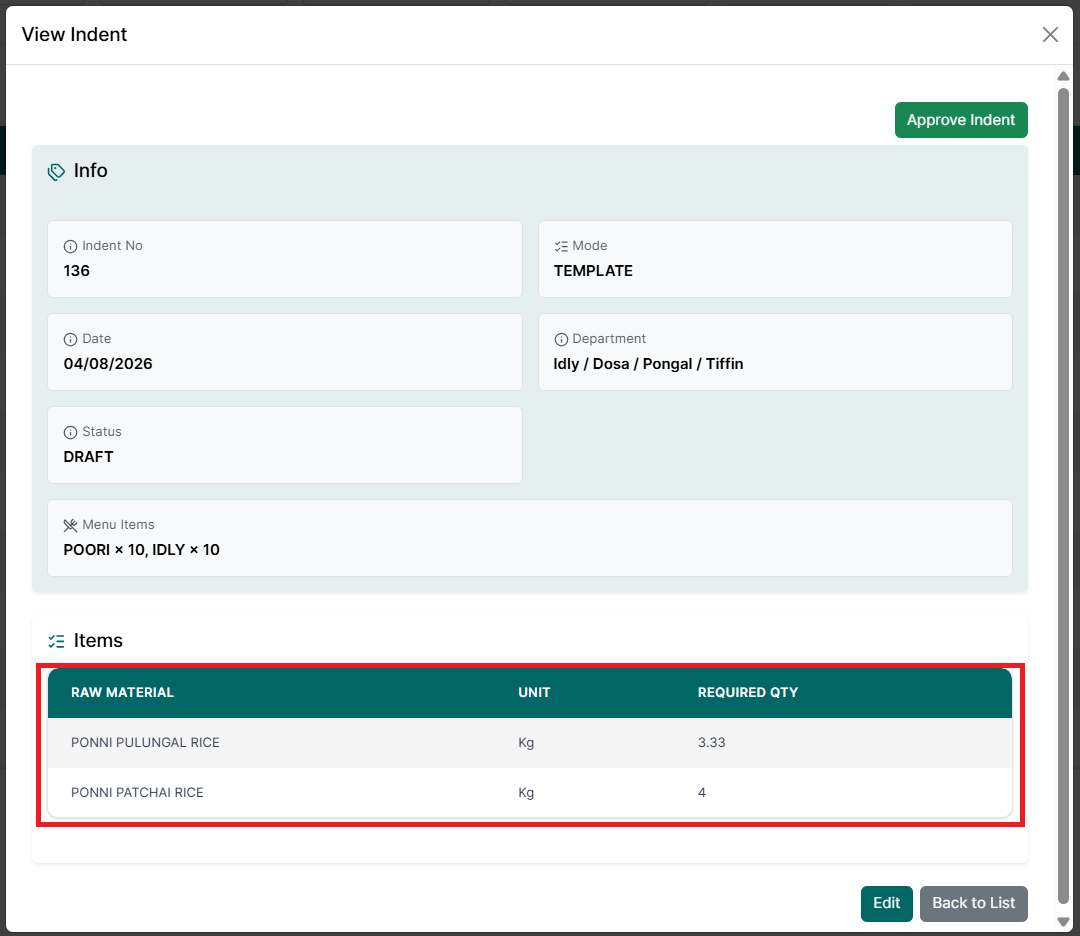
- The View Indent window is displayed.
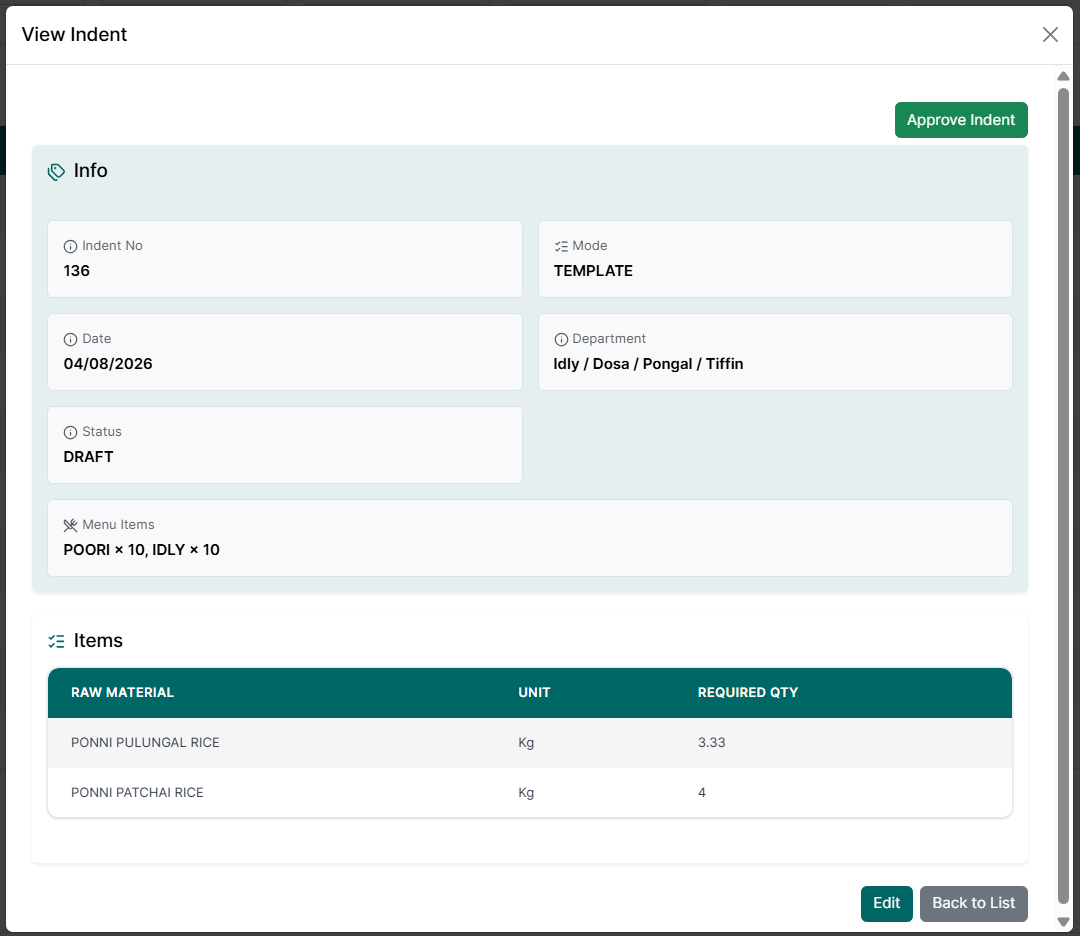
- The following information is available:
- Info
- Indent Number
- Date
- Mode
- Department
- Status
- Menu Items included in the indent
- Items - The Items section displays all raw materials required for the indent, including:
- Raw Material
- Unit
- Required Quantity
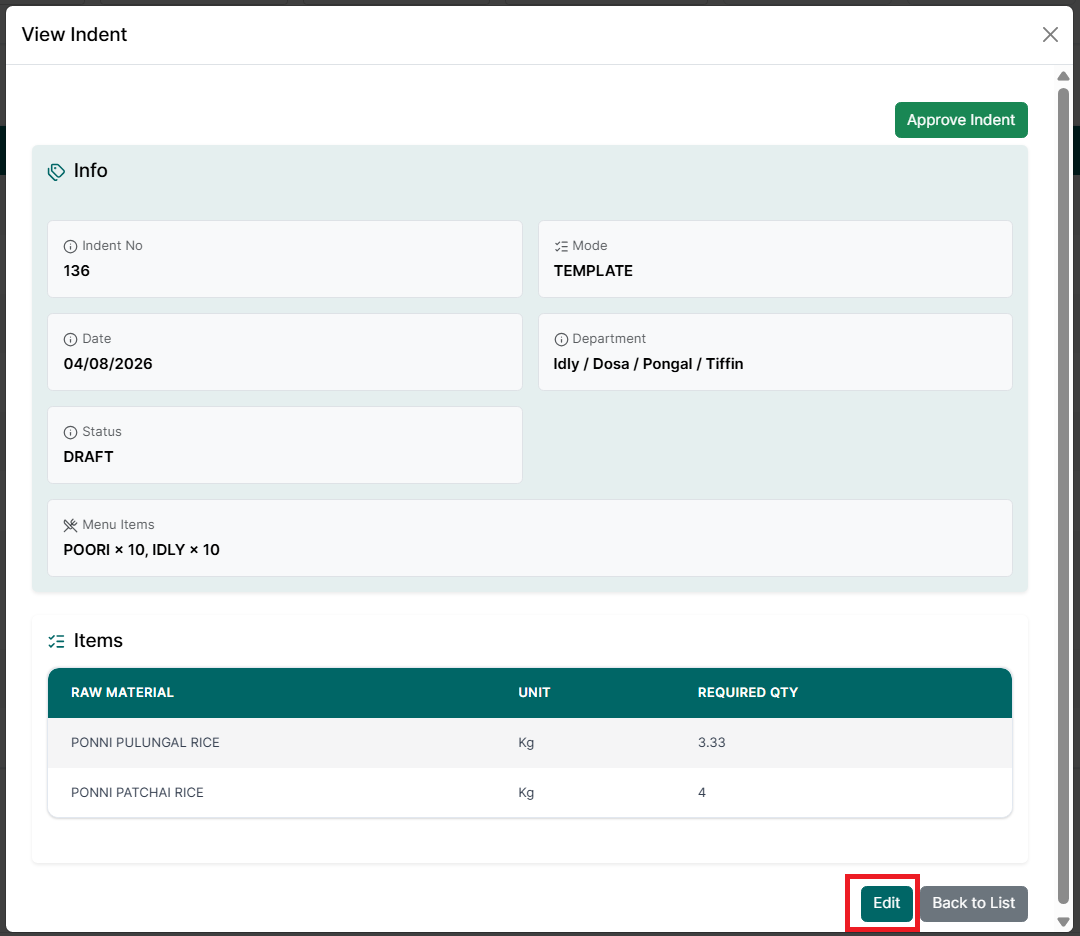
- For Draft Indents - The following actions are available:
- Edit Indent - Opens the Edit Indent window, allowing you to modify the indent details, menu items, and raw material quantities.
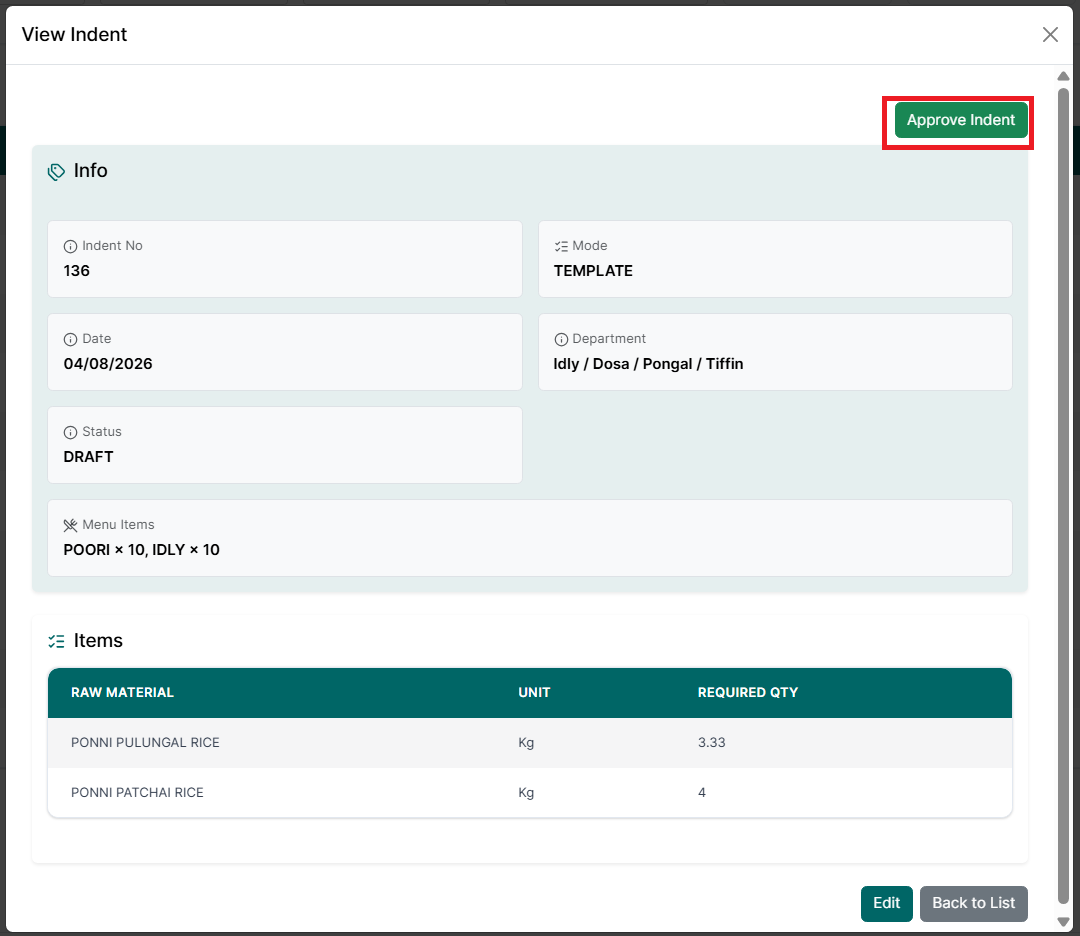
- Approve Indent - Approves the indent and issues the requested raw materials from inventory.
- For Approved Indents - The following actions are available:
- Edit Indent - Opens the Edit Indent window, allowing the approved indent to be modified. Updating the indent automatically recalculates inventory, reports, and financial values based on the changes.
- Approve Indent - Not available, as the indent has already been approved.
- For Reversed Indents
- The indent is displayed in read-only mode. Editing and approval options are not available.
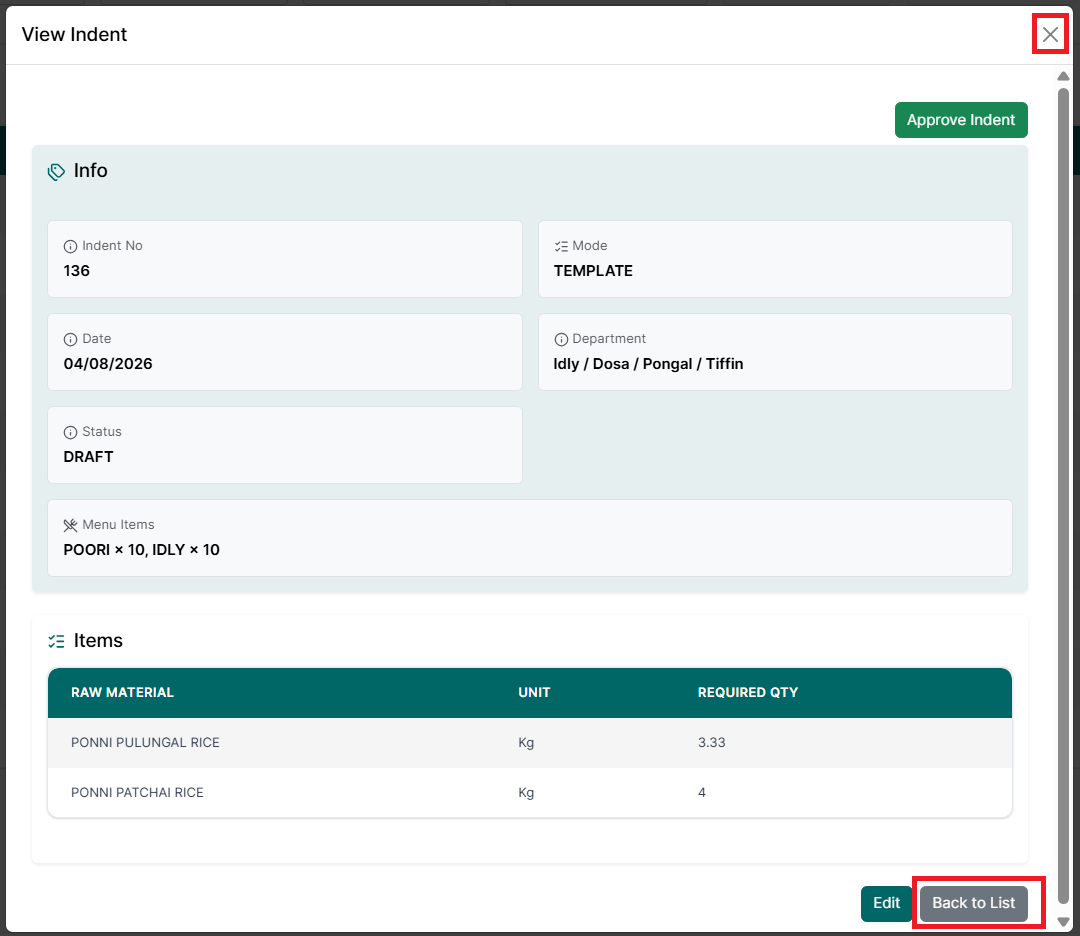
- Click Back to List to return to the Indent List.

Edit Indent (Manual Mode)
To edit an existing indent created in Manual mode, follow the steps below.
- Go to the Main Menu. Click Indents.
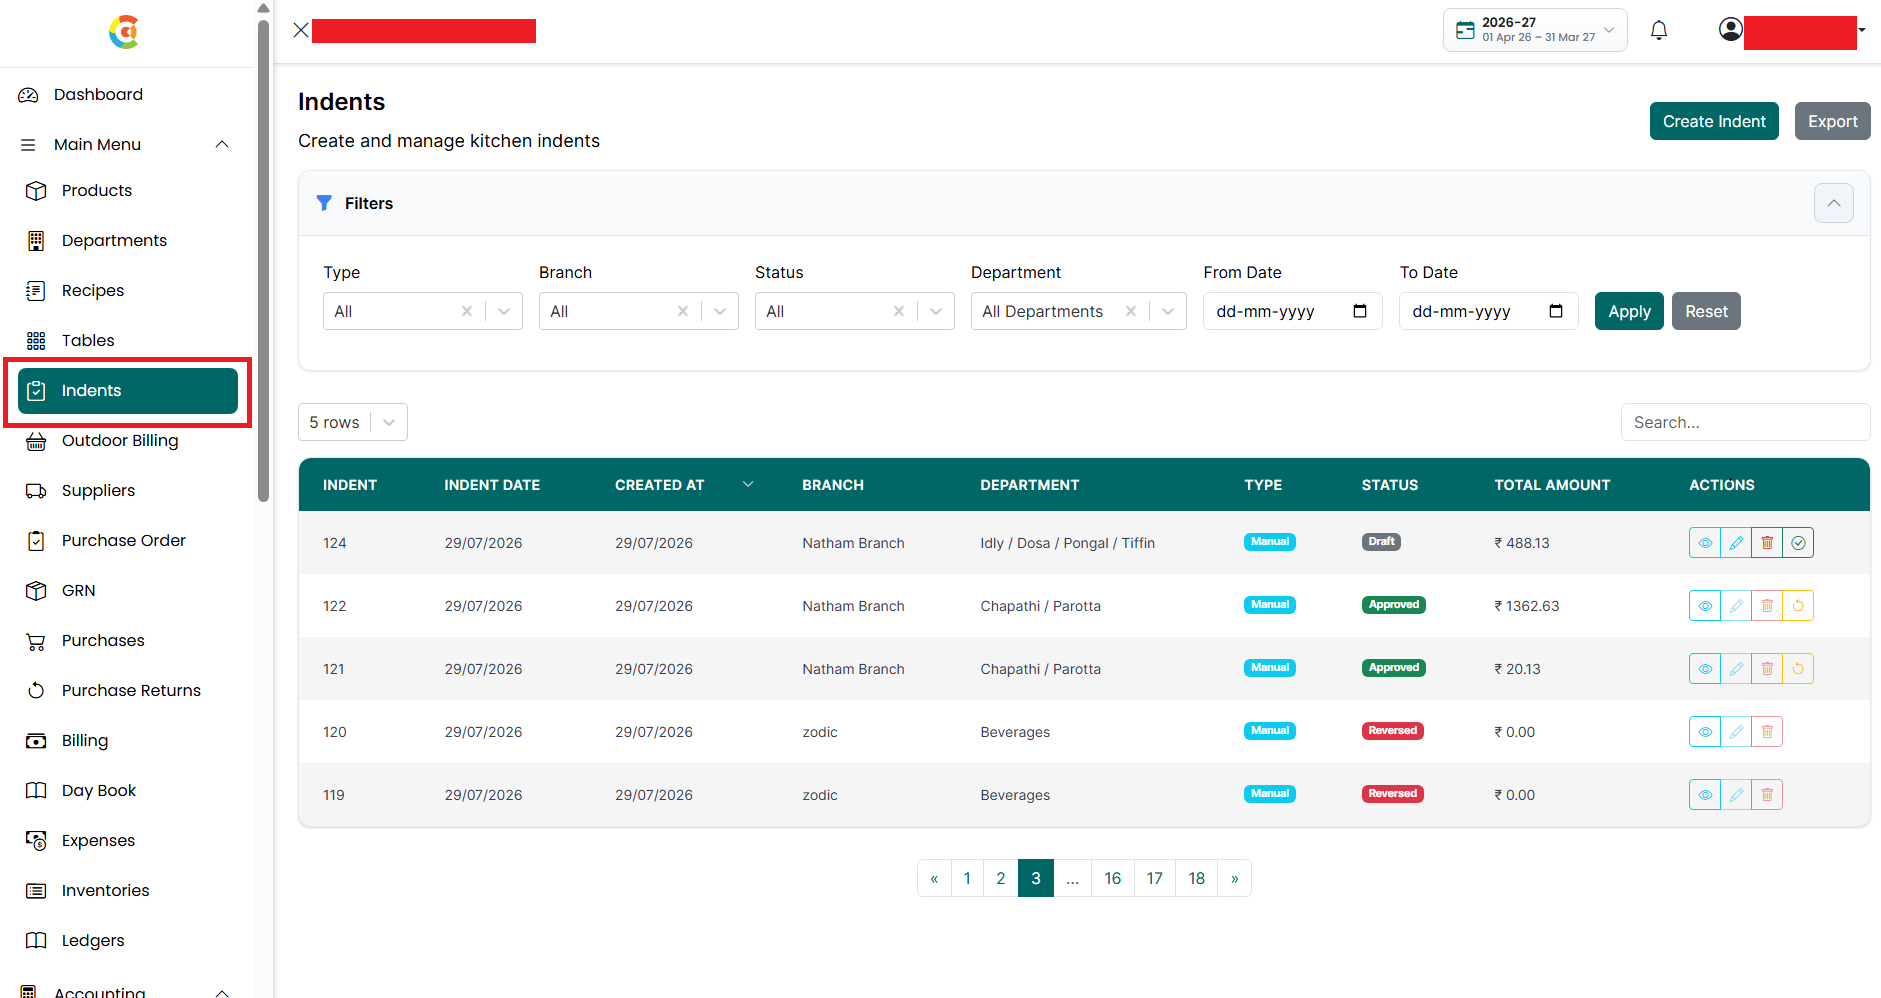
- The Indent Listing page is displayed.
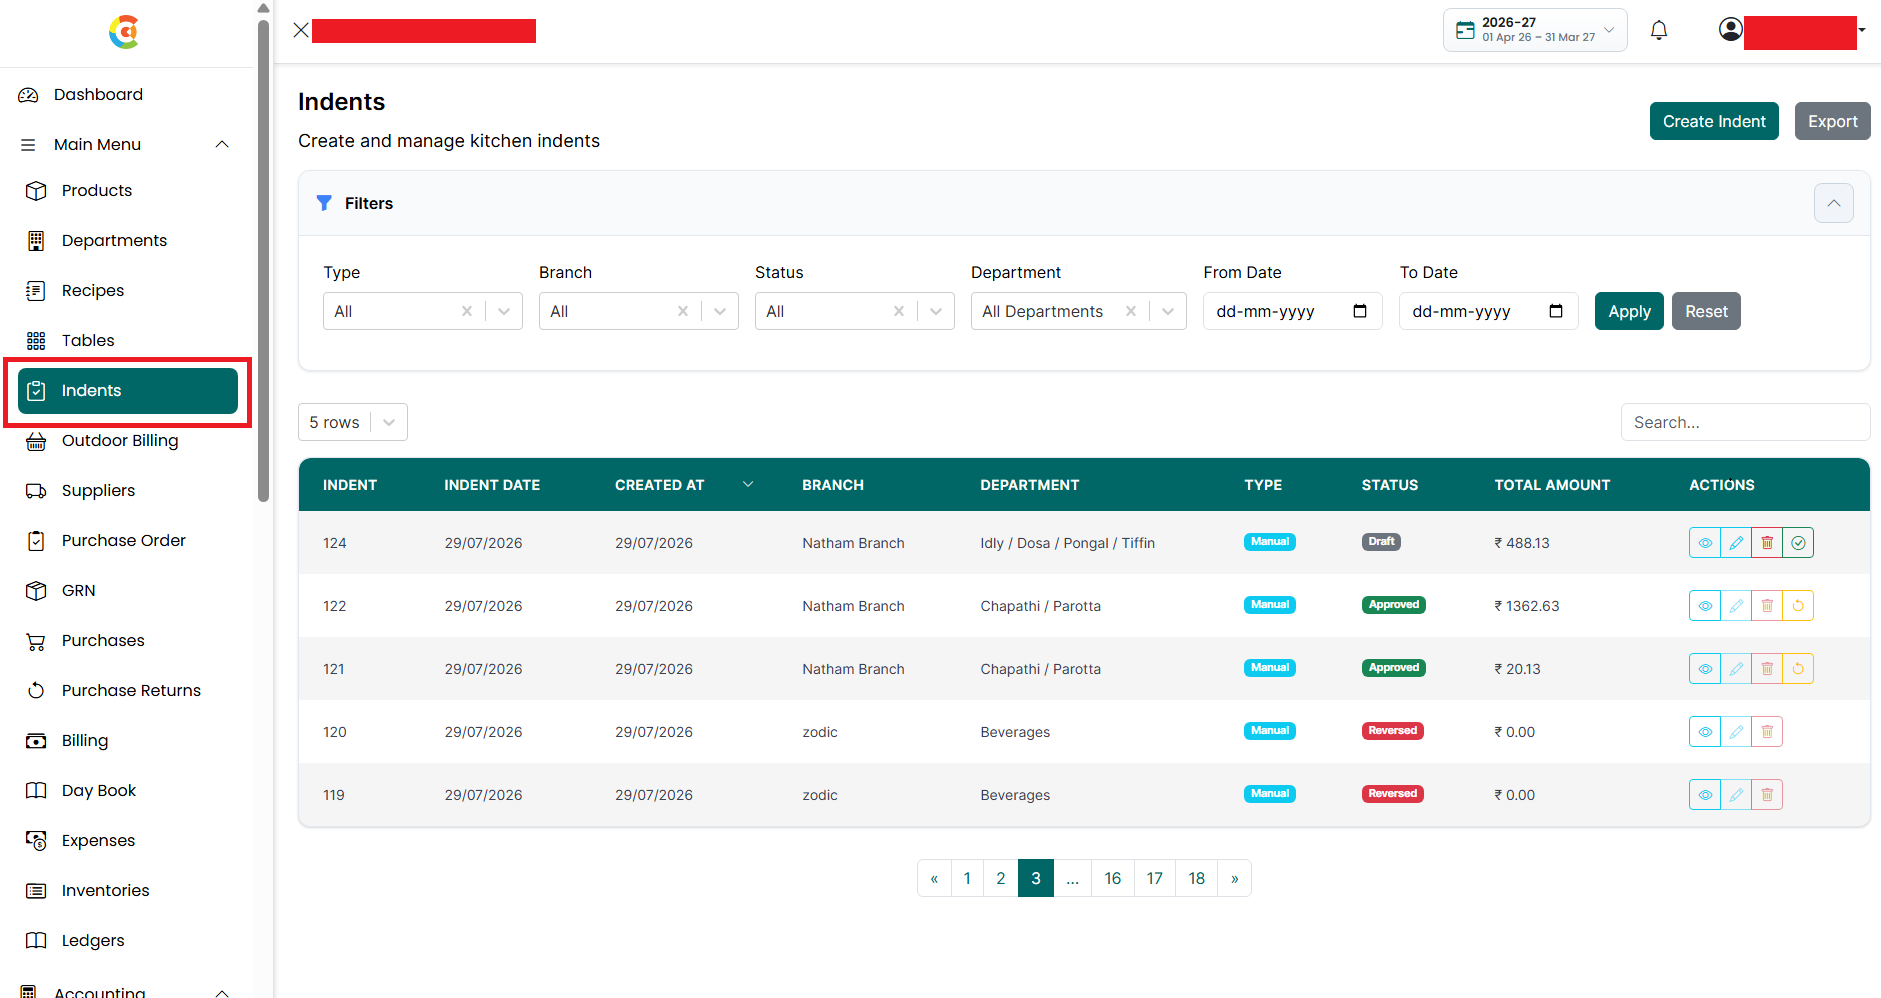
- Locate the indent you want to modify.
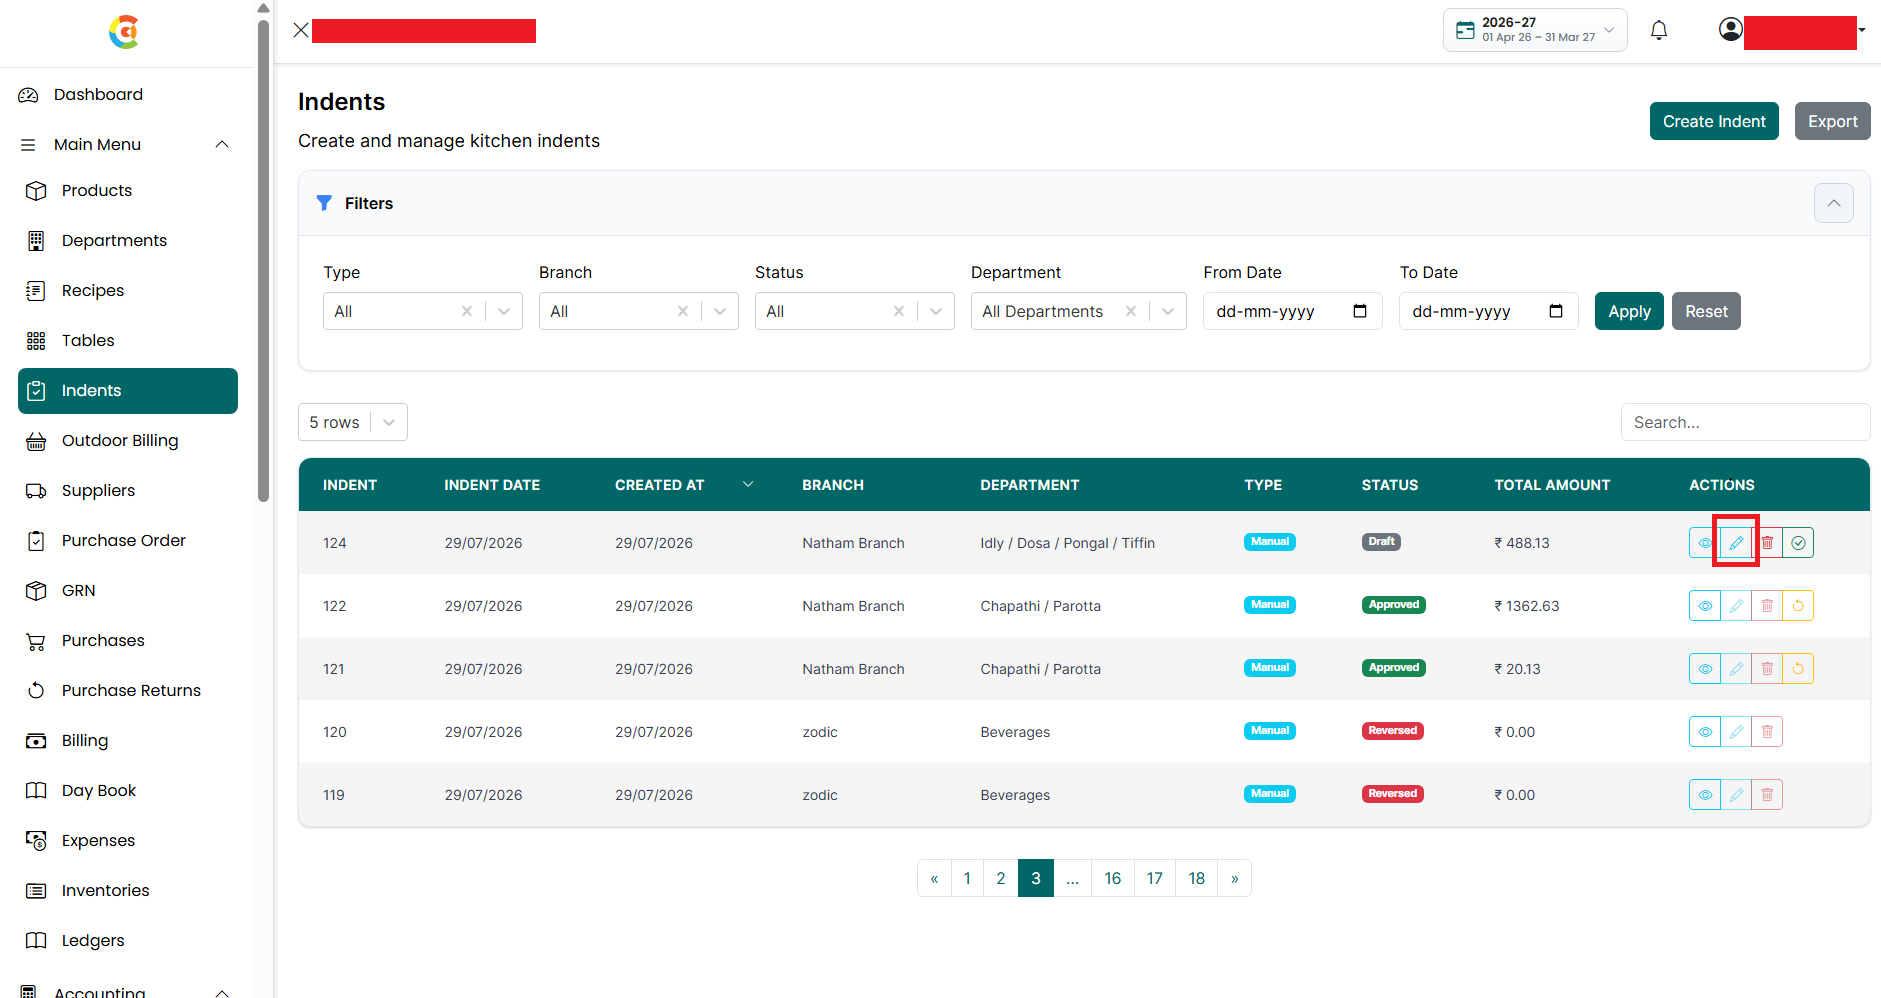
- Click the Edit icon.
- The Edit Indent window is displayed with the existing information.
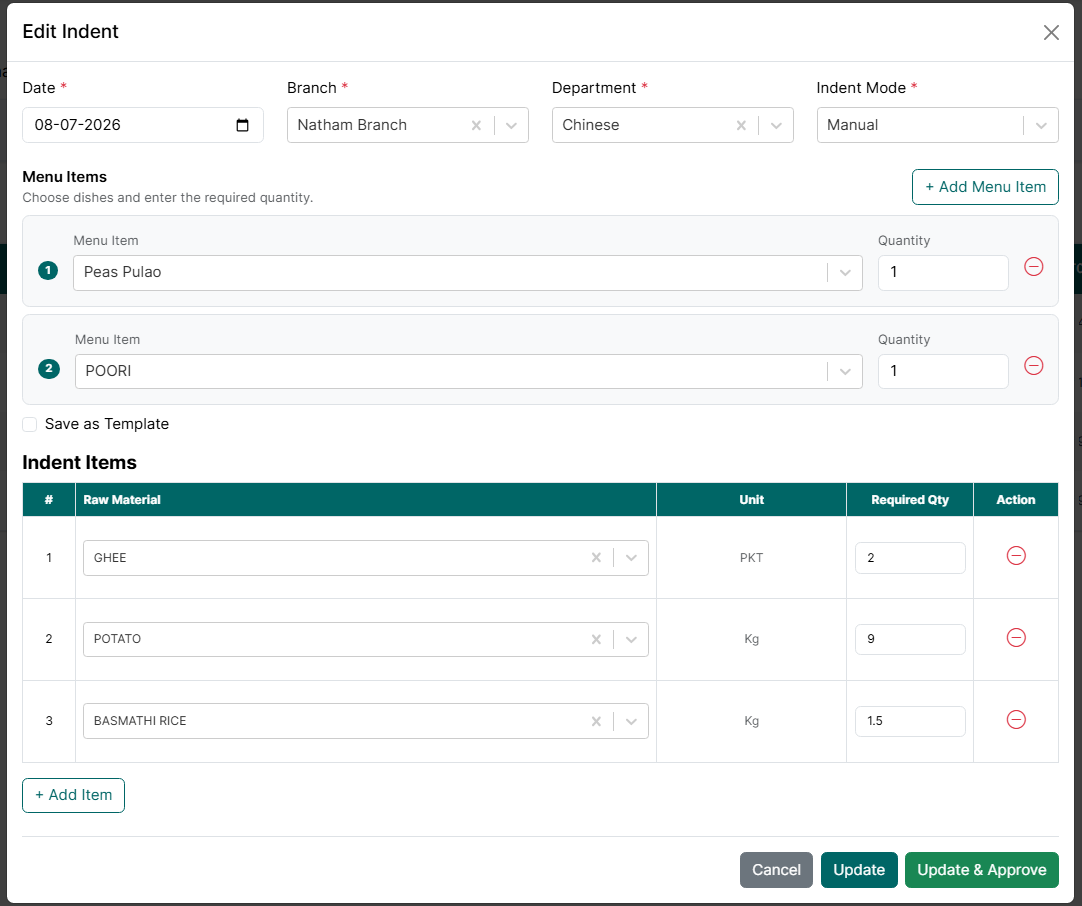
- Update the Date, if required.
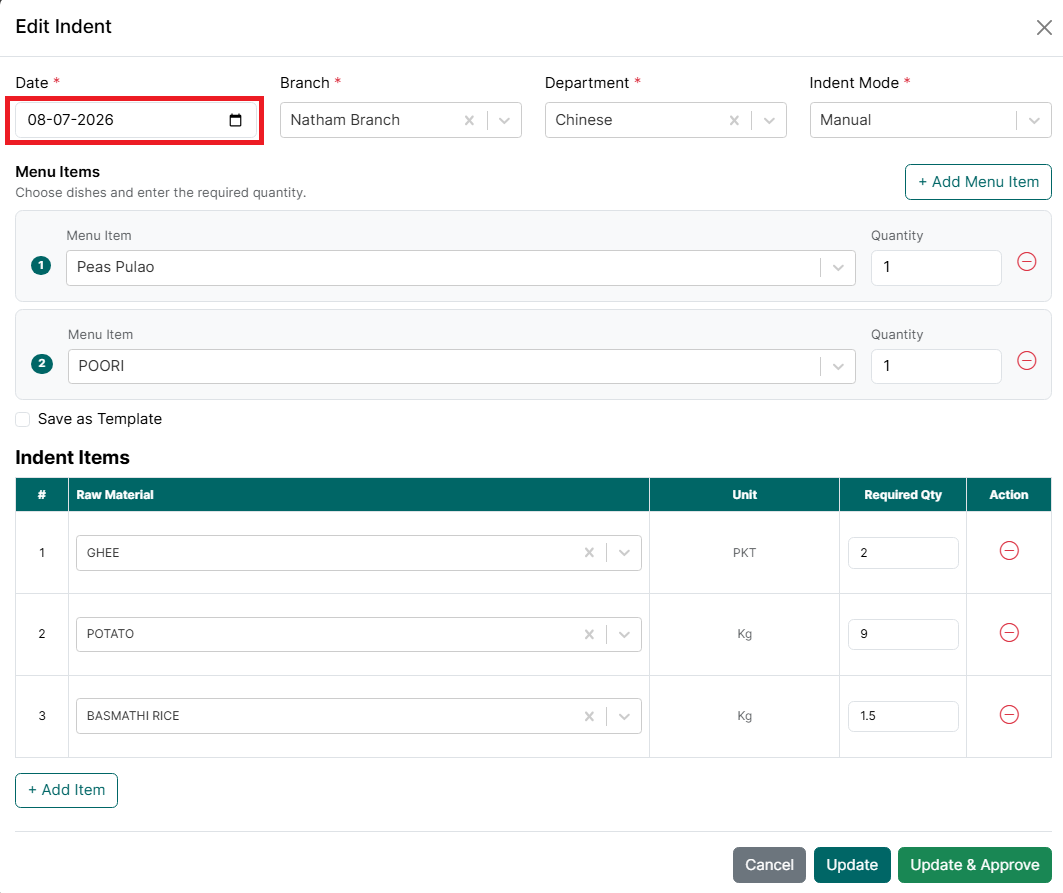
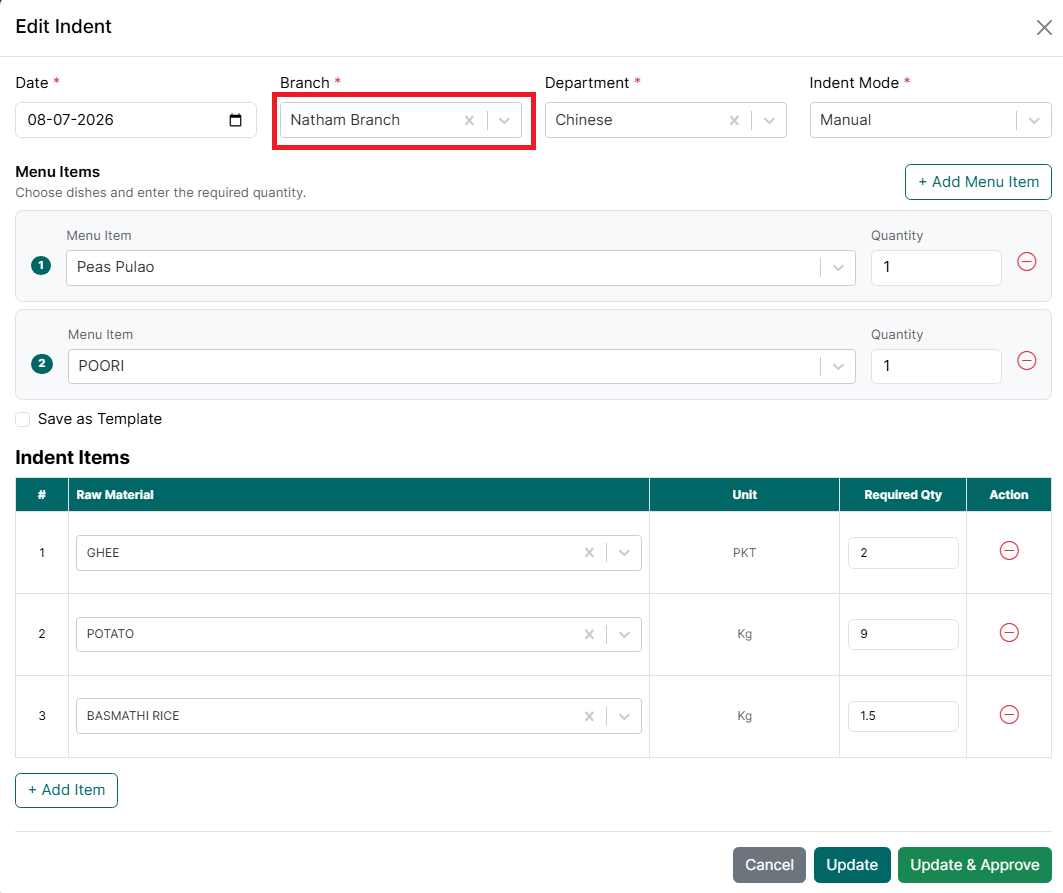
- Select a different Branch, if required.
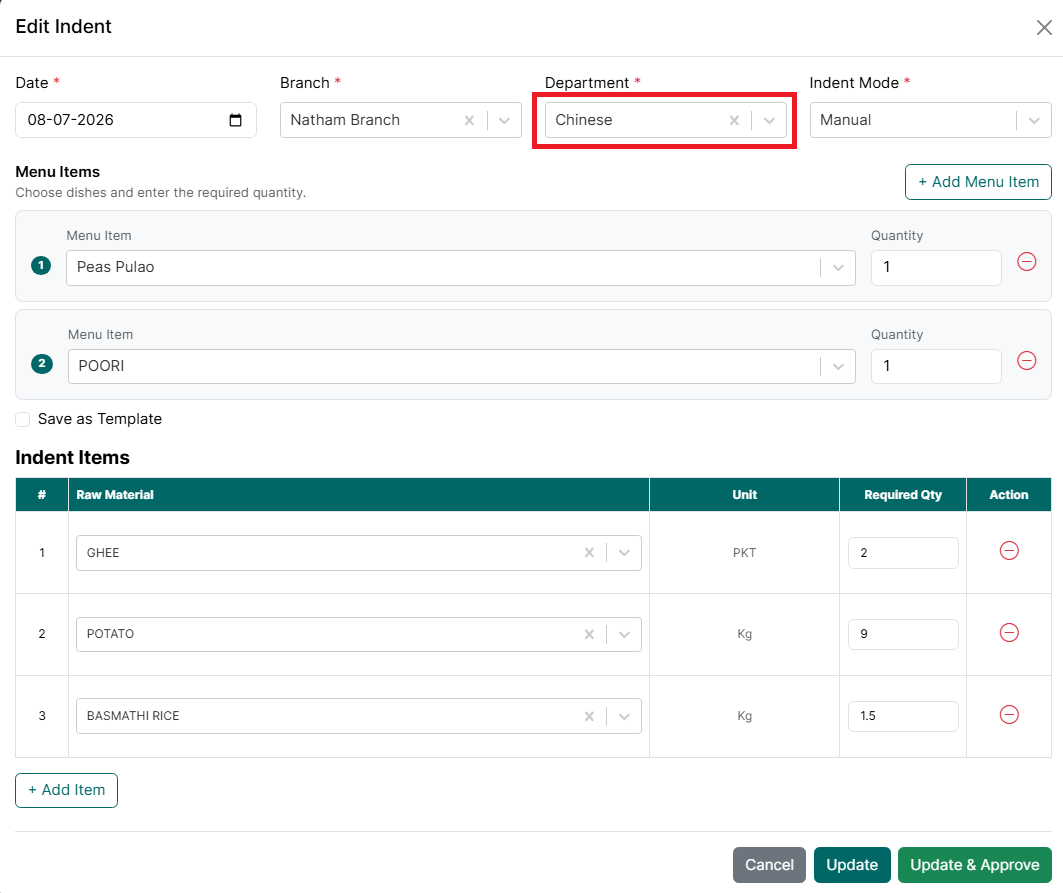
- Select a different Department, if required.
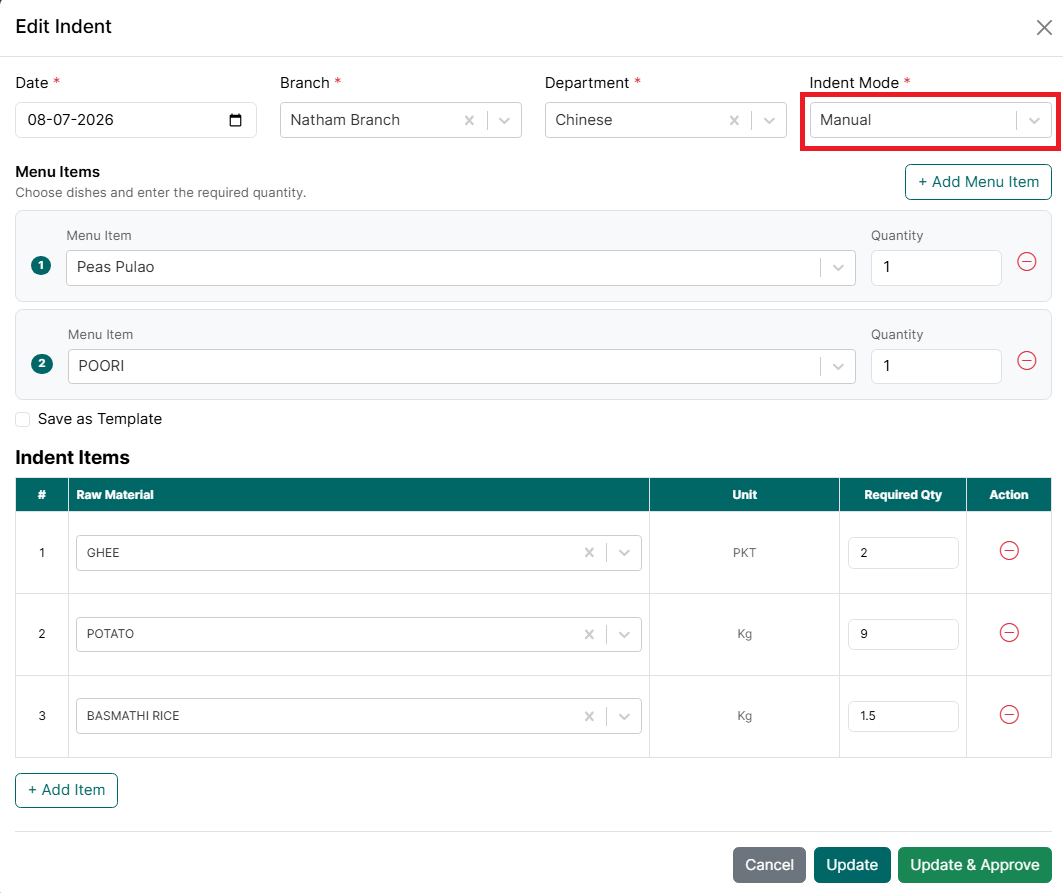
- Ensure Manual is selected in the Indent Mode field.
- Under the Menu Items section:
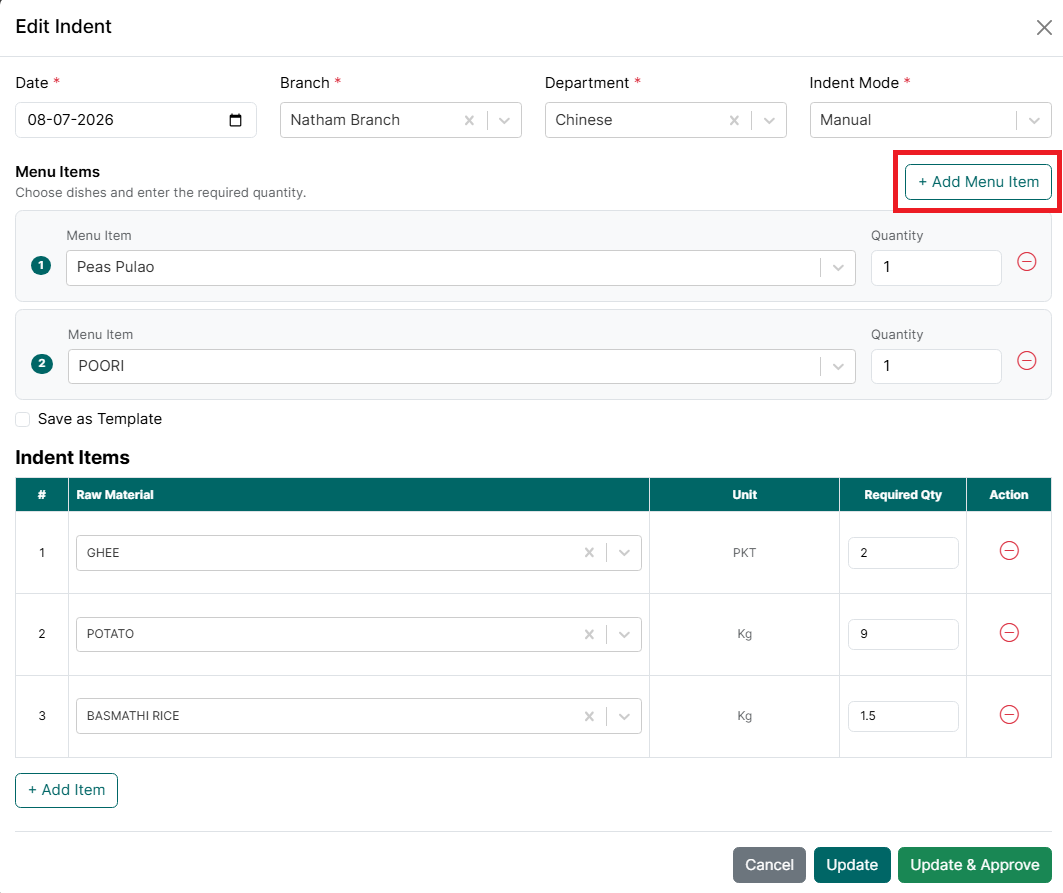
- Add new menu items using the Add Menu Item button, if required.
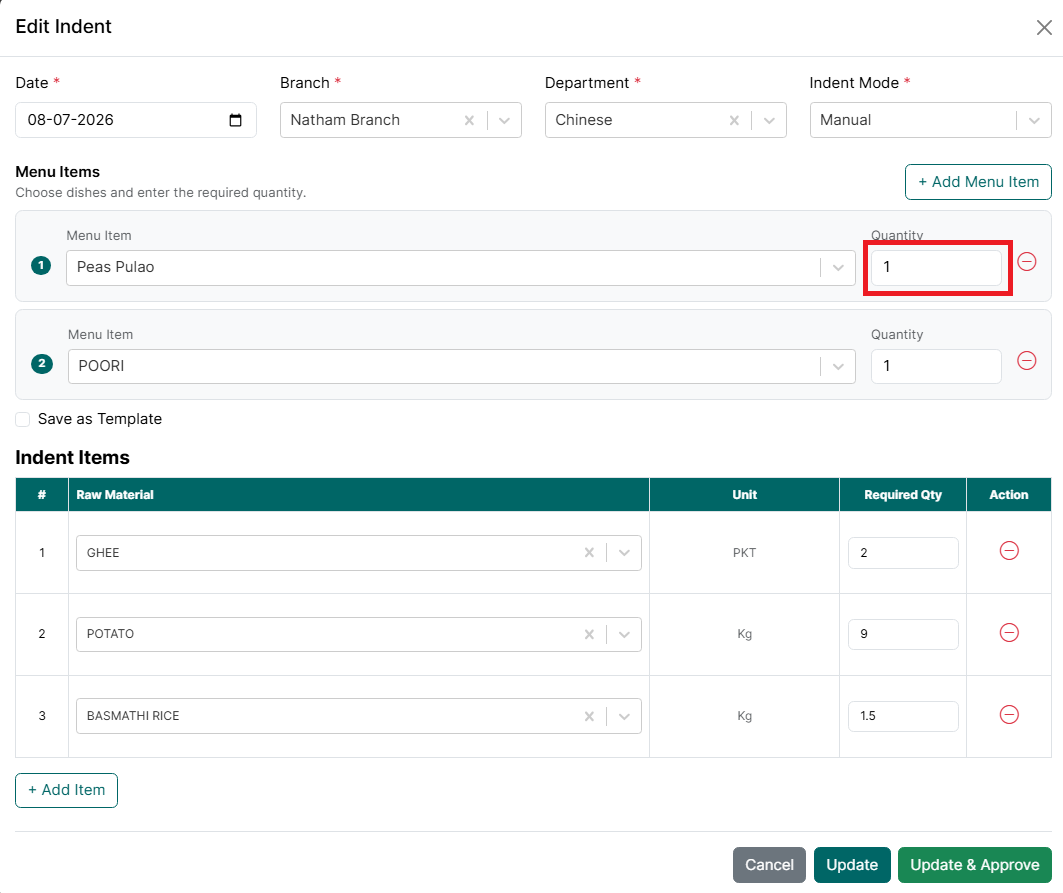
- Update the quantity for existing menu items.
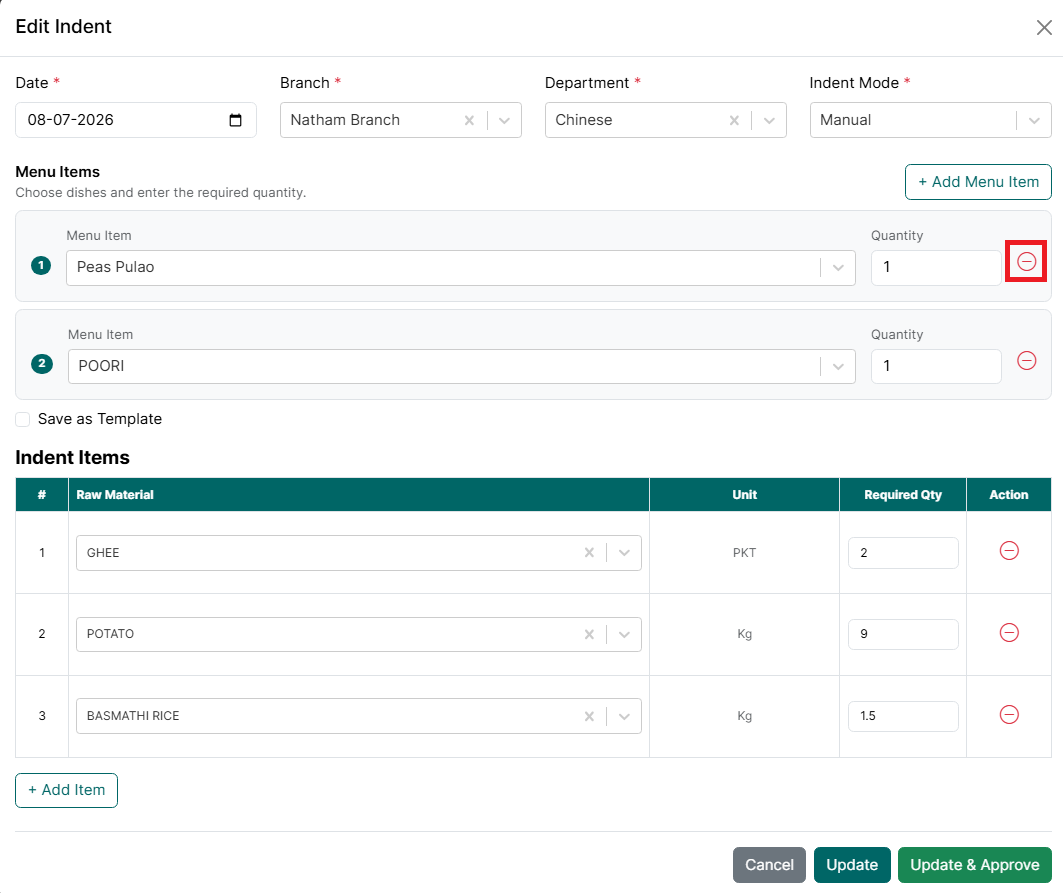
- Remove menu items that are no longer required.
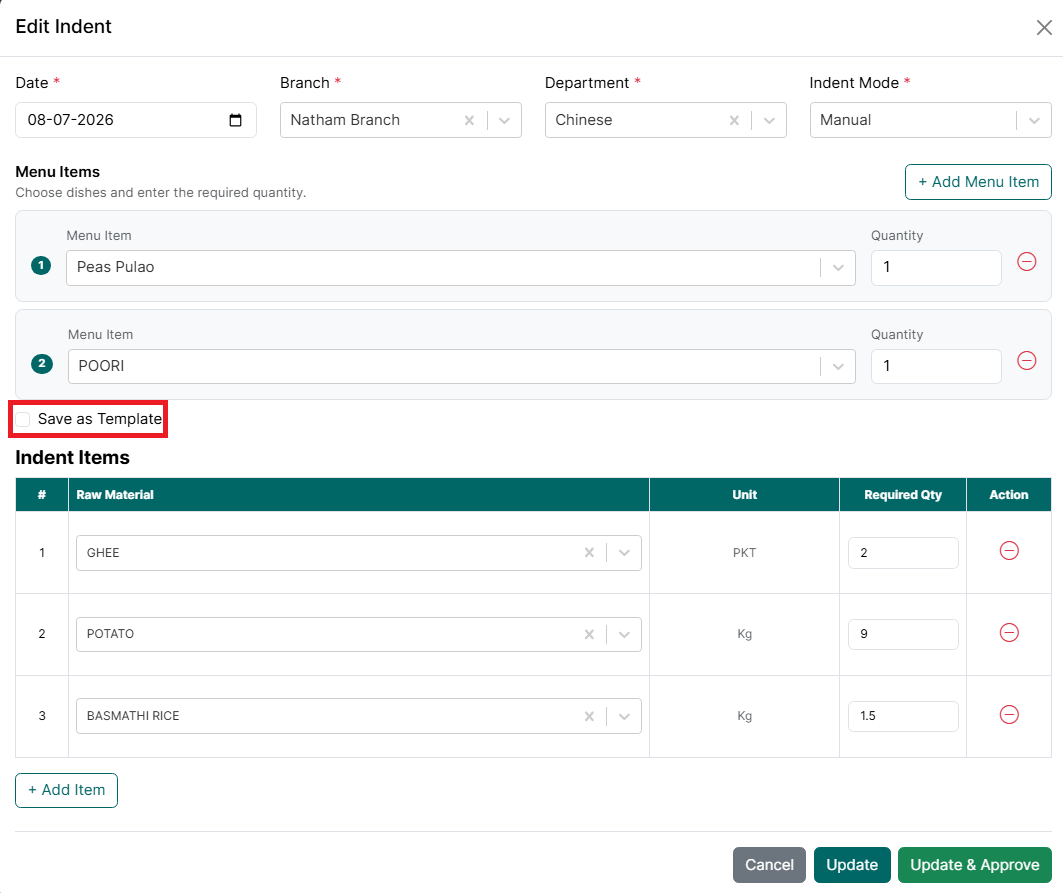
- If required, enable Save as Template to save the current menu items as a reusable template.
- Under the Indent Items section:
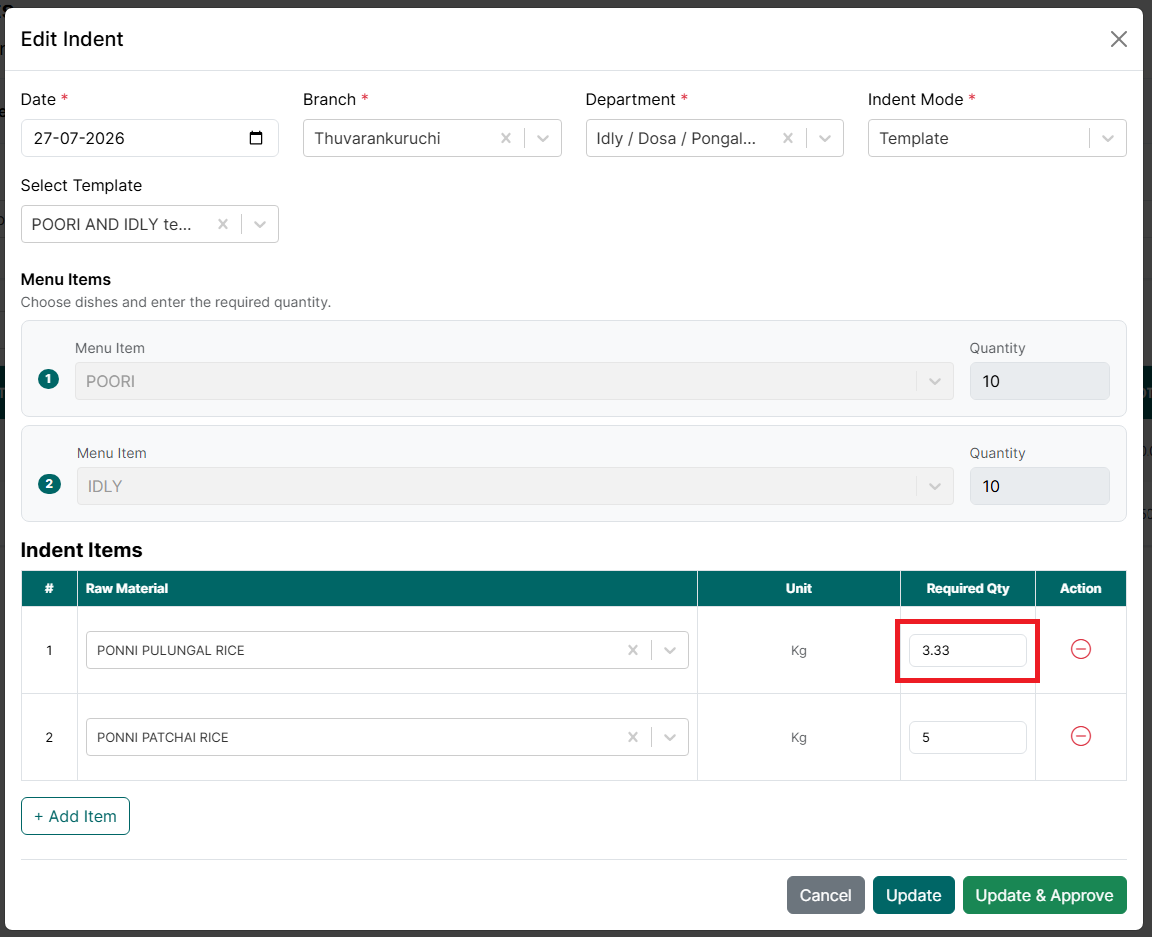
- Update the Required Quantity for each raw material, if required.
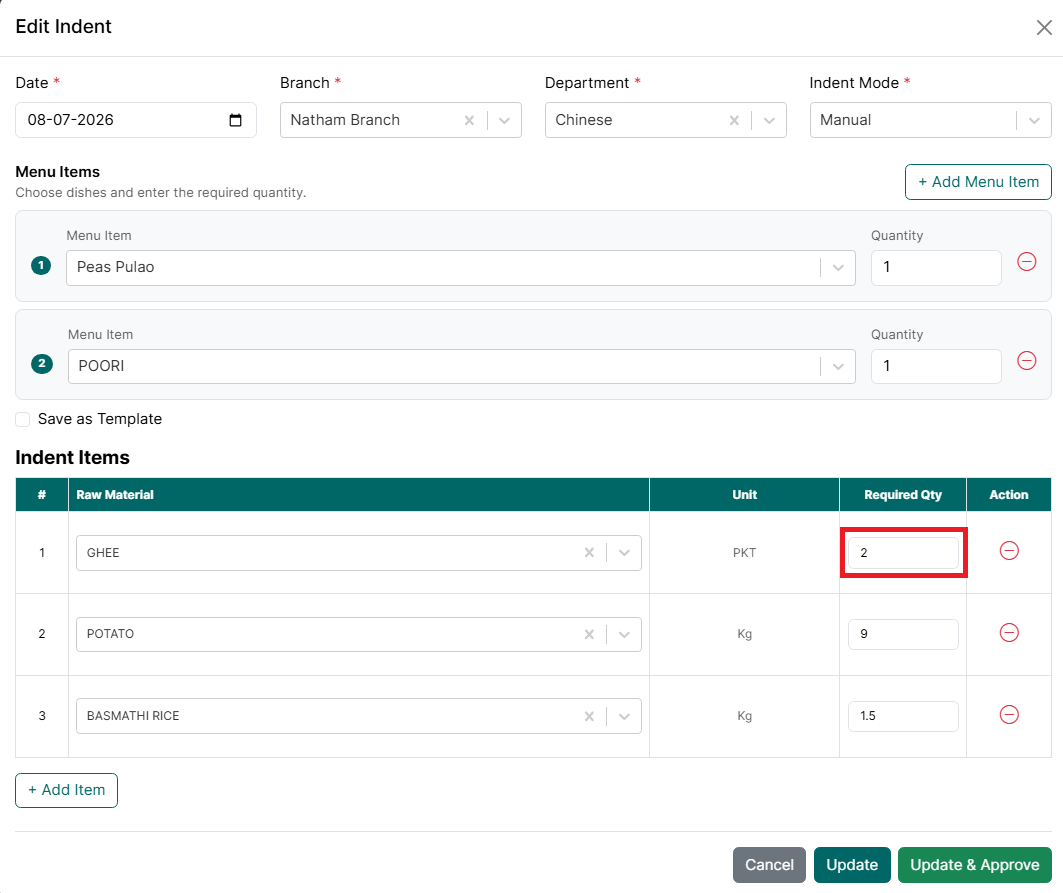
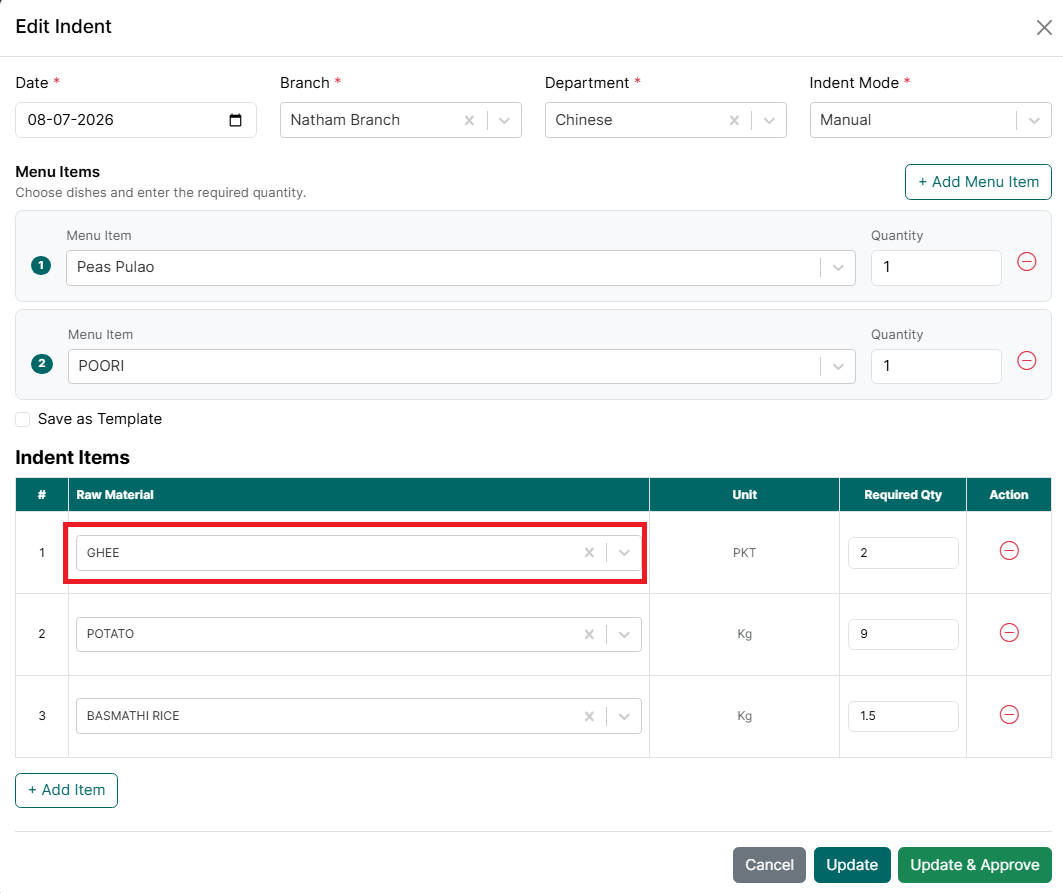
- Select a different raw material, if required.
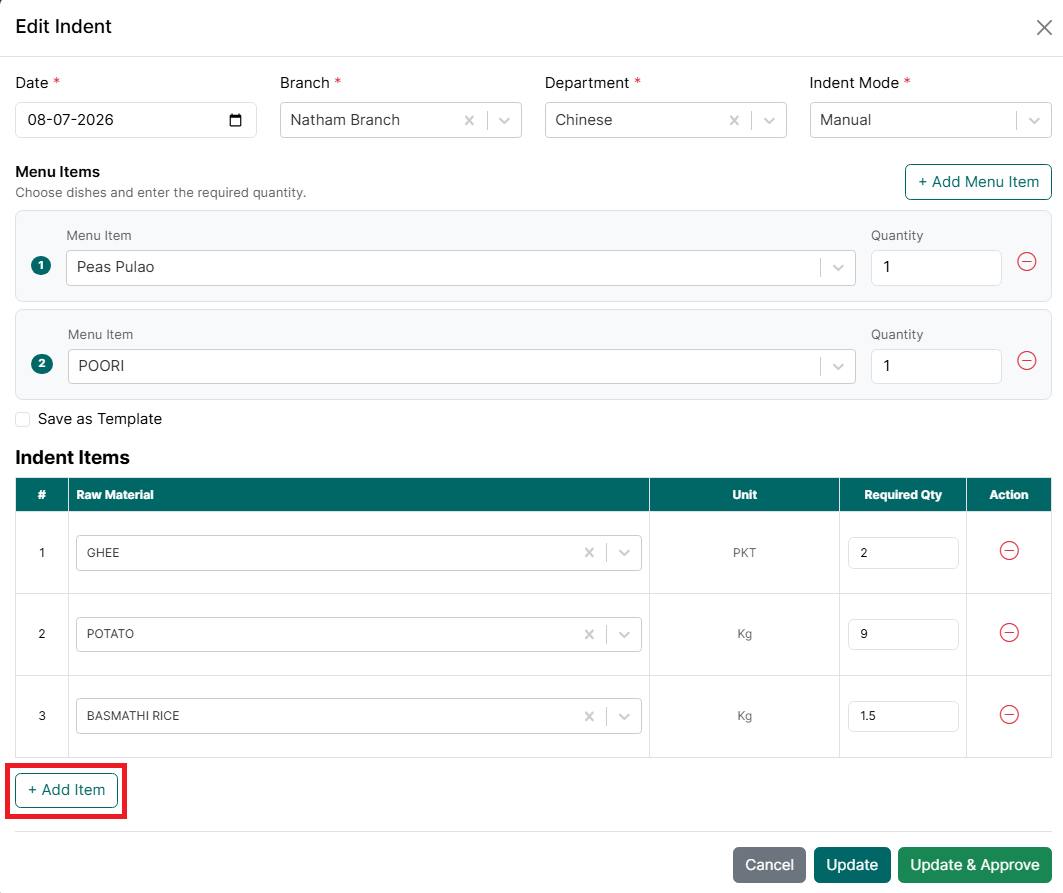
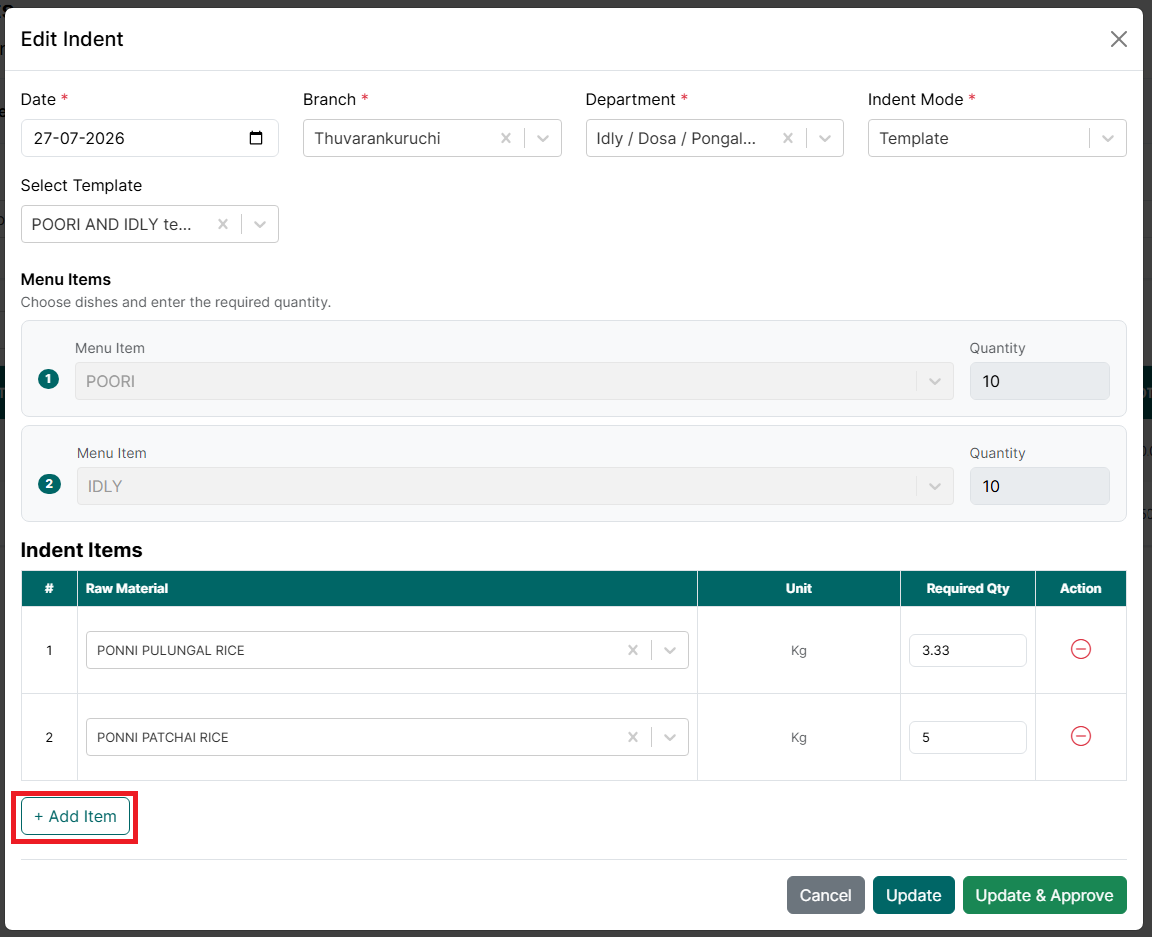
- Click Add Item to add additional raw materials.
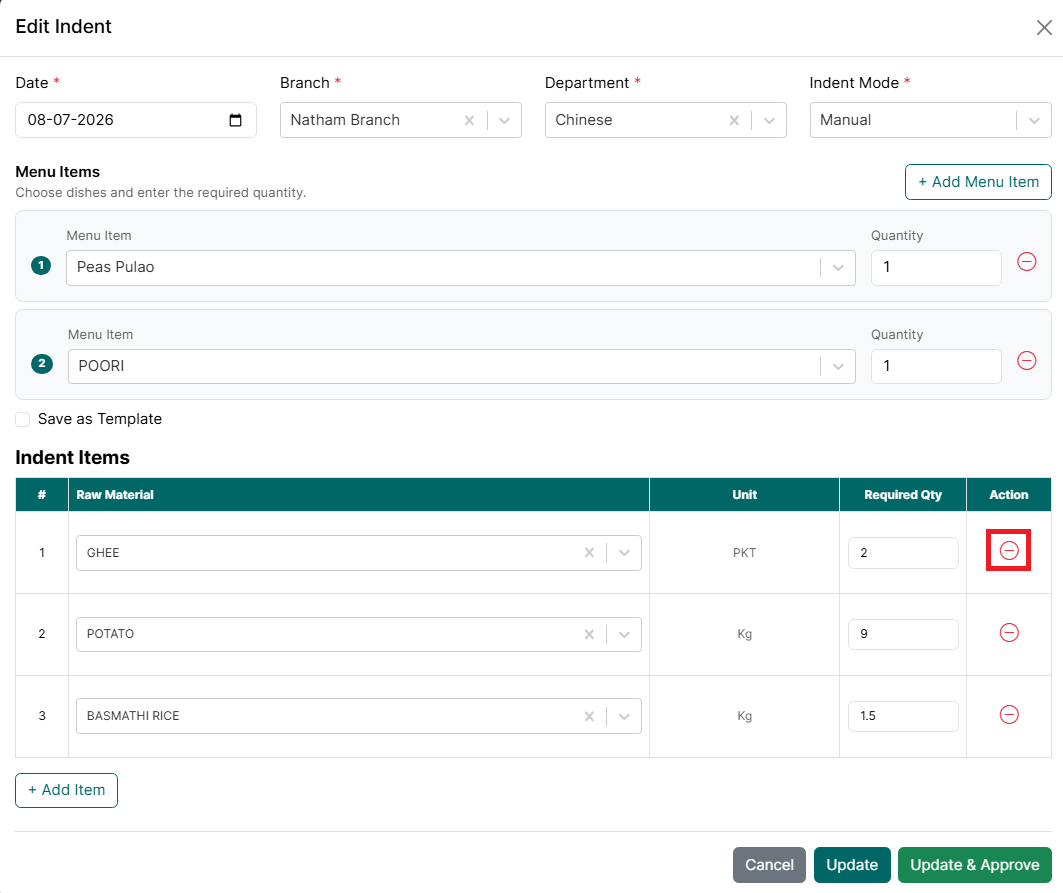
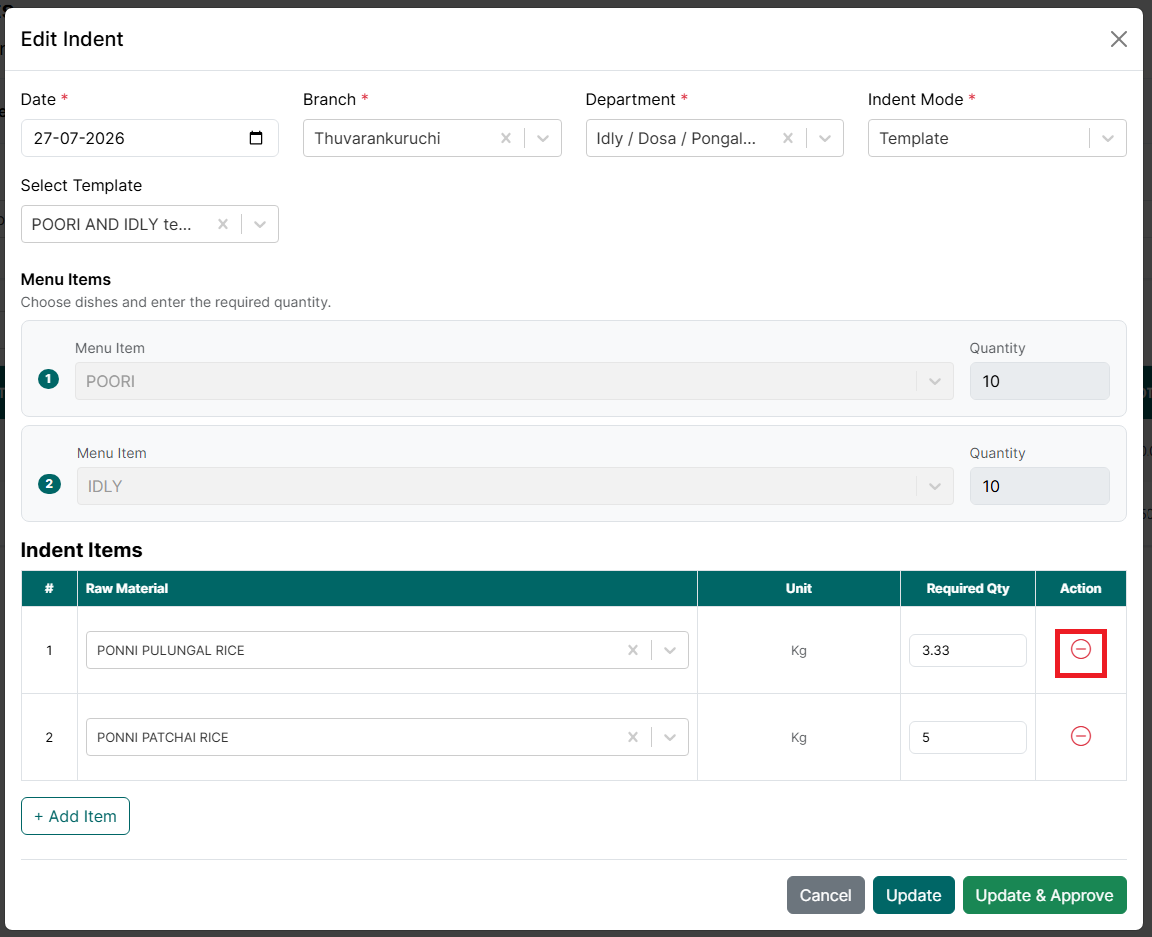
- Click the Remove icon to delete unwanted raw materials.
- Click Update to save the changes.
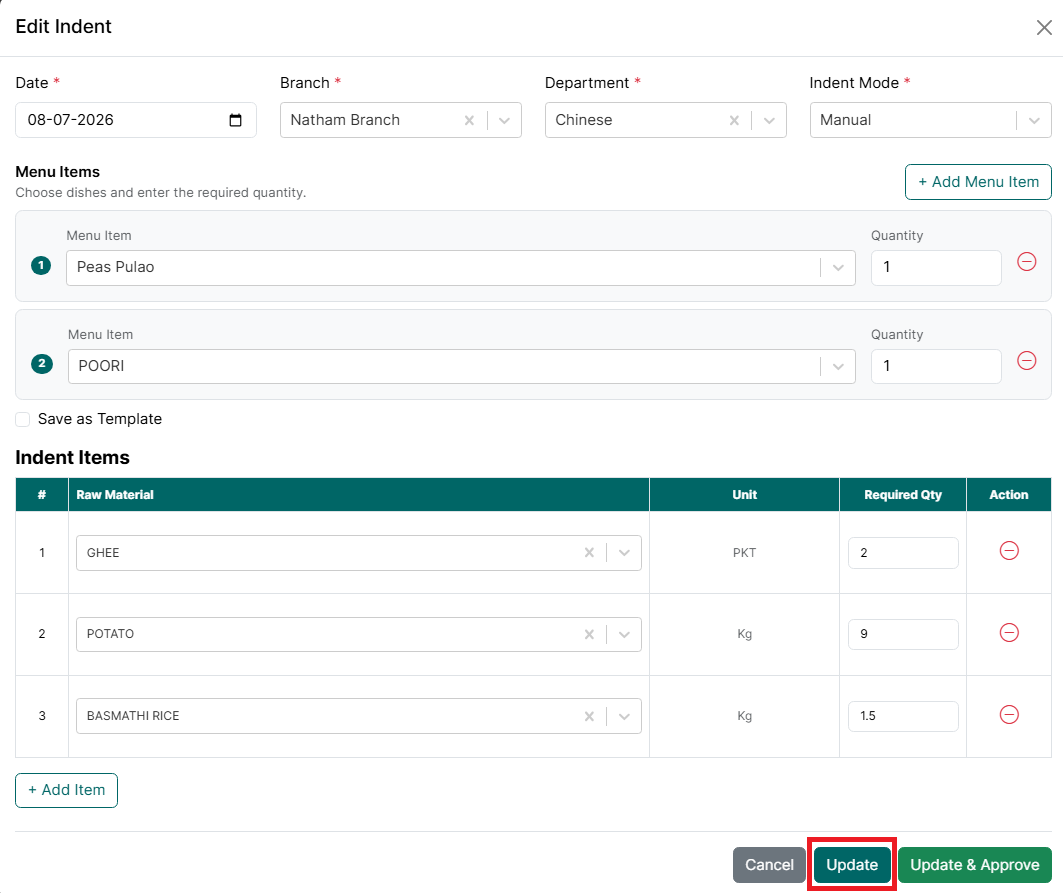
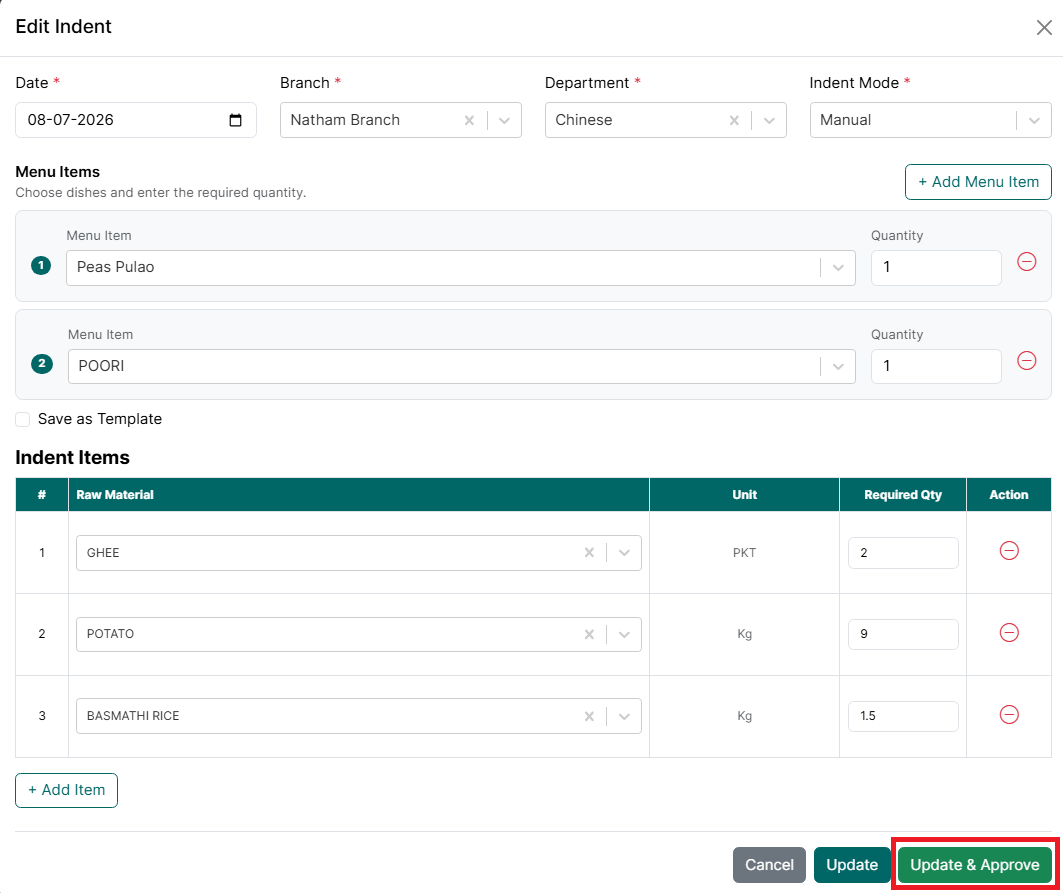
- Click Update & Approve to save the changes and immediately approve the indent.
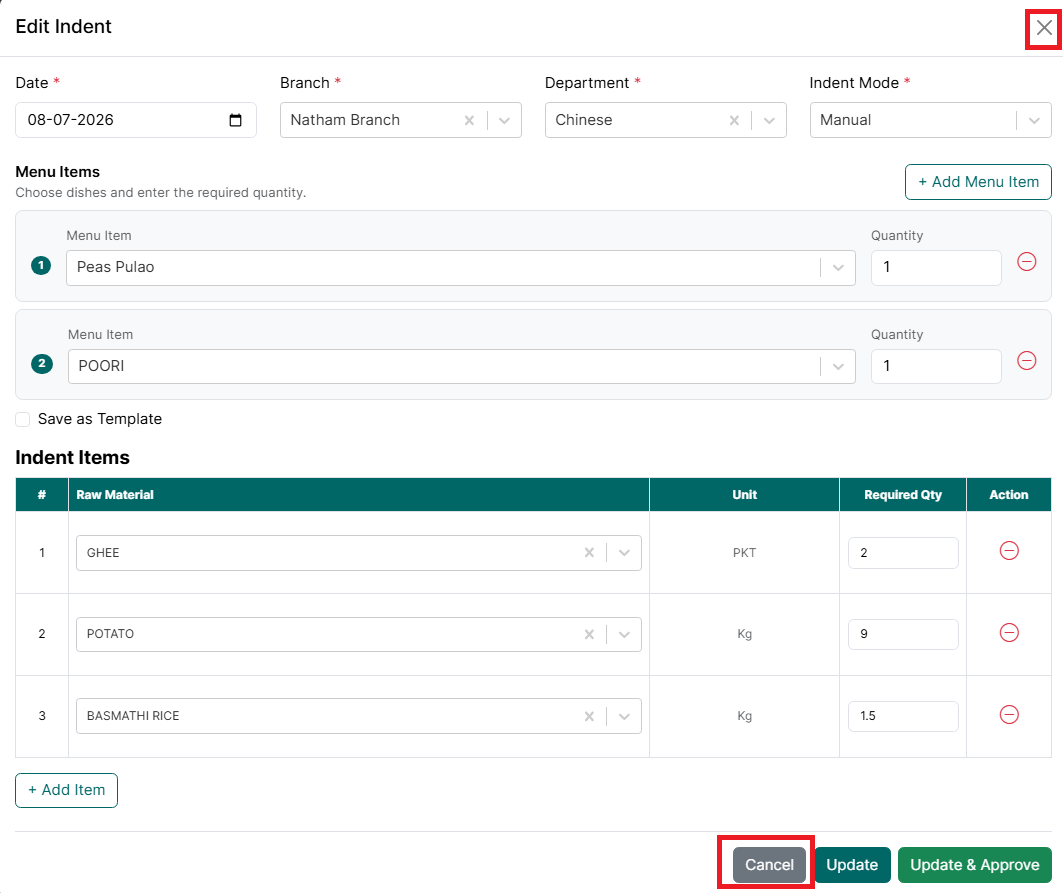
- Click Cancel or the X icon to close the window without saving.
- After the indent is updated successfully, a confirmation message is displayed and the updated information appears in the Indent Listing page.
Note: Only eligible indents can be edited. Reversed indents cannot be modified.
Edit Indent (Template Mode)
To edit an existing indent created in Template mode, follow the steps below.
- Go to the Main Menu. Click Indents.
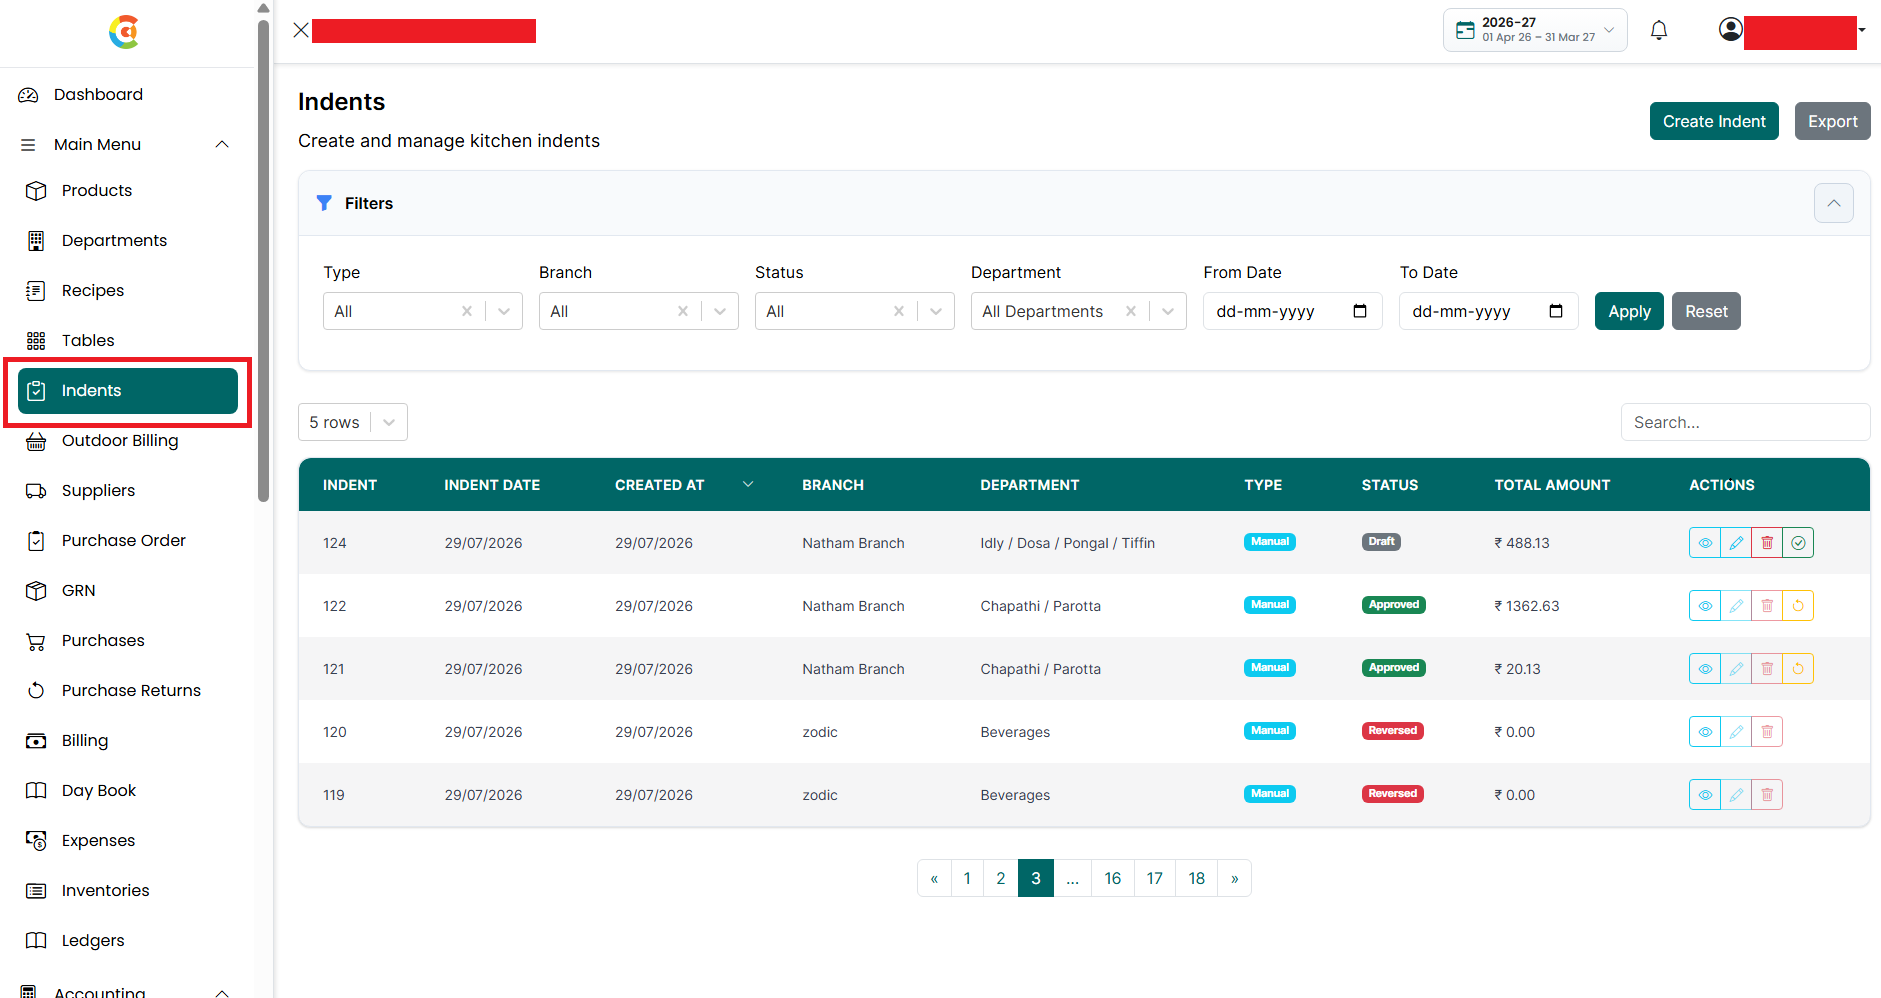
- The Indent Listing page is displayed.
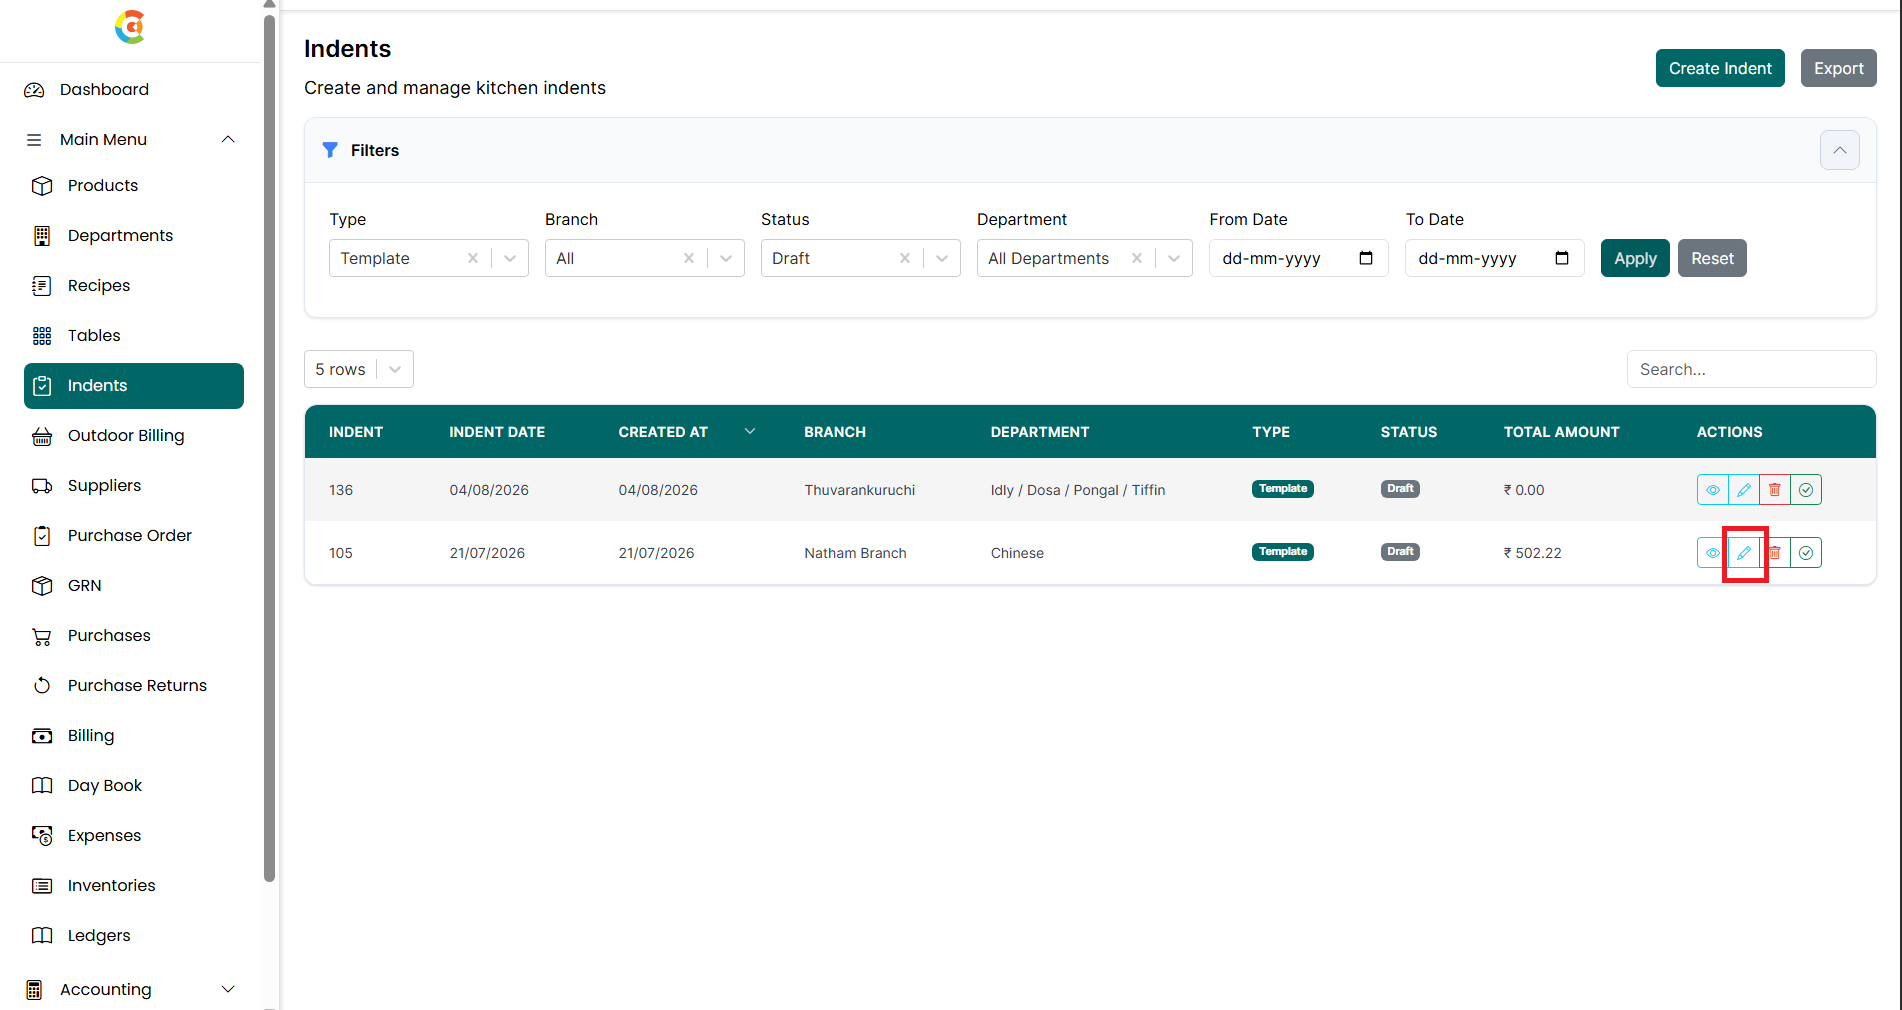
- Locate the indent you want to modify.
- Click the Edit icon.
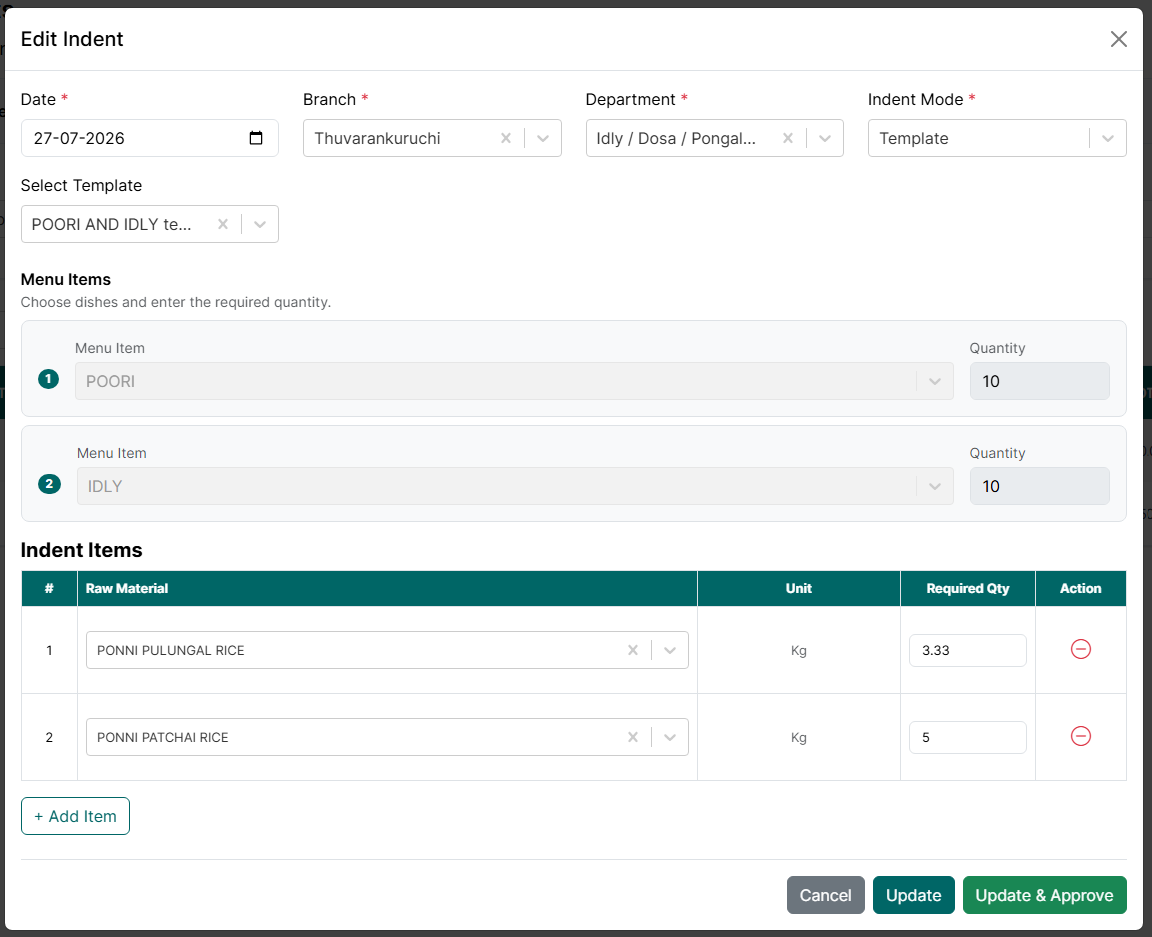
- The Edit Indent window is displayed with the existing indent details.
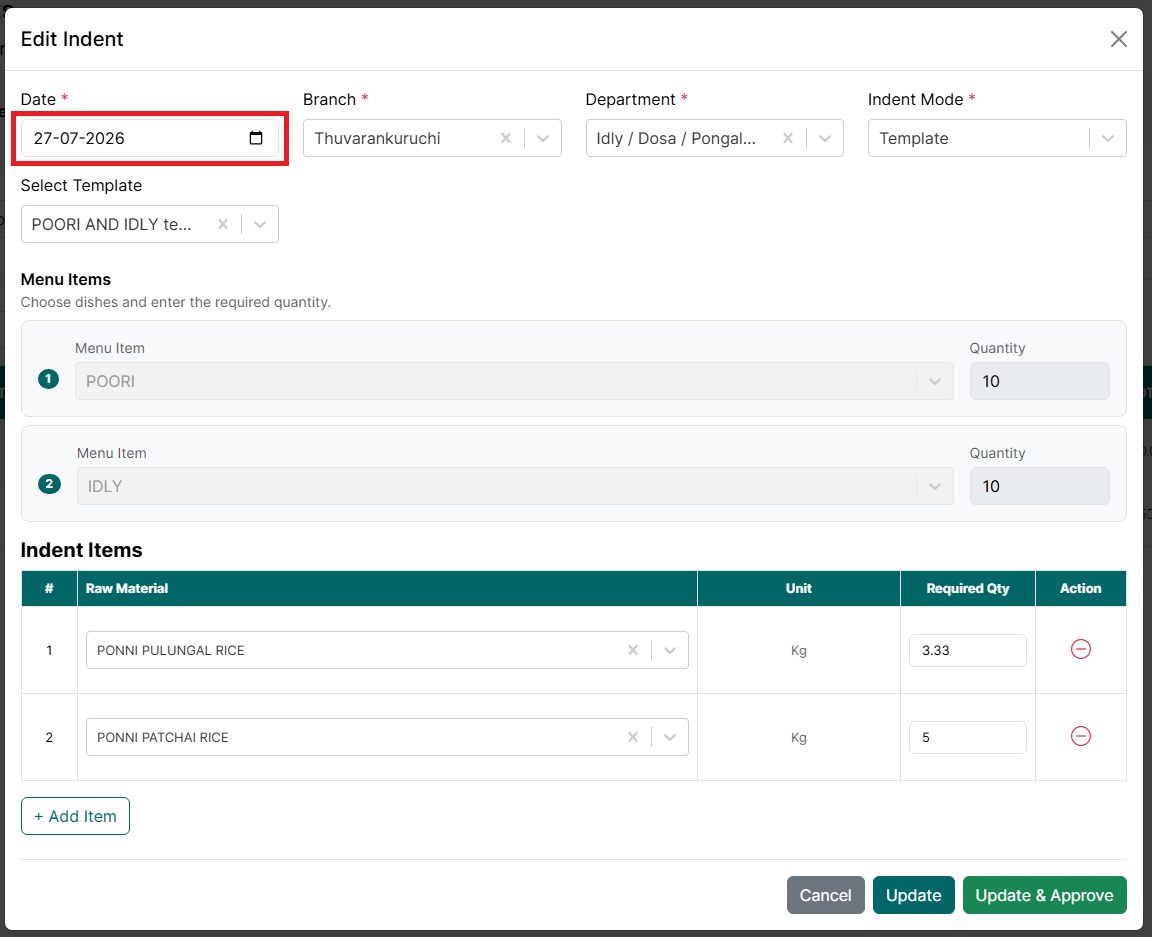
- Update the Date, if required.
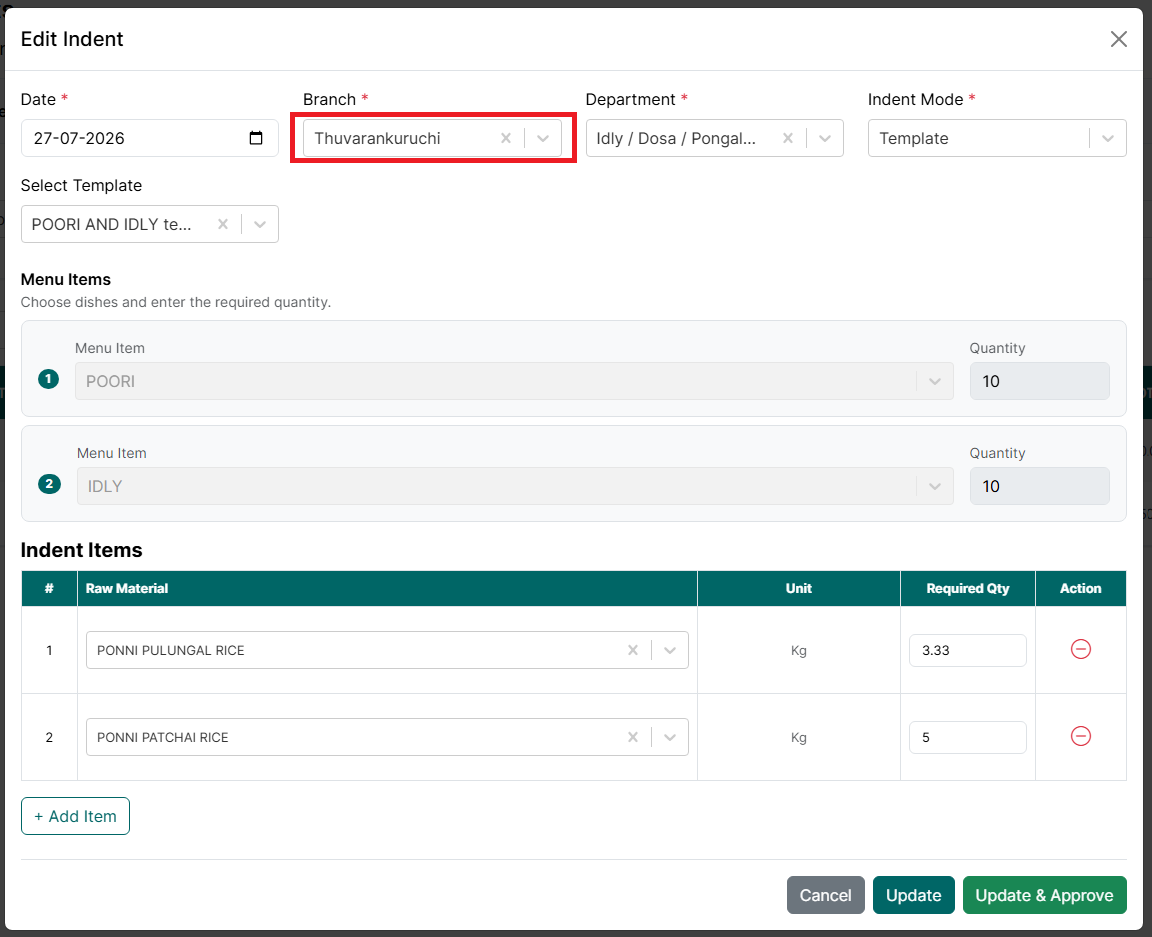
- Select a different Branch, if required.
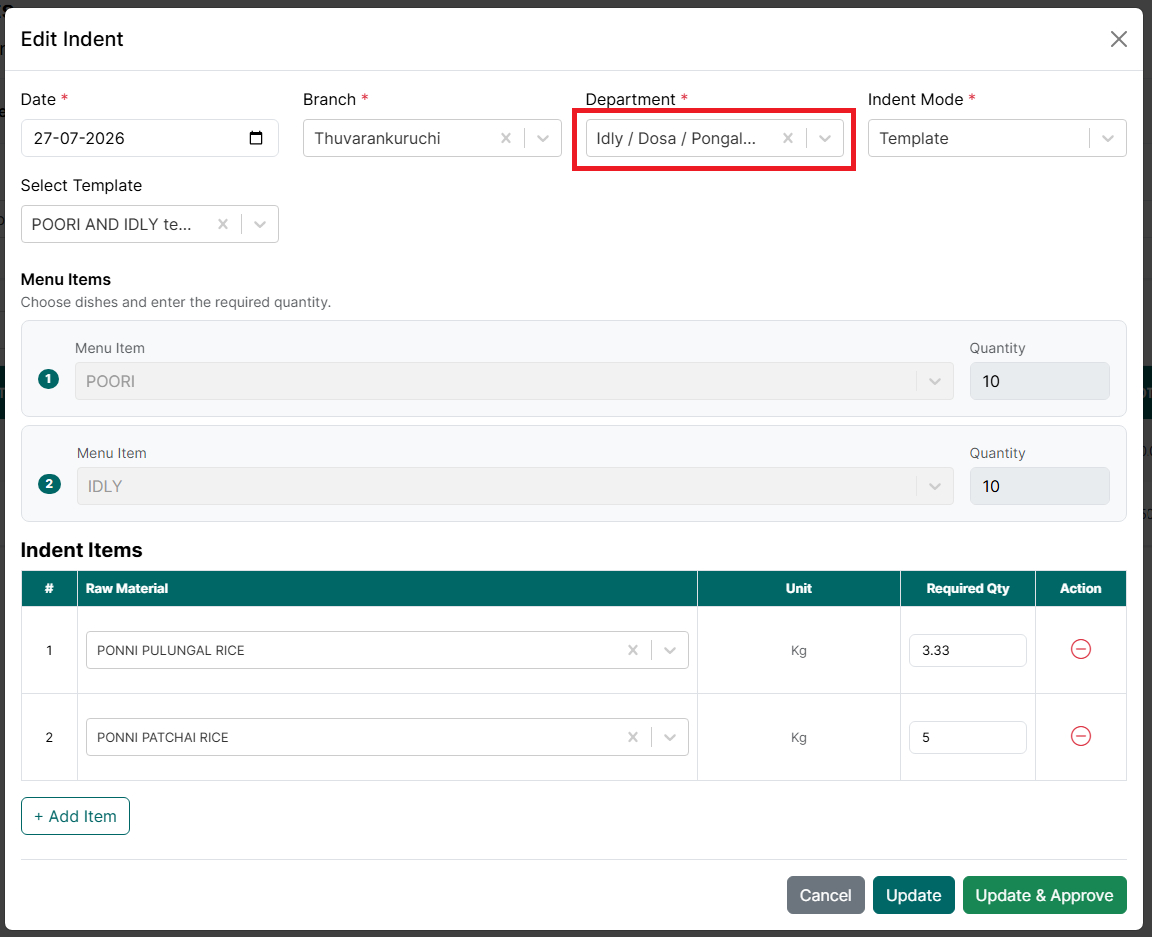
- Select a different Department, if required.
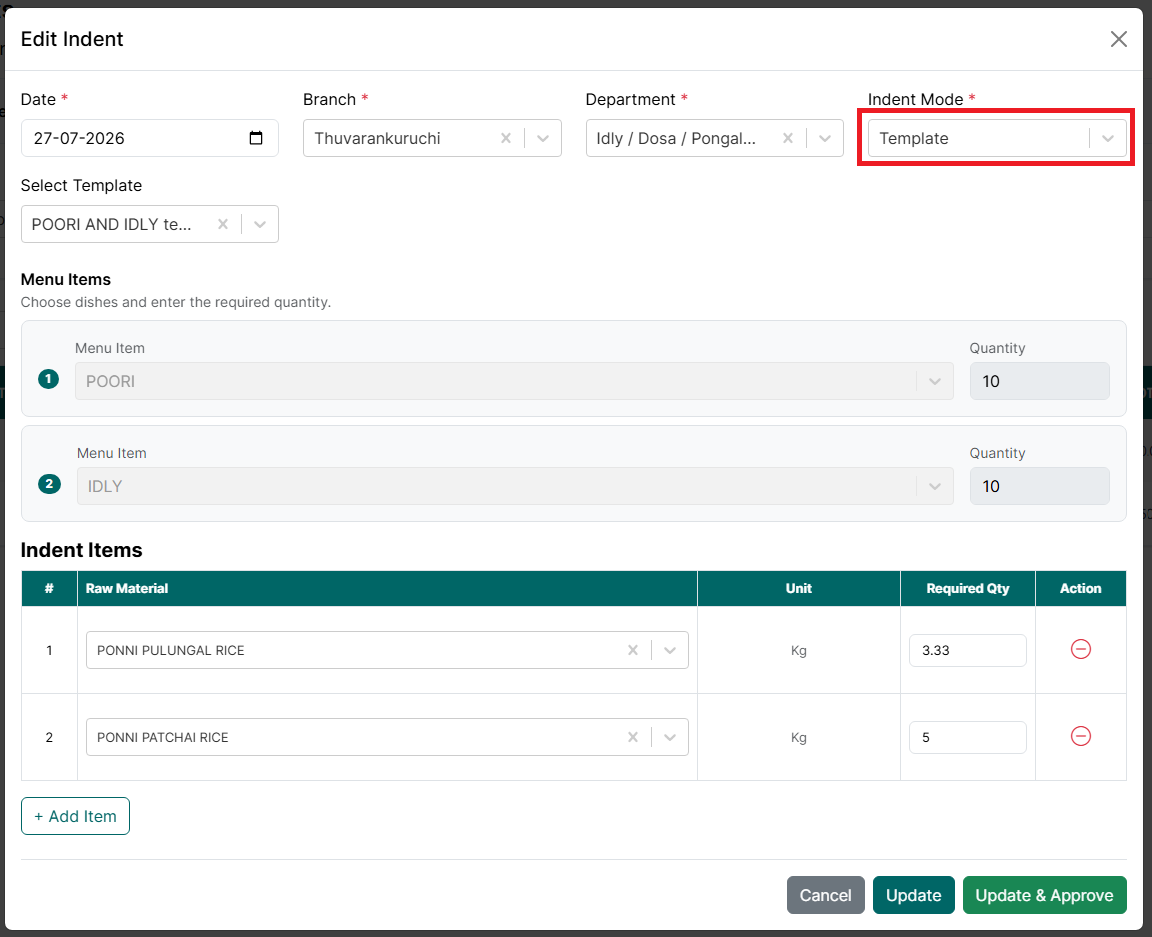
- Ensure Template is selected in the Indent Mode field.
- Select a different Template, if required.
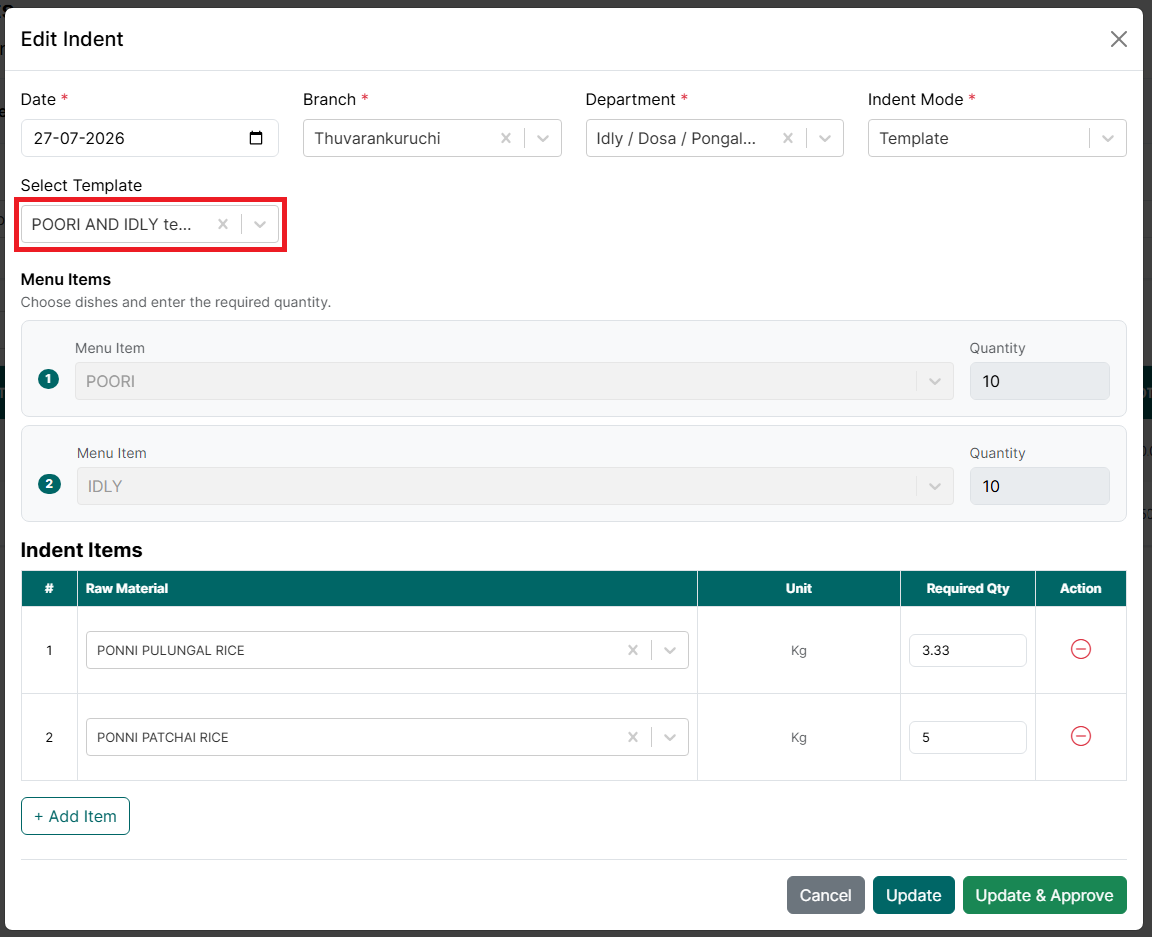
- The selected template automatically loads the associated menu items and calculates the required raw materials.
- Under the Menu Items section:
- Review the menu items loaded from the selected template.
- Under the Indent Items section:
- Review the raw materials generated from the selected template.
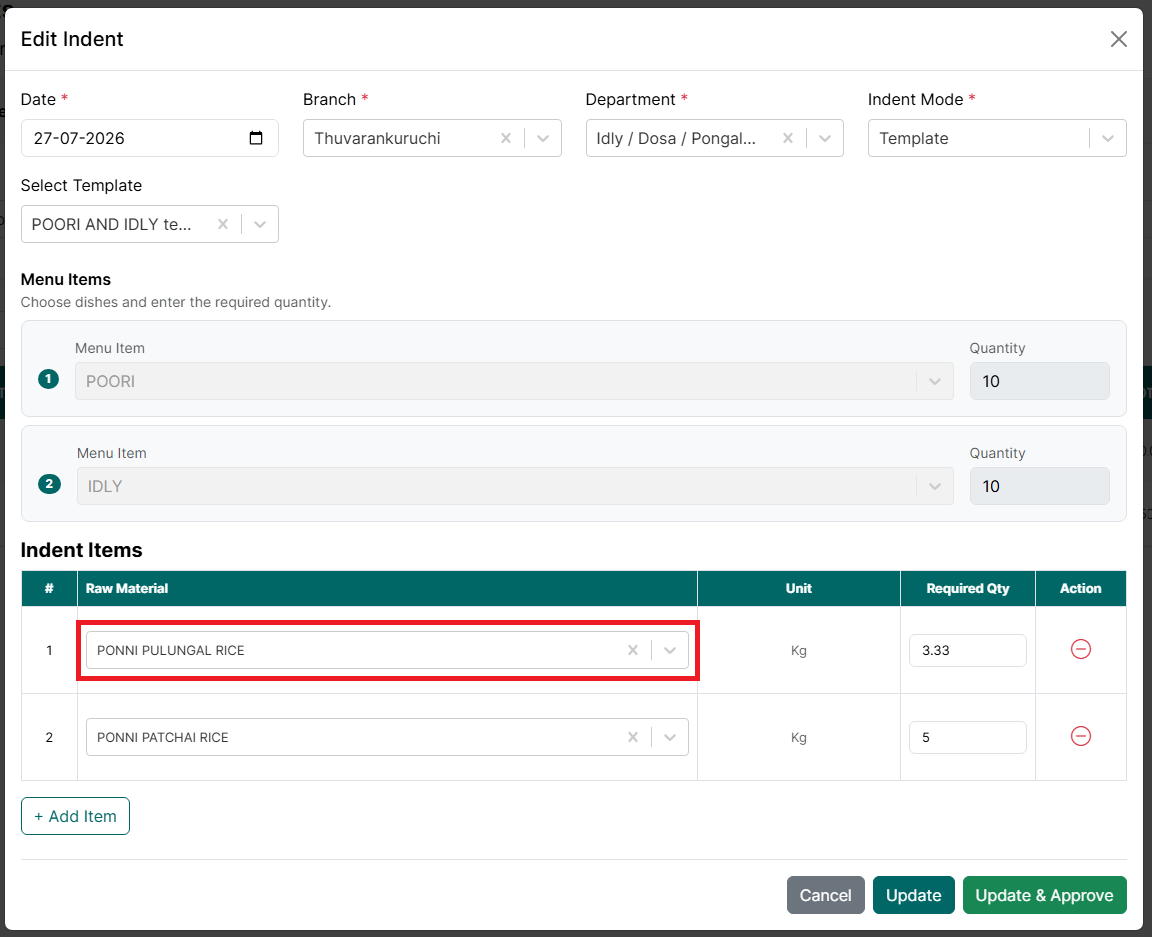
- Update the Required Quantity, if required.
- Add additional raw materials using the Add Item button, if required.
- Remove unnecessary raw materials using the Remove icon.
- Click Update to save the changes.
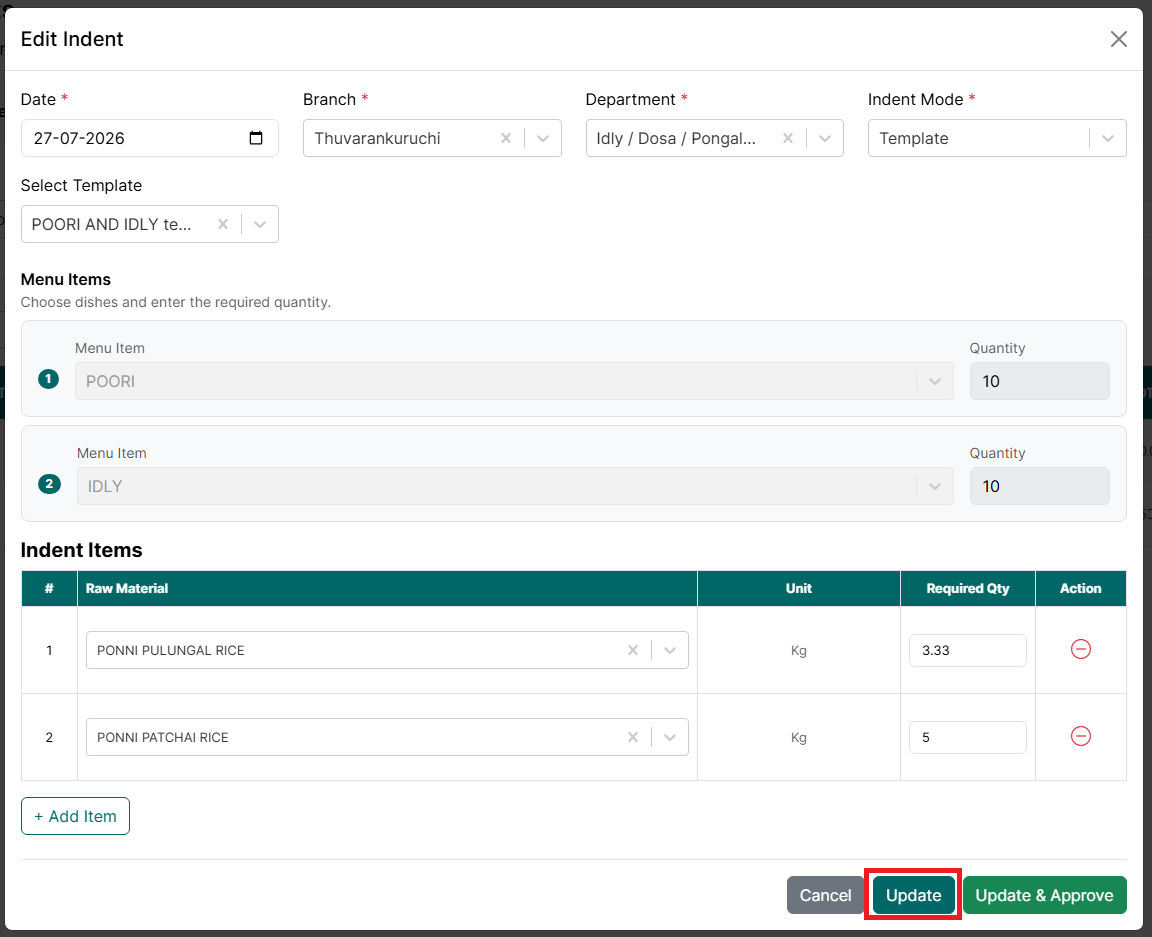
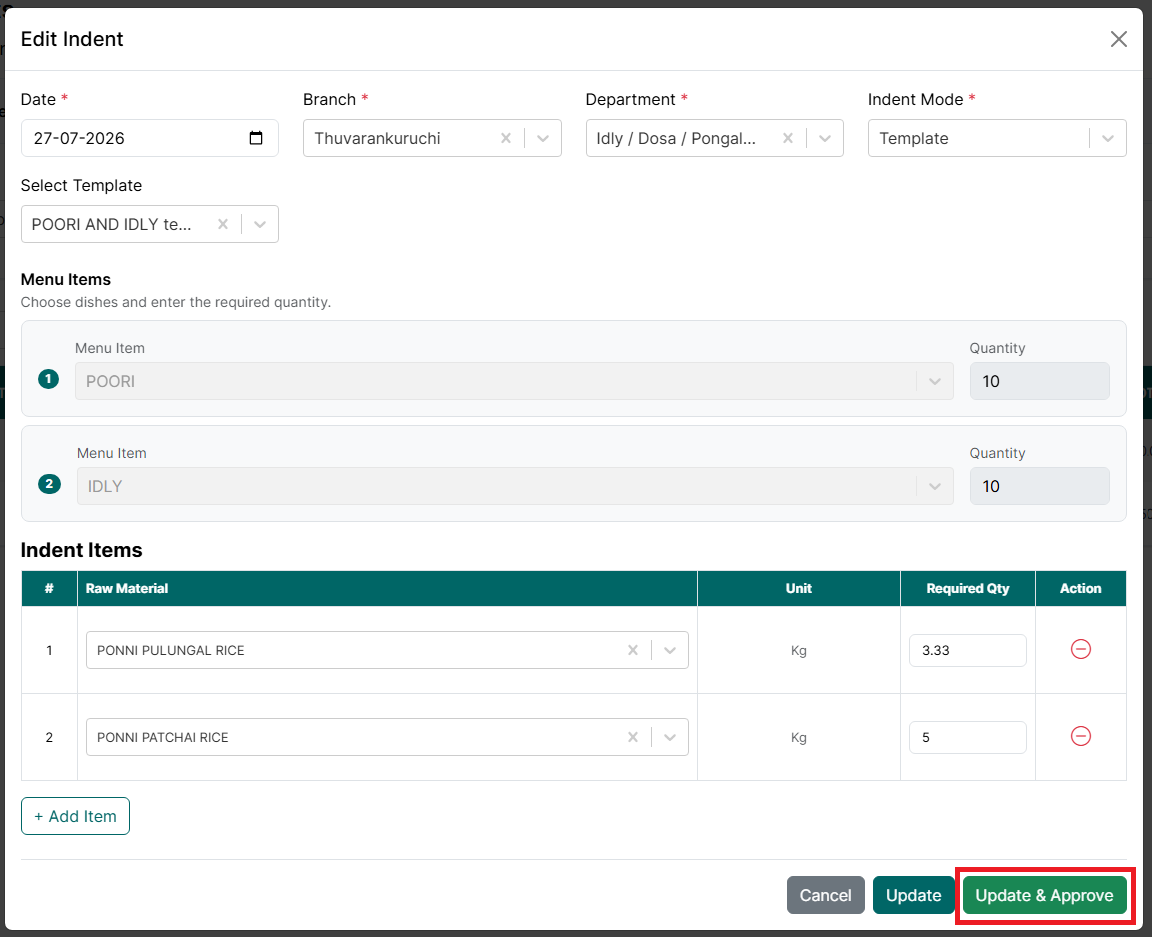
- Click Update & Approve to save the changes and immediately approve the indent.
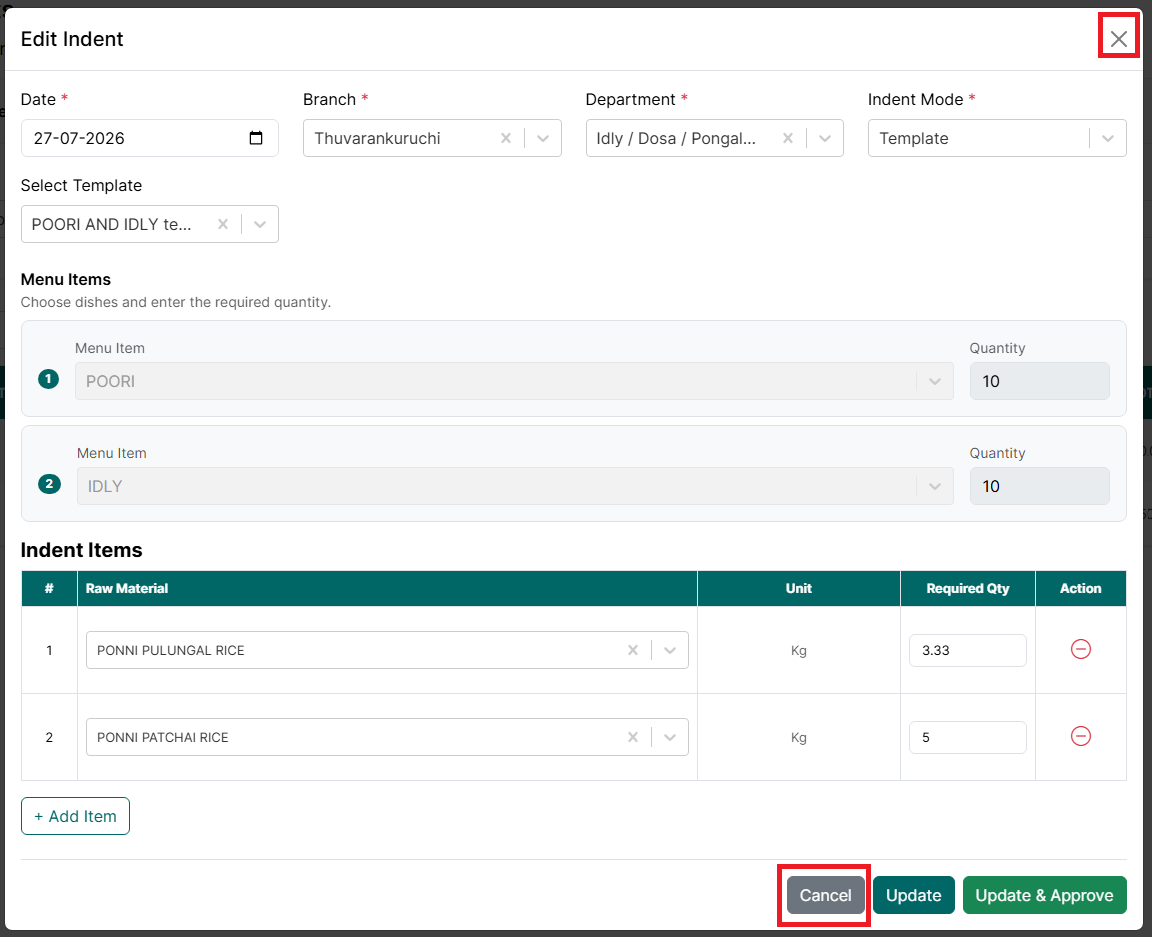
- Click Cancel or the X icon to close the window without saving.
- After the indent is updated successfully, a confirmation message is displayed and the updated information appears in the Indent Listing page.

Note: Changing the selected template recalculates the indent items based on the menu items and recipes configured for that template. Only eligible indents can be edited. Reversed indents cannot be modified.
Delete Indent
To delete an indent, follow the steps below.
- Go to the Main Menu. Click Indents.
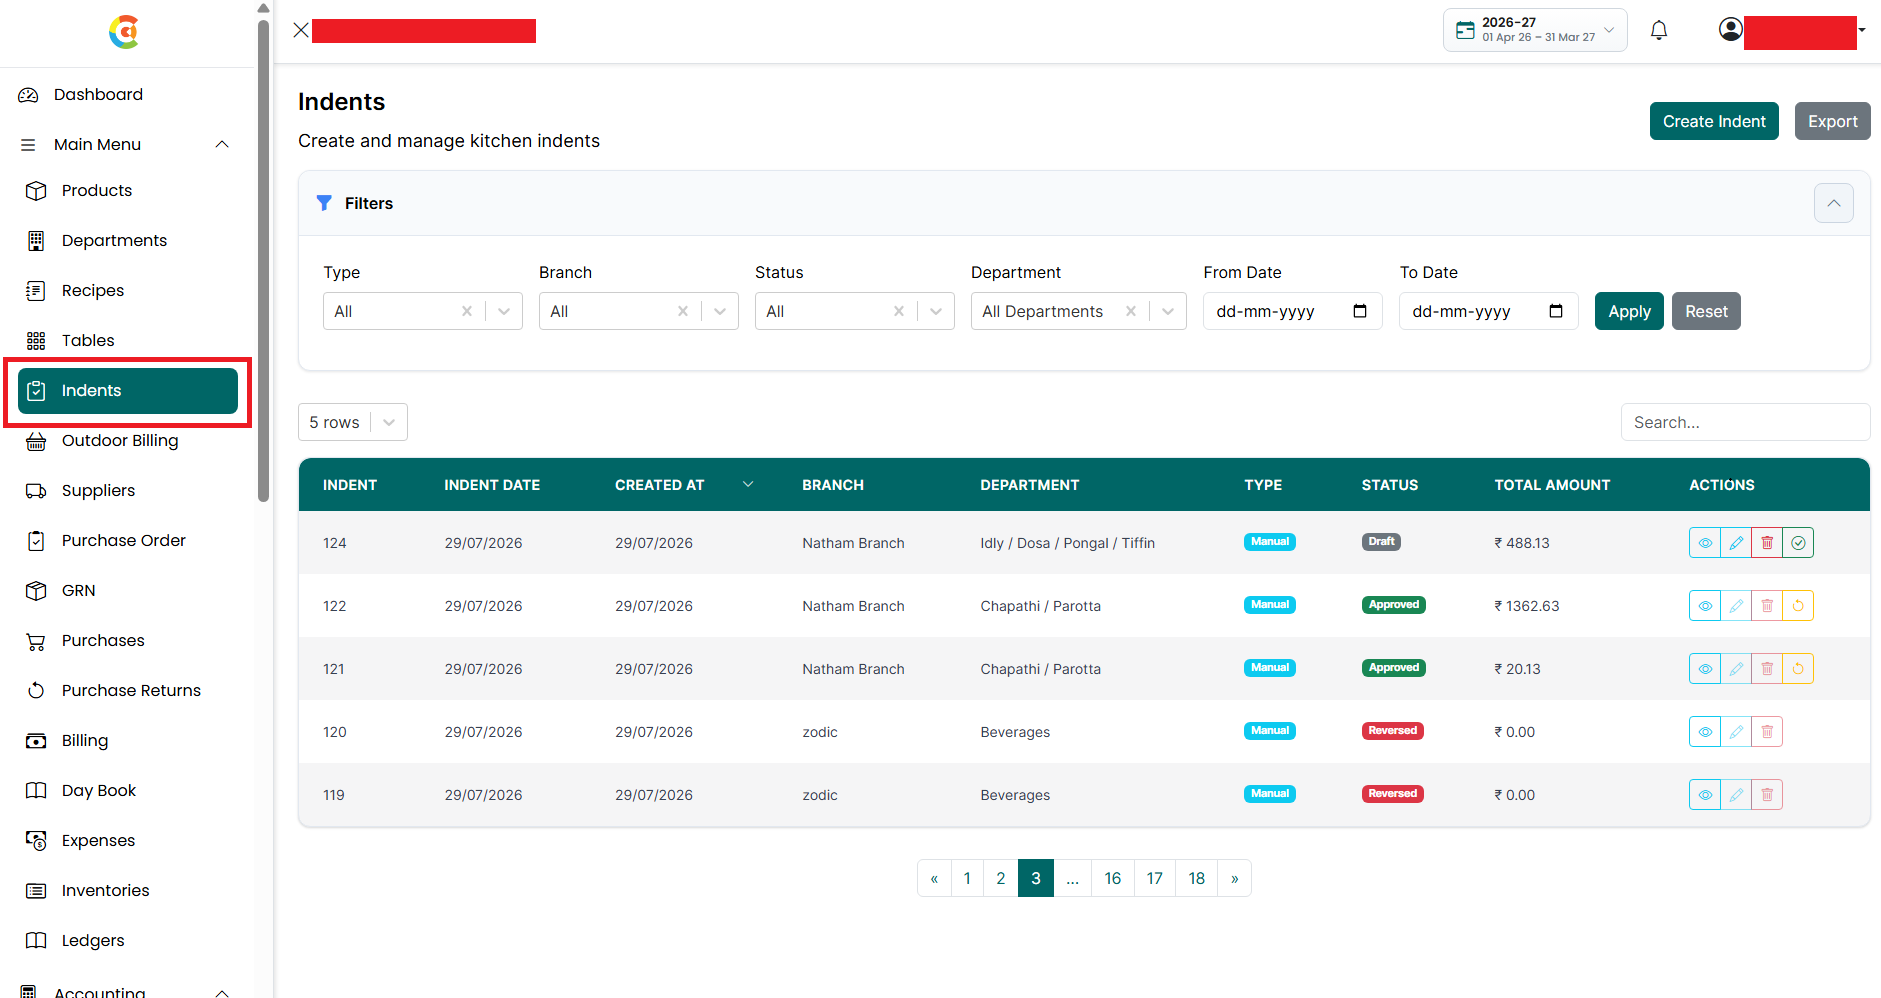
- The Indent Listing page is displayed.
- Find the indent you want to delete.
- Click the Delete icon.
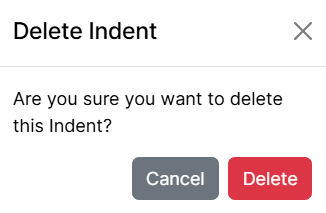
- A confirmation message is displayed asking if you want to delete the indent.
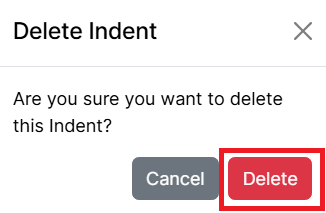
- Click Delete to confirm the deletion.
- Click Cancel or the X icon to close the confirmation window without deleting the indent.
- After the indent is deleted successfully, a confirmation message is displayed. The indent remains visible in the Indent Listing page with a Retrieve option. A deleted indent cannot be edited, approved, or reversed until it is restored.

Note: Only indents that have not been approved can be deleted.
Retrieve Indent
To restore a deleted indent, follow the steps below.
- Go to the Main Menu. Click Indents.
- The Indent Listing page is displayed.
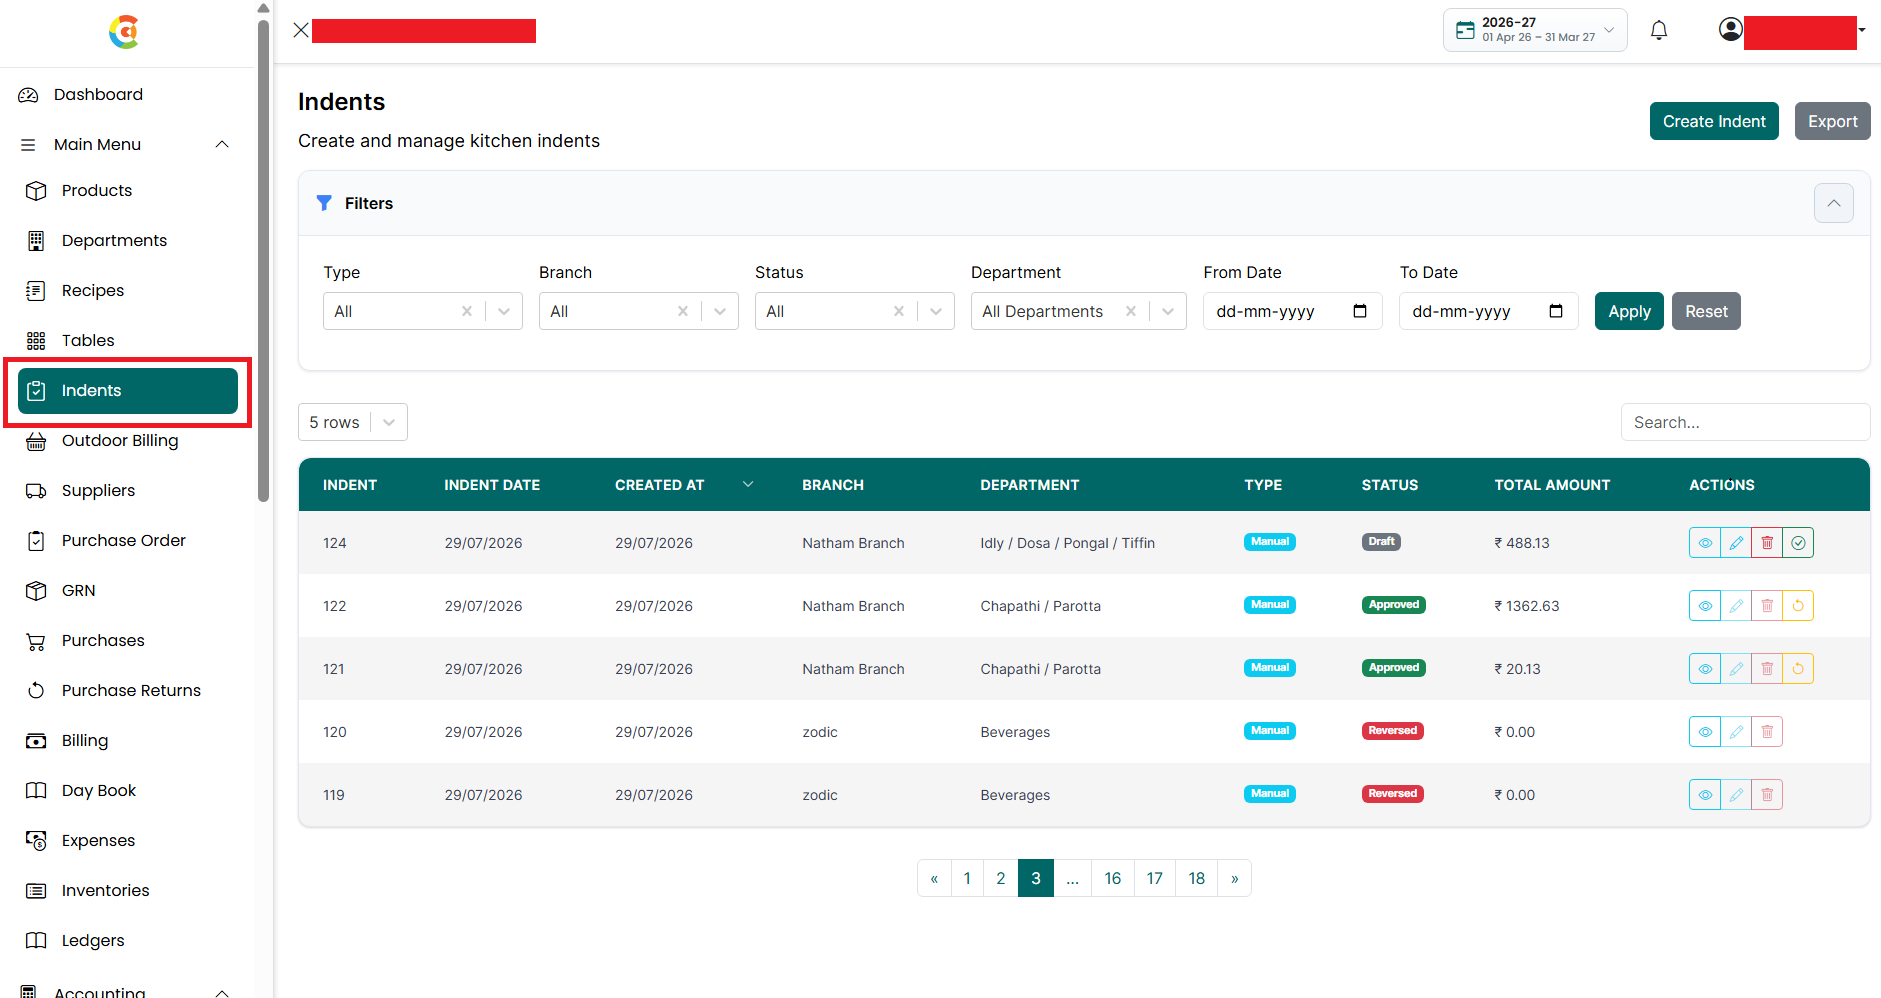
- Find the deleted indent you want to retrieve.
- Click the Retrieve icon.
- A confirmation message is displayed asking if you want to restore the indent.
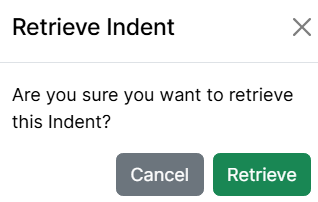
- Click Retrieve Indent to restore the indent.
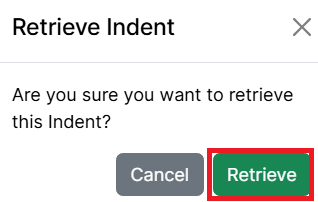
- Click Cancel or the X icon to close the confirmation window without restoring the indent.
- After the indent is restored successfully, a confirmation message is displayed. The indent becomes active again and can be edited, approved, or processed further based on its current status.

Approve Indent
Approving an indent authorizes the issue of raw materials from inventory.
To approve an indent, follow the steps below.
- Go to the Main Menu. Click Indents.
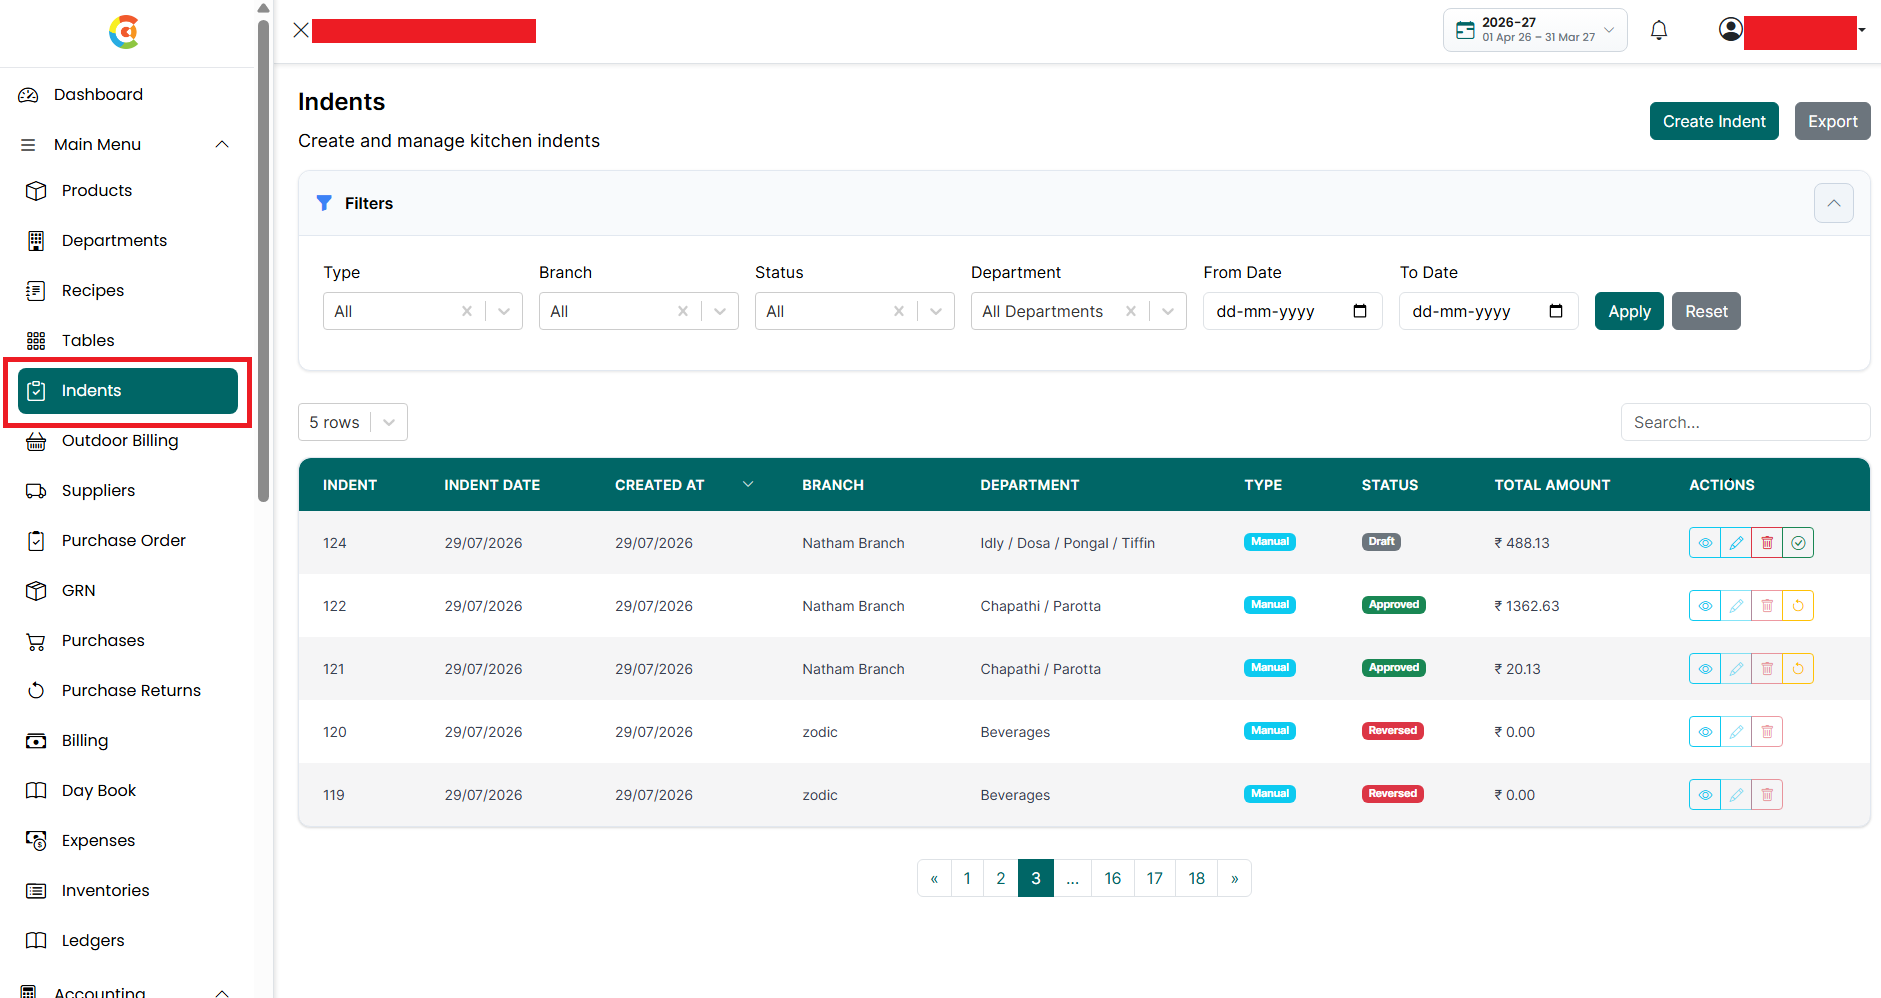
- The Indent Listing page is displayed.
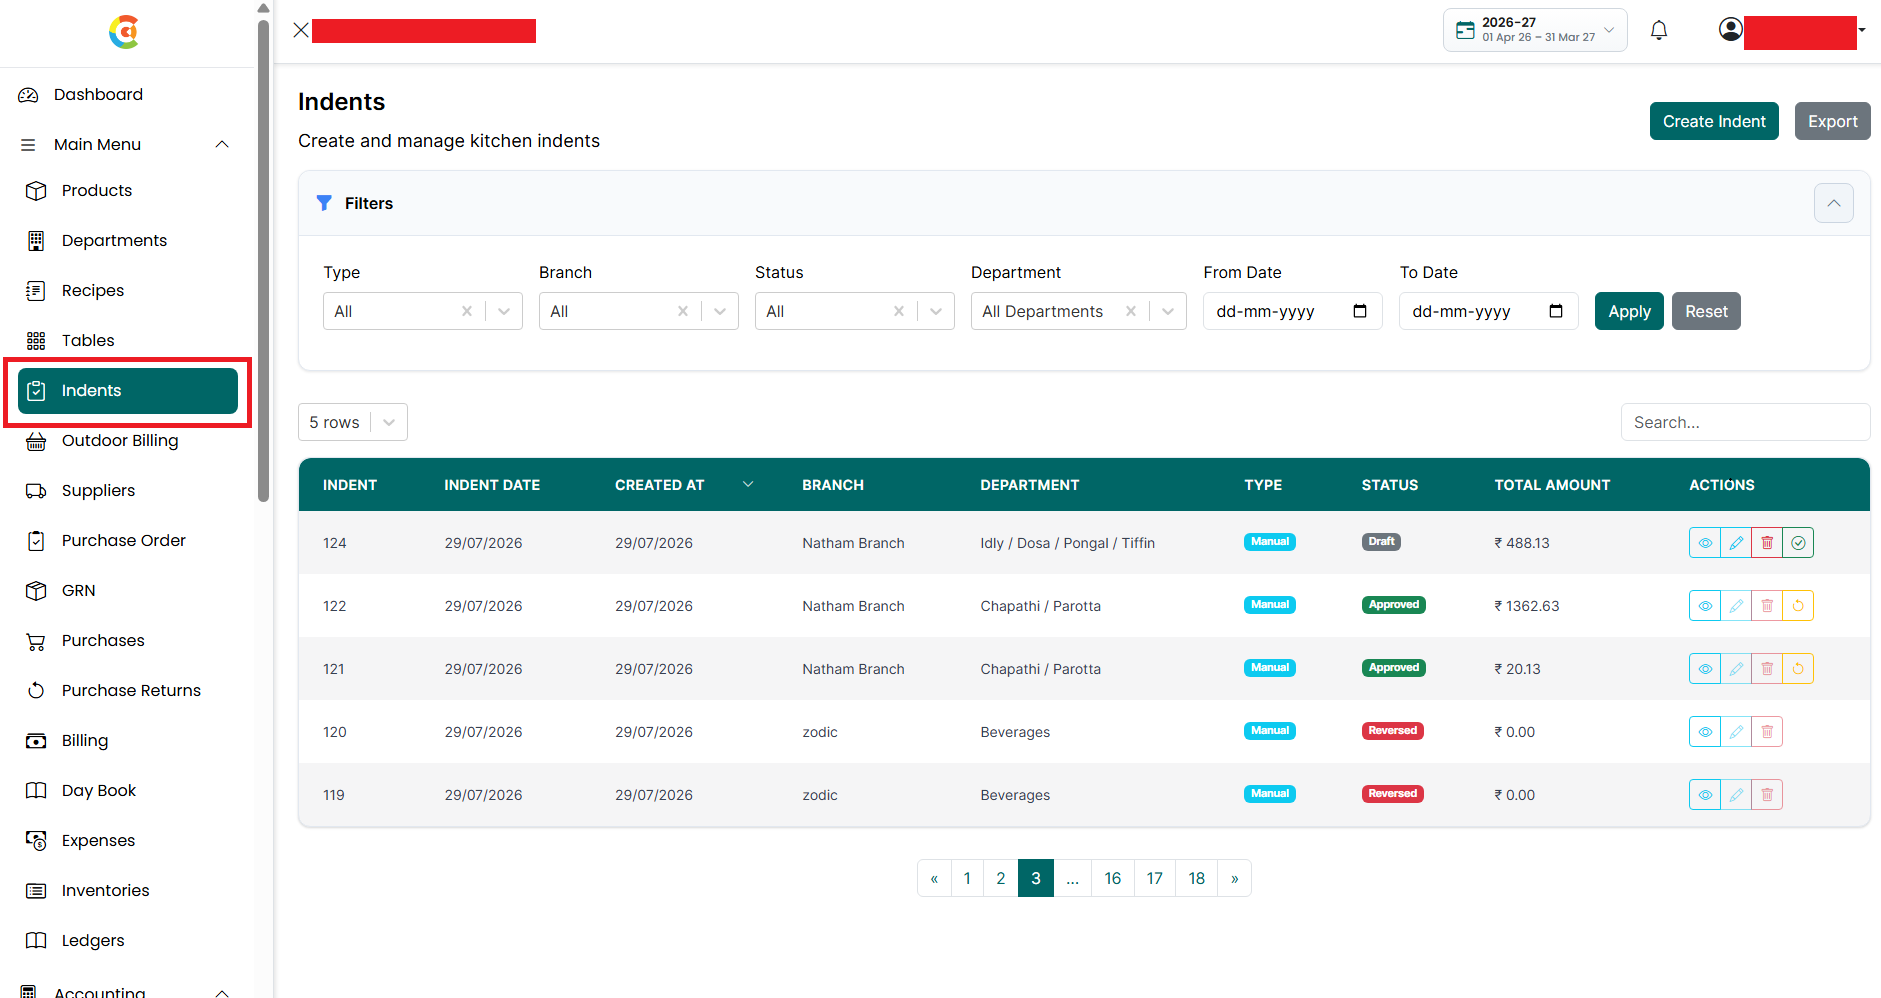
- Find the required indent. Click the Approve icon, or click Create & Approve or Update & Approve while creating or editing the indent.
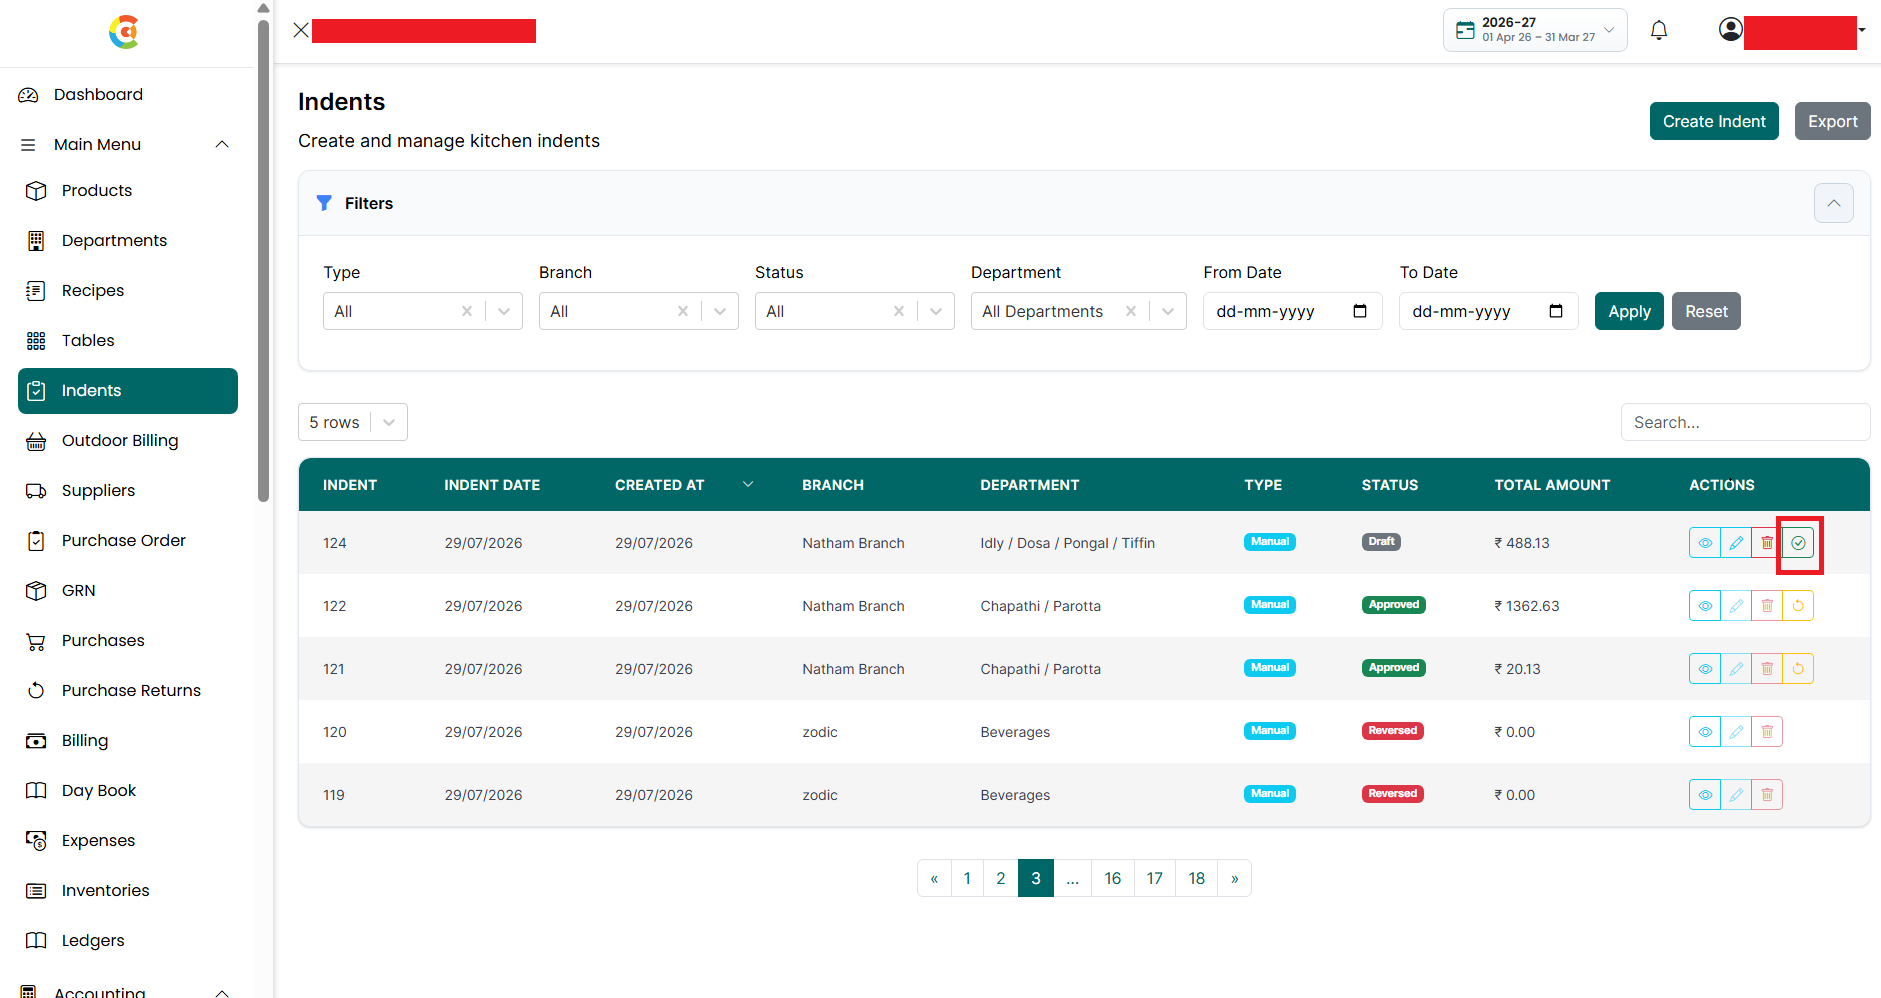
- A confirmation message is displayed.
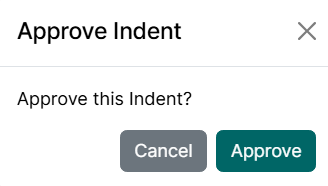
- Click Approve to confirm.
- Click Cancel or the X icon to close the confirmation window without approving the indent.
- After approval:
- The indent status changes to Approved.
- The requested raw materials are deducted from inventory.
- Inventory balances and stock values are updated automatically.
- The issued quantities are reflected in inventory reports and stock movement history.


Reverse Indent
Reversing an indent cancels the stock issue performed during approval and returns the issued quantities back to inventory.
To reverse an approved indent, follow the steps below.
- Go to the Main Menu. Click Indents.
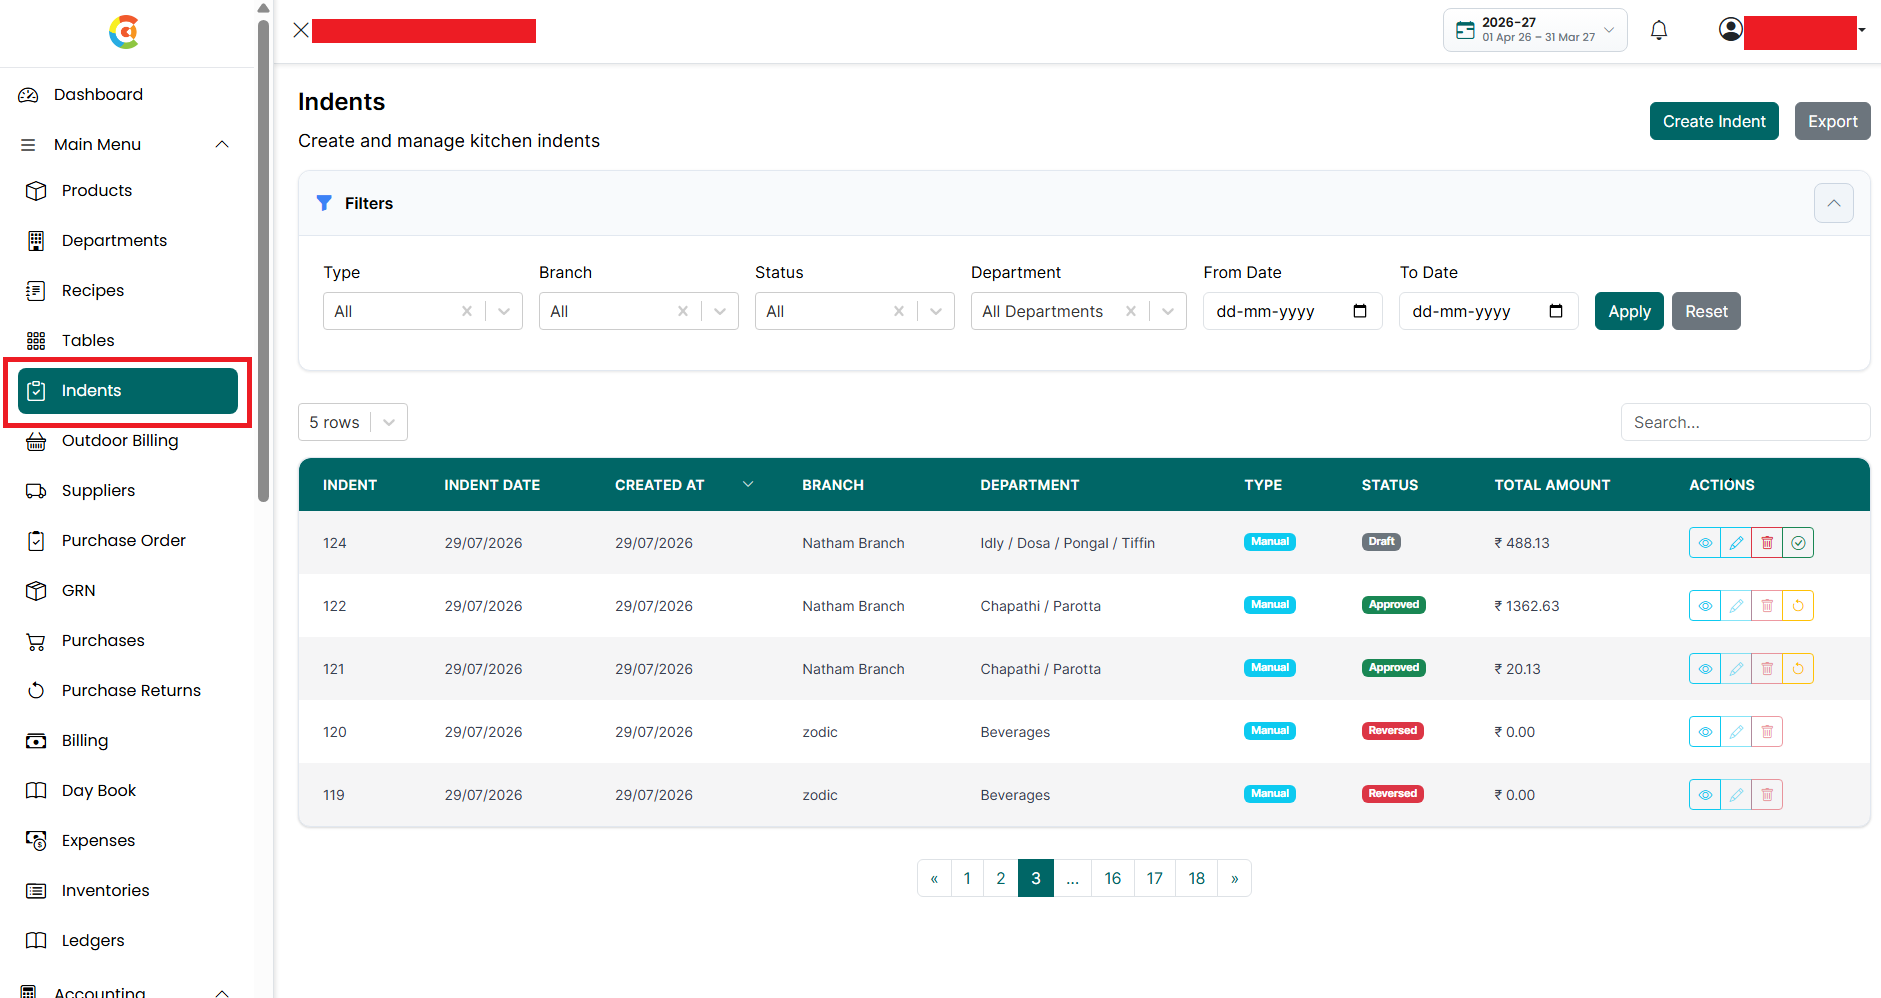
- The Indent Listing page is displayed.
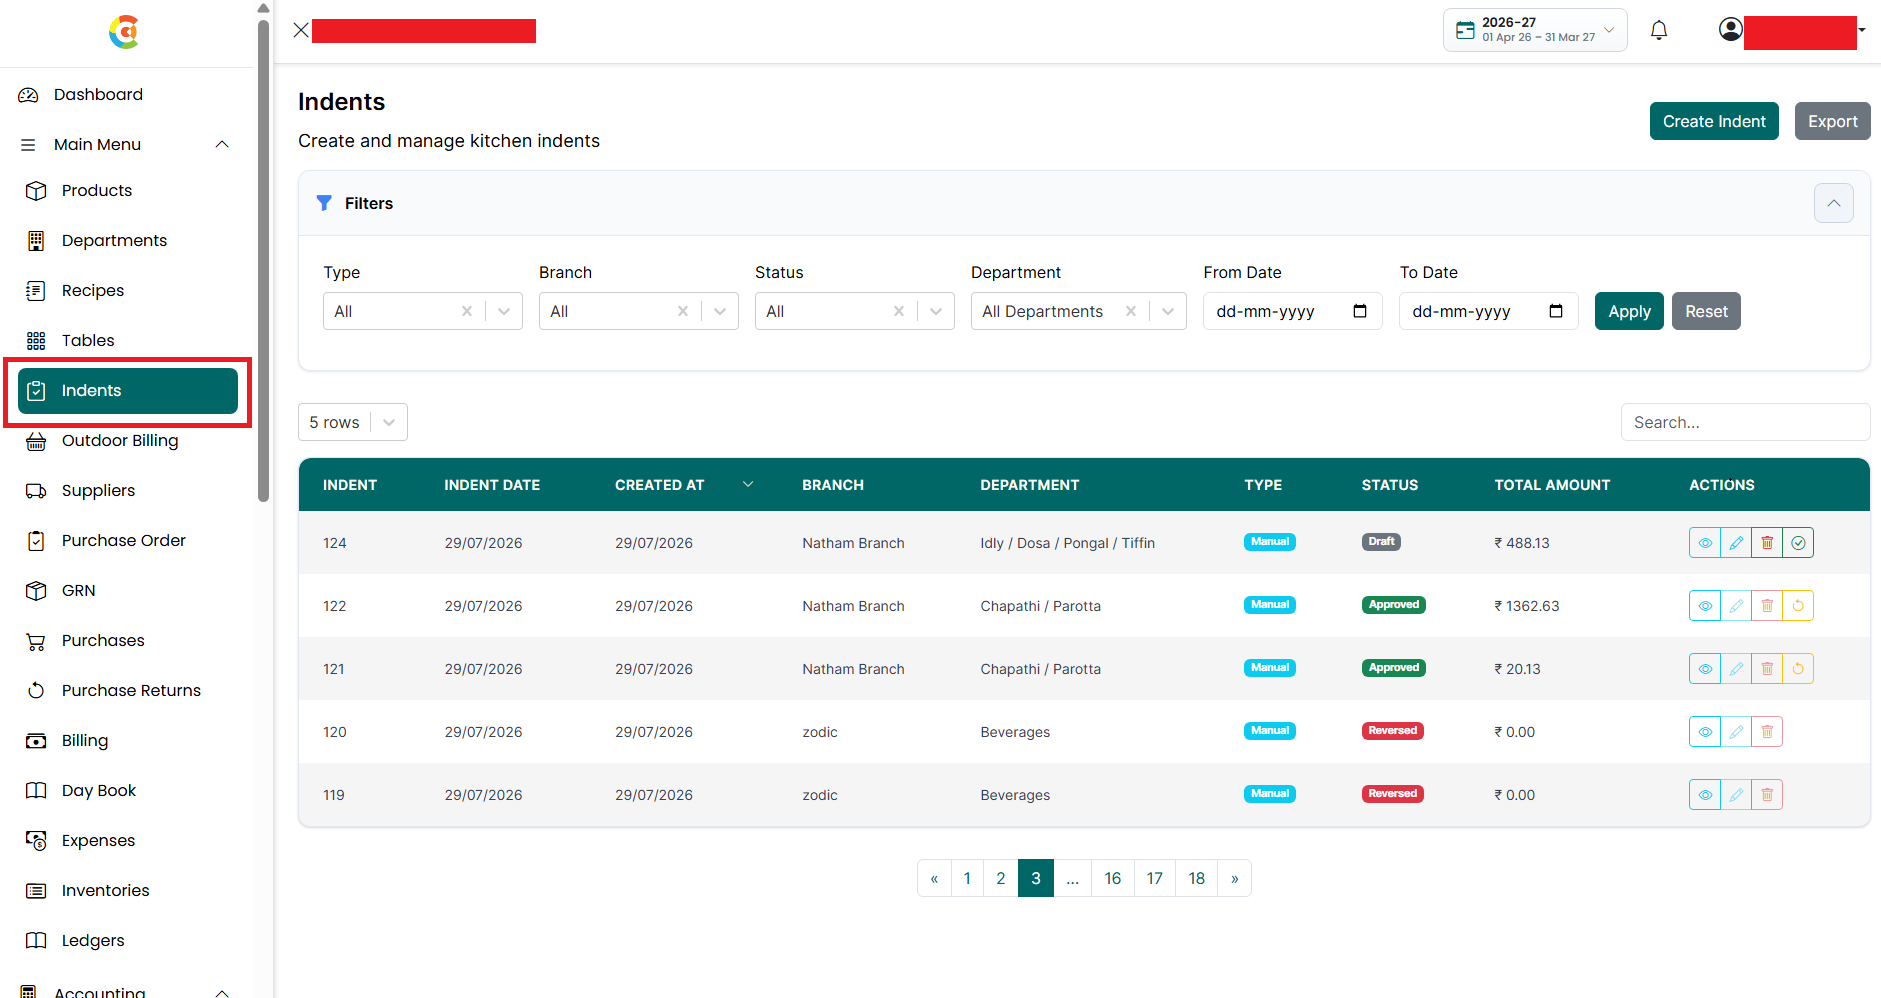
- Find the indent with the Approved status you want to reverse.
- Click the Reverse icon.
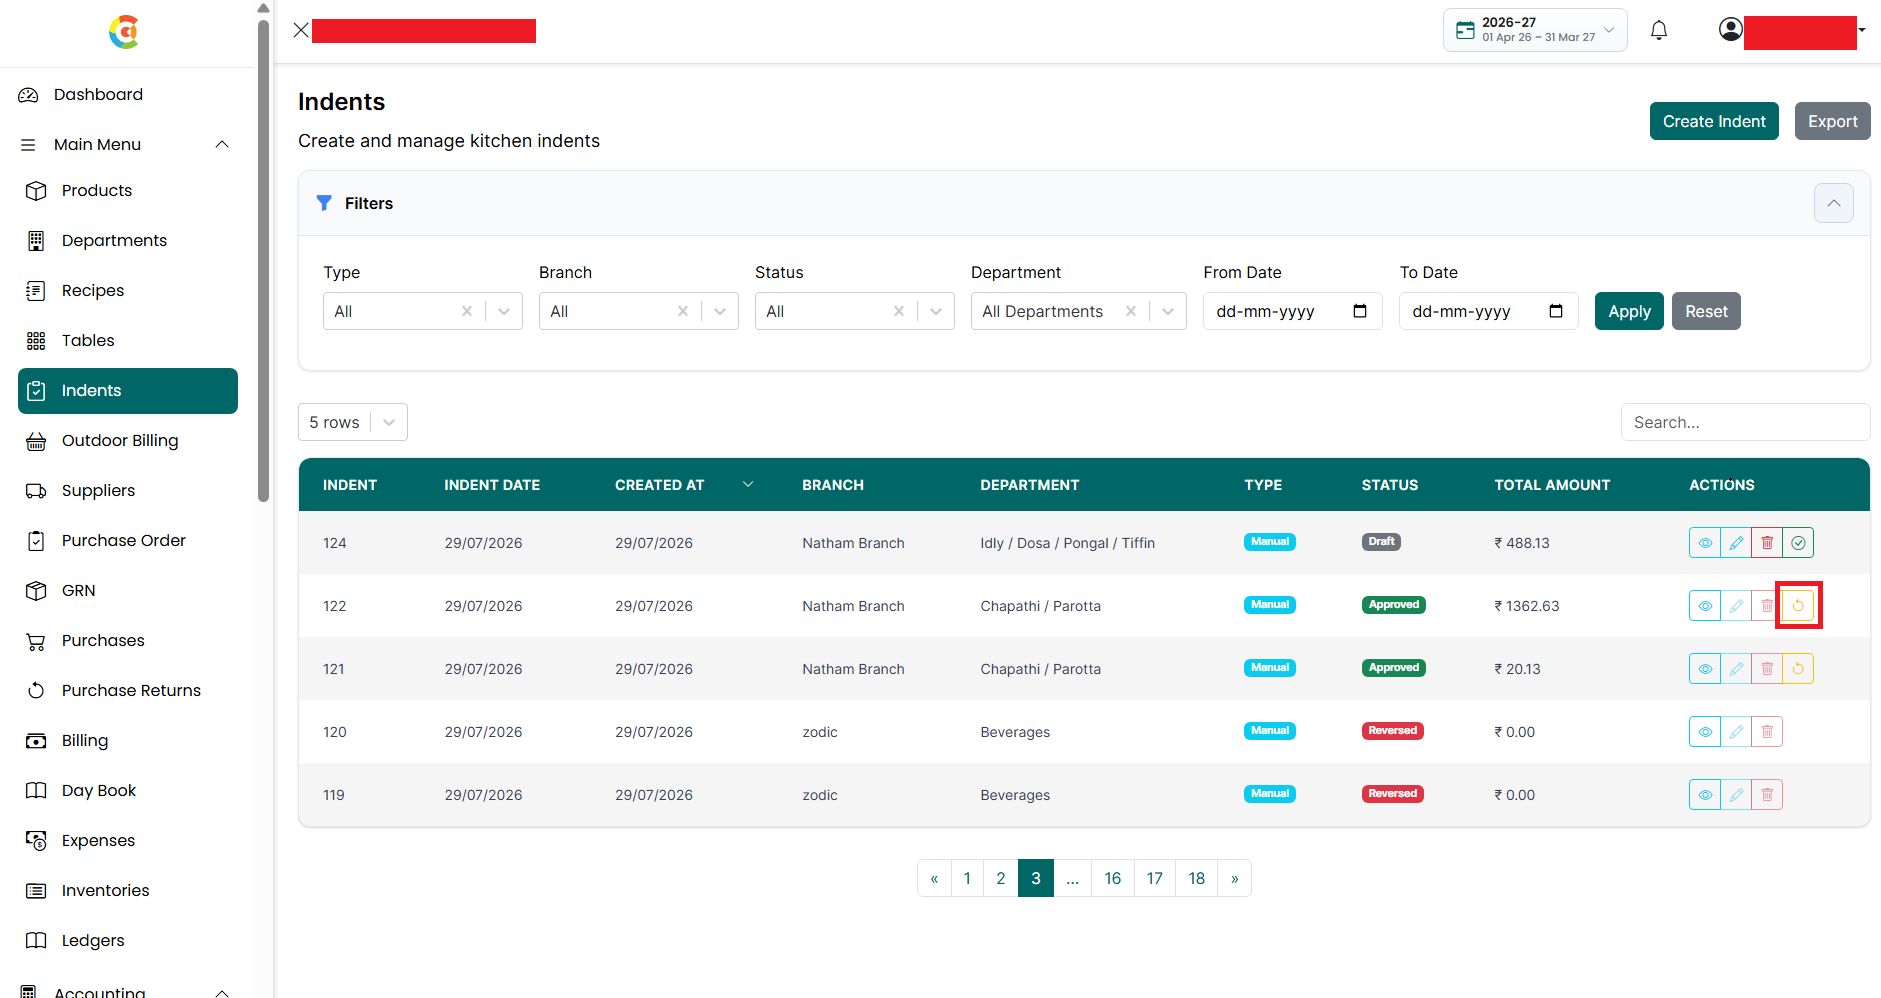
- A confirmation message is displayed.
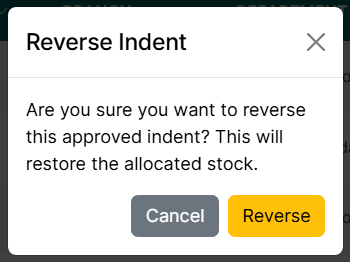
- Click Reverse to confirm.
- Click Cancel or the X icon to close the confirmation window without reversing the indent.
- After reversal:
- The indent status changes to Reversed.
- All stock issued by the approved indent is returned to inventory.
- Inventory balances are recalculated automatically.
- Inventory movement history is updated to record the reversal.


Note: Reversed indents are maintained for audit purposes and cannot be edited or approved again.