Supplier Management
Supplier Listing Page
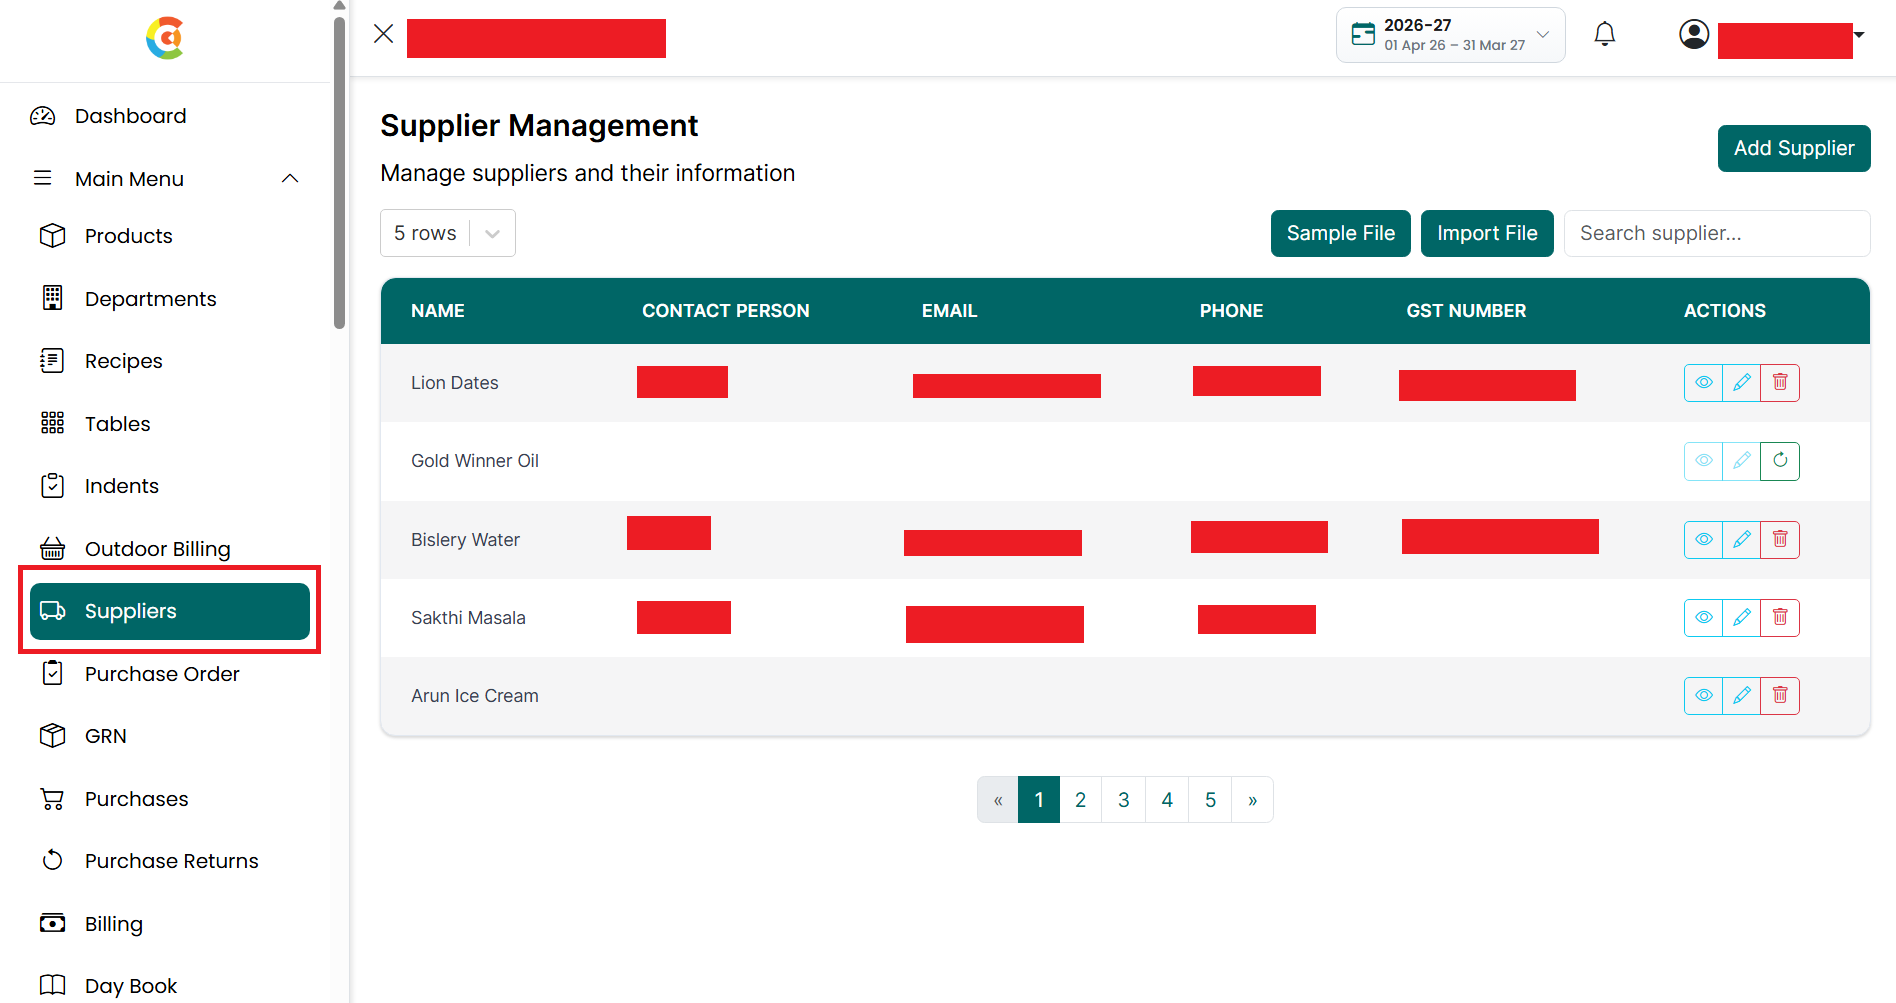
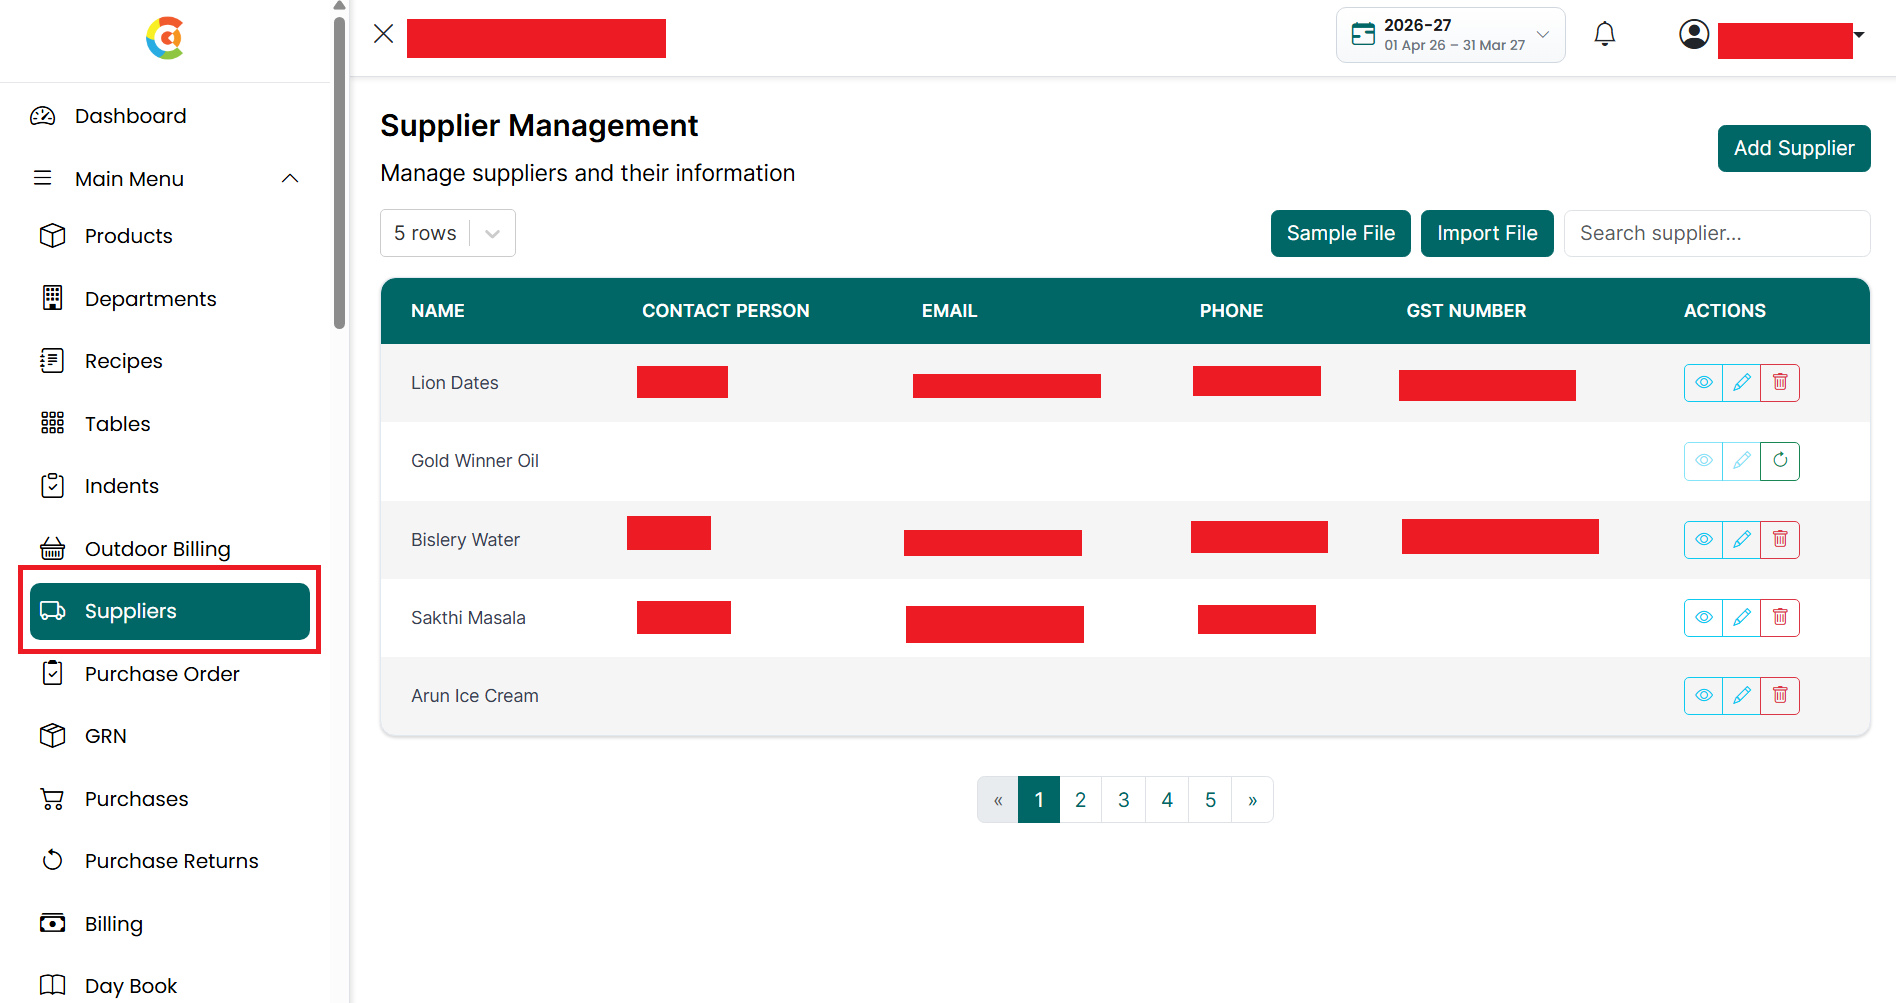
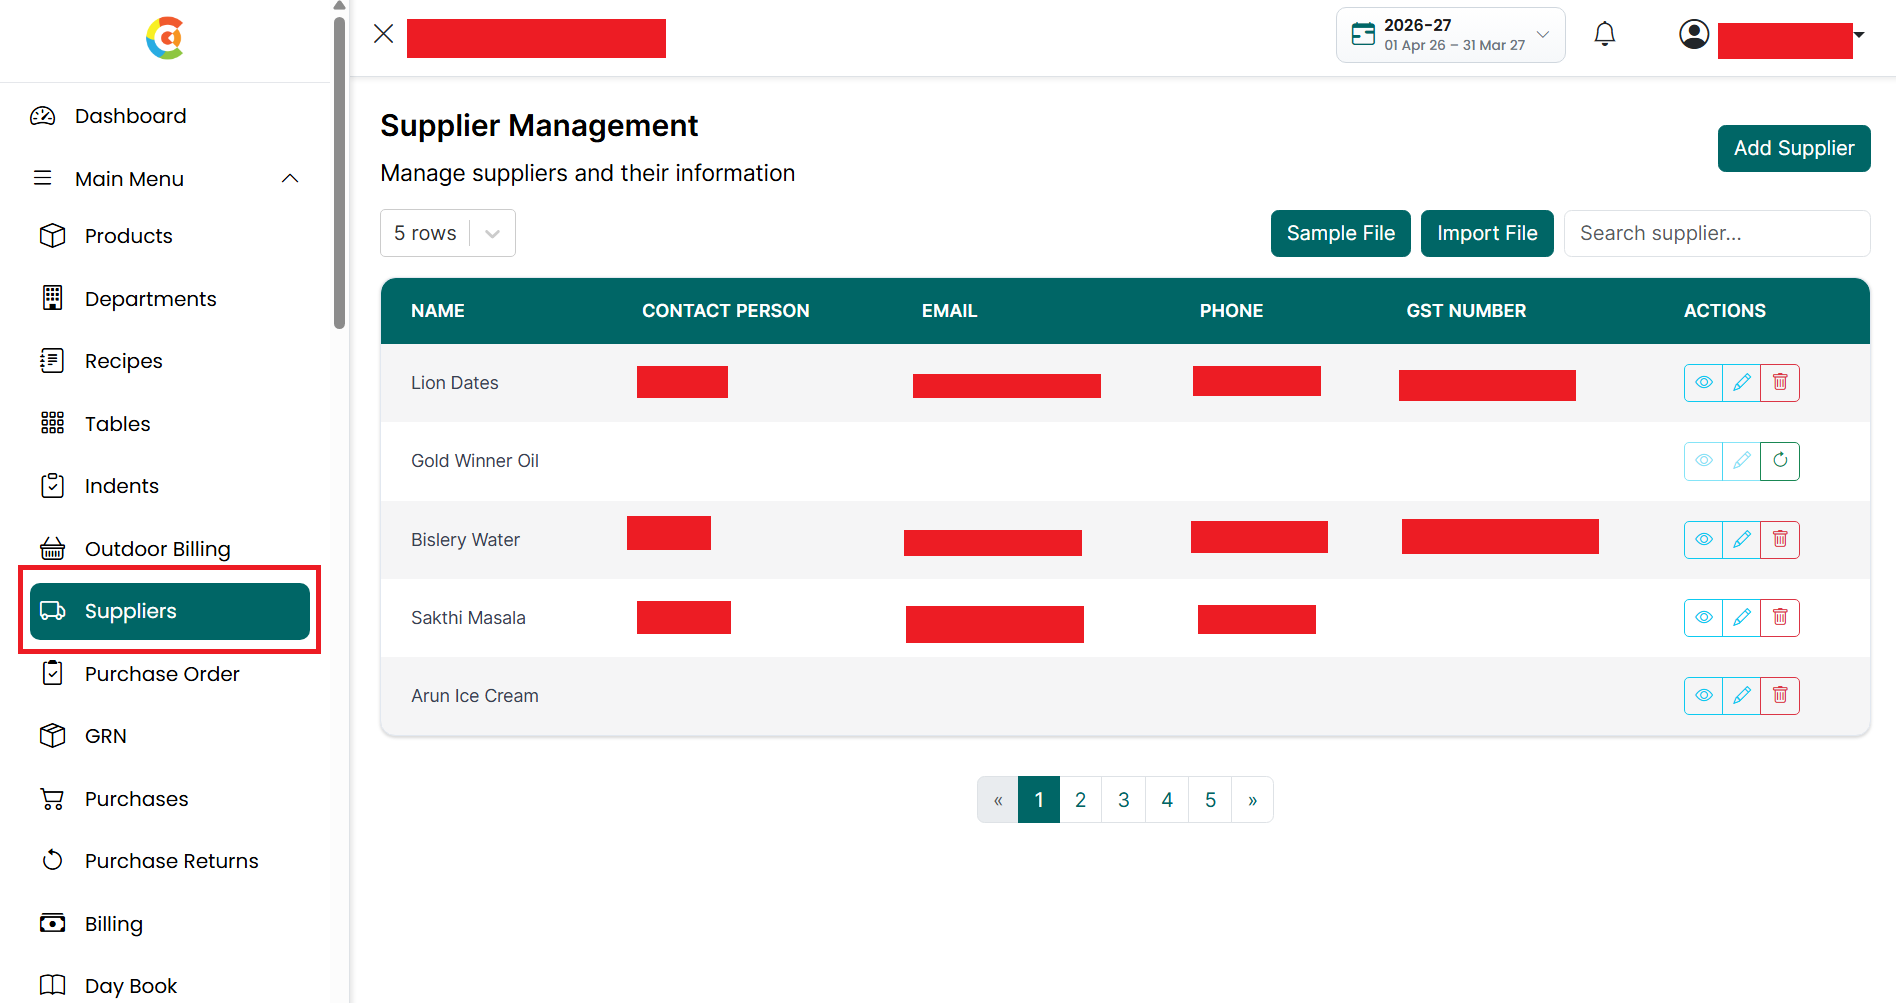
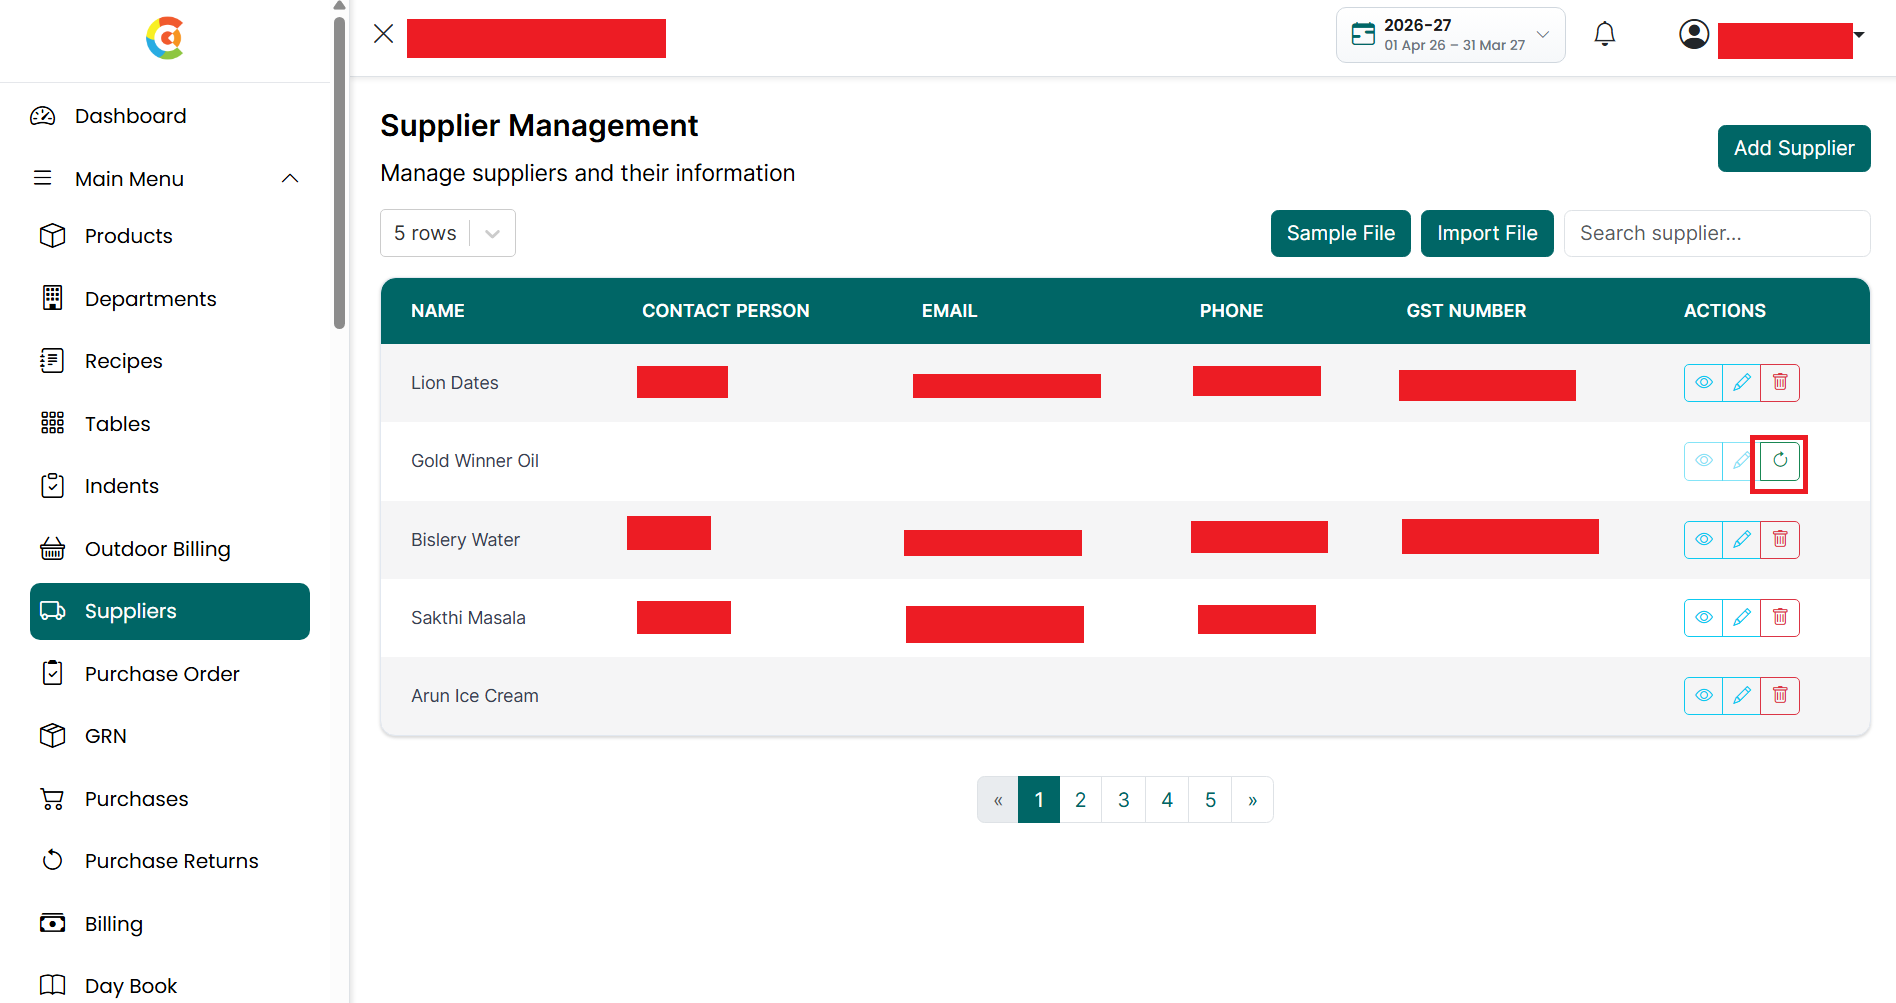
The Supplier Listing page shows all the suppliers added to the application, along with their contact details, GST information, address, and other supplier details.
From this page, you can:
● Add a new supplier.
● View supplier details.
● Edit supplier information.
● Delete or restore suppliers.
● Import multiple suppliers using an Excel file.
Suppliers added here can be selected while creating:
● Purchase Orders
● Purchases
● Purchase Returns
● Supplier Payments
● Other supplier-related transactions
The system may also automatically create a Supplier Ledger under Sundry Creditors to help track supplier payments and outstanding balances.
To open the Supplier Listing page, follow the steps below.
- Go
to the Main Menu and click Suppliers. The Supplier Listing page is
displayed.
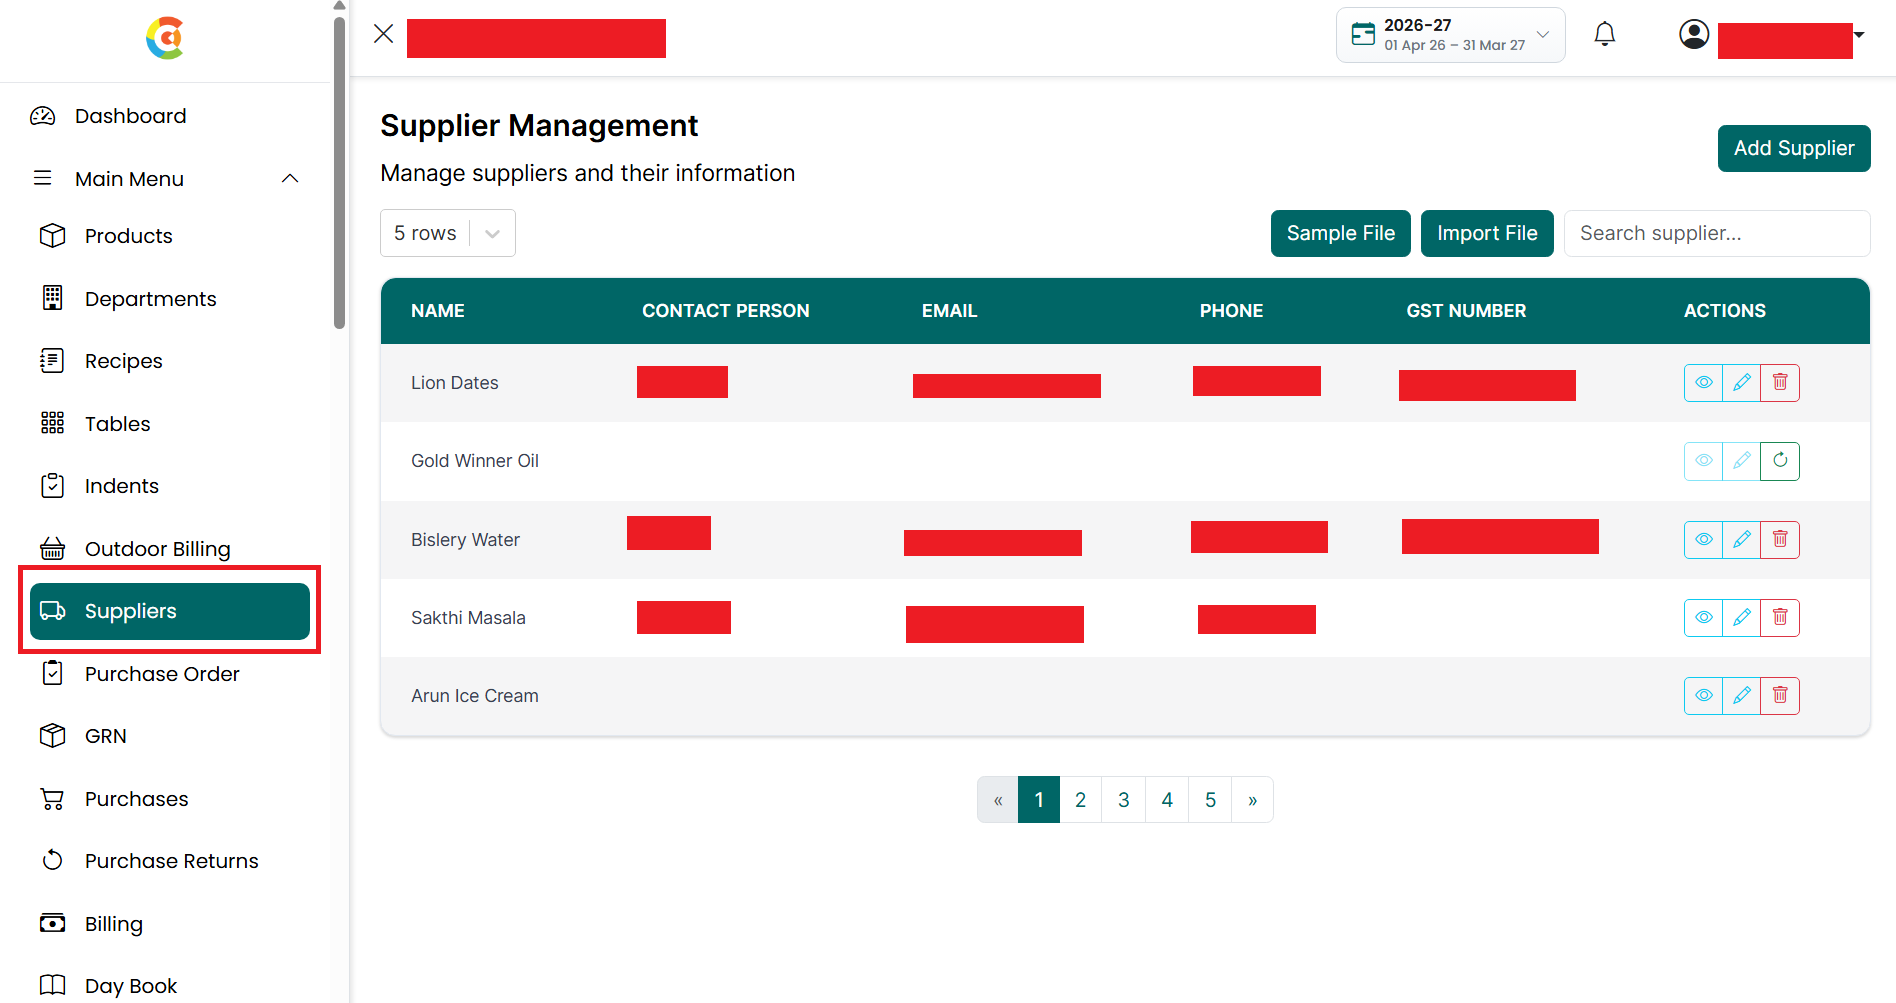
The page includes the following sections:
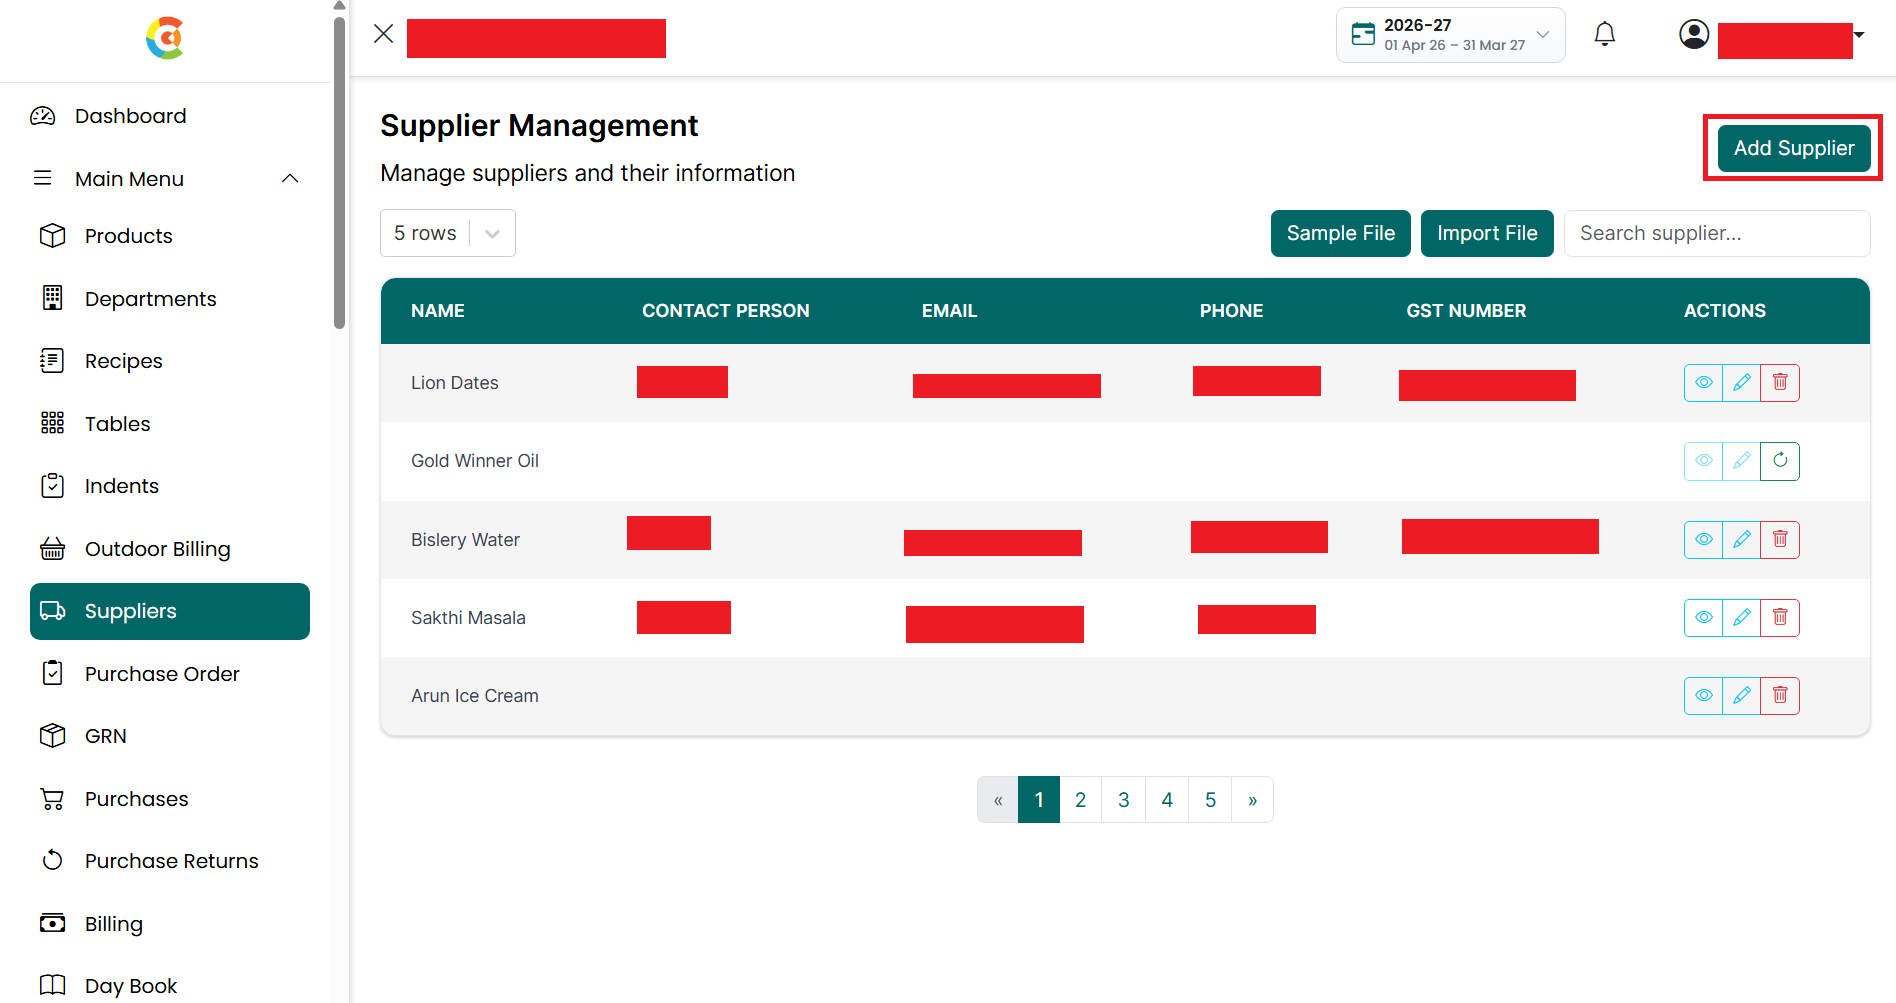
- Add
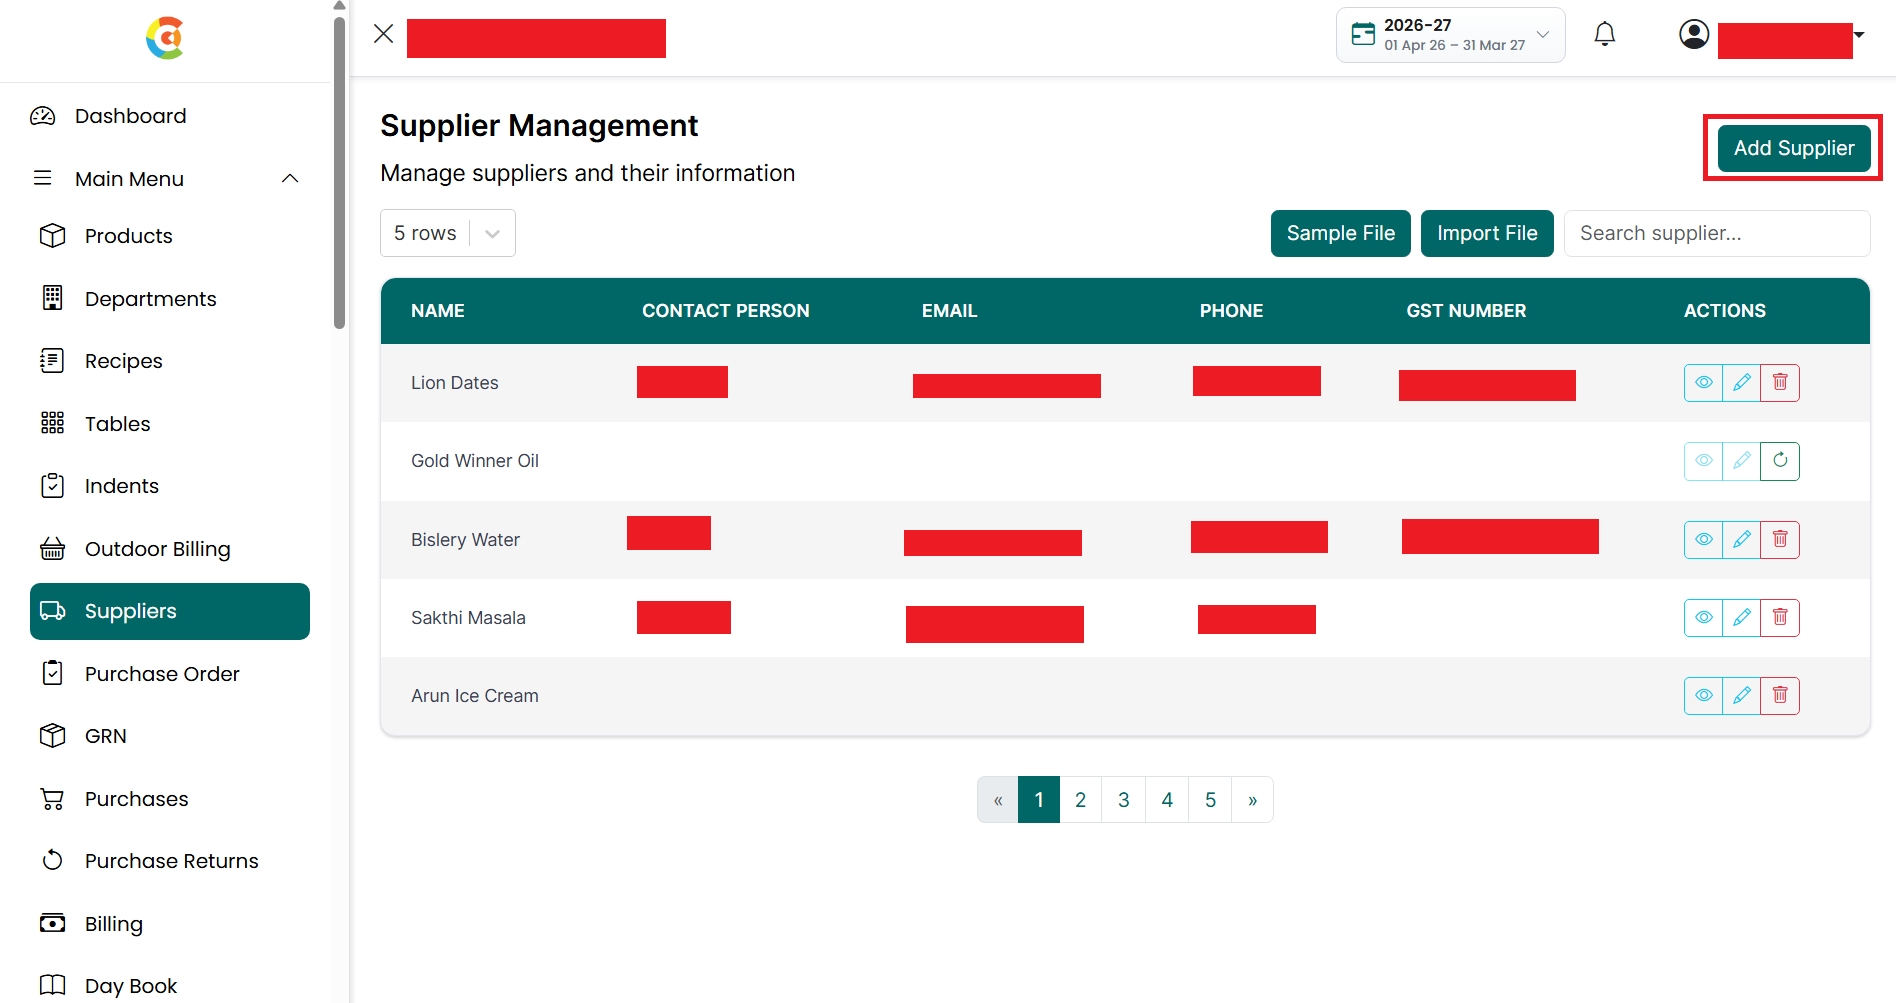
Supplier – Click the Add Supplier button to create a new supplier.
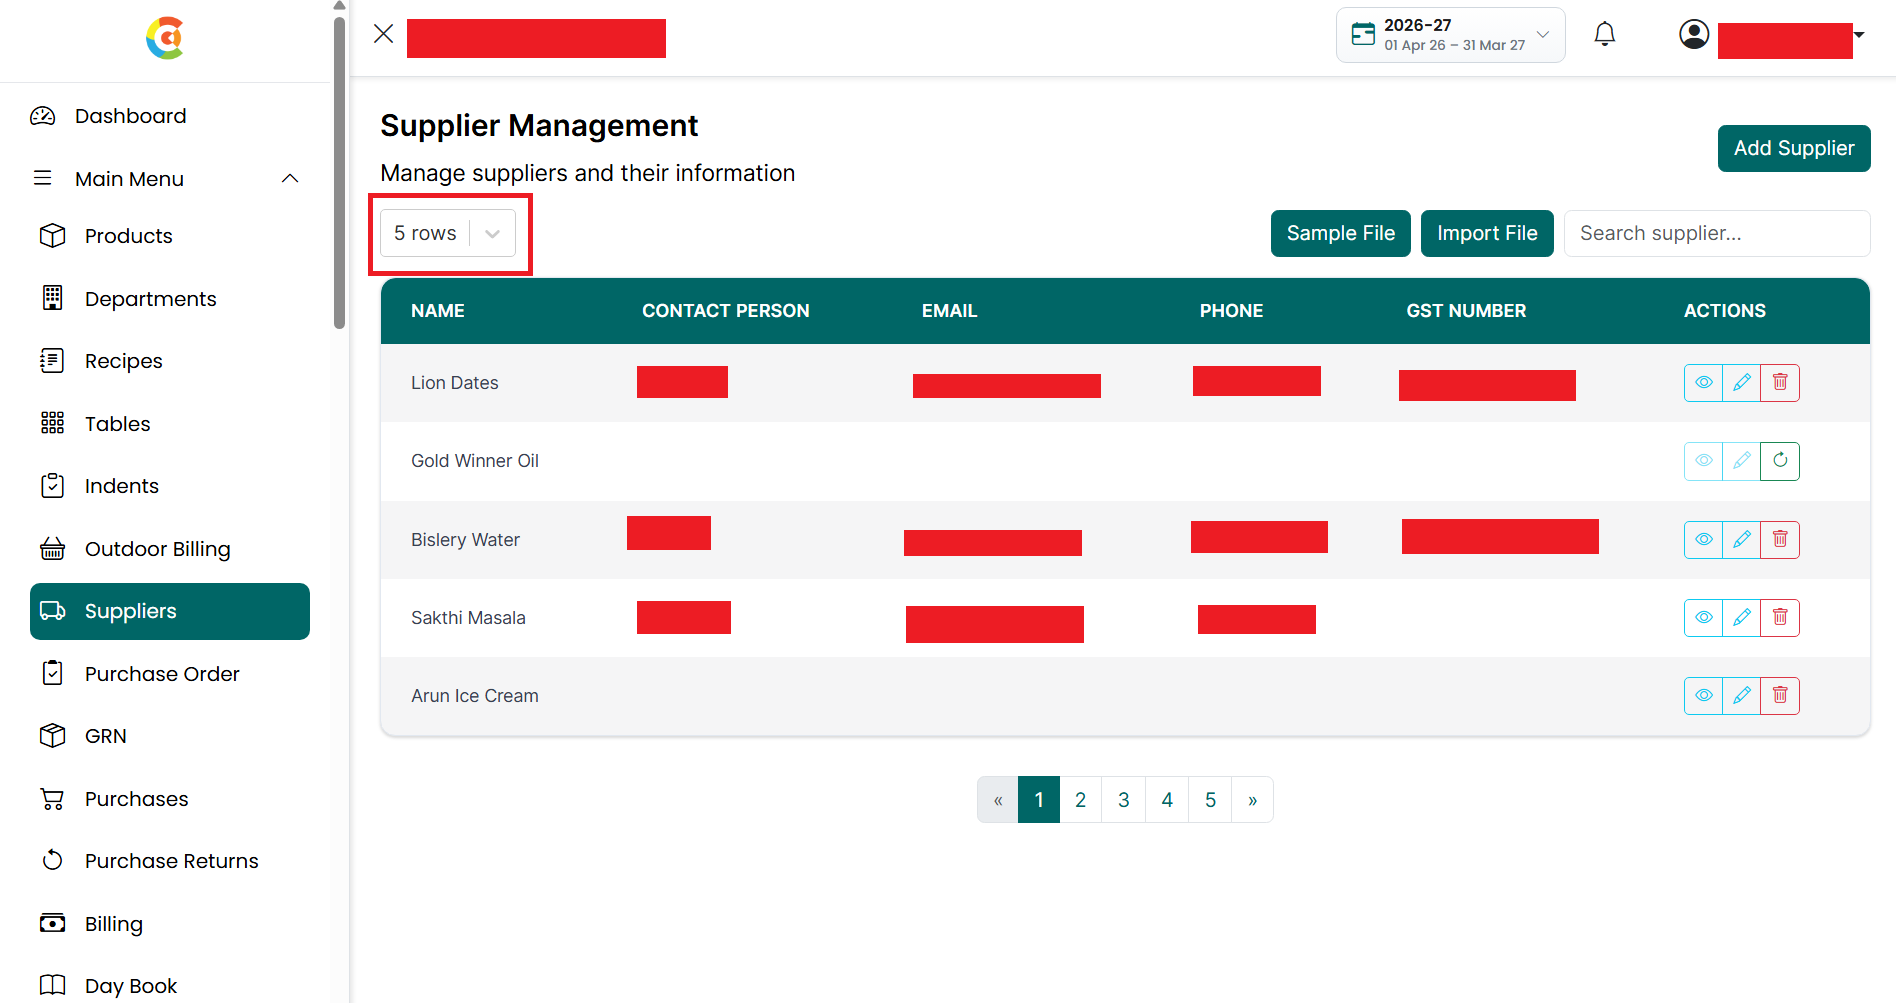
- Rows Per Page – Select how many
suppliers you want to display on a single page.
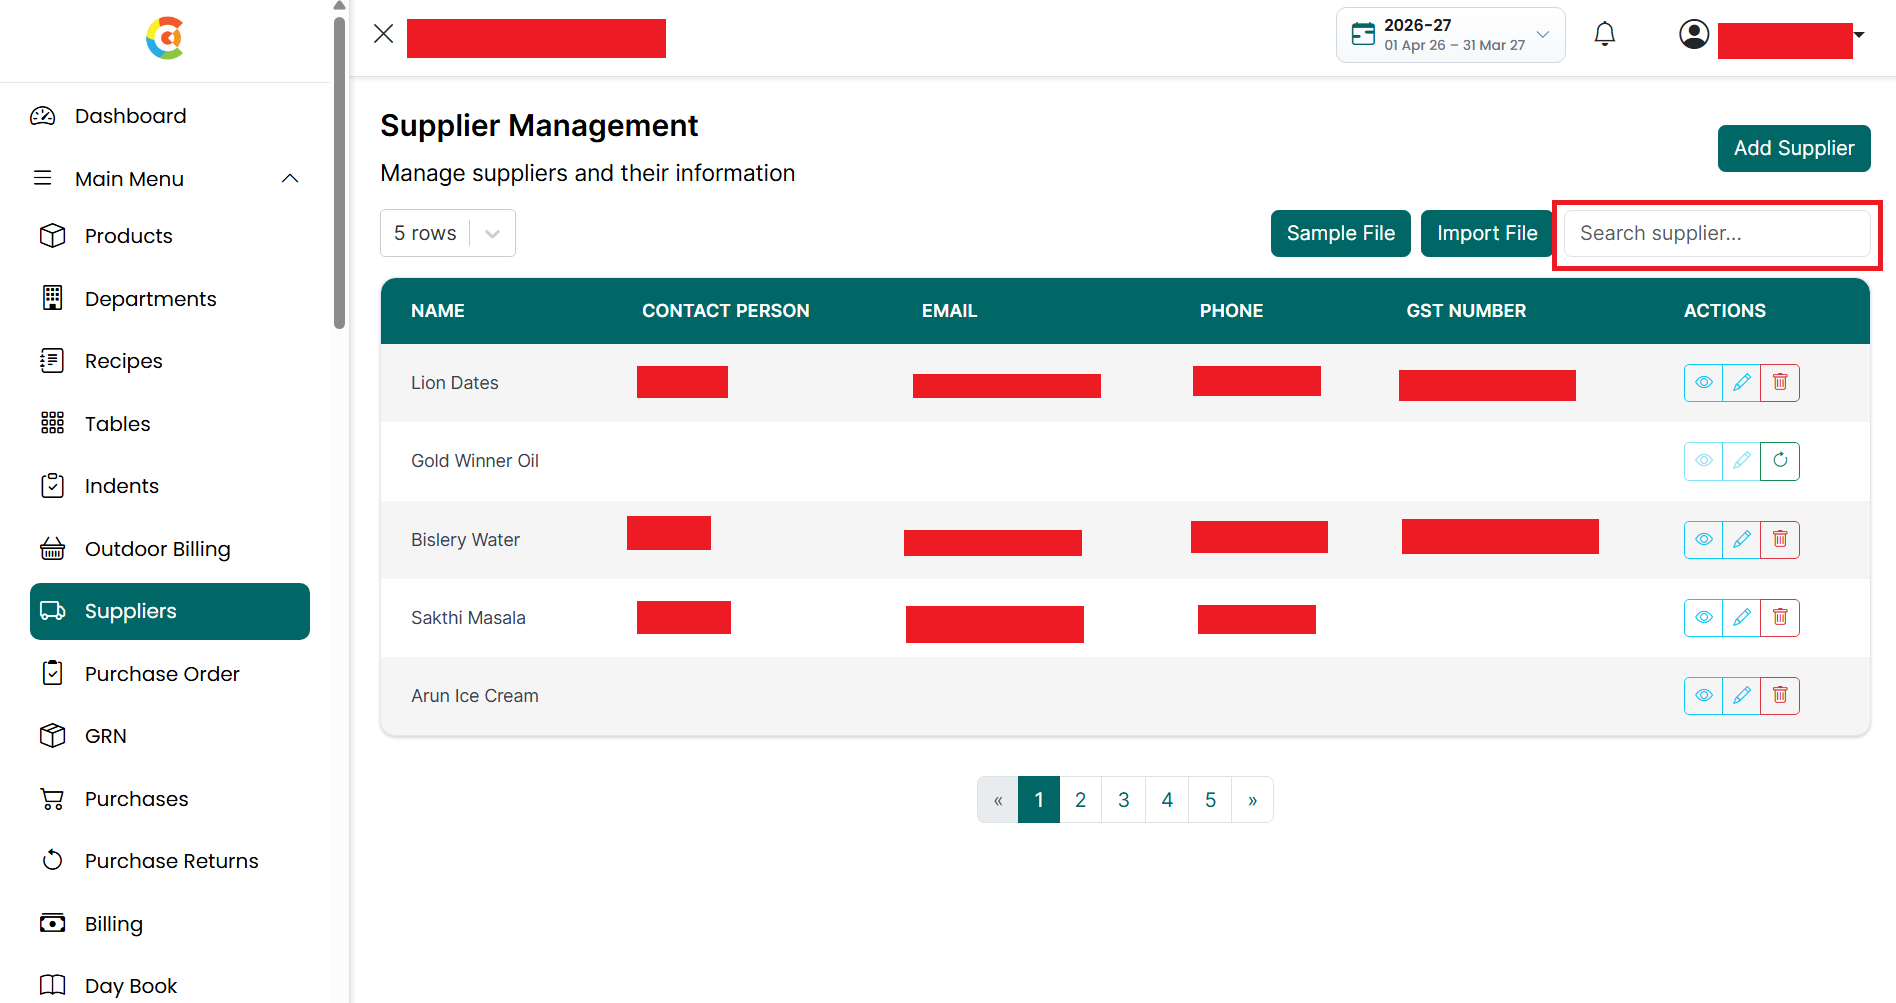
- Search – Enter the supplier name,
contact person, email address, phone number, or GST number in the Search
box to quickly find a supplier.
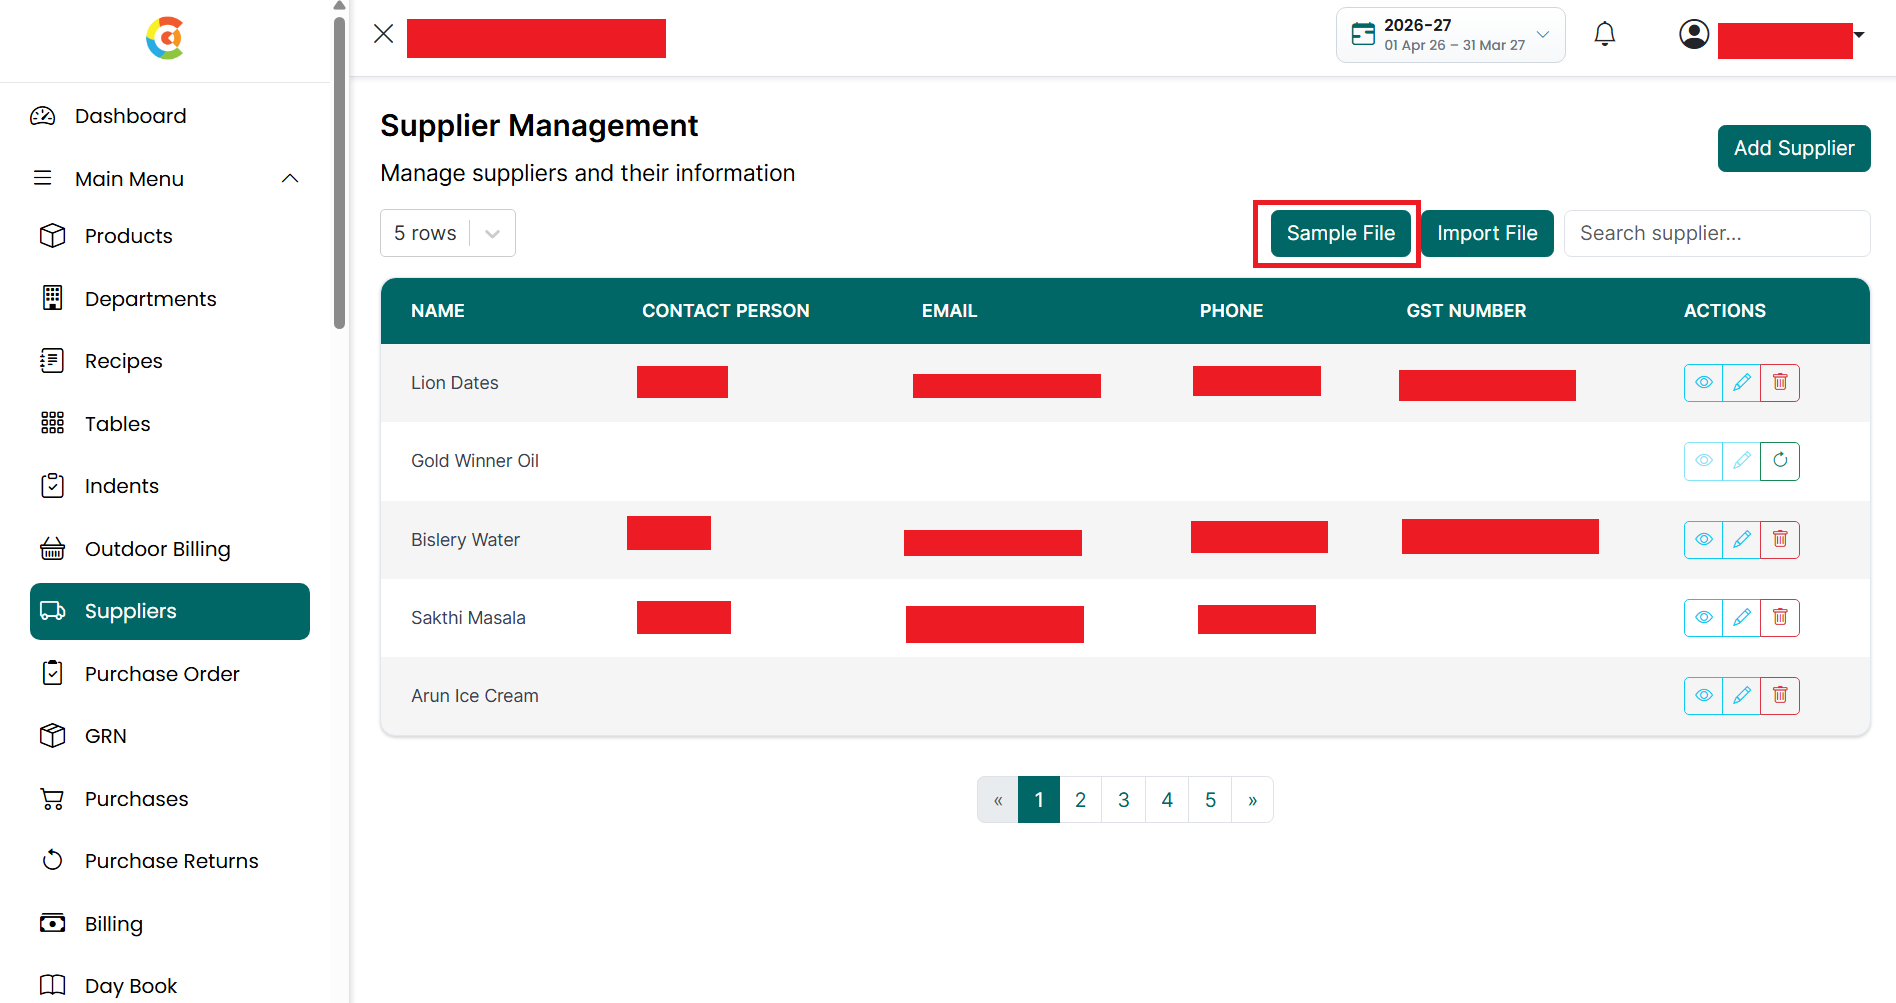
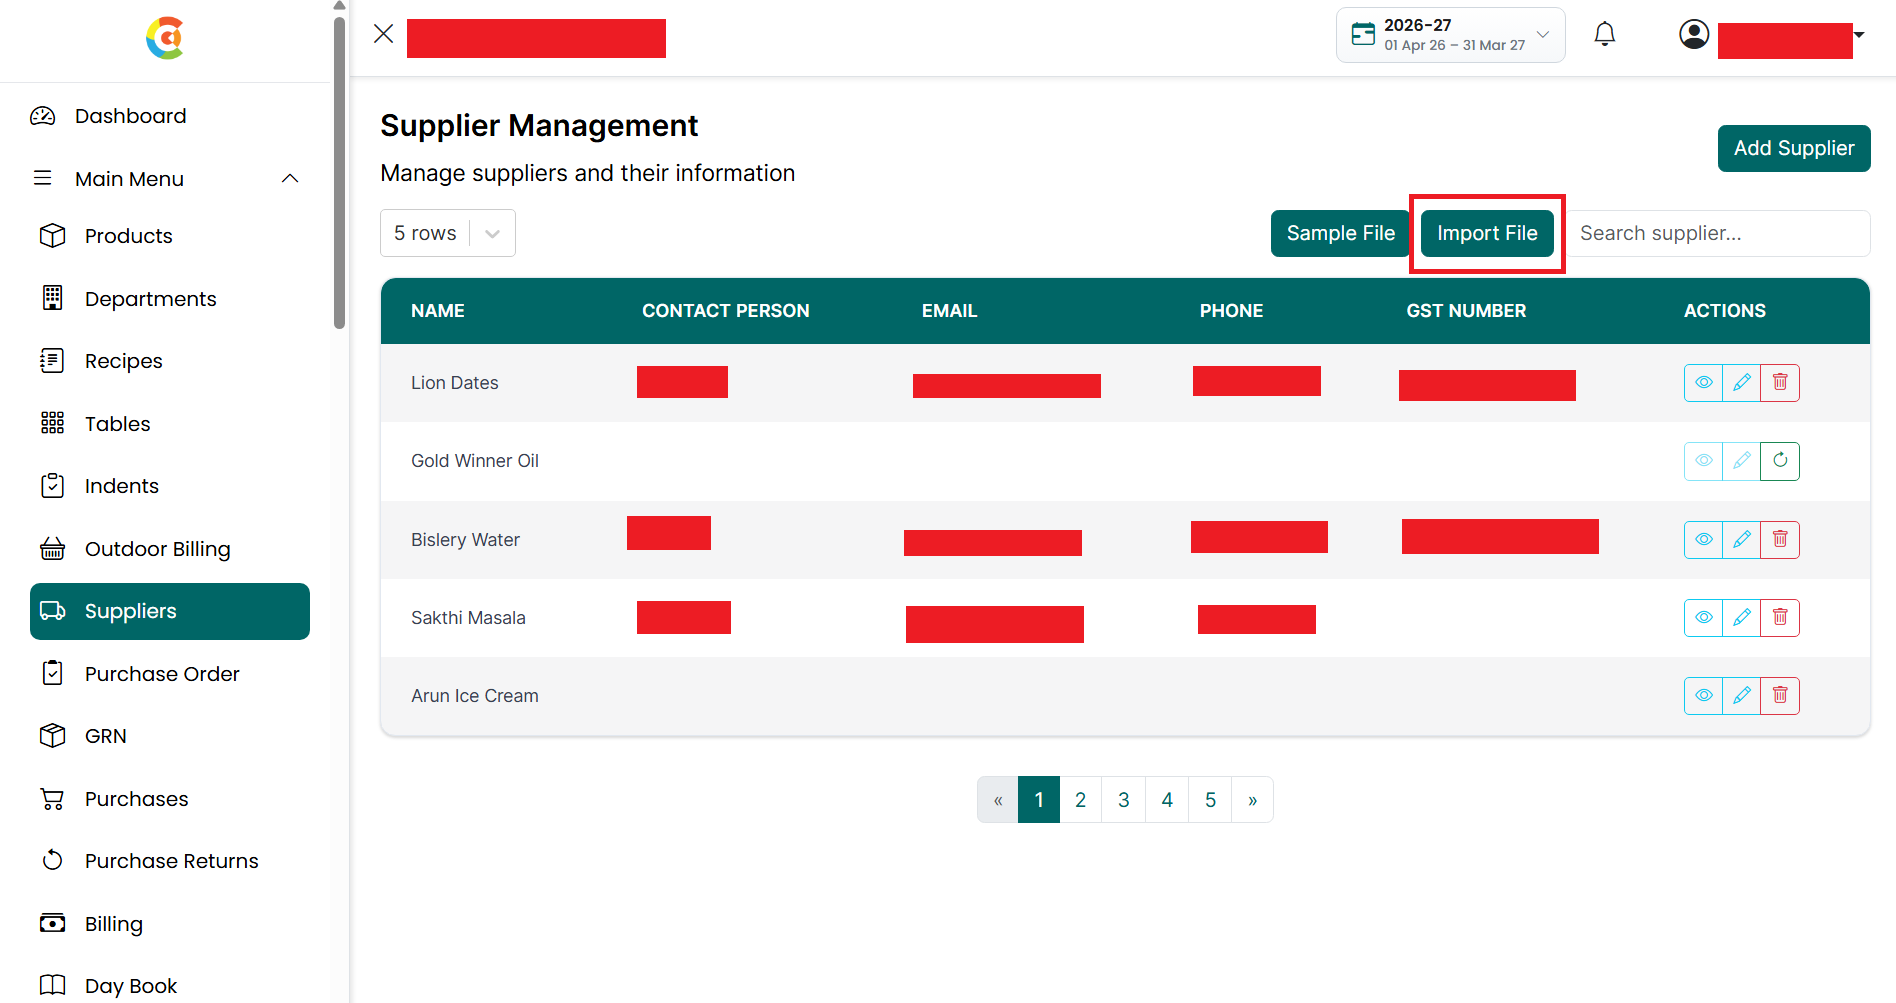
- Sample File – Click the Sample File
button to download the template used for bulk importing suppliers.
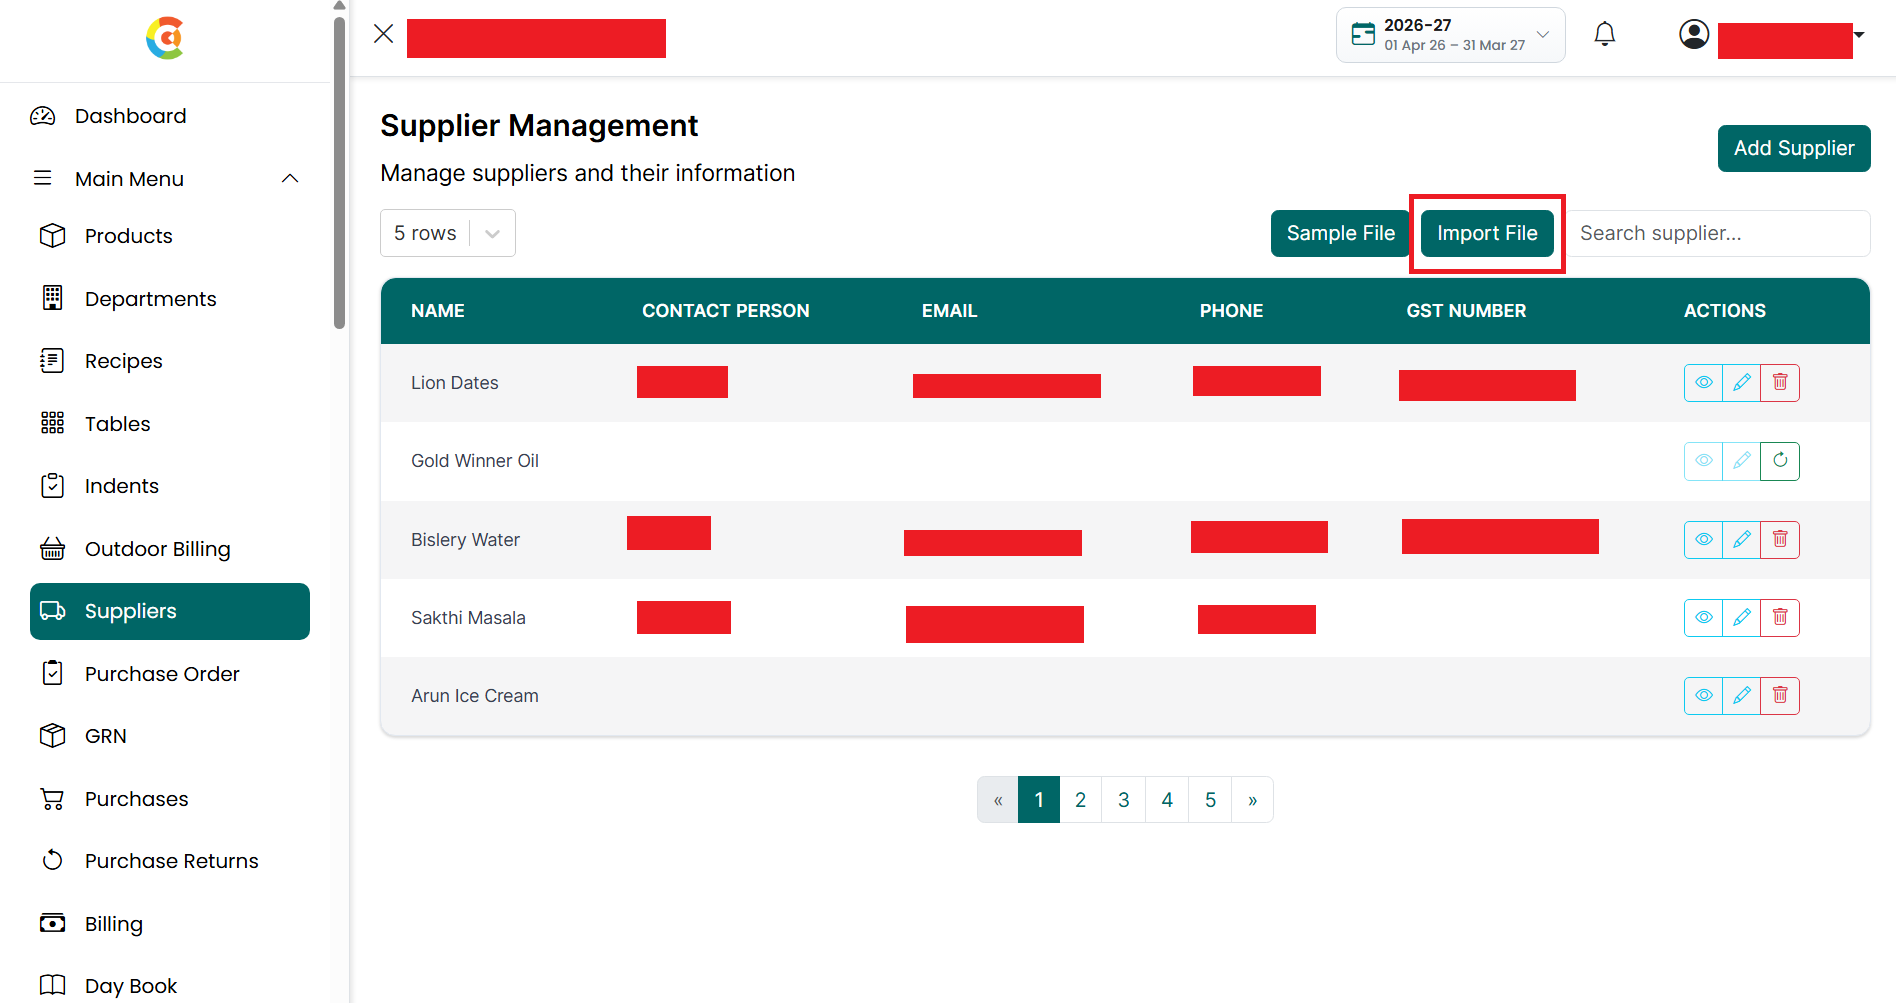
- Import File – Click the Import File
button to upload multiple suppliers using the sample template.
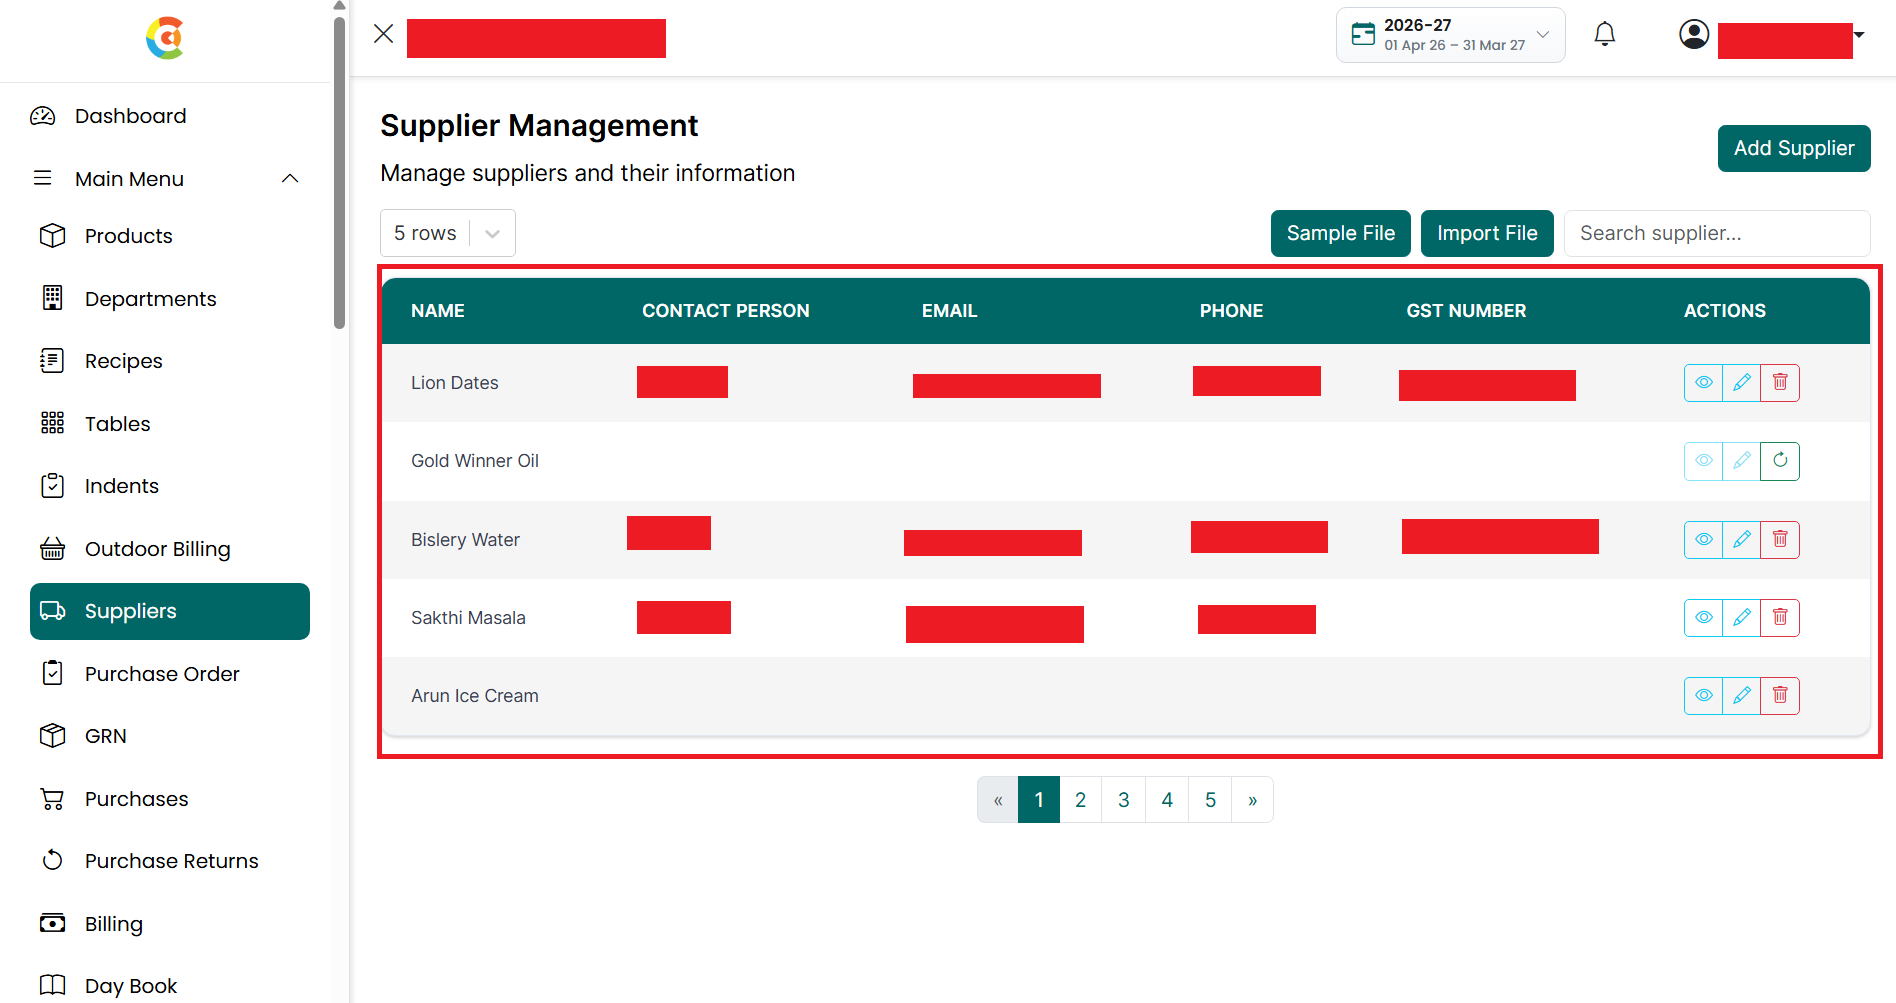
- Supplier List – Displays all suppliers with the following information:
• Supplier Name – Shows the supplier or business name.
• Contact Person – Shows the primary contact person's name.
• Email – Shows the supplier's email address.
• Phone – Shows the supplier's phone number.
• GST Number – Shows the supplier's GST registration number.
• Actions
– Shows the actions available for each supplier.
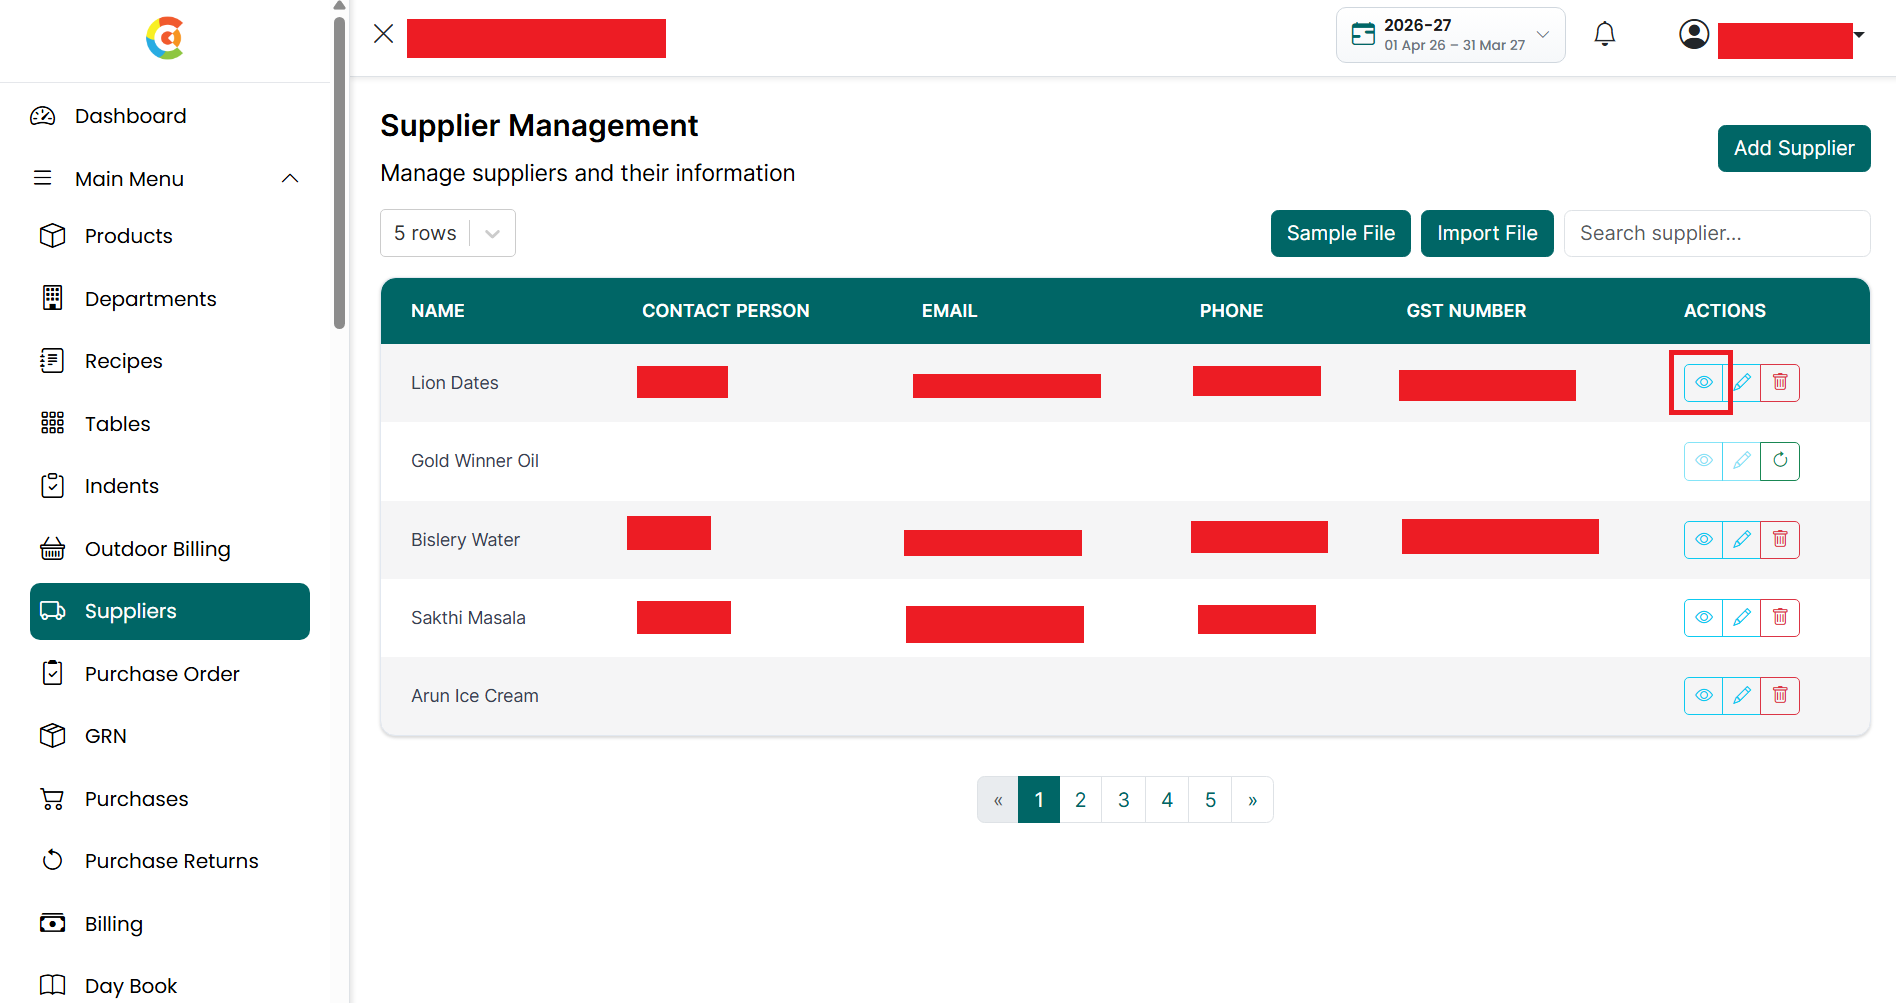
- View – Click the View icon to see the
supplier's complete details.
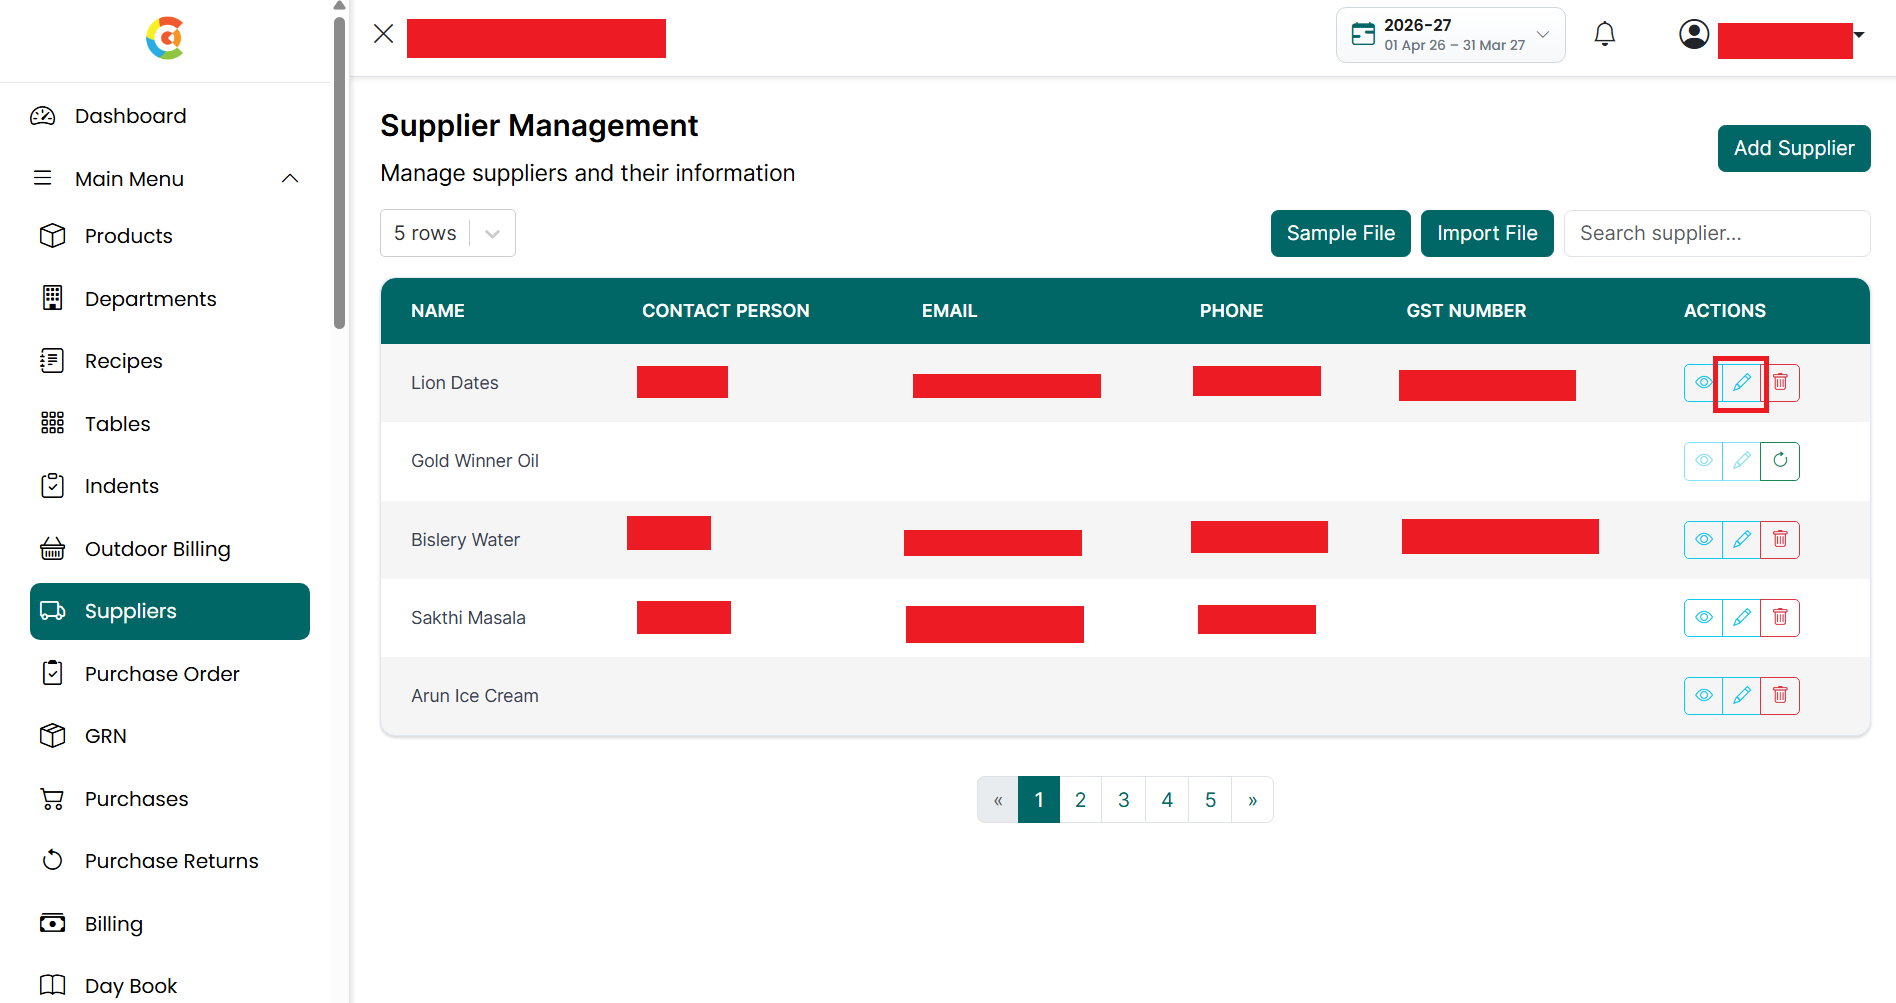
- Edit – Click the Edit icon to update
the supplier's information.
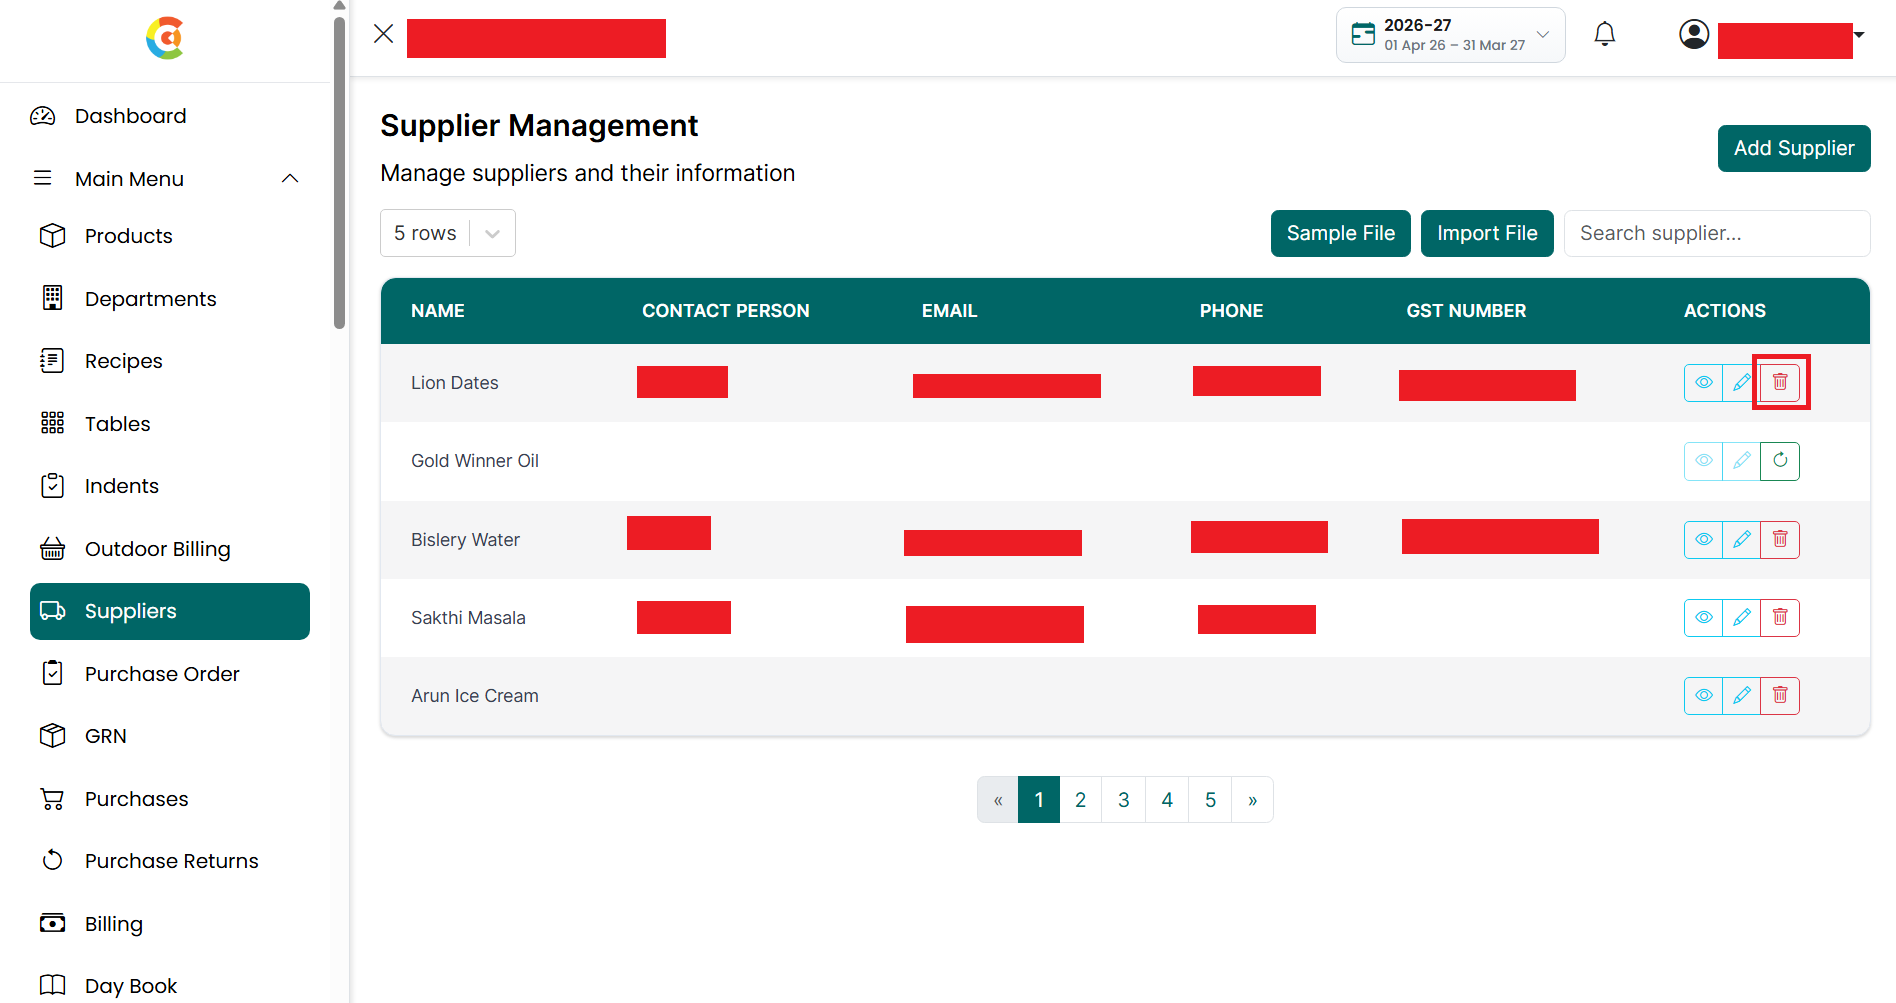
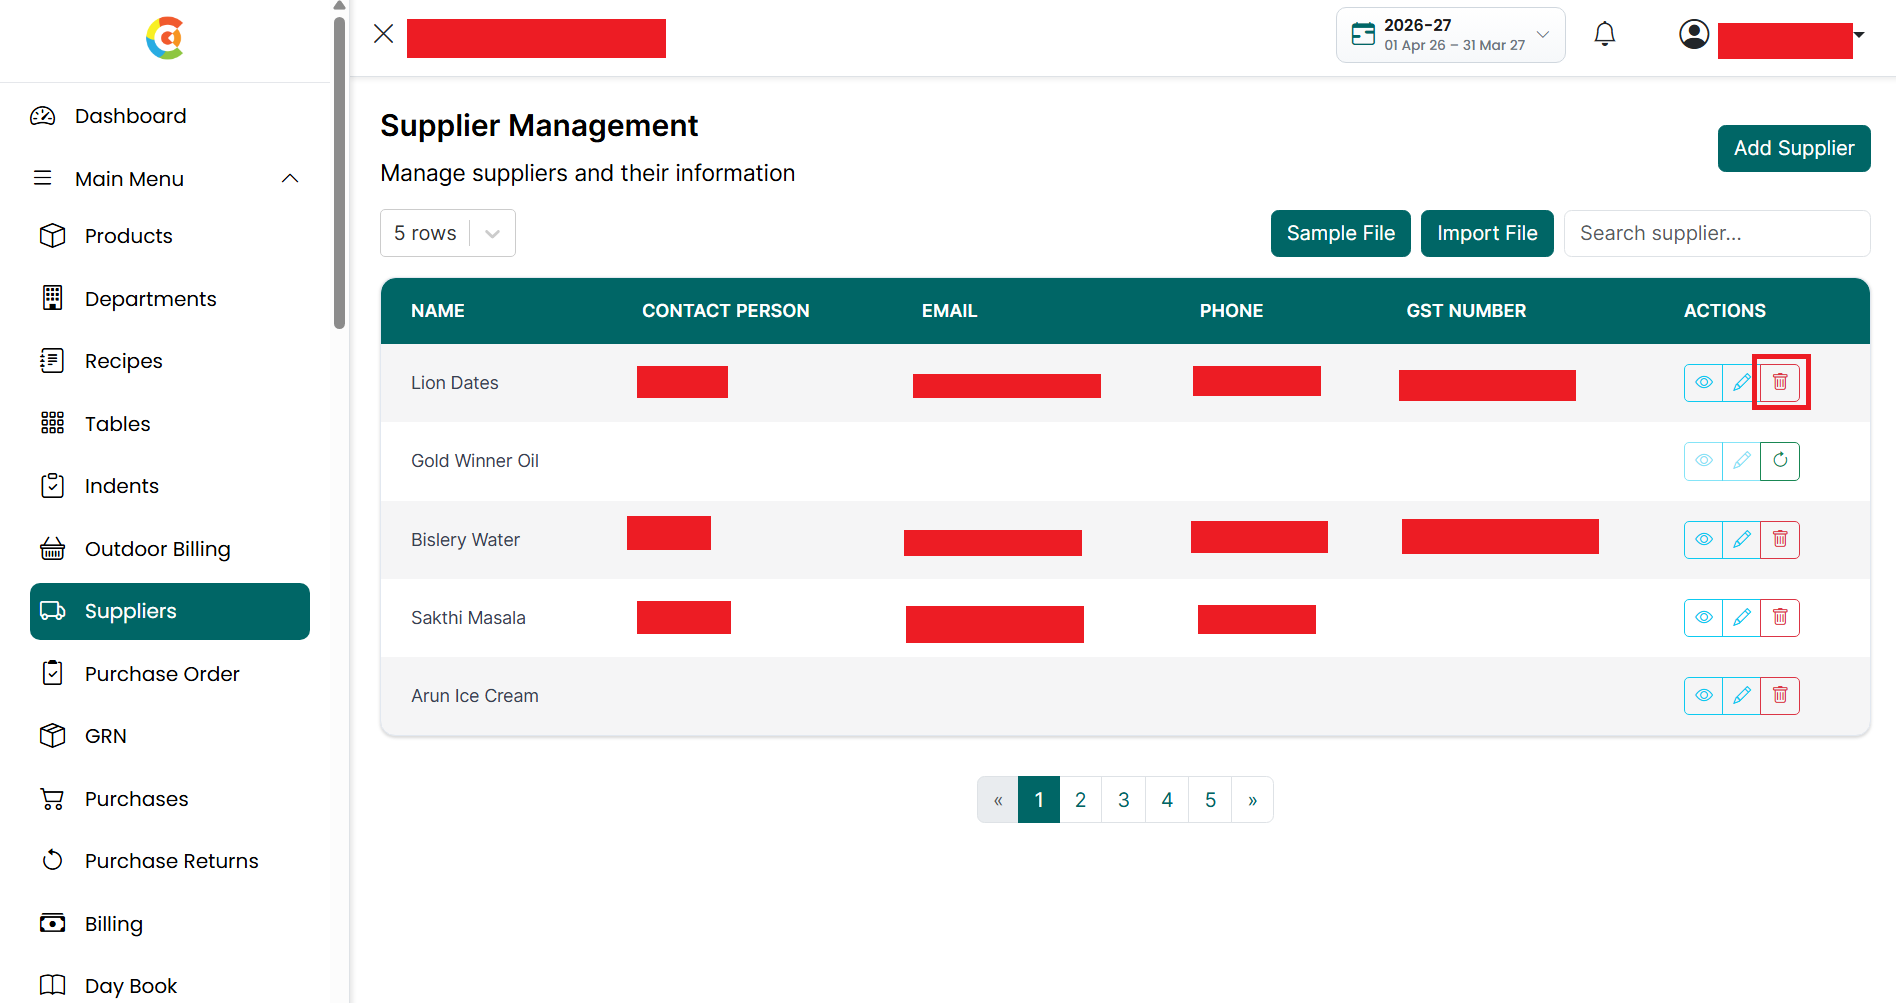
- Delete – Click the Delete icon to
remove the supplier from active use. Deleted suppliers remain visible in
the Supplier Listing page and can be restored later if required.
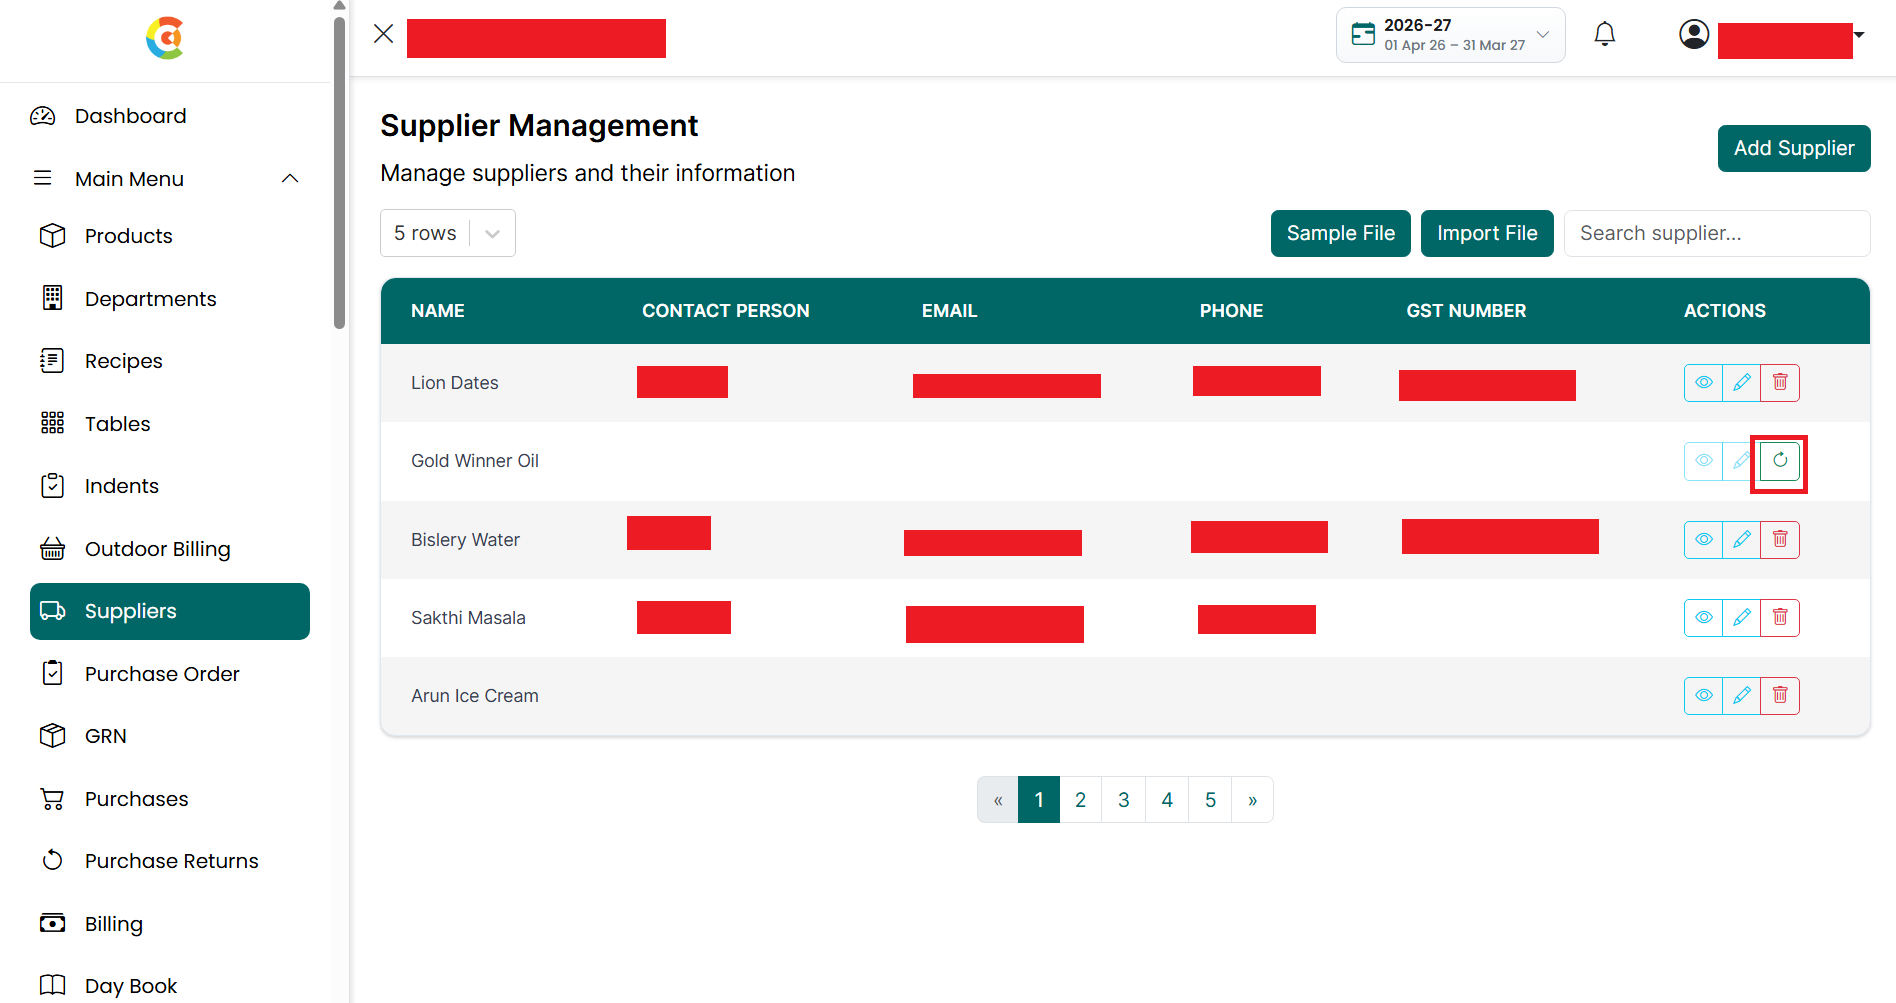
- Retrieve – If a supplier has been
deleted, the Retrieve icon is displayed instead of the Delete icon. Click
it to restore the supplier.
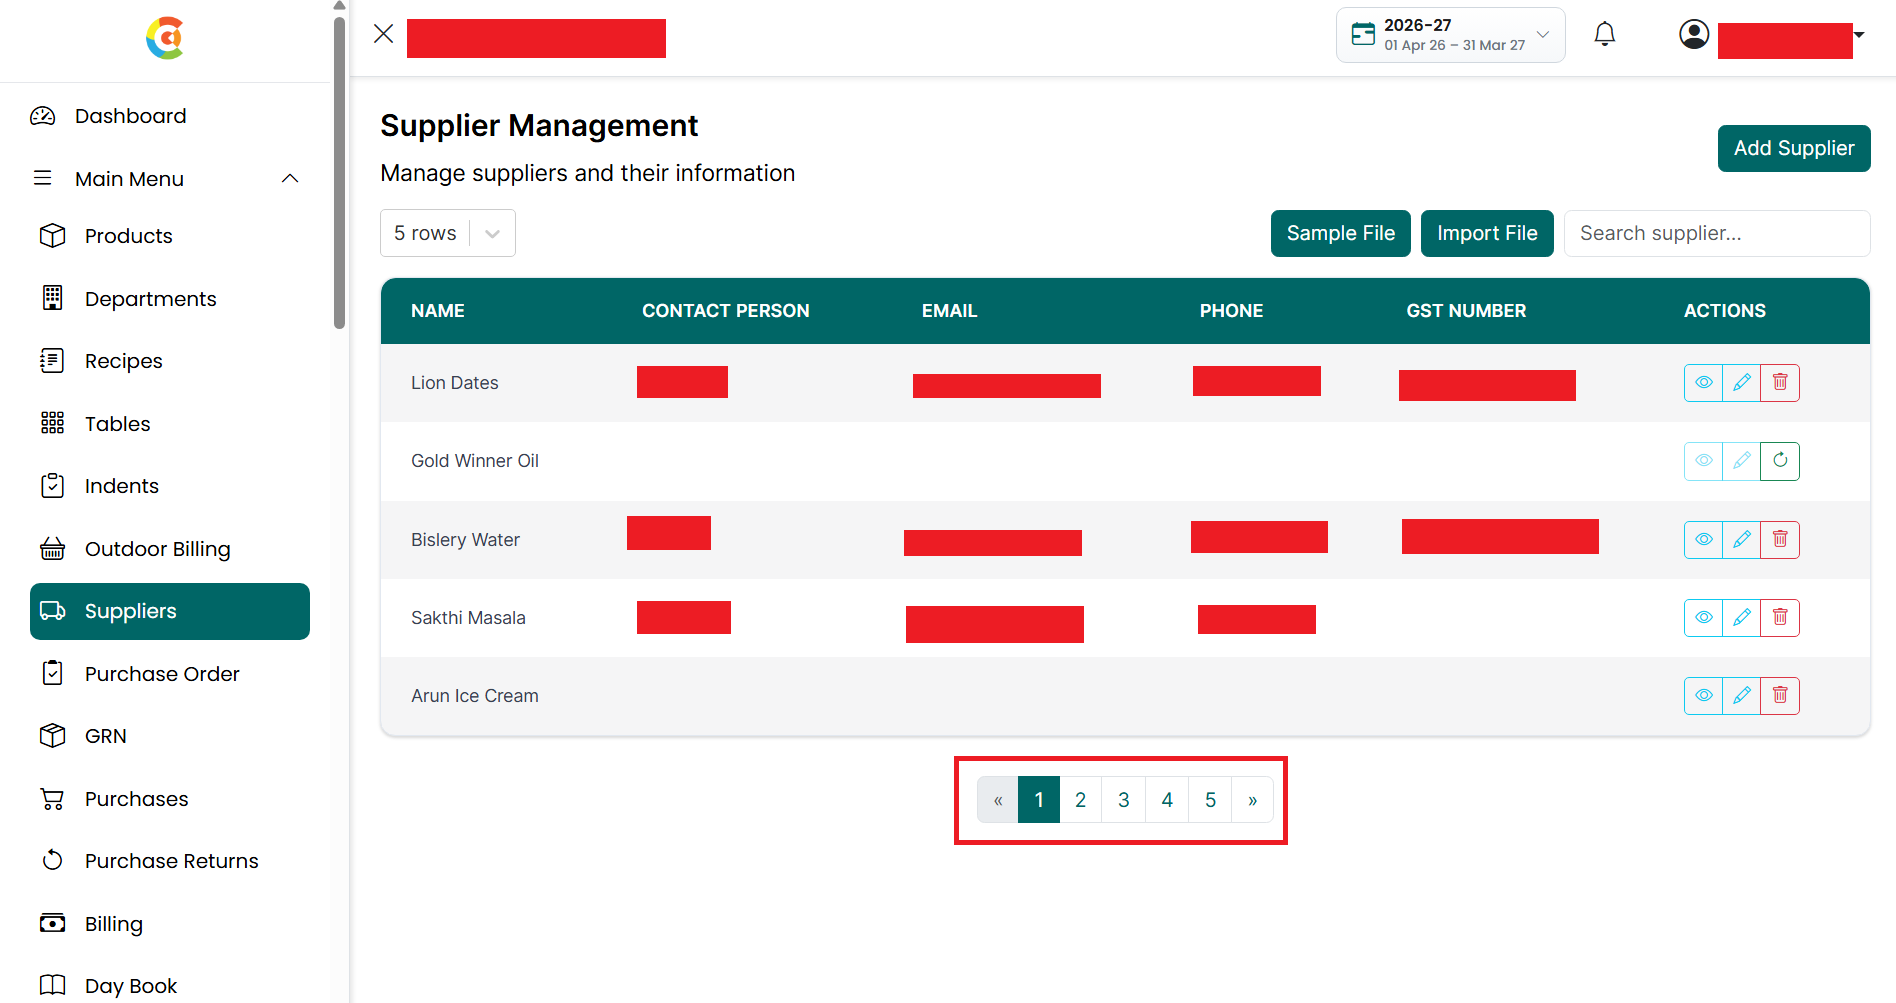
- Pagination
– Use the page numbers or the Previous and Next buttons at the bottom of
the page to move between different pages.
Note: Suppliers are displayed with the most recently created supplier shown first.
Add Supplier
To create a new supplier, follow the steps below.
- Go
to the Main Menu and click Suppliers. The Supplier Listing page is
displayed.
- Click Add Supplier.
- The Add Supplier window is displayed.
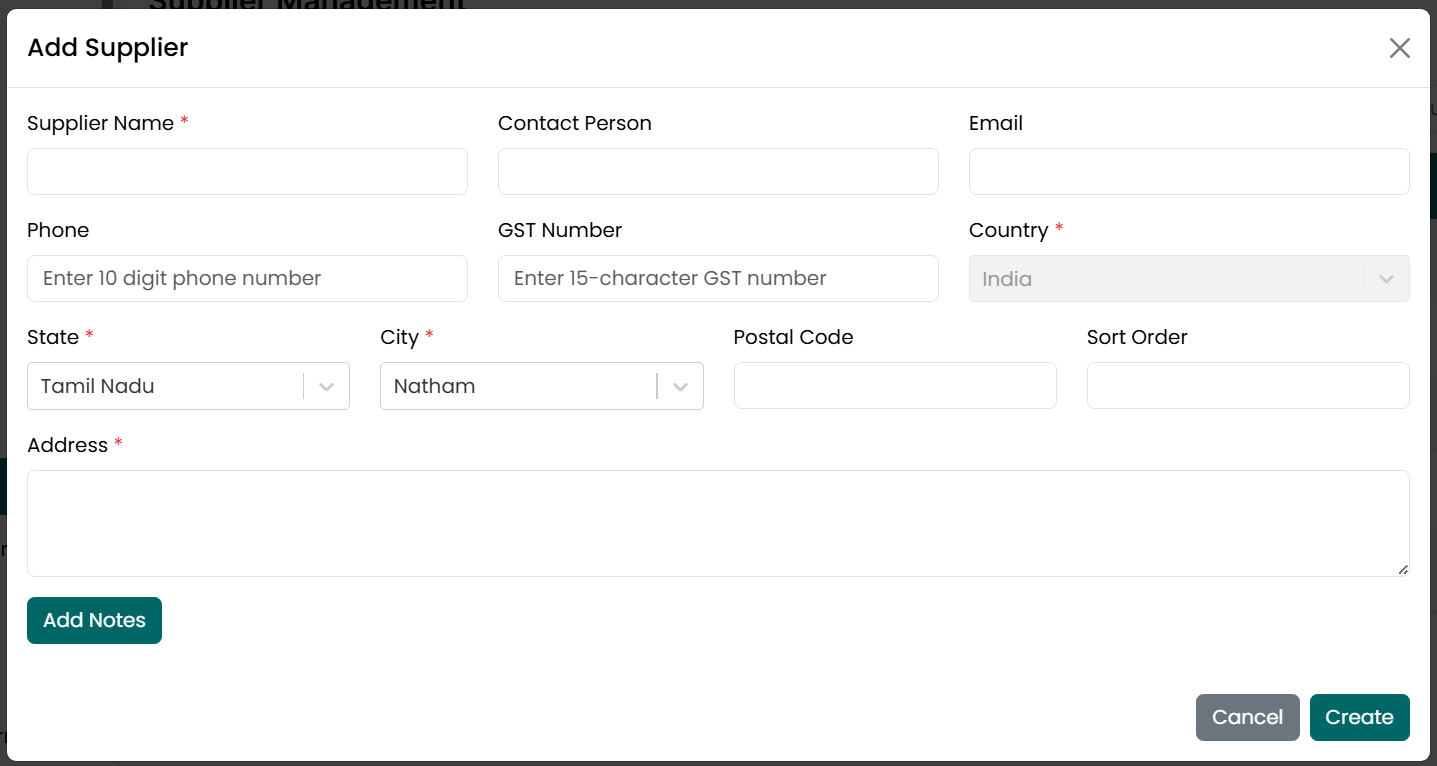
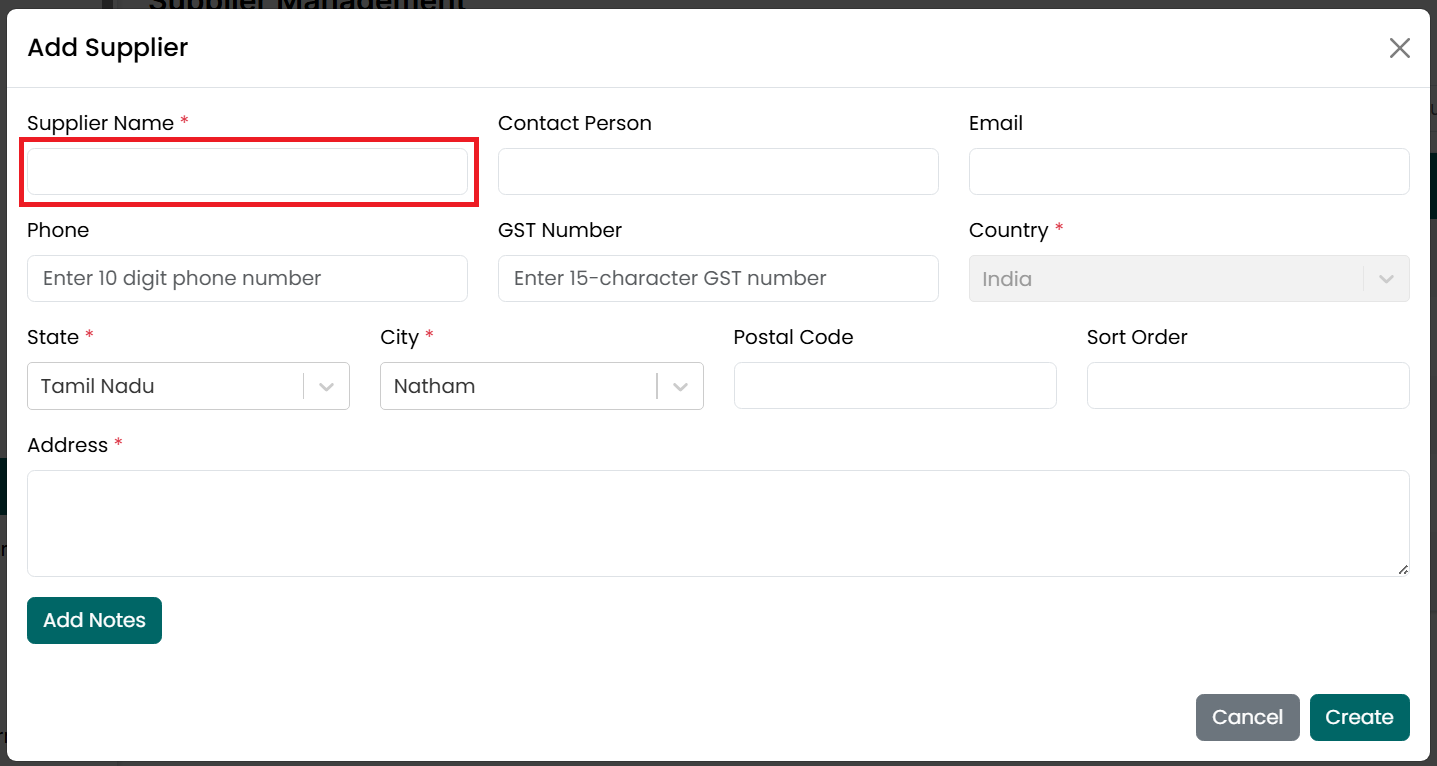
- Enter the Supplier Name. This field
is required. Each supplier must have a unique Supplier Name. Duplicate
supplier names are not allowed.
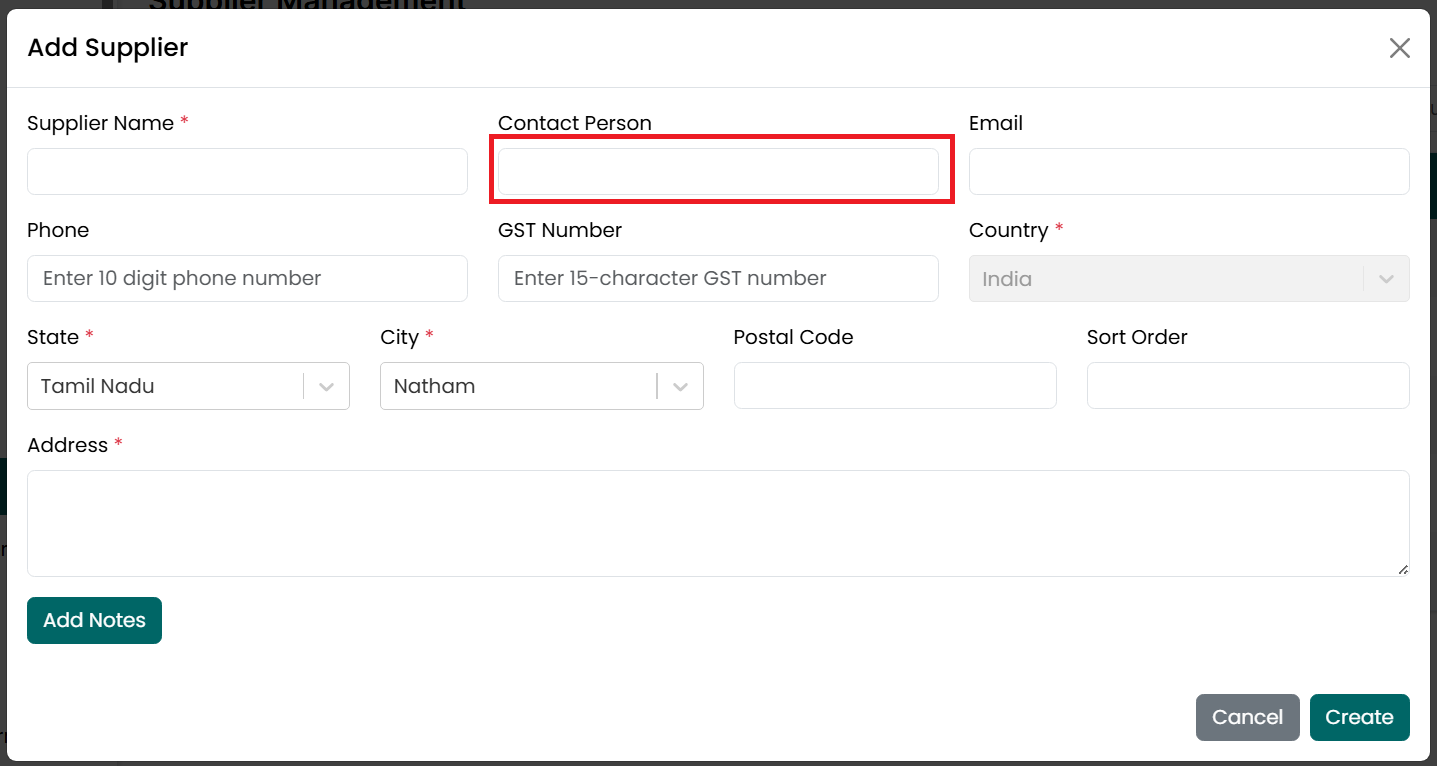
- Enter the Contact Person name, if
available.
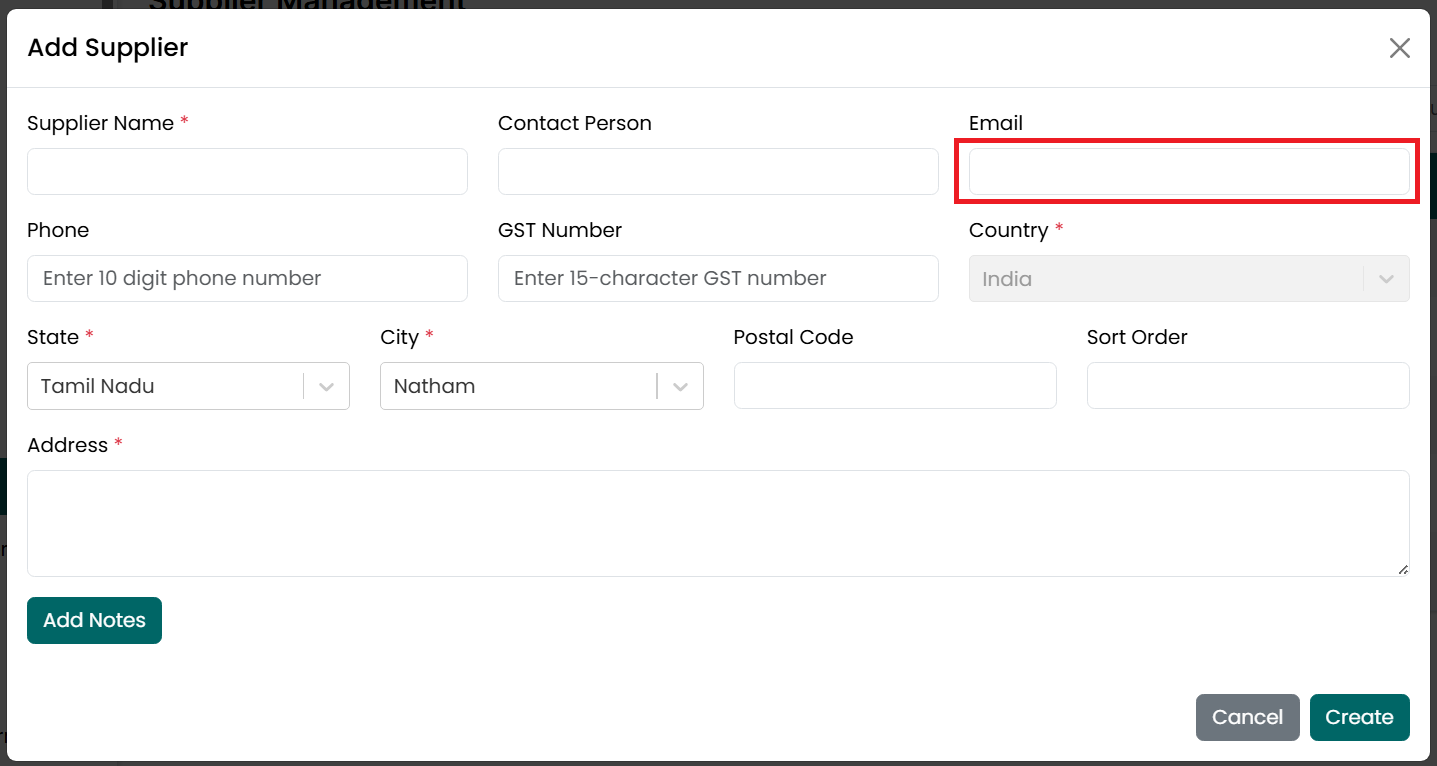
- Enter the Email Address, if
available.
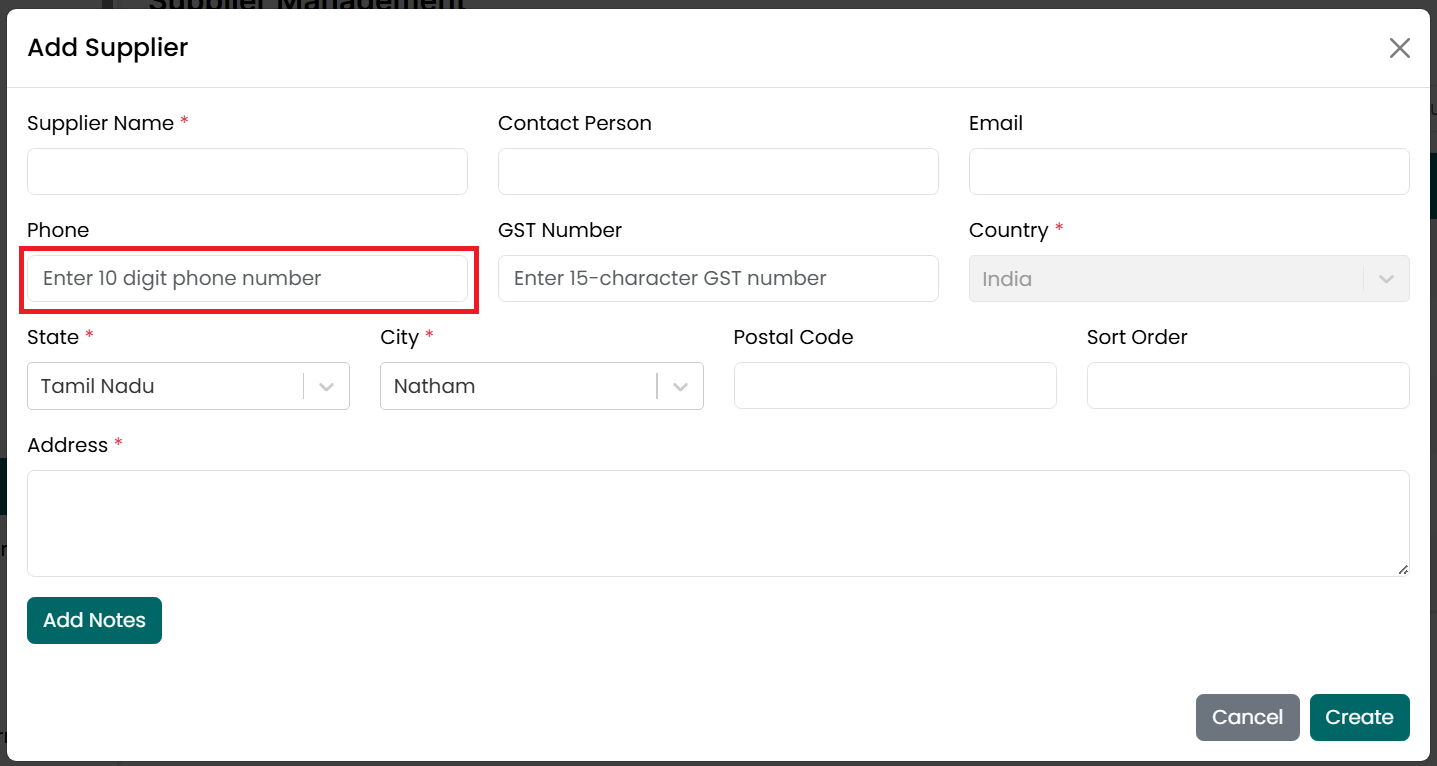
- Enter the Phone Number, if available.
The phone number must contain 10 digits.
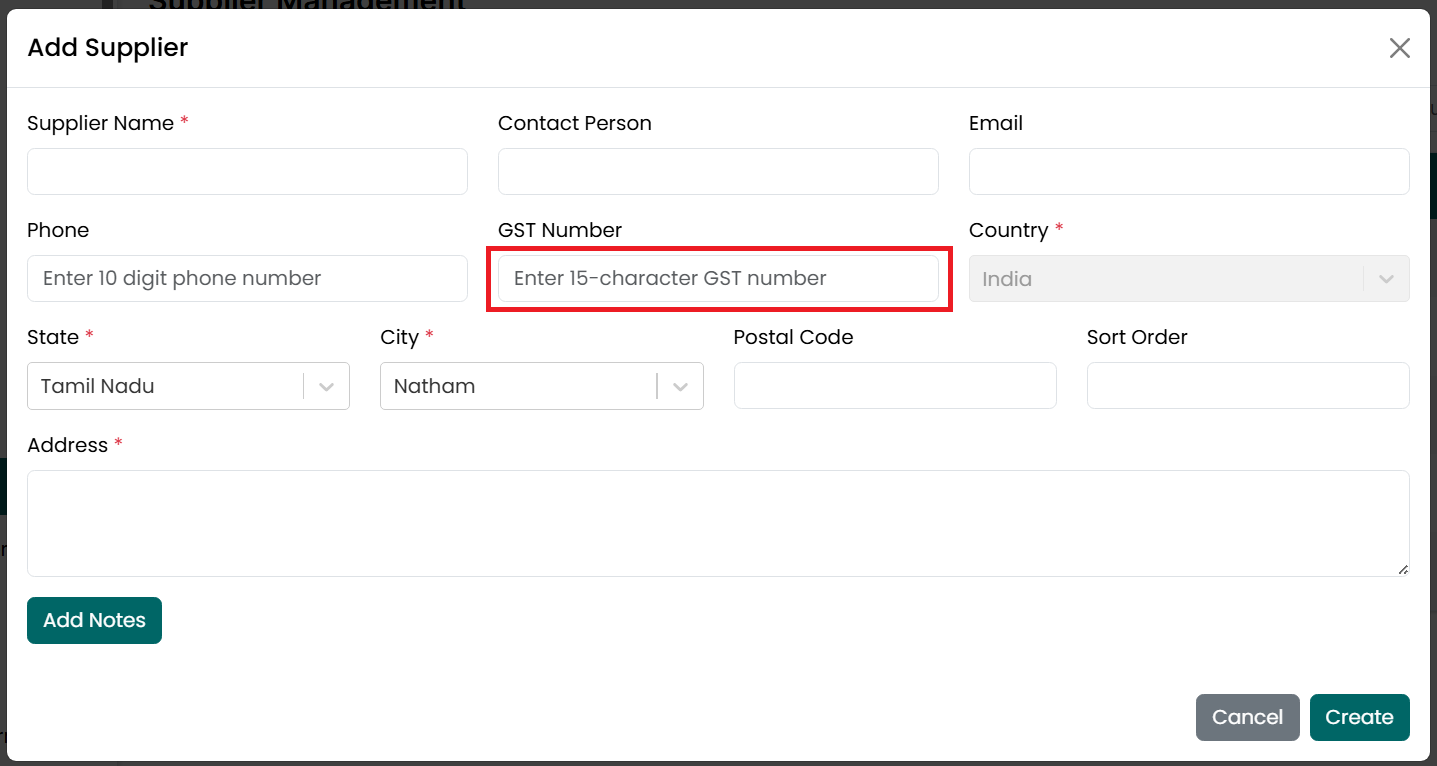
- Enter the GST Number, if available.
The GST number must be a valid 15-character GST registration number. If a
GST Number is entered, it must be unique. The same GST Number cannot be
assigned to more than one supplier.
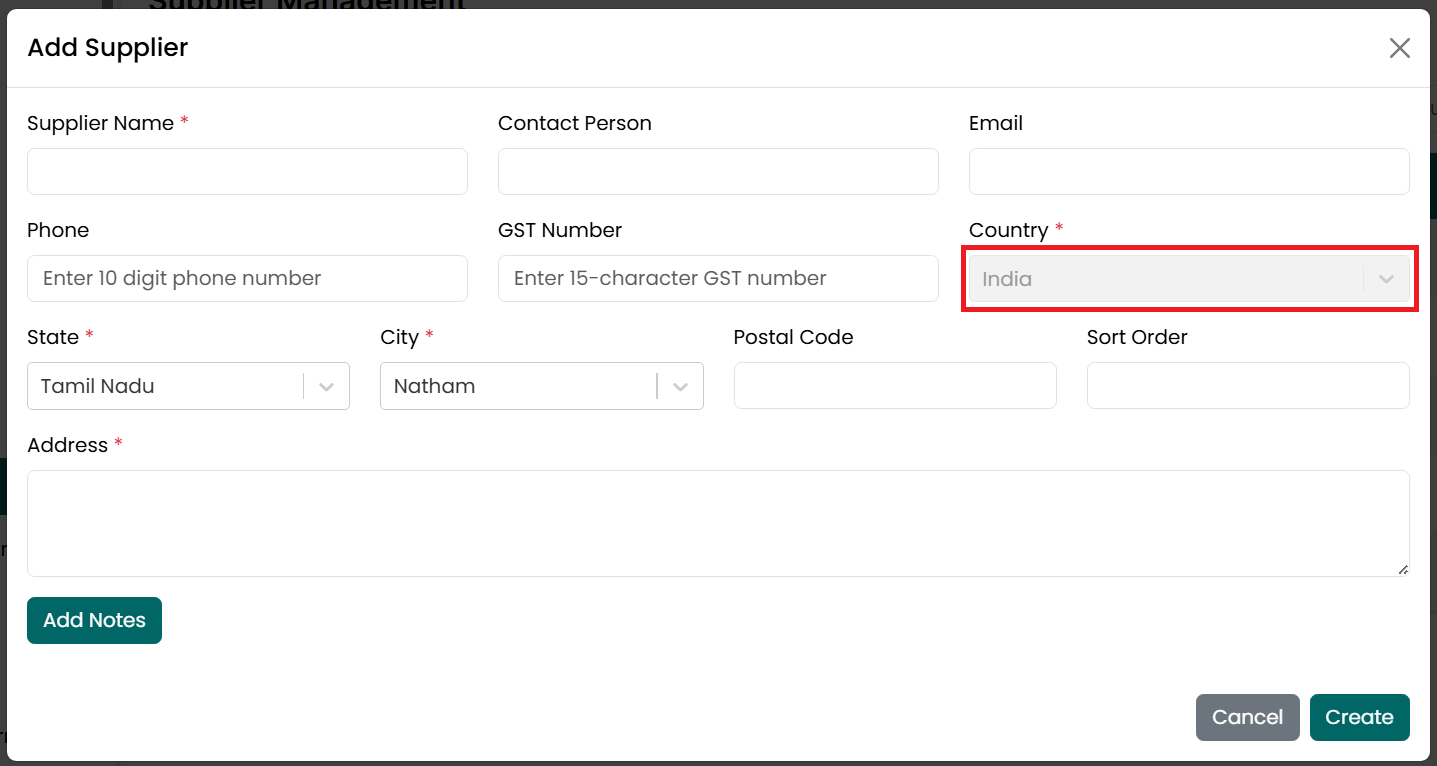
- The country is set to default to
India.
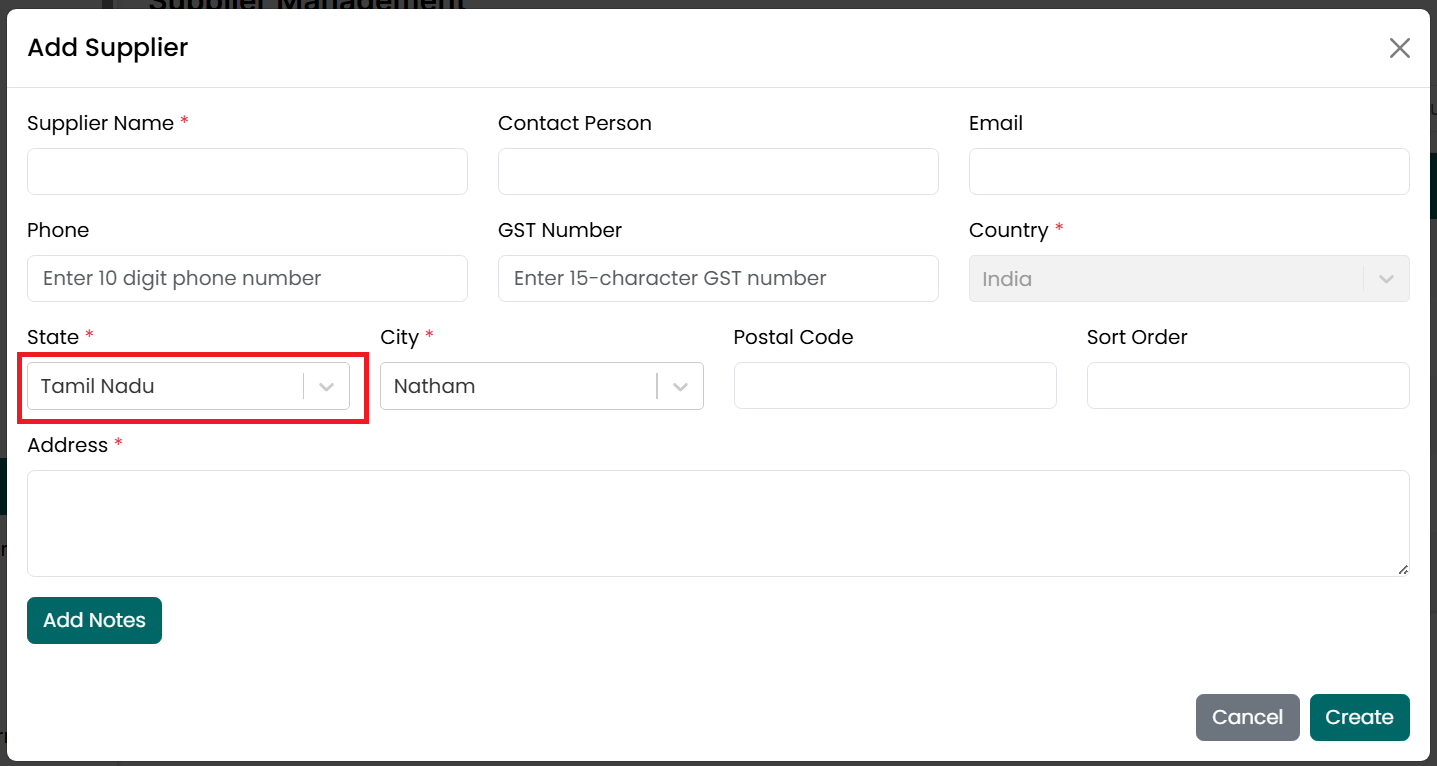
- Select the State. This field is
required.
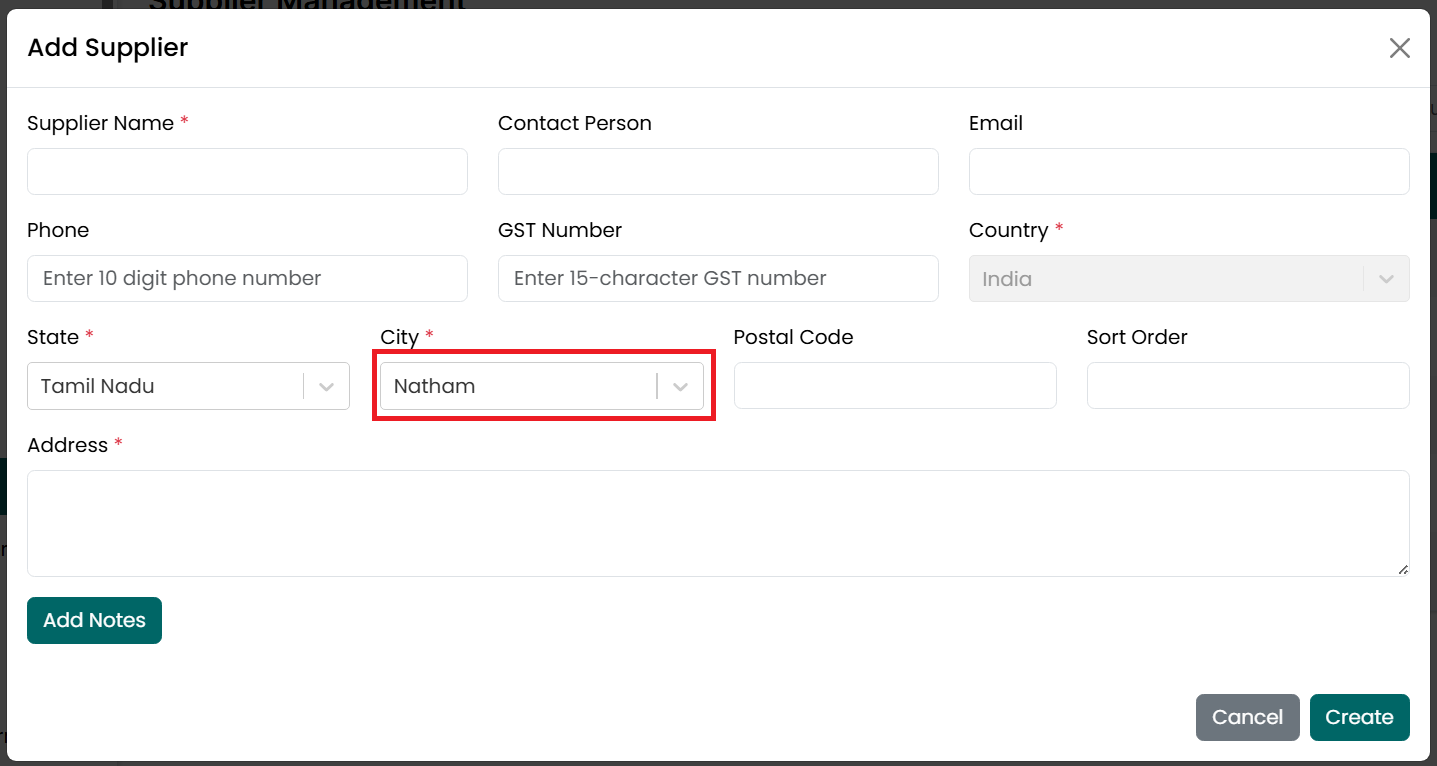
- Select the City. This field is
required.
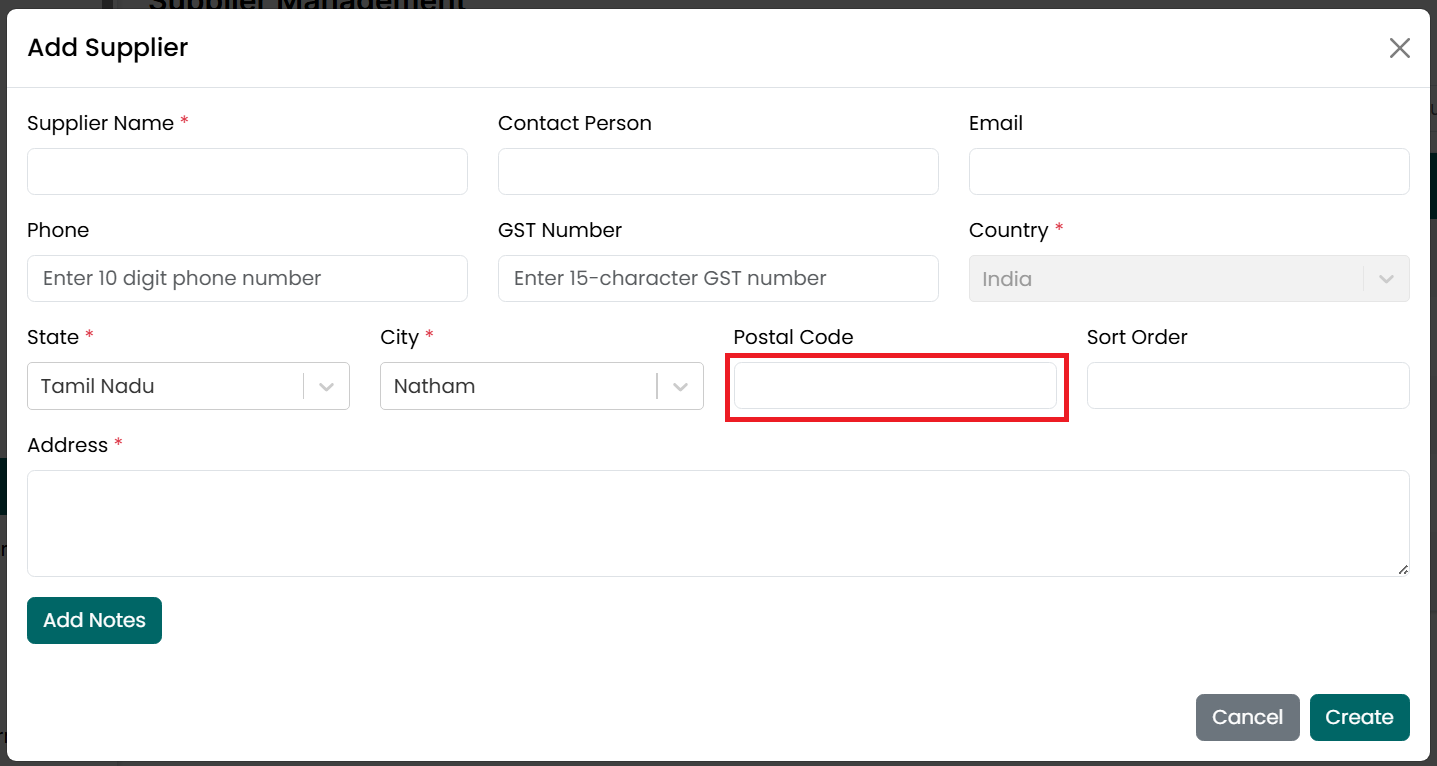
- Enter the Postal Code, if available.
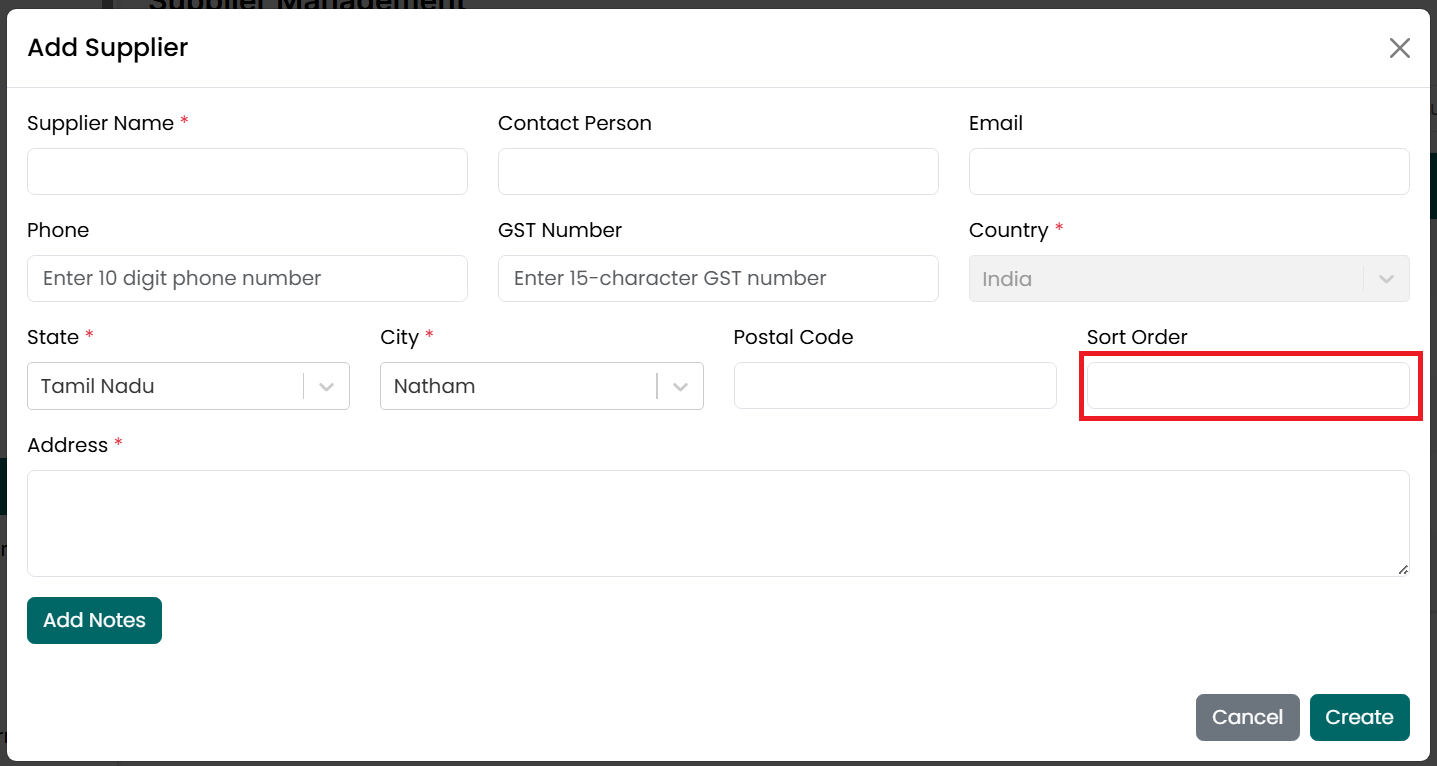
- Enter the Sort Order, if required.
This field is optional.
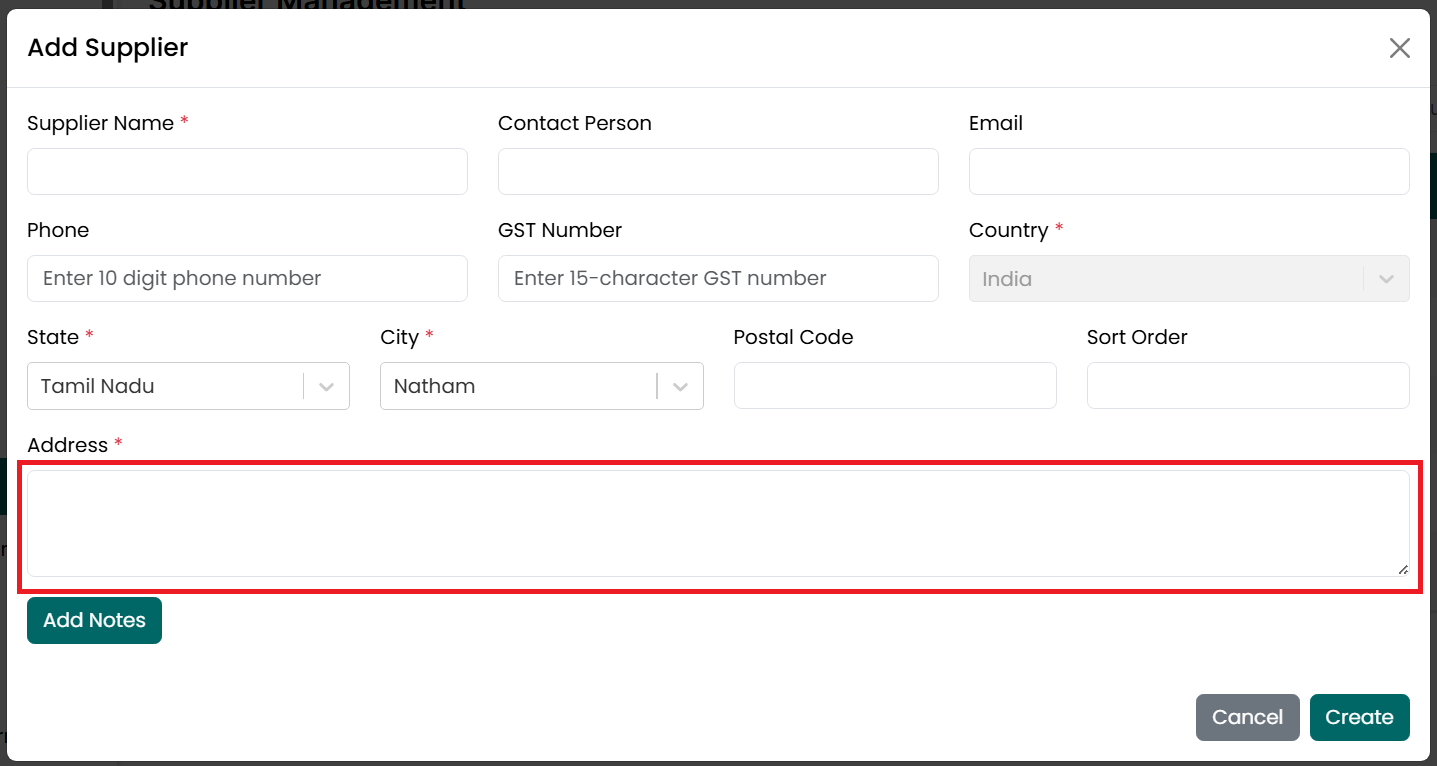
- Enter the supplier's Address. This
field is required.
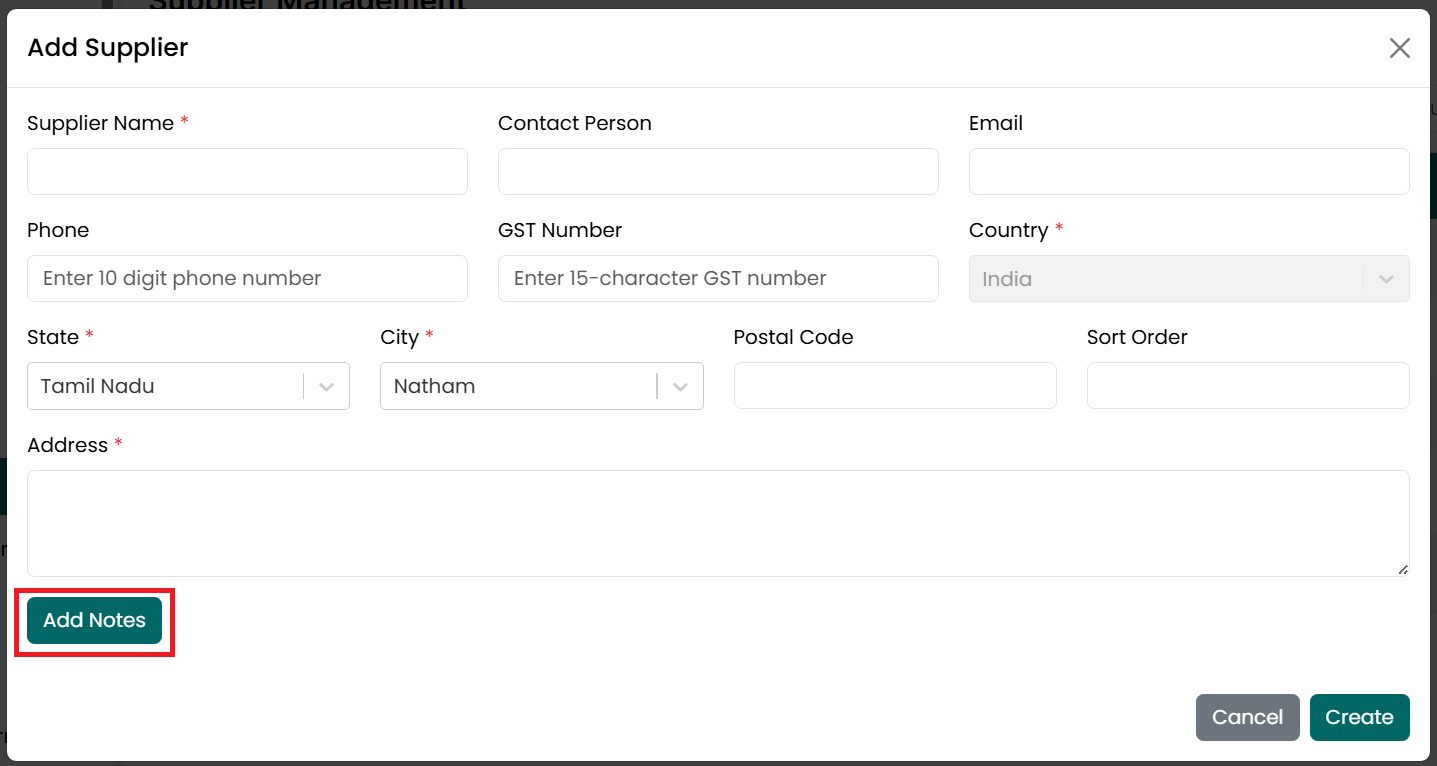
- Click Add Notes if you want to record
additional information about the supplier. This field is optional.
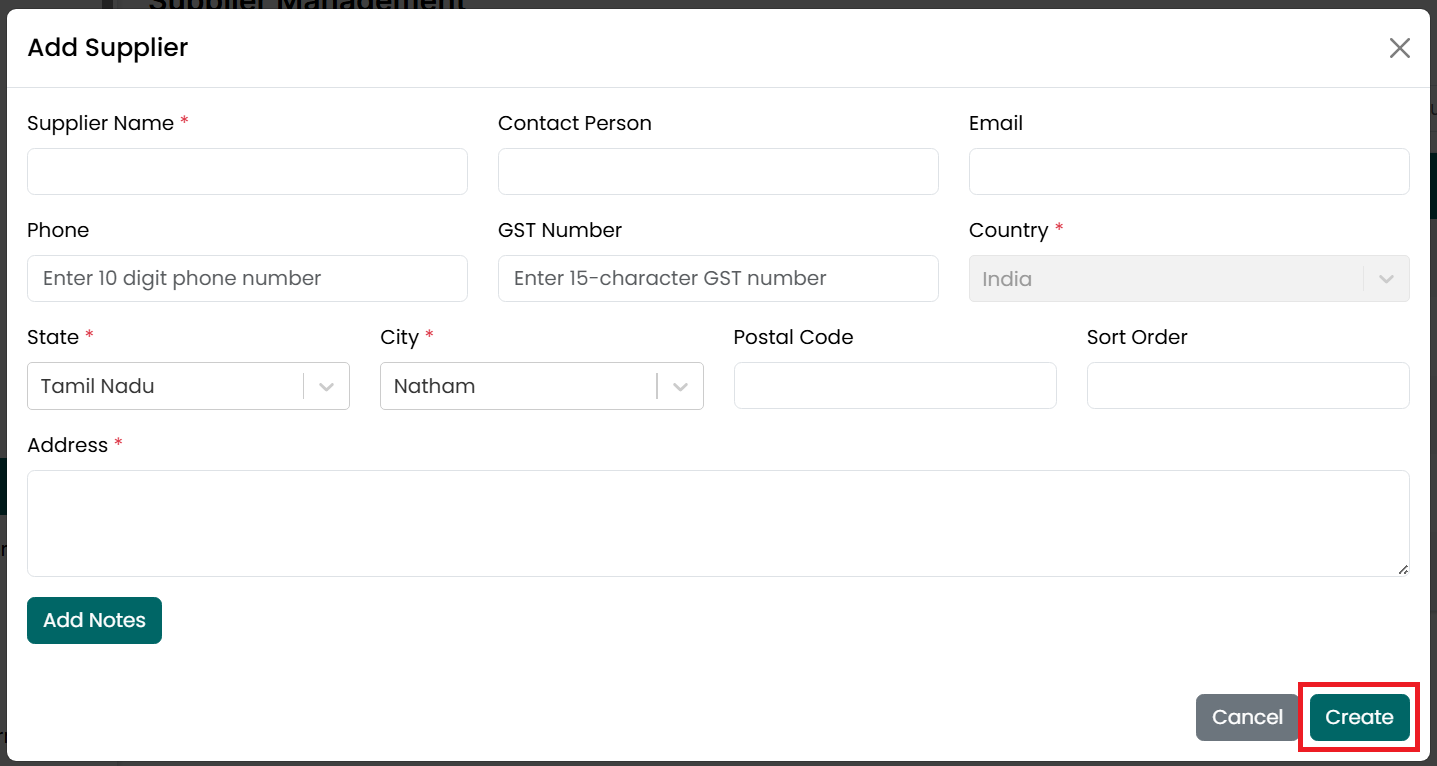
- Click Create Supplier to save the
supplier.
- Click Cancel or the X icon to close
the window without saving.
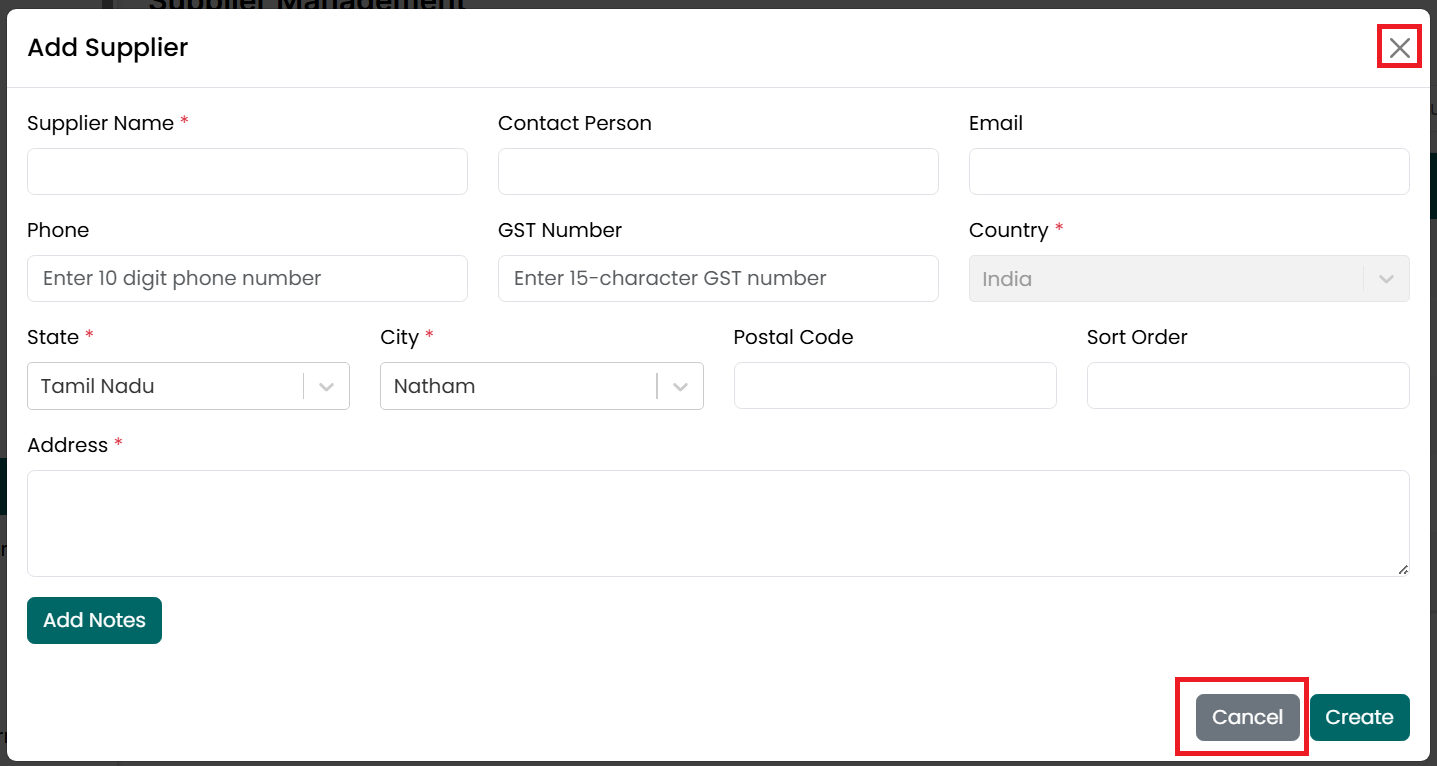
- After the supplier is created successfully, a confirmation message is displayed, and the new supplier appears in the Supplier Listing page.
Import Suppliers
To import multiple suppliers at once, follow the steps below.
- Go
to the Main Menu and click Suppliers. The Supplier Listing page is
displayed.
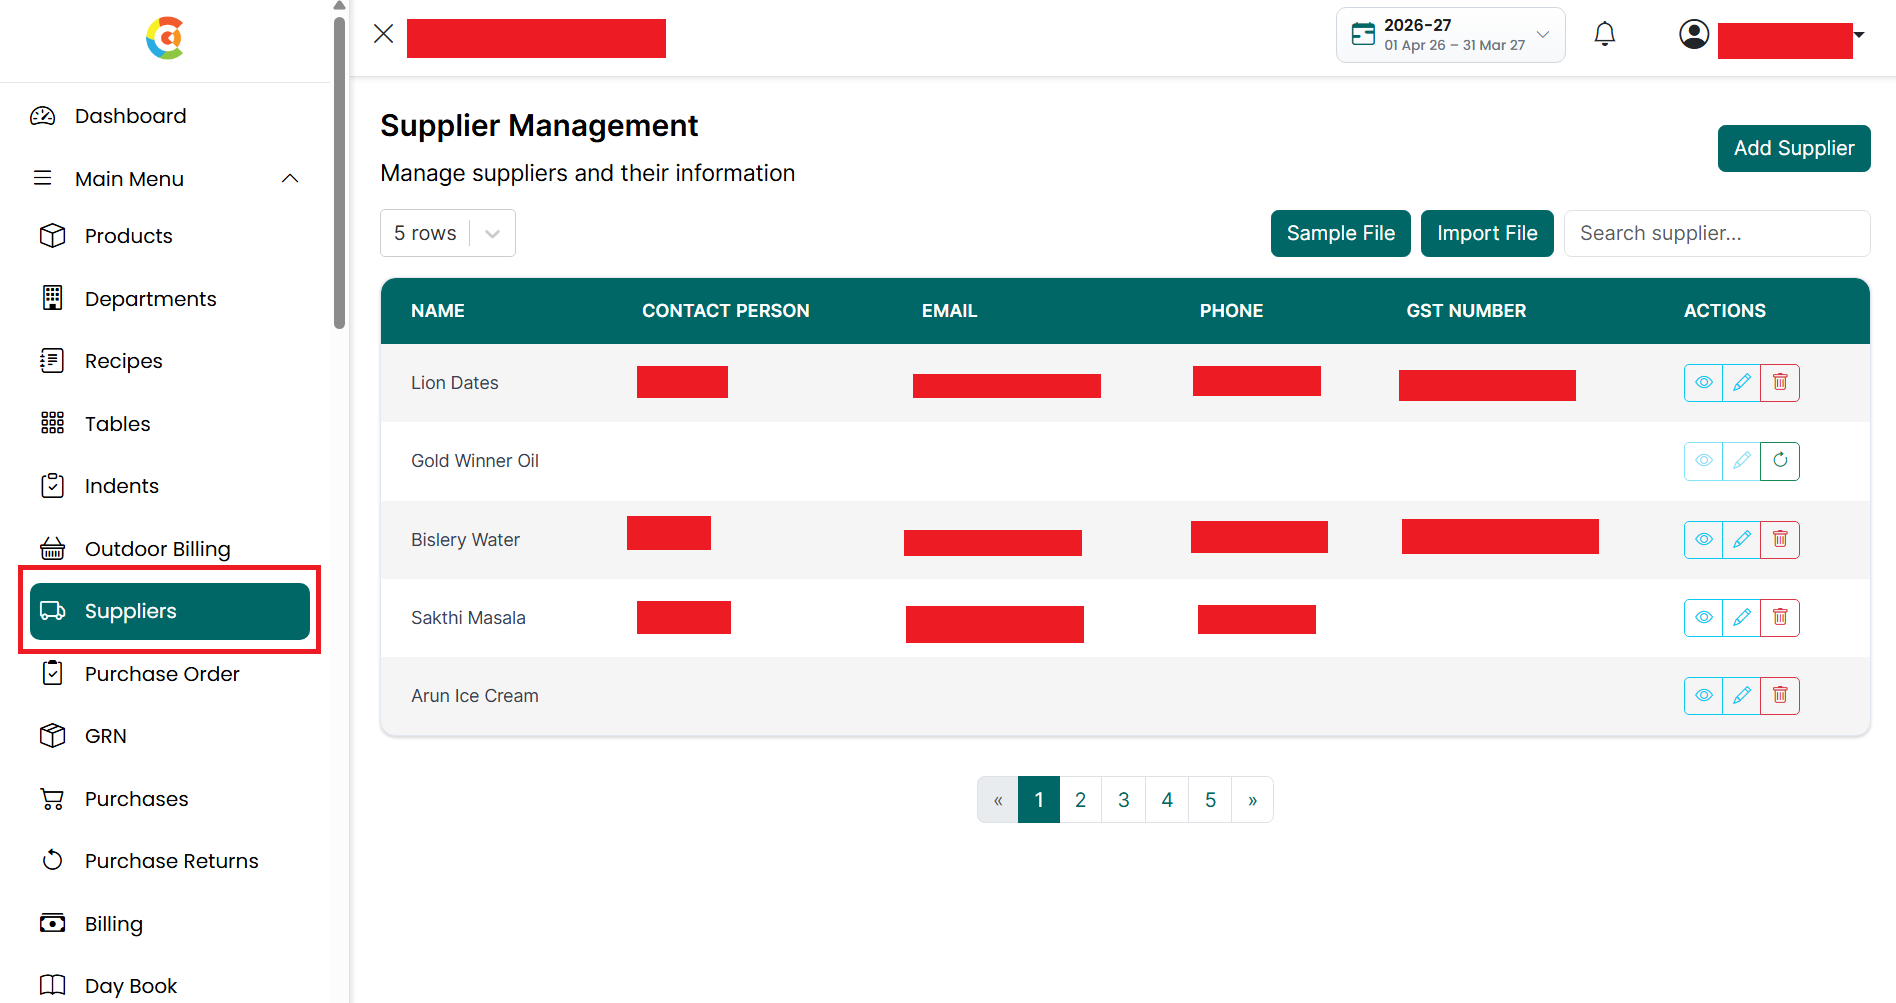
- Click the Sample File to download the
supplier import template.
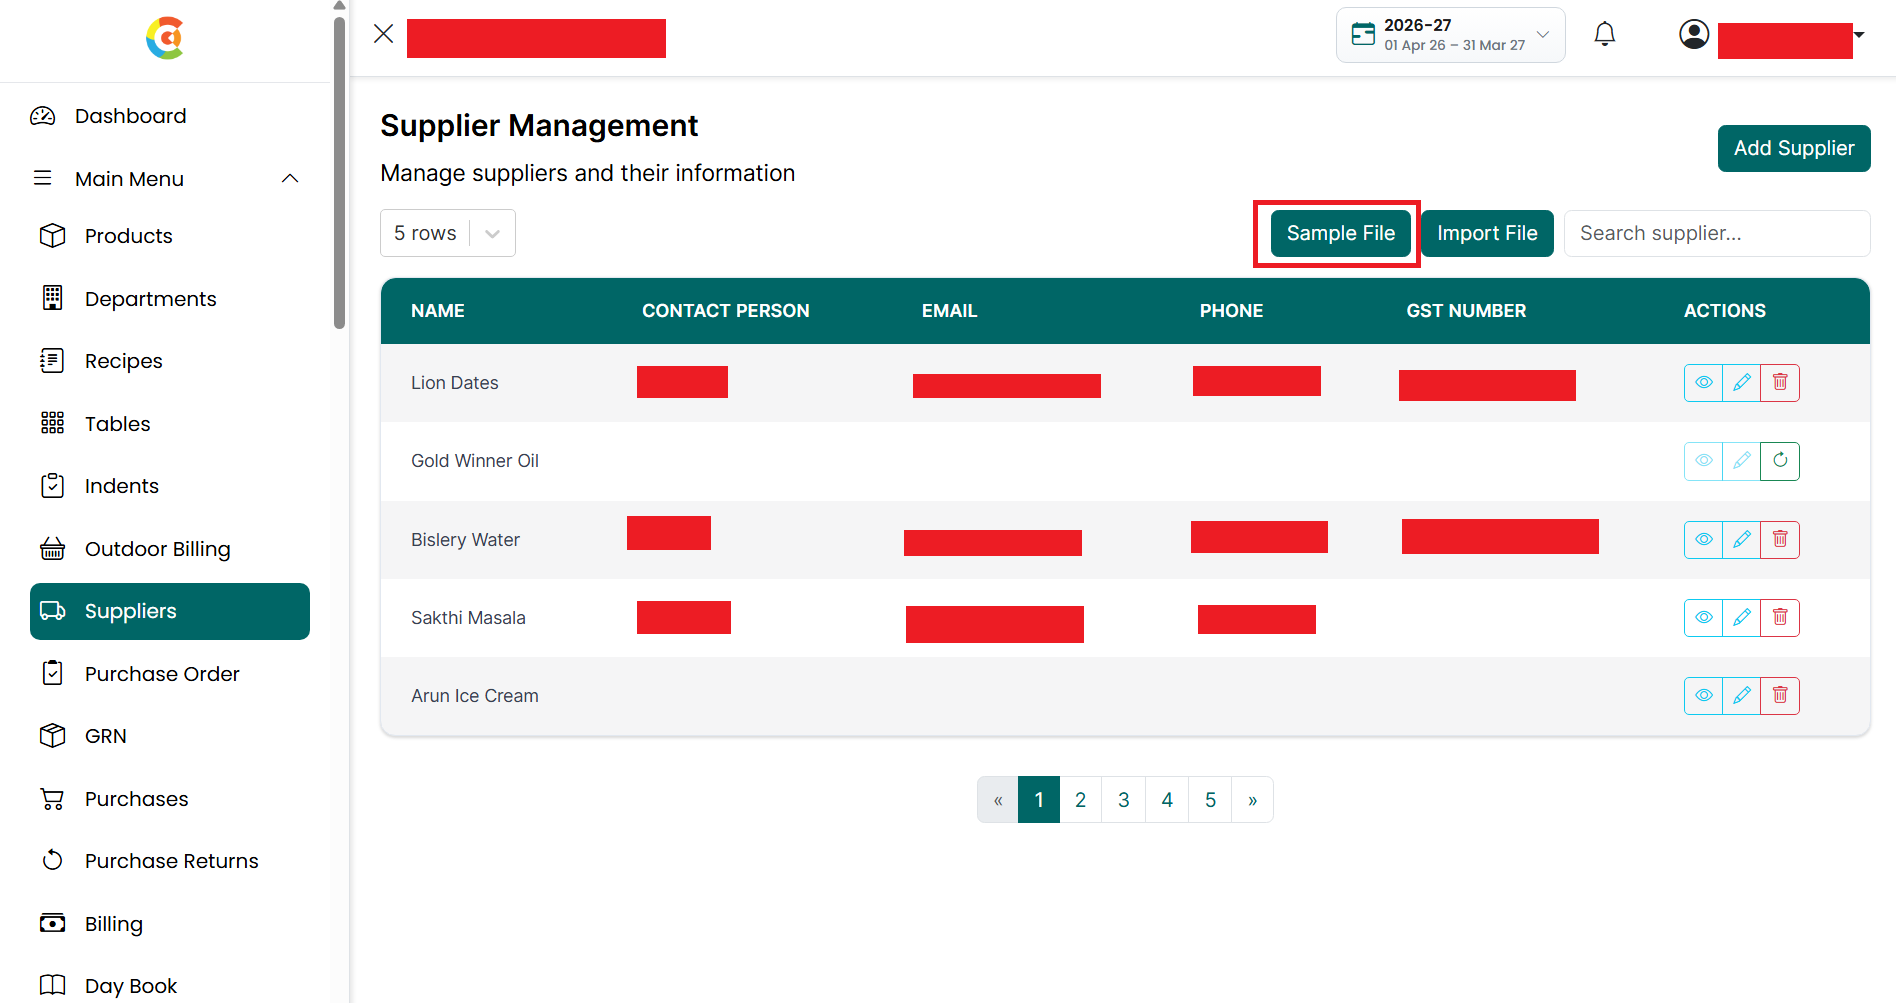
- Open the downloaded file and enter
the supplier details.
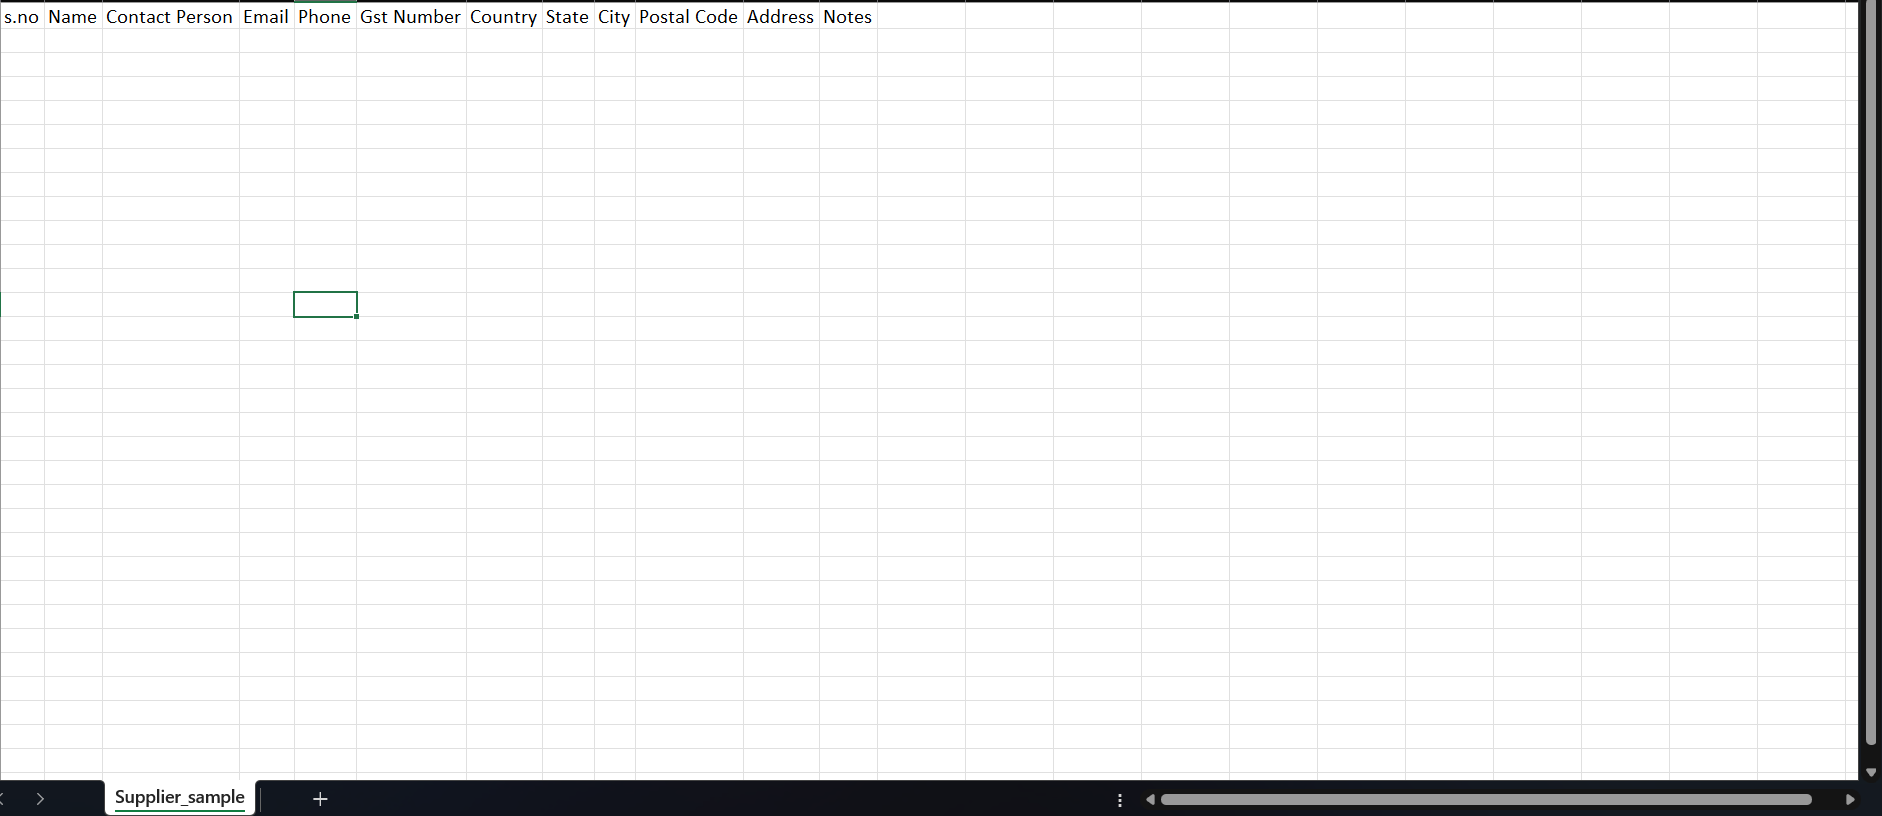
- The template contains the following fields:
|
Field |
Required / Optional |
|
Supplier Name |
Required |
|
Contact Person |
Optional |
|
Email Address |
Optional |
|
Phone Number |
Optional |
|
GST Number |
Required |
|
Country |
Required |
|
State |
Required |
|
City |
Required |
|
Postal Code |
Optional |
|
Address |
Required |
|
Notes |
Optional |
- Complete all the required fields. You may also fill in the optional fields if the information is available.
- Save the completed file.
- Return to the Supplier Listing page
and click Import File.
- Select the completed file from your
computer by clicking on the choose file.

- Supported file format is .xlsx.
- Click the Upload button to upload the
supplier records.

- If the file contains duplicate supplier names or duplicate GST numbers, those supplier records will not be imported.
- Click on the X button to close the
pop-up.

- After the suppliers are imported successfully, a confirmation message is displayed, and the imported suppliers appear in the Supplier Listing page.
View Supplier
To view the details of a supplier, follow the steps below.
- Go
to the Main Menu and click Suppliers. The Supplier Listing page is
displayed.
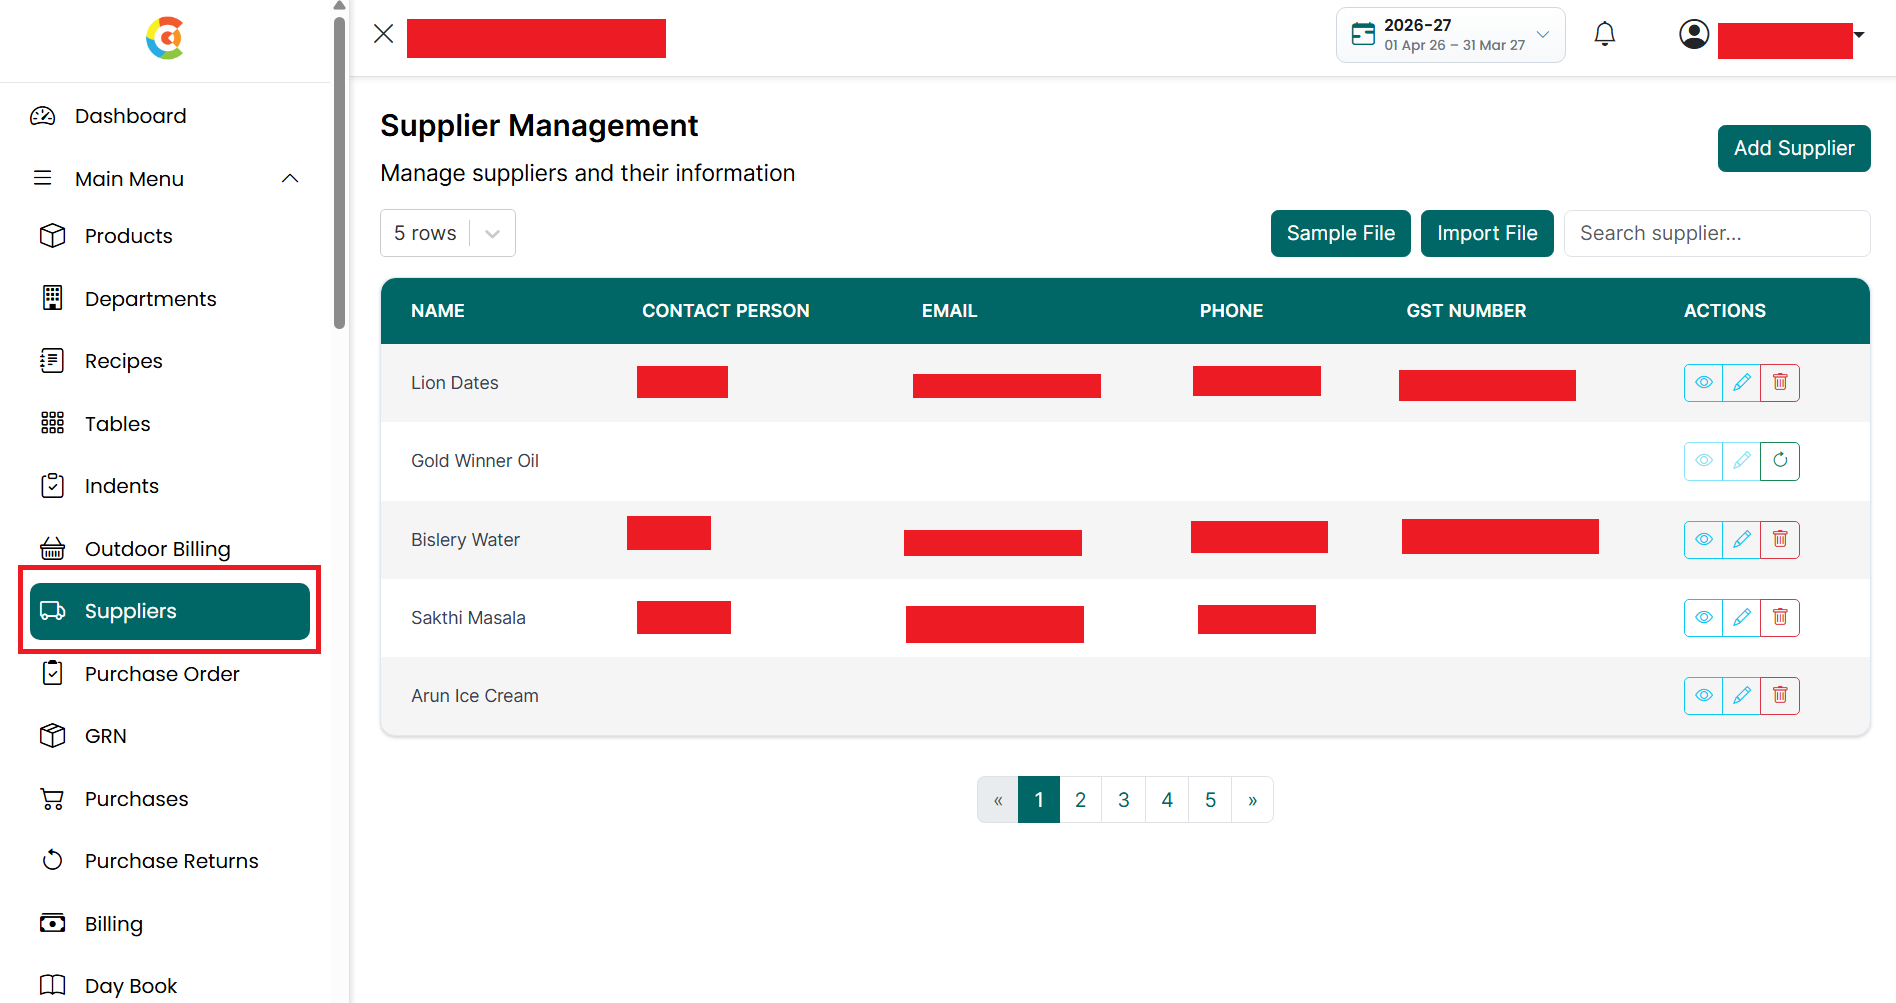
- Find the supplier you want to view.
- Click the View icon.
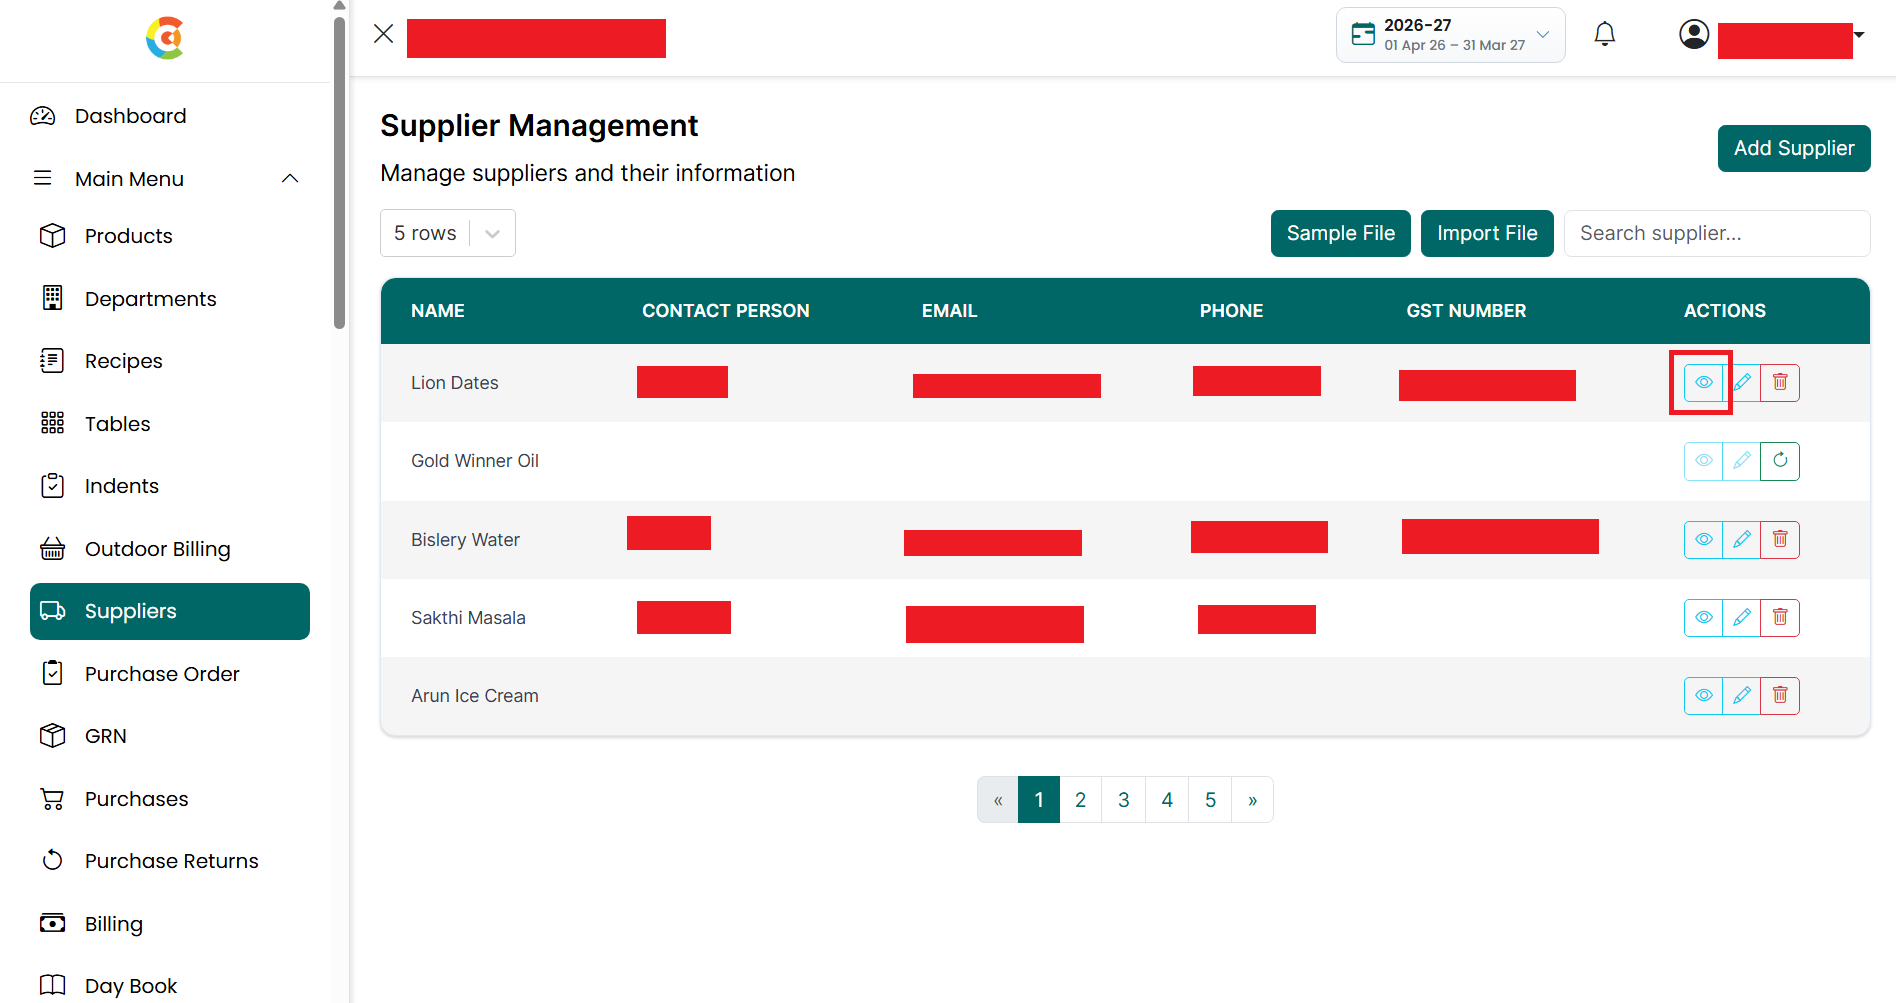
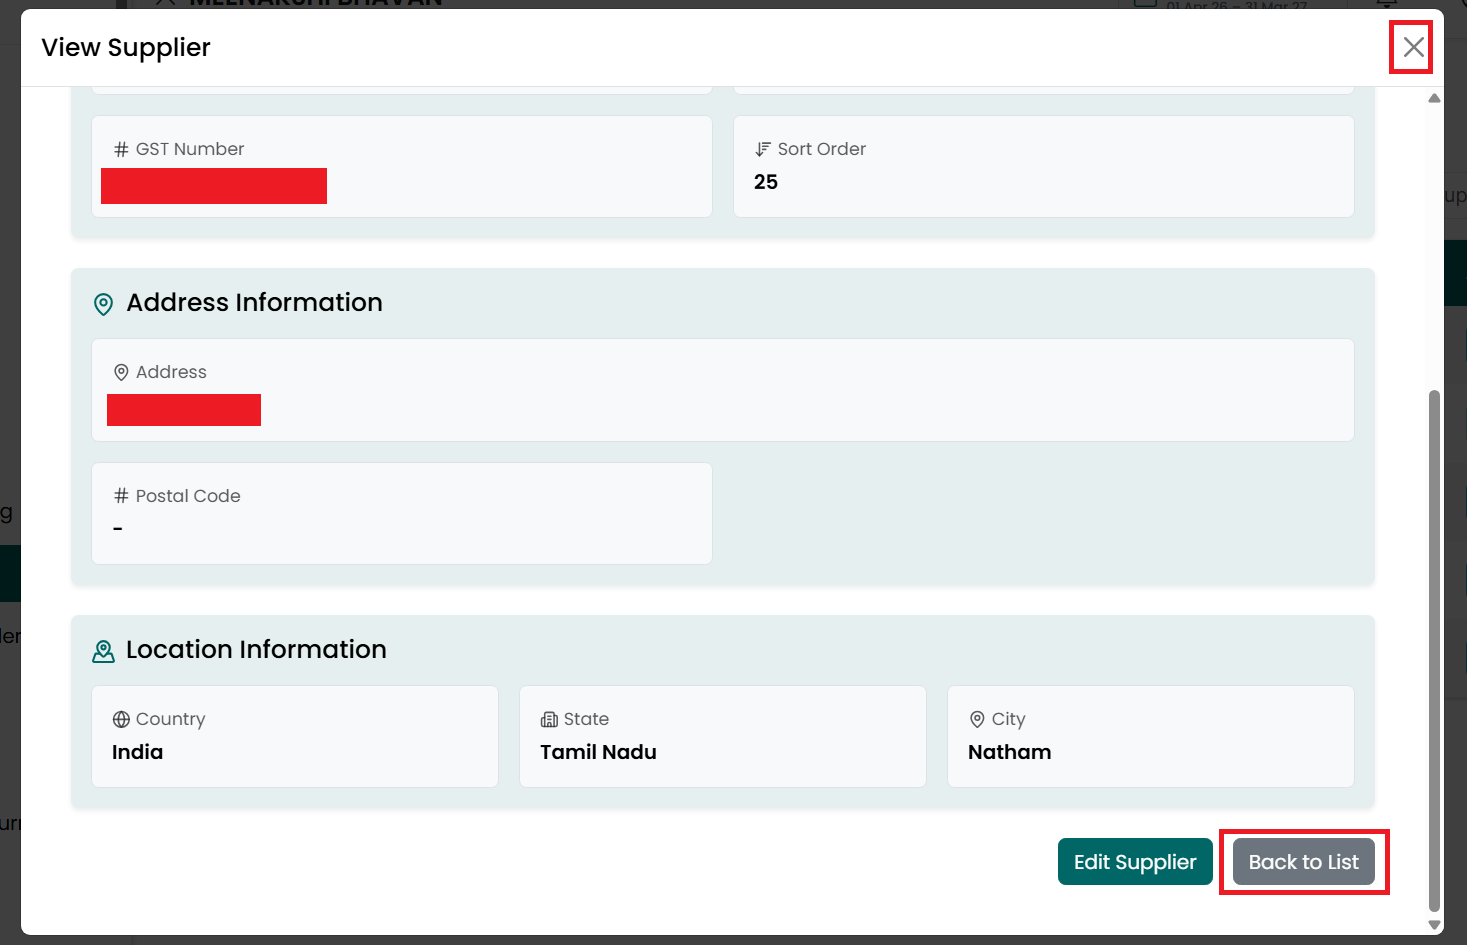
- The View Supplier window is
displayed.
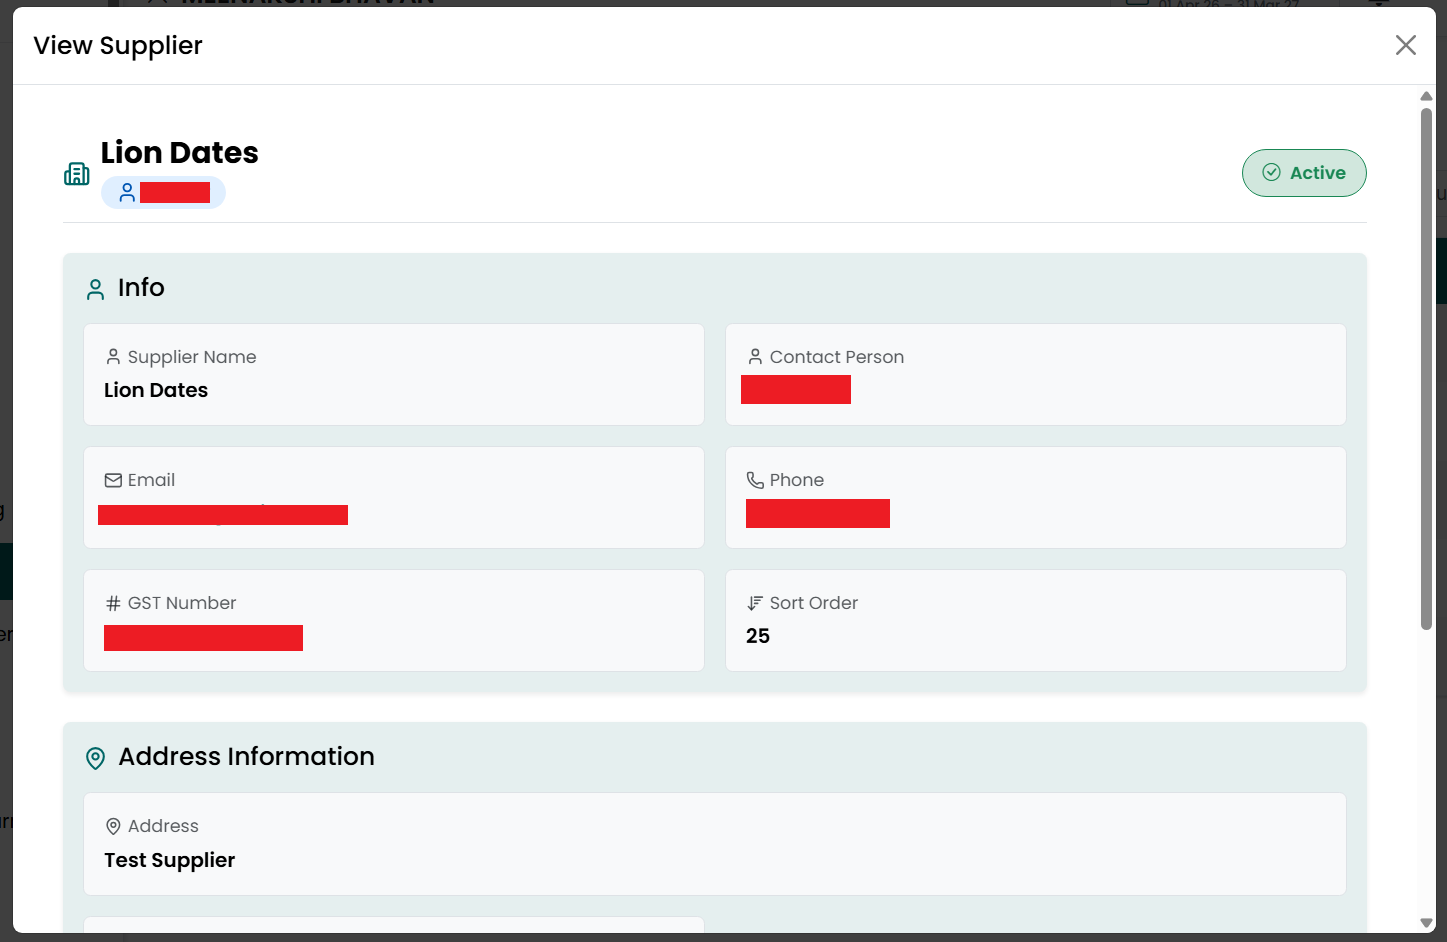
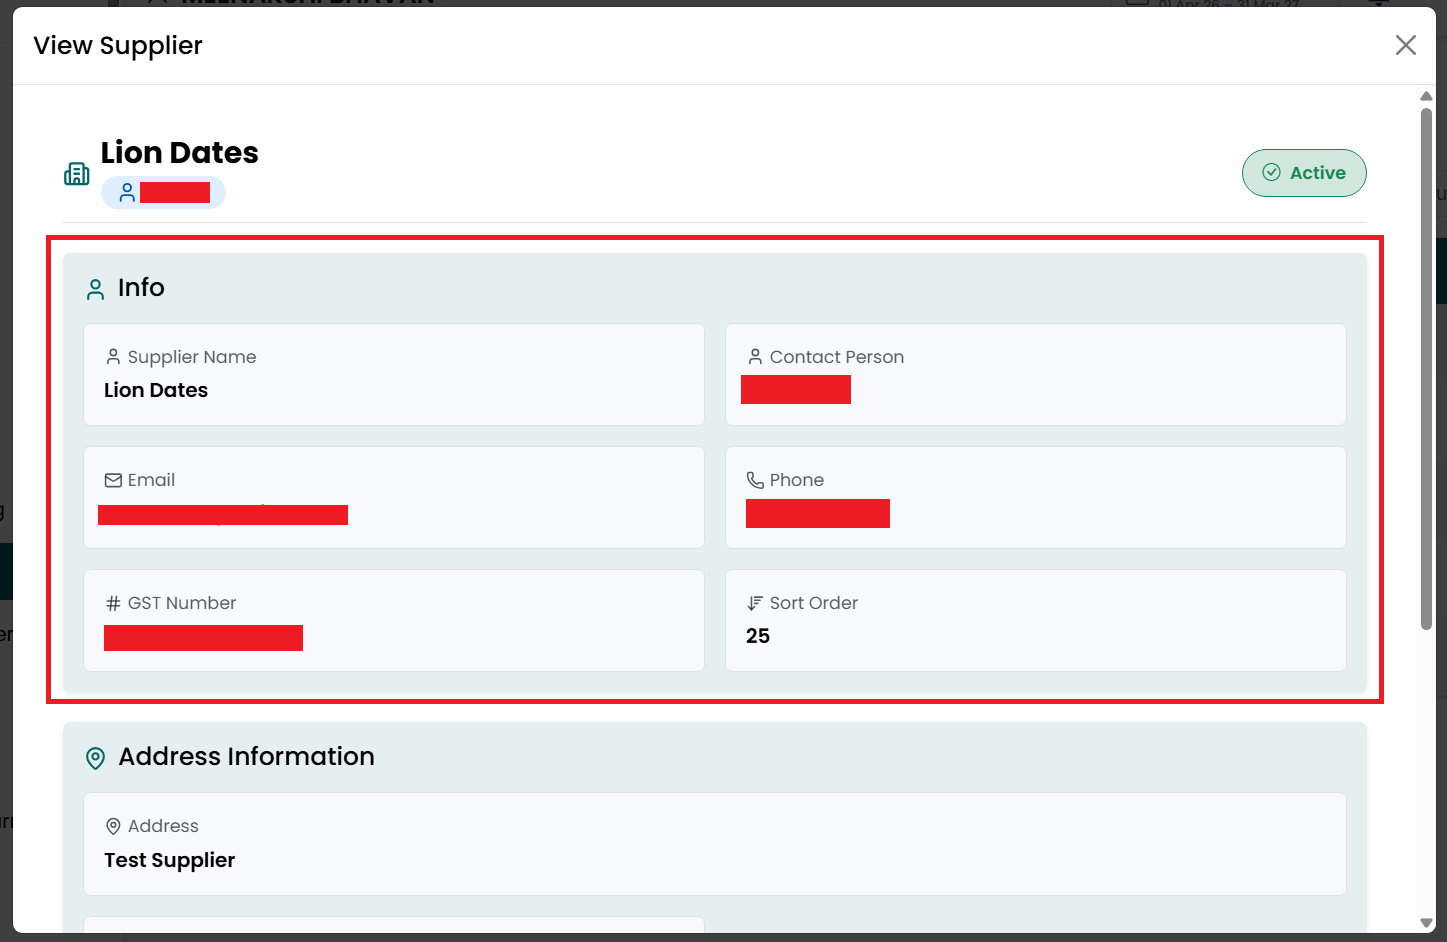
- The following information is available:
• Supplier Information
■ Supplier Name
■ Contact Person
■ Email Address
■ Phone Number
■ GST Number
■ Sort
Order
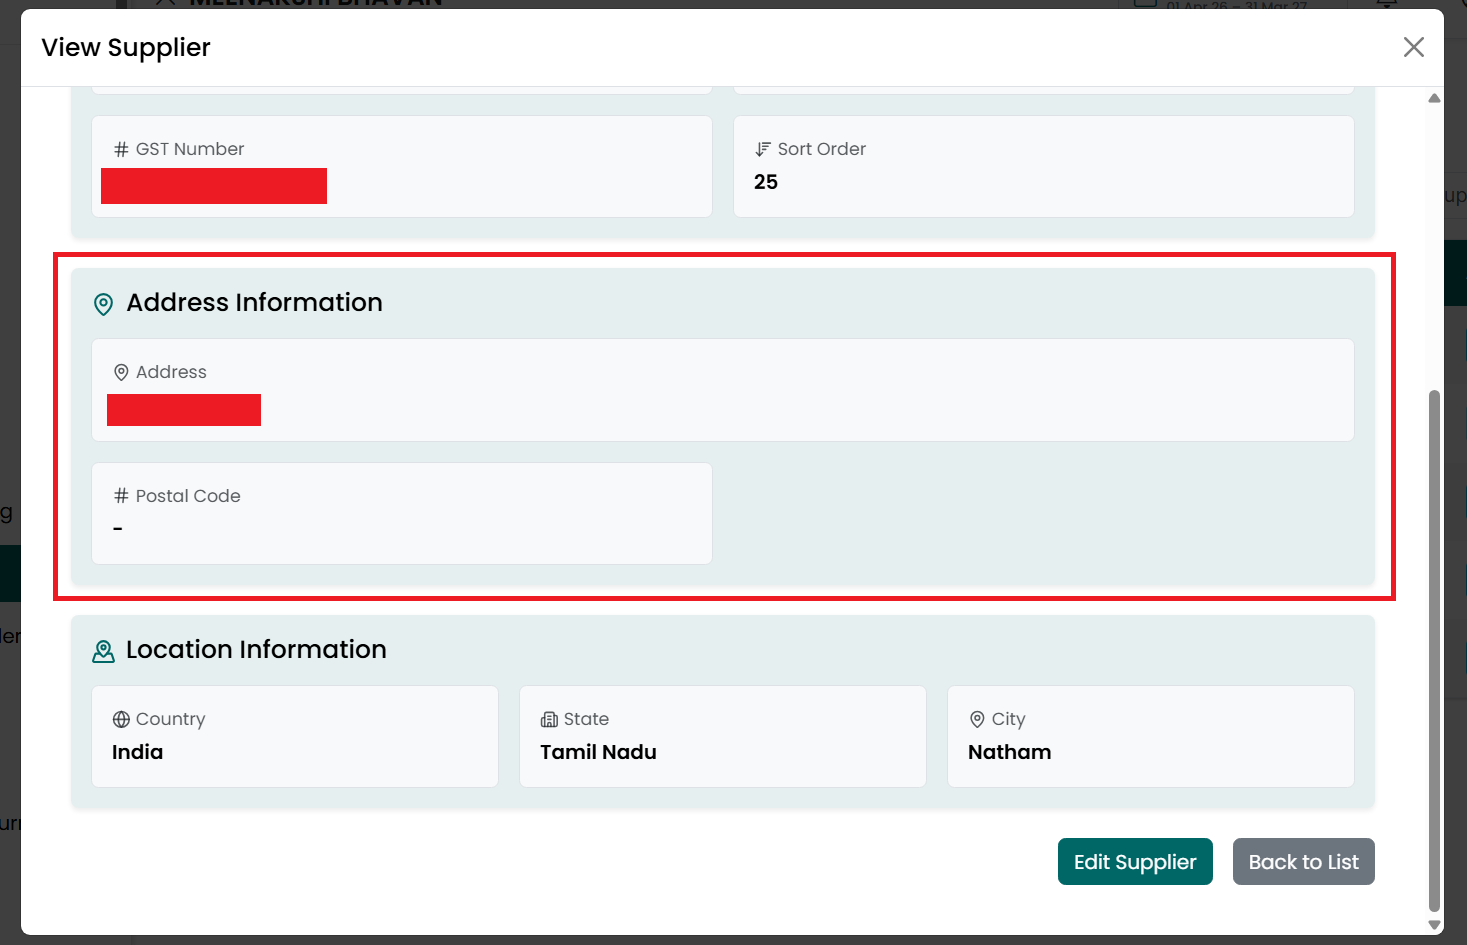
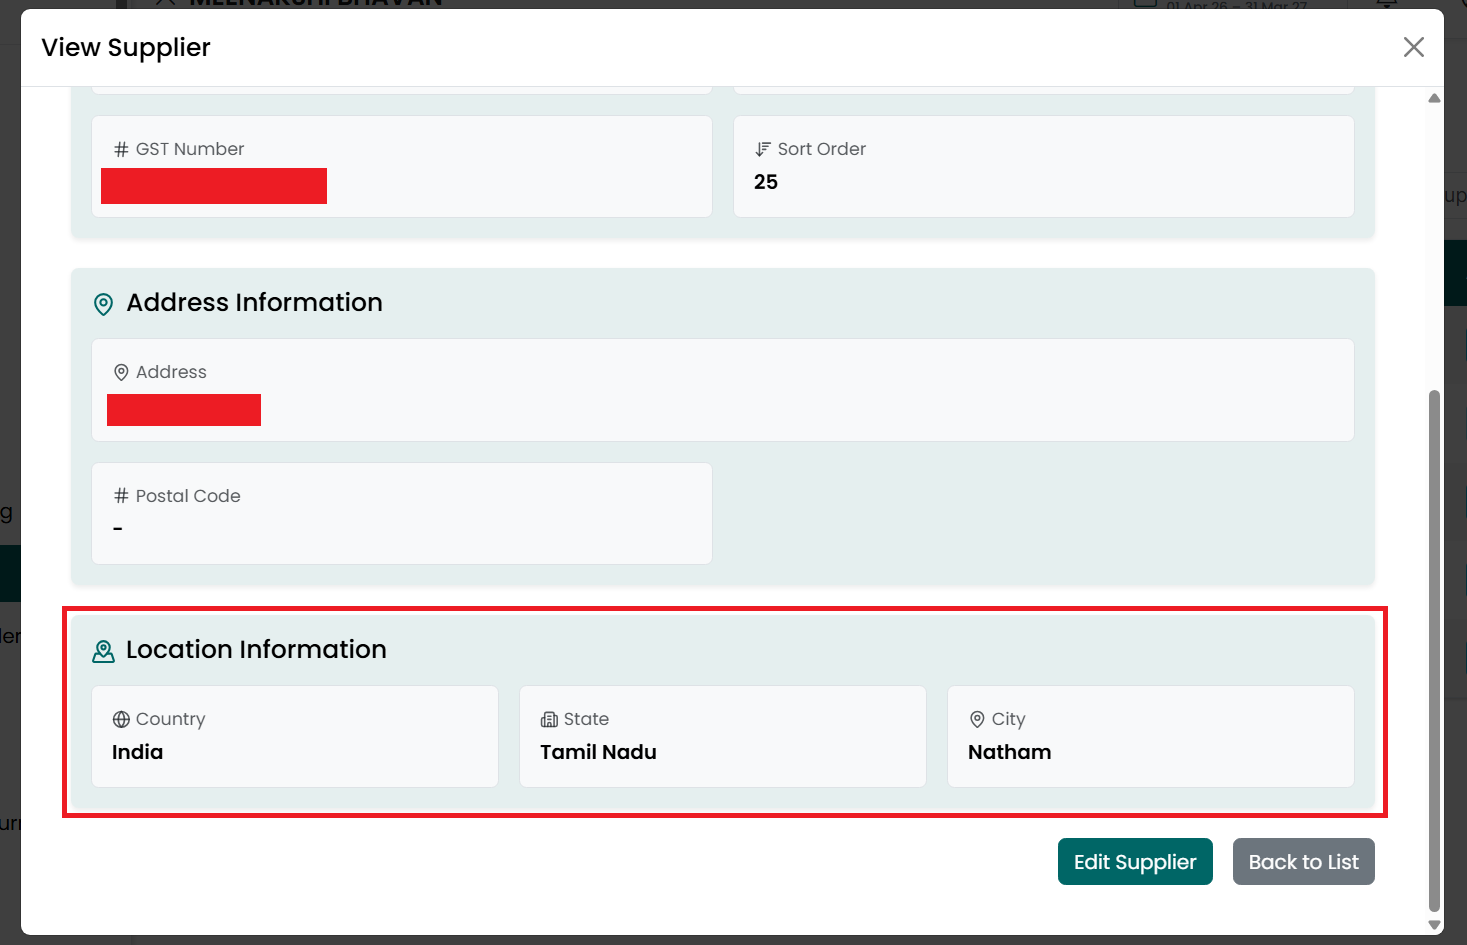
• Address Information
■ Address
■ Country
■ State
■ City
■ Postal
Code
• Notes
■ Displays
any notes added for the supplier.
- Click Edit Supplier to update the
supplier's details.
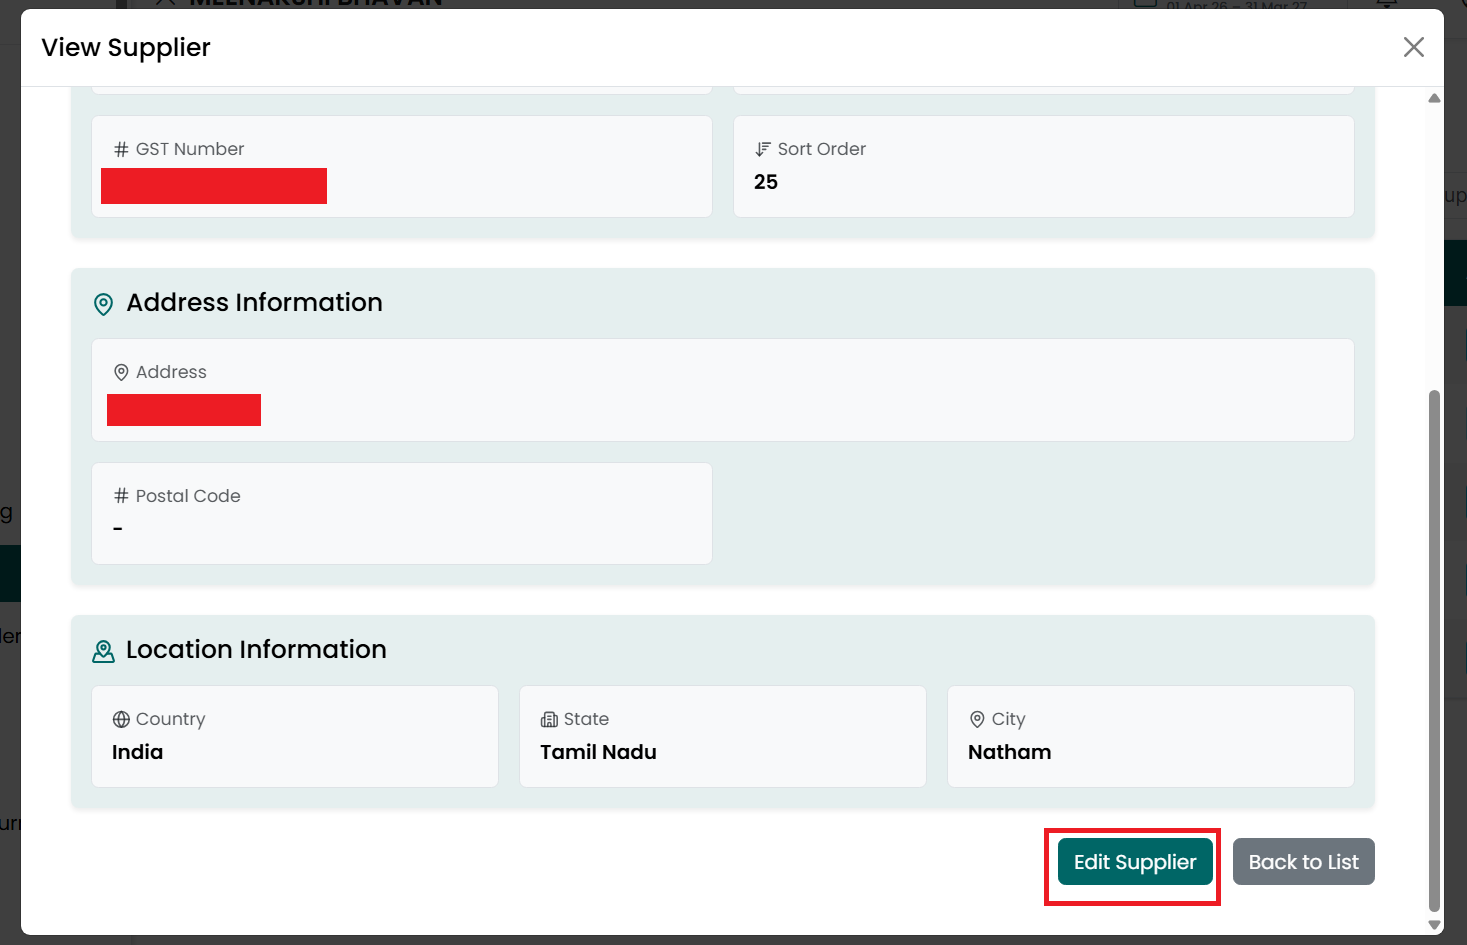
- Click
Back to List or the X icon to return to the Supplier Listing page.
Edit Supplier
To update an existing supplier, follow the steps below.
- Go
to the Main Menu and click Suppliers. The Supplier Listing page is
displayed.
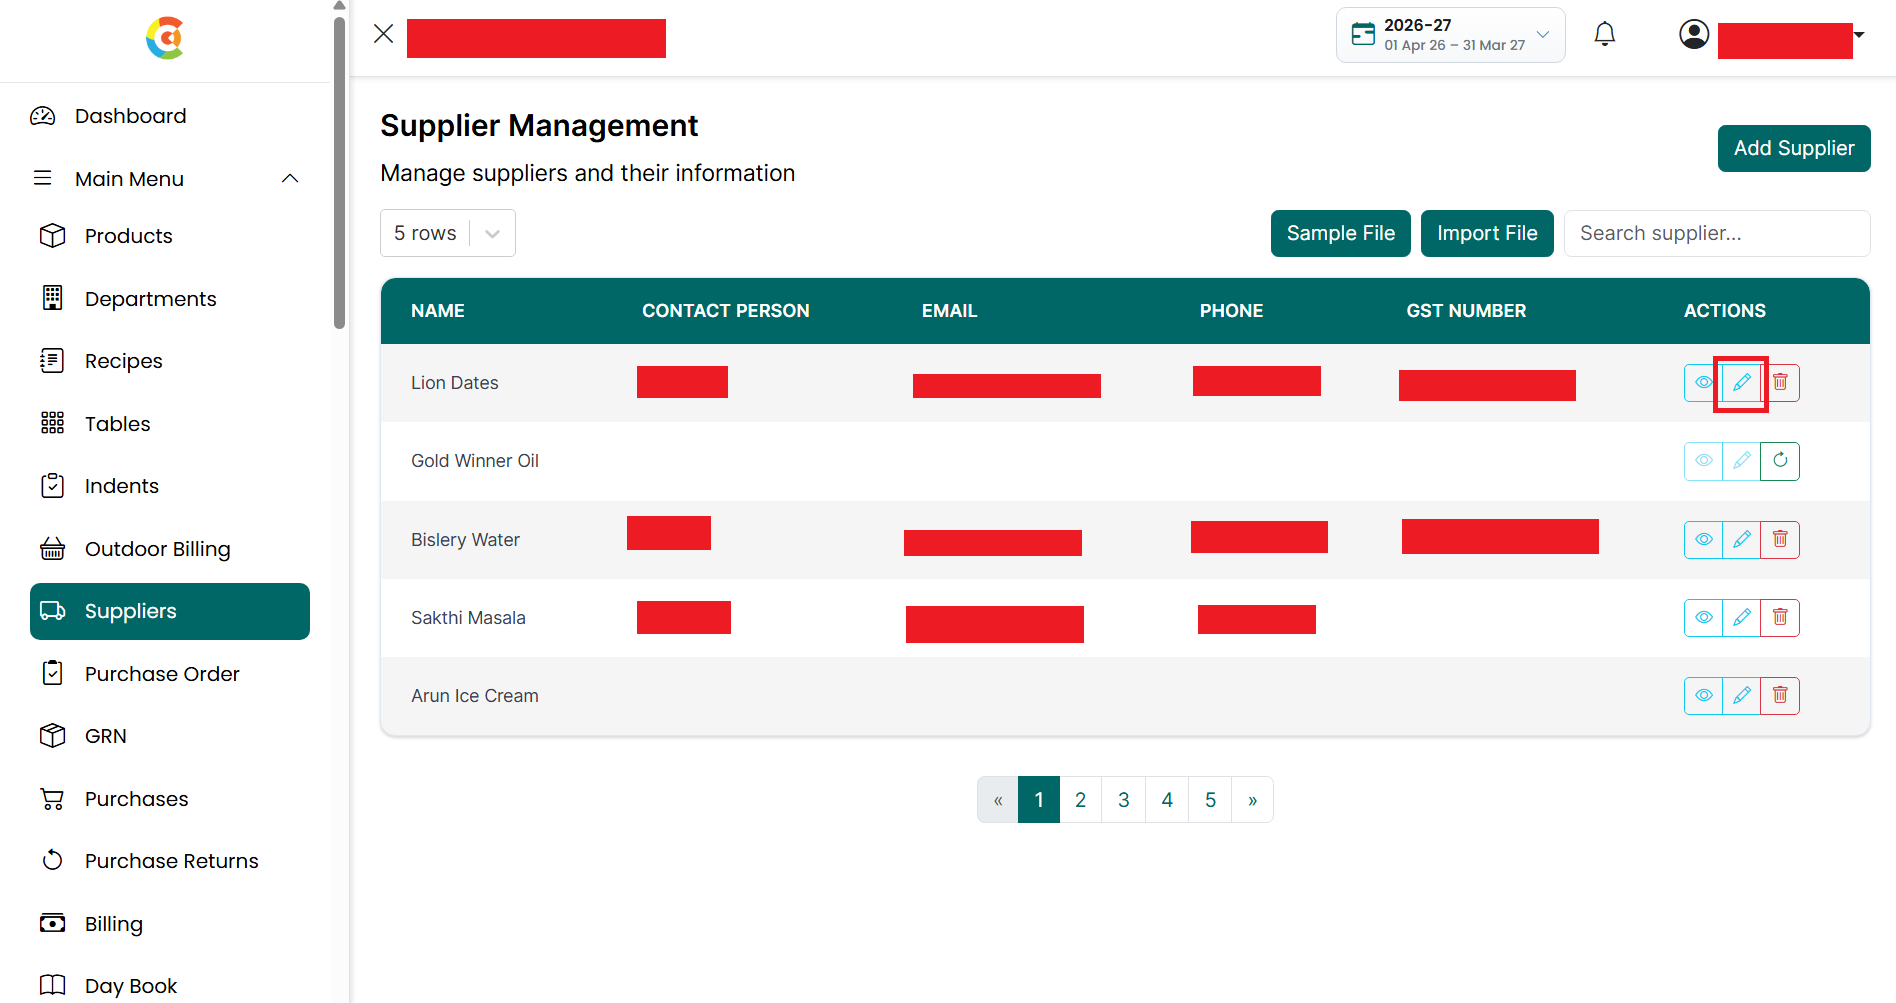
- Find the supplier you want to edit.
- Click the Edit icon.
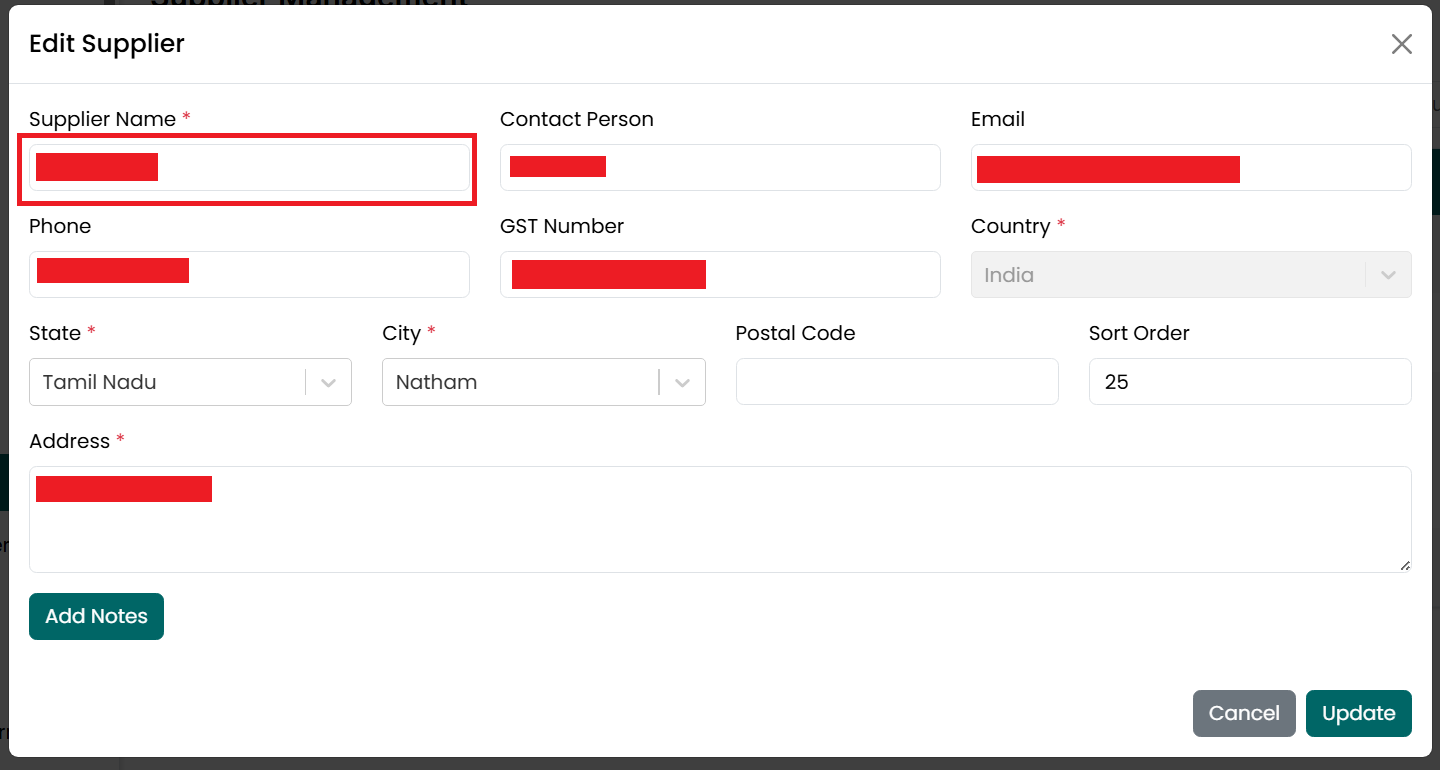
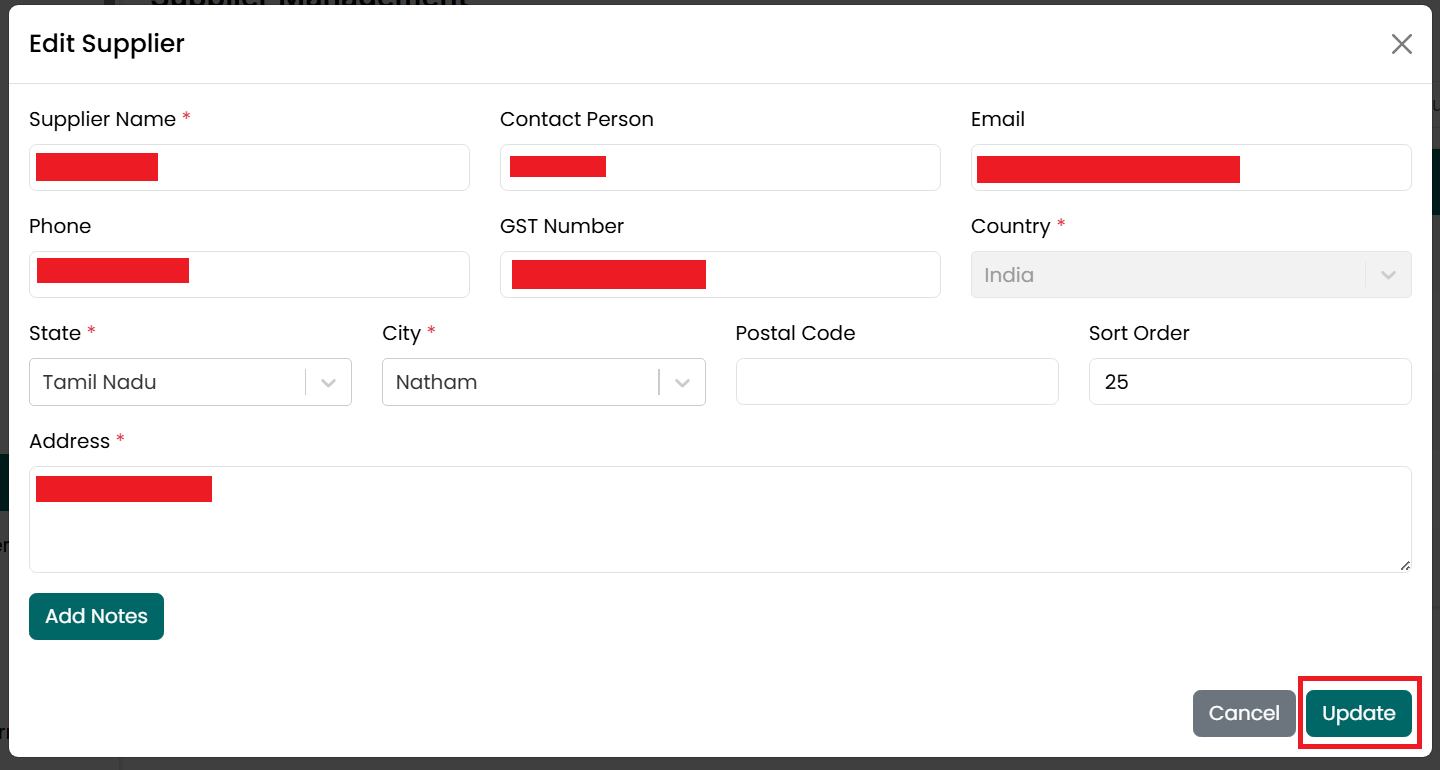
- The Edit Supplier window is displayed
with the existing supplier details.
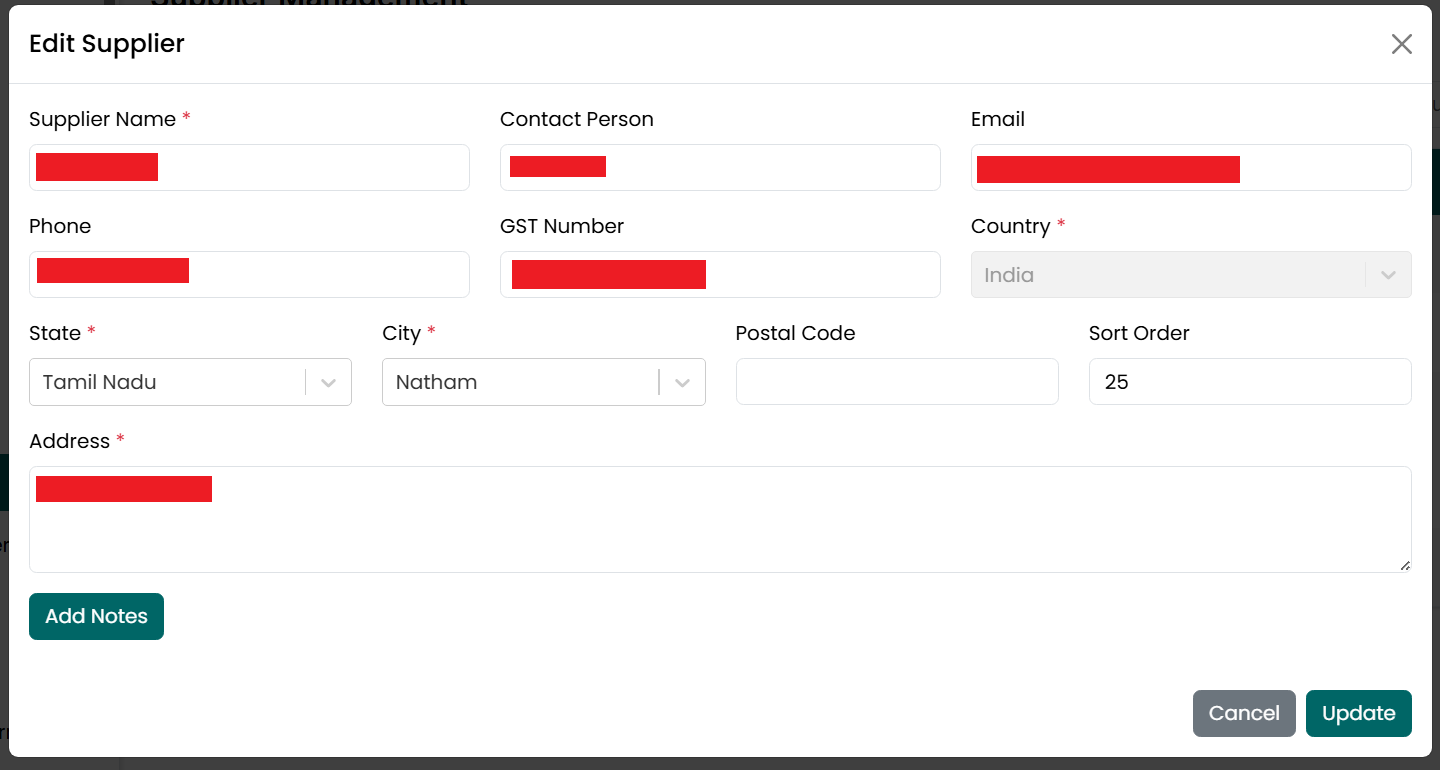
- Update the Supplier Name, if
required. This field is required. The Supplier Name must remain unique.
Duplicate supplier names are not allowed.
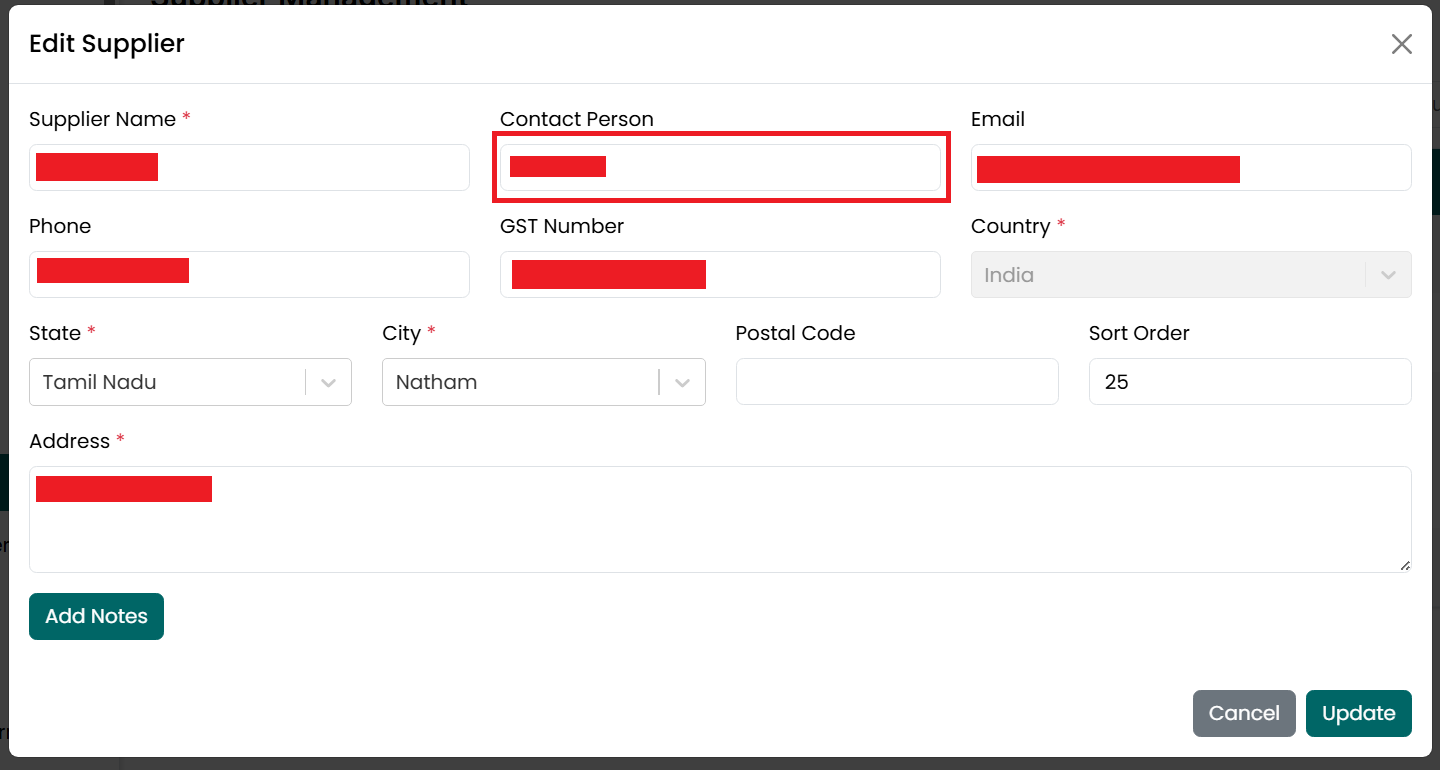
- Update the Contact Person name, if
required.
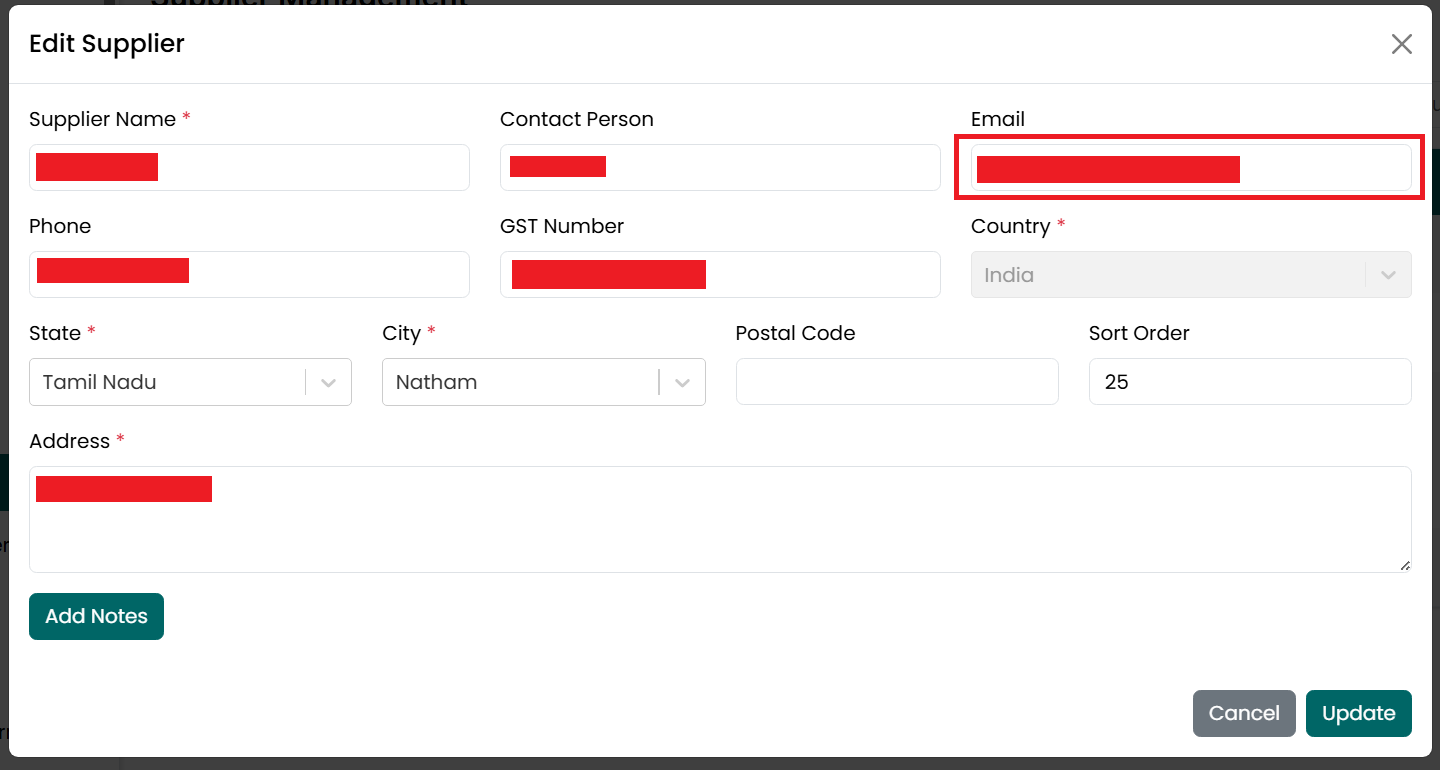
- Update the Email Address, if
required. Enter a valid email address.
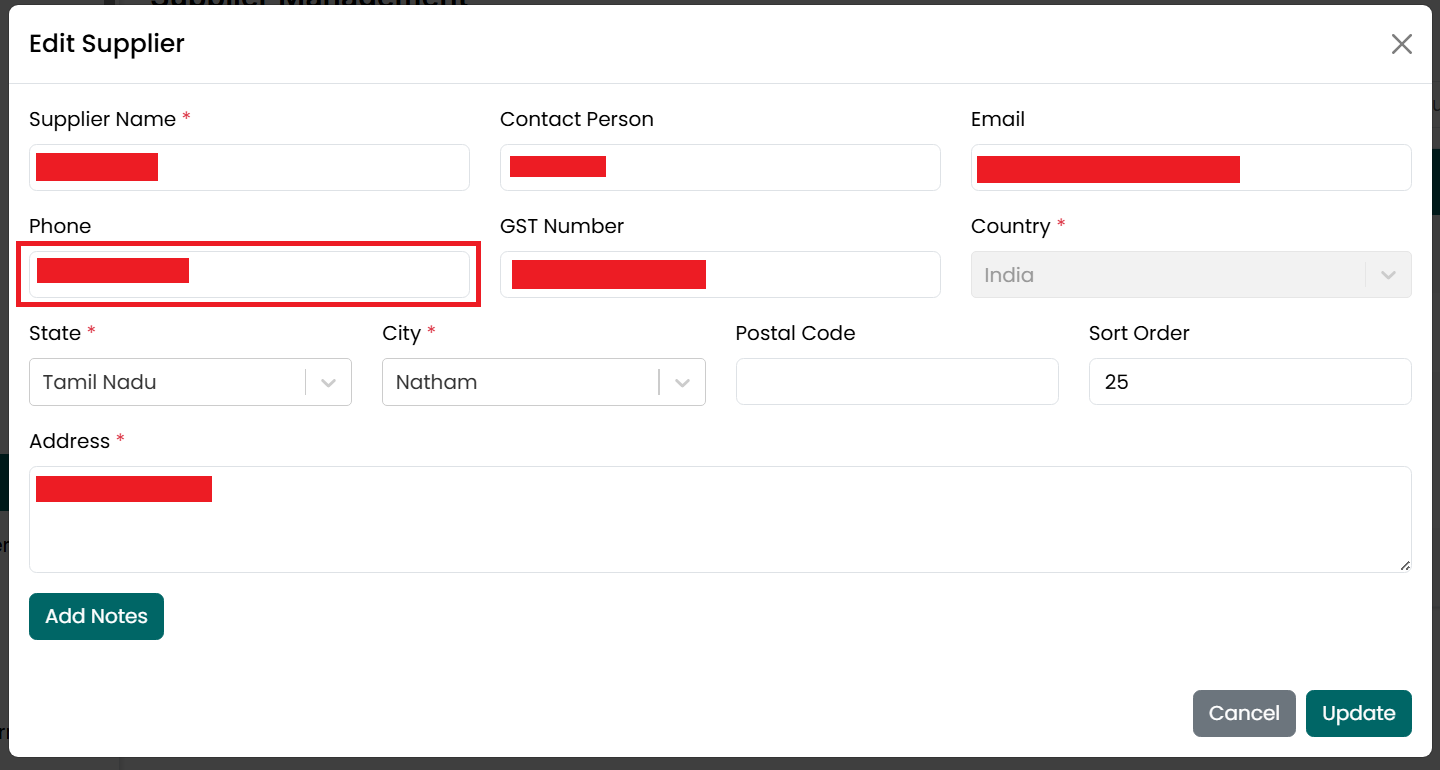
- Update the Phone Number, if required.
The phone number must contain 10 digits.
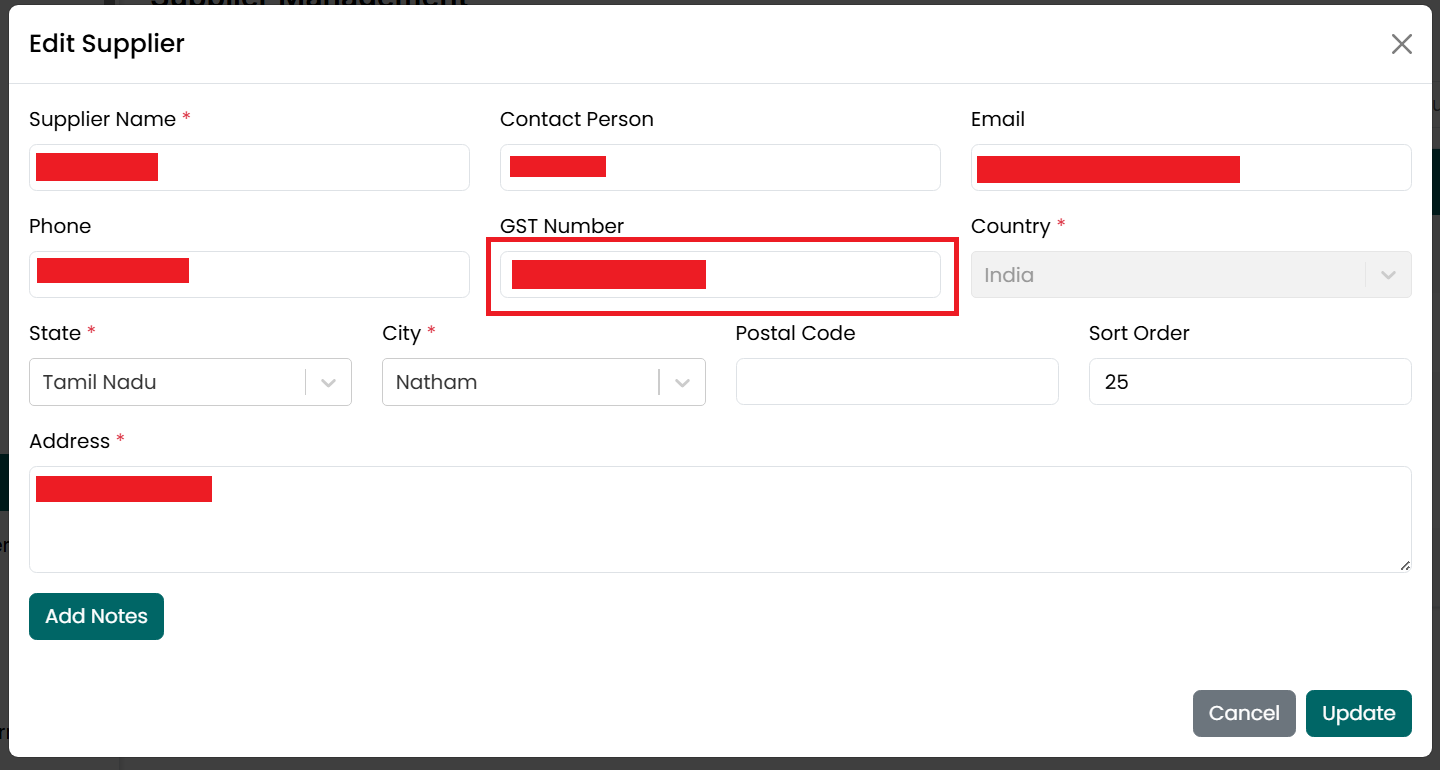
- Update the GST Number, if required.
The GST number must be a valid 15-character GST registration number. If a
GST Number is entered, it must remain unique. Duplicate GST Numbers are
not allowed.
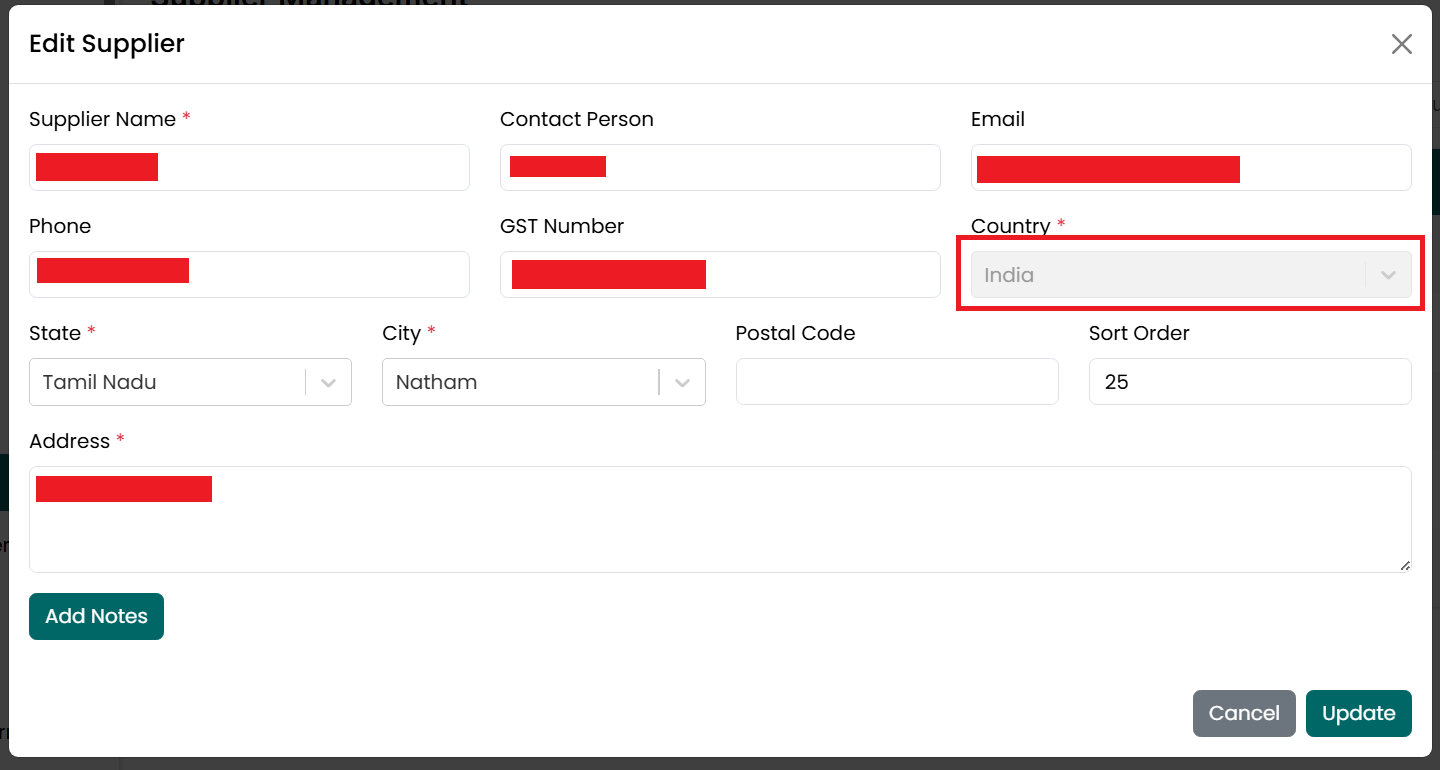
- The country is set to default to
India.
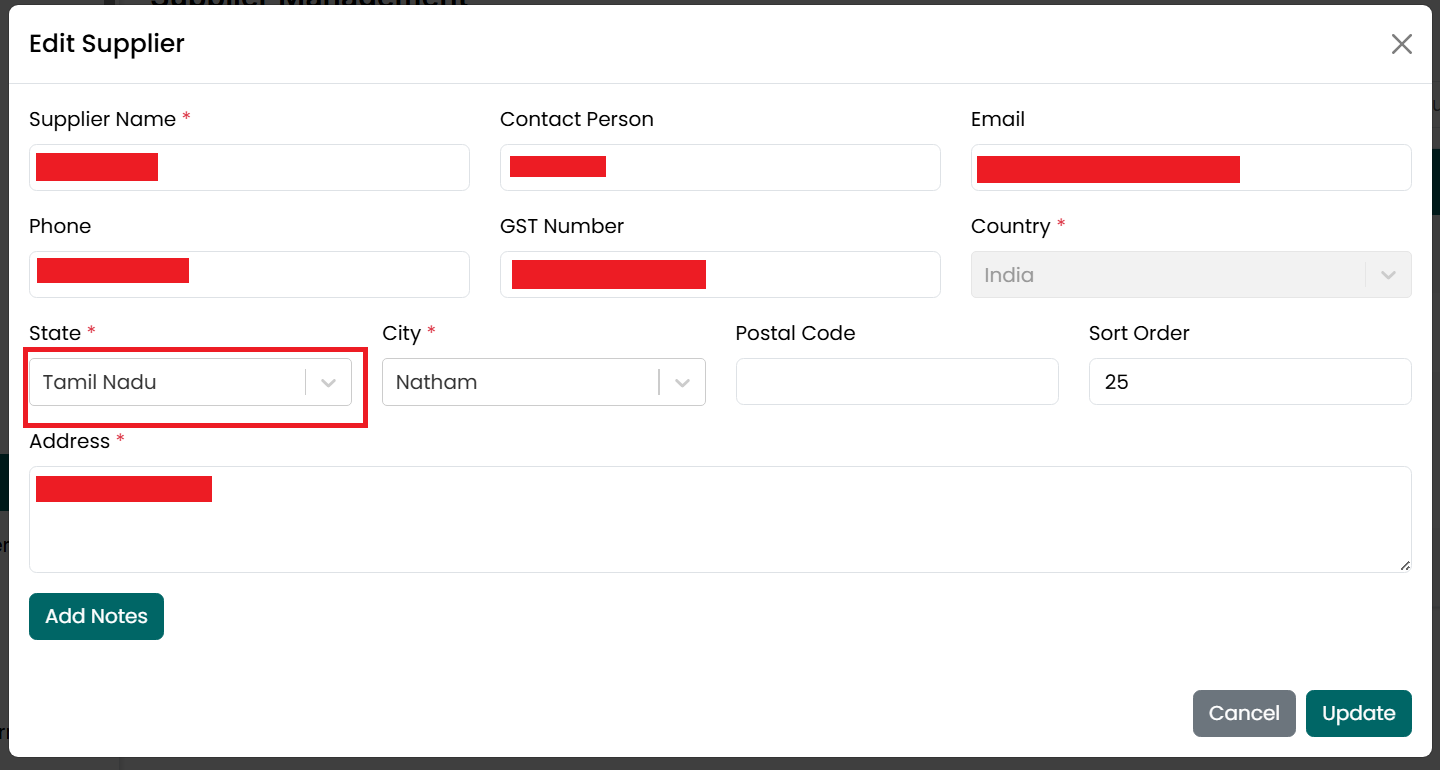
- Select a different State, if
required. The list of available states is based on the selected country.
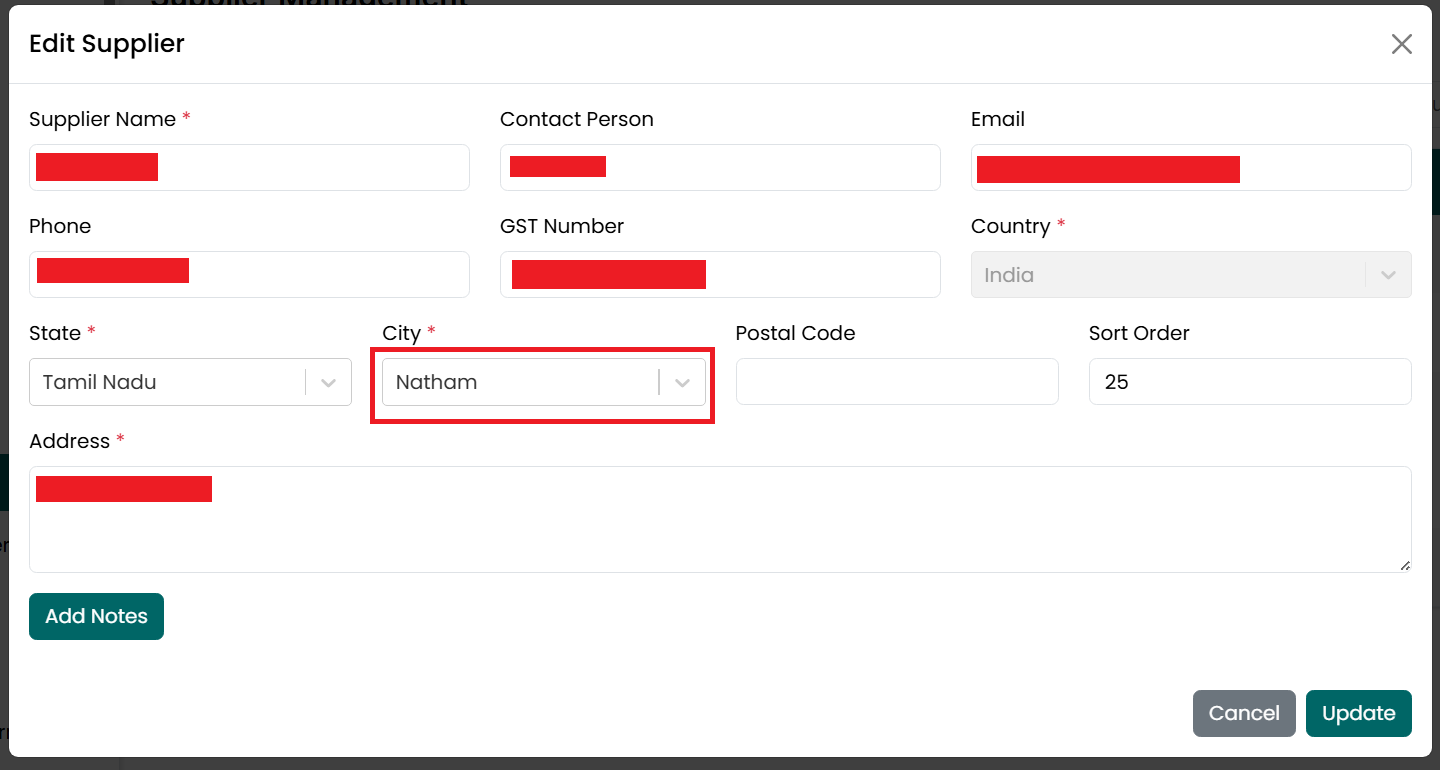
- Select a different City, if required.
The list of available cities is based on the selected state.
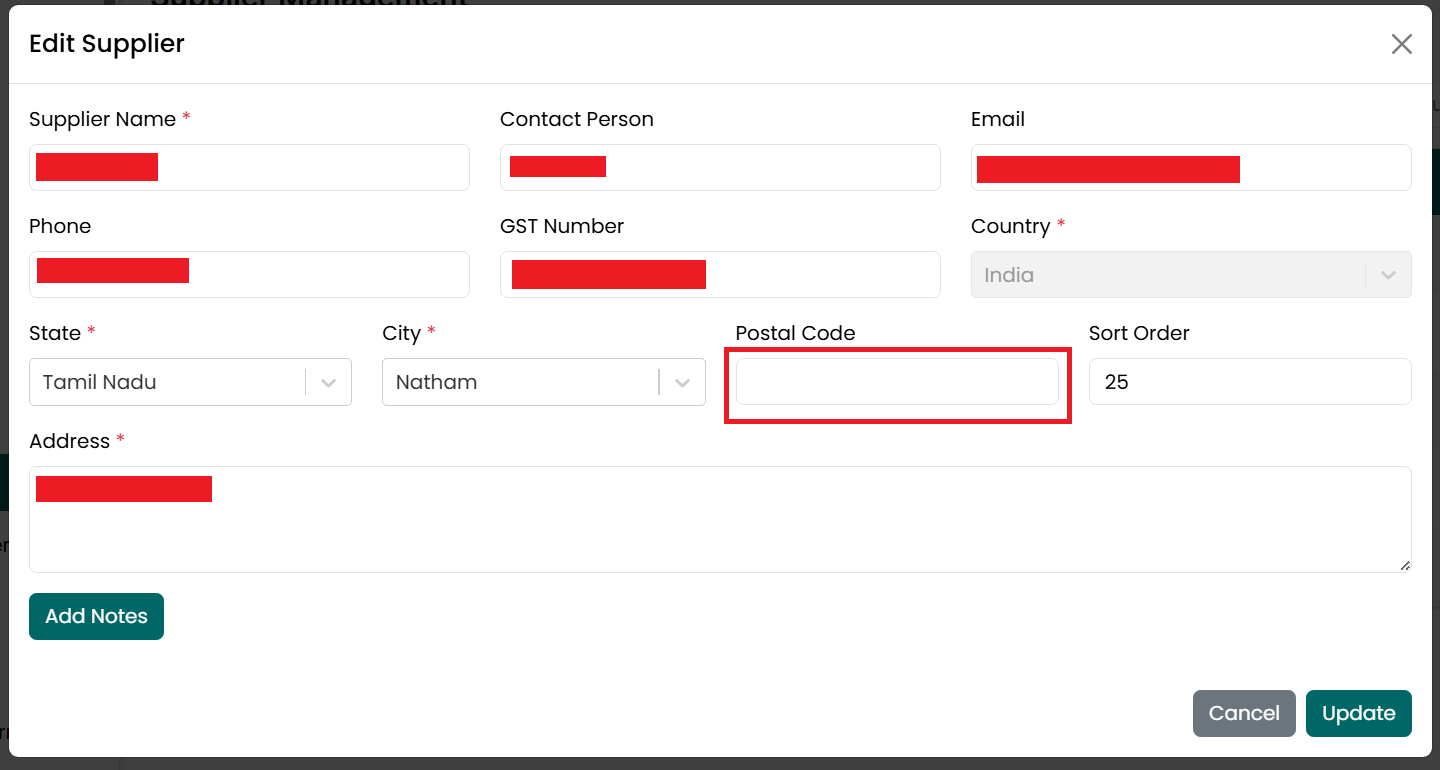
- Update the Postal Code, if required.
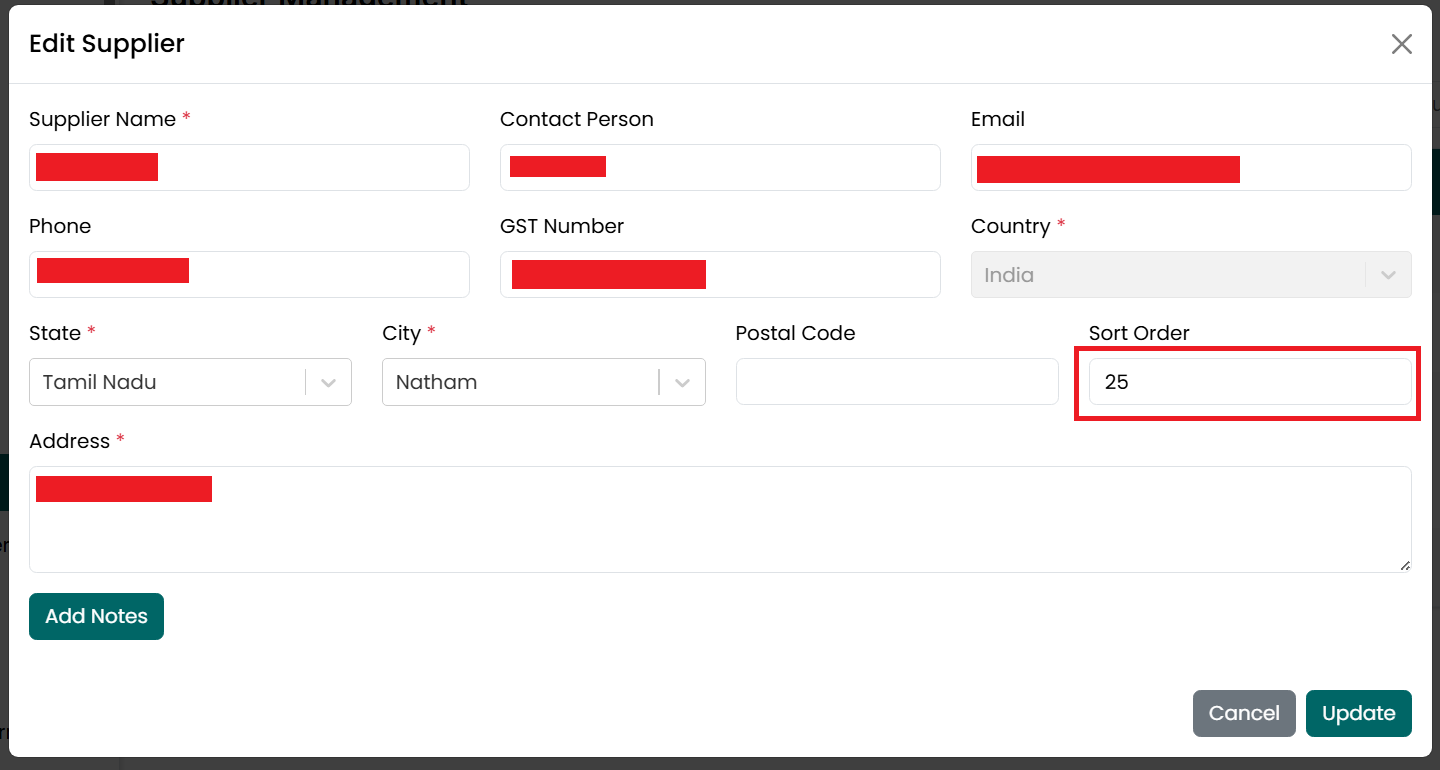
- Update the Sort Order, if required.
This field is optional and is used to control the display order of
suppliers.
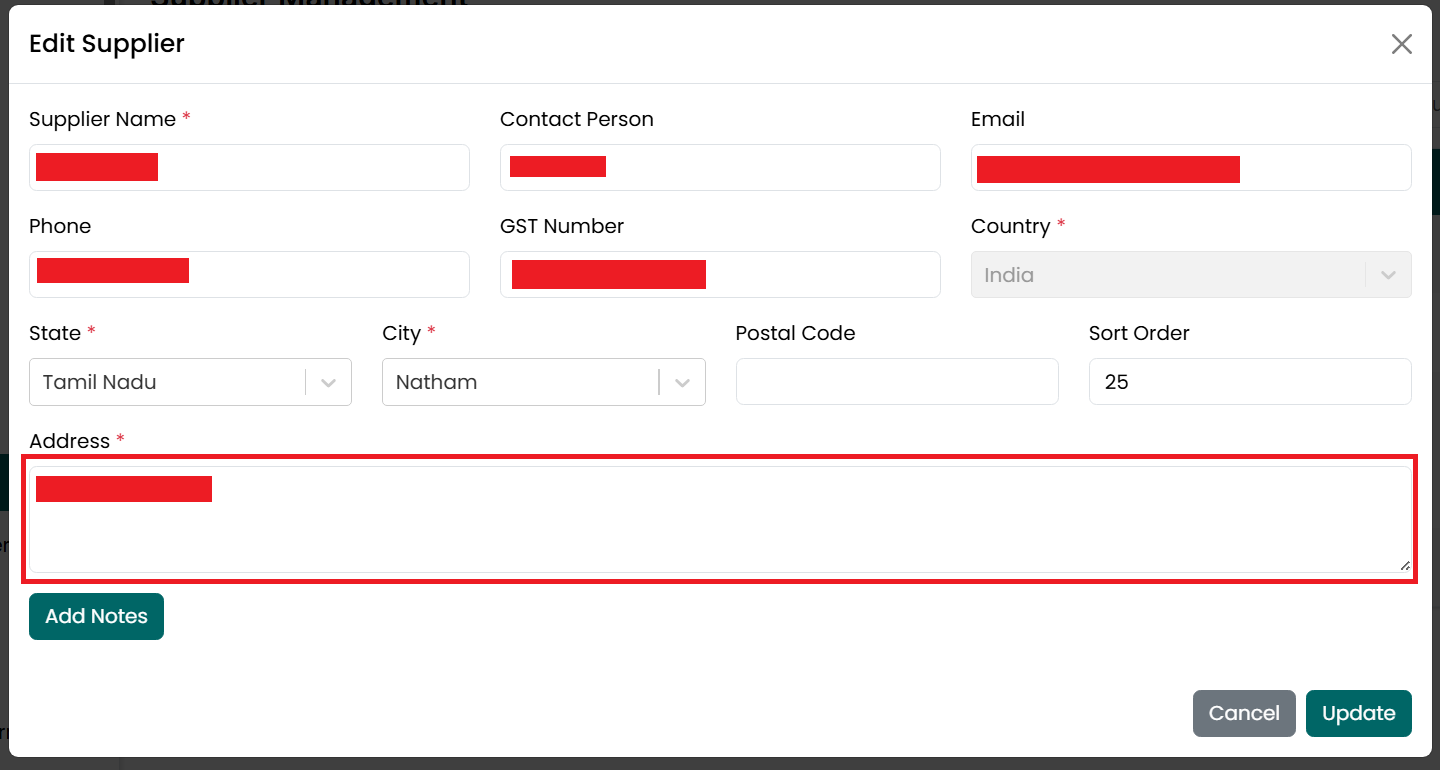
- Update the Address, if required. This
field is required.
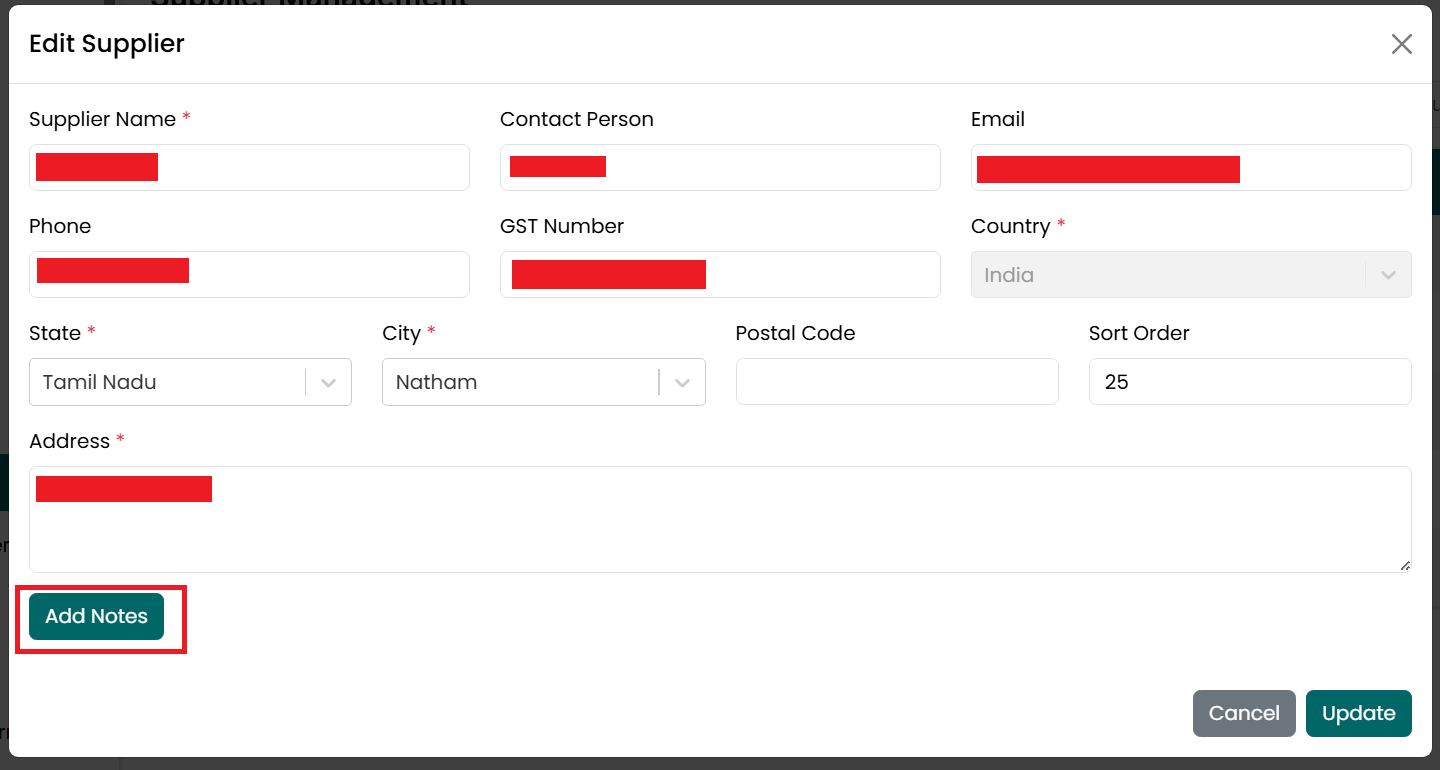
- Update the Notes, if required. You
can add, modify, or remove any notes related to the supplier.
- After making the required changes,
click Update to save the changes.
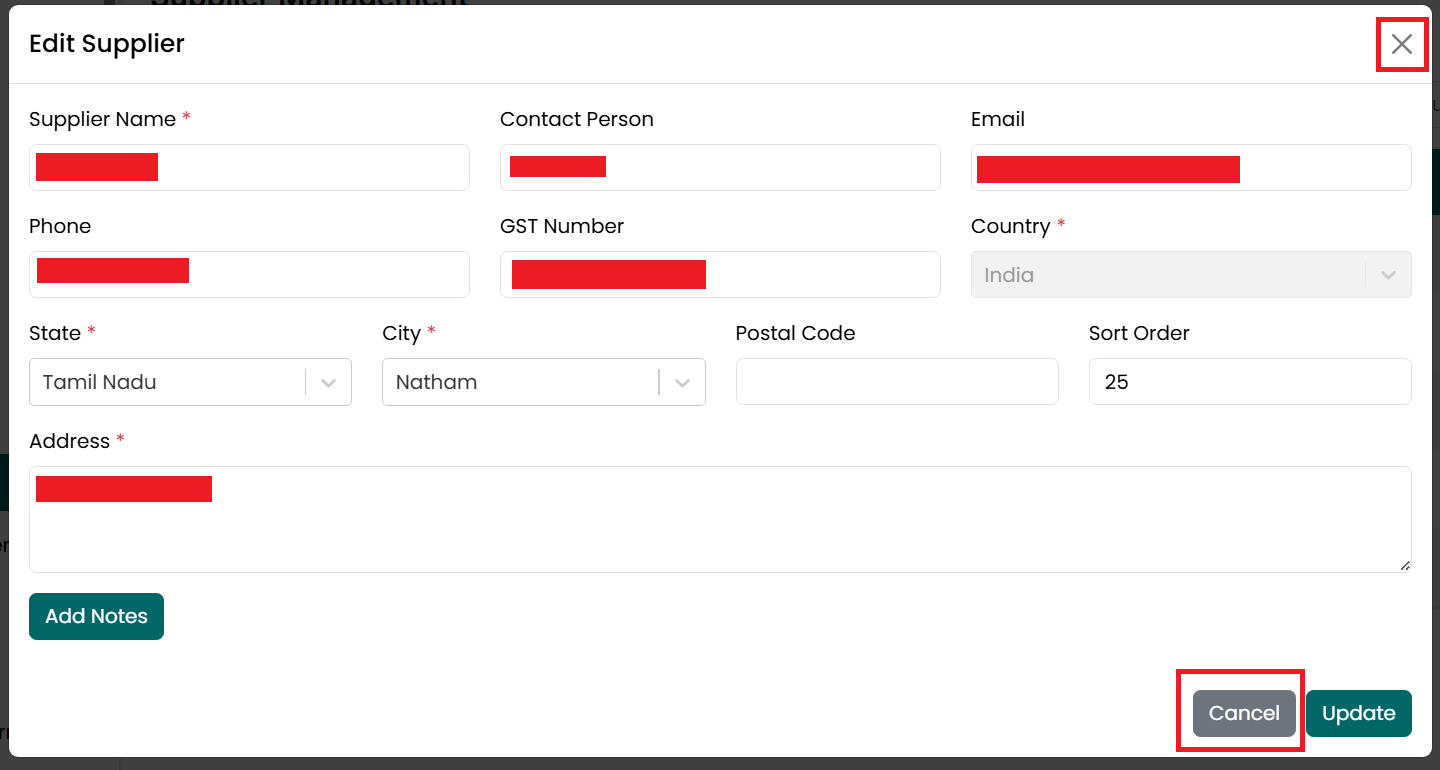
- Click Cancel or the X icon to close
the window without saving.
- After the supplier is updated successfully, a confirmation message is displayed, and the updated information appears in the Supplier Listing page.
Delete Supplier
To delete a supplier, follow the steps below.
- Go
to the Main Menu and click Suppliers. The Supplier Listing page is
displayed.
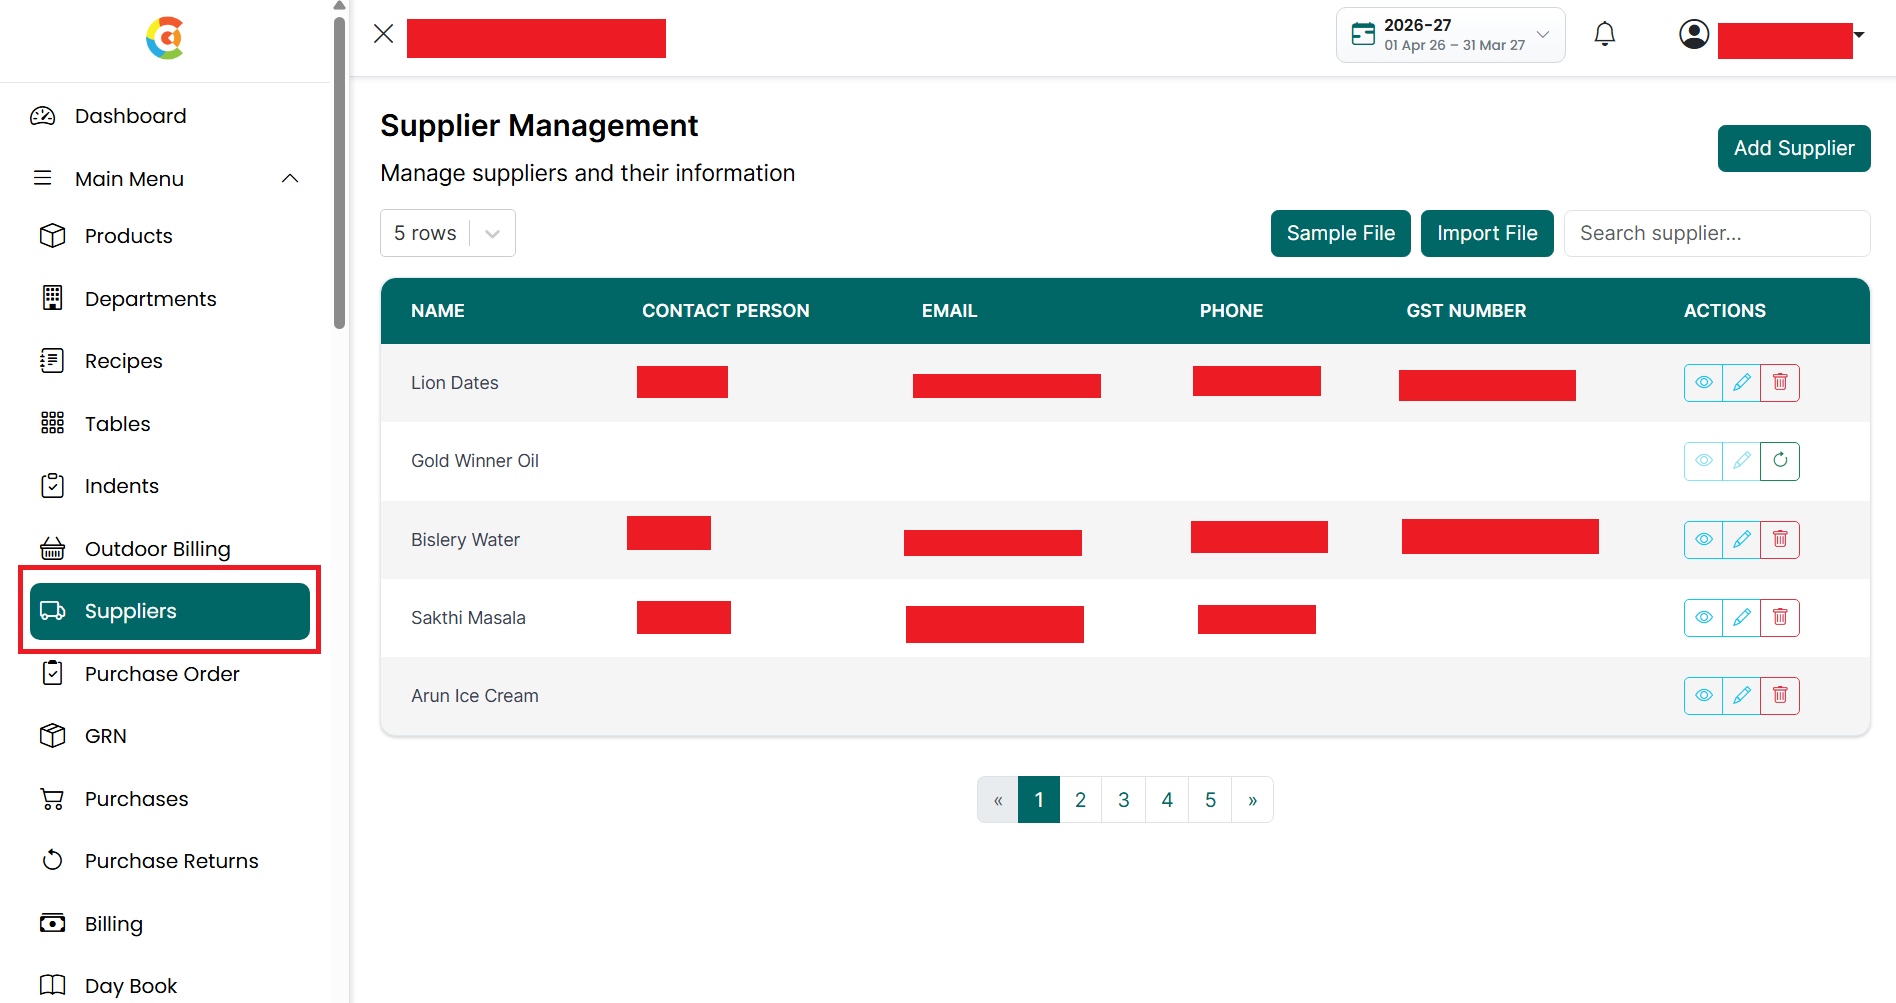
- Find the supplier you want to delete.
- Click the Delete icon.
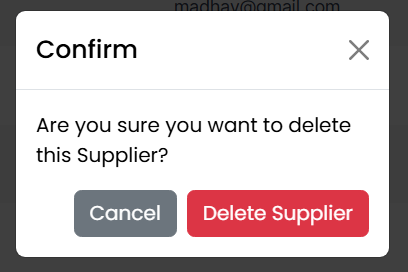
- A confirmation message is displayed
asking if you want to delete the supplier.
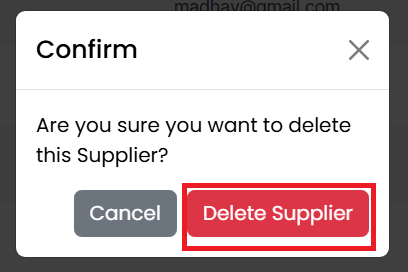
- Click Delete Supplier to confirm the
deletion.
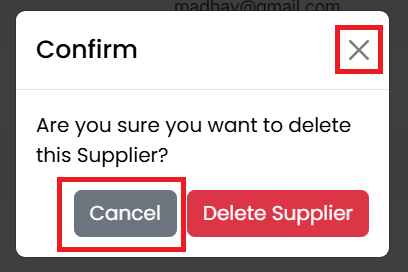
- Click Cancel or the X icon to close
the confirmation window without deleting the supplier.
- After the supplier is deleted successfully, a confirmation message is displayed. The supplier remains visible in the Supplier Listing page with a Retrieve option. A deleted supplier cannot be edited or selected in other parts of the application until it is restored.
Retrieve Supplier
To restore a deleted supplier, follow the steps below.
- Go
to the Main Menu and click Suppliers. The Supplier Listing page is
displayed.
- Find the deleted supplier.
- Click the Retrieve icon.
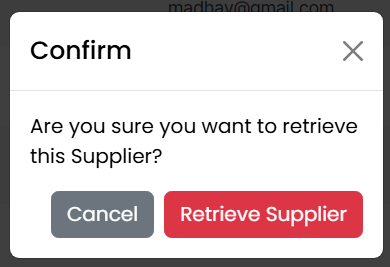
- A confirmation message is displayed
asking if you want to restore the supplier.
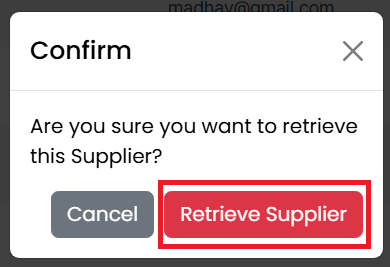
- Click Retrieve Supplier to restore
the supplier.
- Click Cancel or the X icon to close
the confirmation window without restoring the supplier.
- After the supplier is restored successfully, a confirmation message is displayed. The supplier becomes active again and can be selected and used throughout the application.